
With all the crafting and projects I have done in my lifetime, I have never really worked with Leather…but I have a feeling that things could be changing. I was recently asked by Rebecca from Better Life Bags if I would be interested in using some of her leather scraps to create with. Her bags are amazing and she uses high quality leather, so I was really excited to be able to create with her scraps.

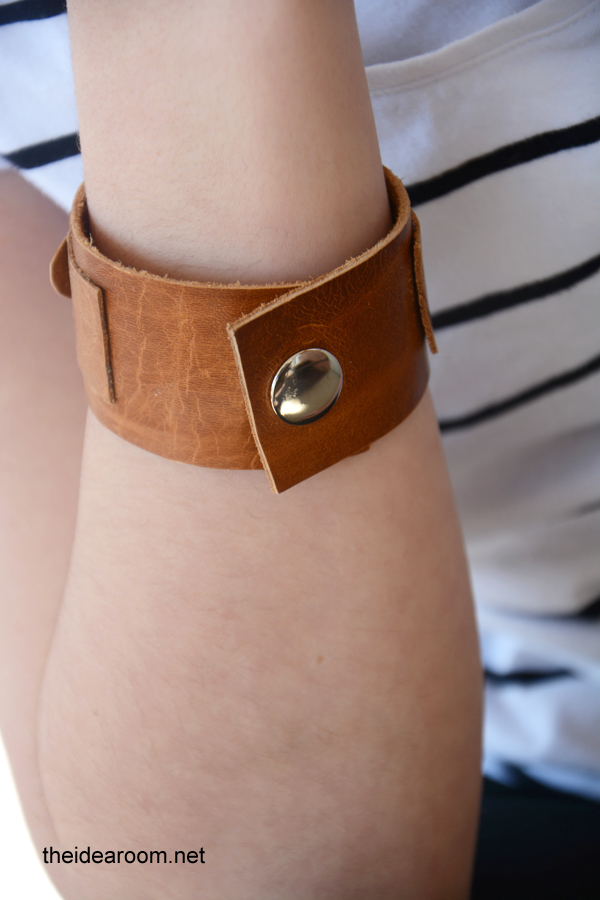
I have always loved leather bracelets, so that was one of the first things I attempted. I was surprised at just how easy it could be to make a custom leather bracelet. As you can see, my daughter snagged this and claimed it for her own.

Isn’t this leather gorgeous? You can pick up some high quality leather scraps from Better Life Bags if you would like to use them in your creating too. Simply follow this link:
And…I thought I took how to pictures for this bracelet and for the life of me can not find them. I will do my best to explain how to make this without the help of pictures.

You will need:
leather
scissors
silver brads (scrapbook paper aisle)
E6000 glue
snap and snap tool (heavy duty plier kit from JoAnn’s)
sharp tool to poke a hole in the leather
1. Print the Leather Bracelet Pattern that I have provided (link is near the bottom of the post).
2. Cut your leather with the pattern pieces. Measure your arm and adjust the snap to be where it will fit you most comfortably. (You may need to lengthen the original leather band if you have a larger wrist or cut some length is you have a smaller wrist or are making it for a child).
3. Layer the the flowers on top of each other. You will need 3 larger flowers, 3 medium flowers and 3 smaller flowers. Layer them so that you have three sets with them layered from big to small with the small one on top.
4. Attach the flower sets together by poking a hole in each of the middle flower and then attaching them together with a silver brad.
5. Take the smaller band of leather and poke three holes in it where the x’s are. Place the flowers here and attach to the other side of the band with the brad.
6. Then glue the smaller band with the three flowers on them onto the middle of the larger band with your E6000 glue. Let it dry fully and place some books on top of it so that it dries nice and flat.
7. After it has dried, take you leather bracelet and add a snap on the end of it so that it fits your arm comfortably. Follow the directions on the package of the snaps and snap tool.
 That is all there is too it! I LOVE it and my head is spinning with all sorts of fun ideas to create with the rest of my leather scraps!
If you would like to download the pattern for the Flower Leather Bracelet, click on the link below and follow the directions carefully.
{Flower Leather Bracelet Pattern}
*If you are not a fan of The Idea Room on Facebook, you will need to click like first and become a fan. After you become a fan you will need to click on “Get your free gift” in the upper right hand corner of the Idea Room FB page and then click on “Previous Downloads”.

Have you worked with leather before? What are your favorite leather projects? I would love to know!


What a great idea. I love it! Pinned :)
xoxo
I love this! What a great gift it would make. Depending on the thickness of the leather, I think I could cut the pieces using my Silhouette Cameo!! I’m pinning.
This is a great tutorial. Refreshingly different! I love it!
such a cute idea! i love better life bags. i want to get one for the summer. love the stripe one. ;)
OMG I love love love this!
This is too cute!!!
LOVE this. Such a great gift idea! Thanks. :)