
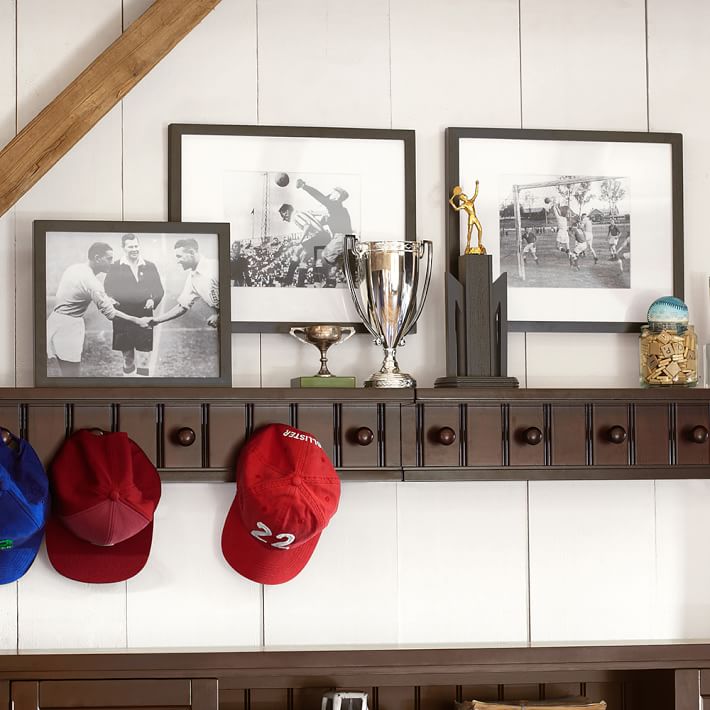
I can’t believe I forgot to share this DIY Peg Board Shelf that we built for our son’s bedroom almost 18 months ago. Where does the time go? We updated his room with some fresh paint and took it from his little boy room (still sporting Mickey Mouse sheets) to a more grown up room to fit his age and personality. He is a huge sport’s fan and loves wearing baseball hats. I had seen a Peg Board Shelf in the Pottery Barn Teen Catalog and knew I wanted to recreate it.

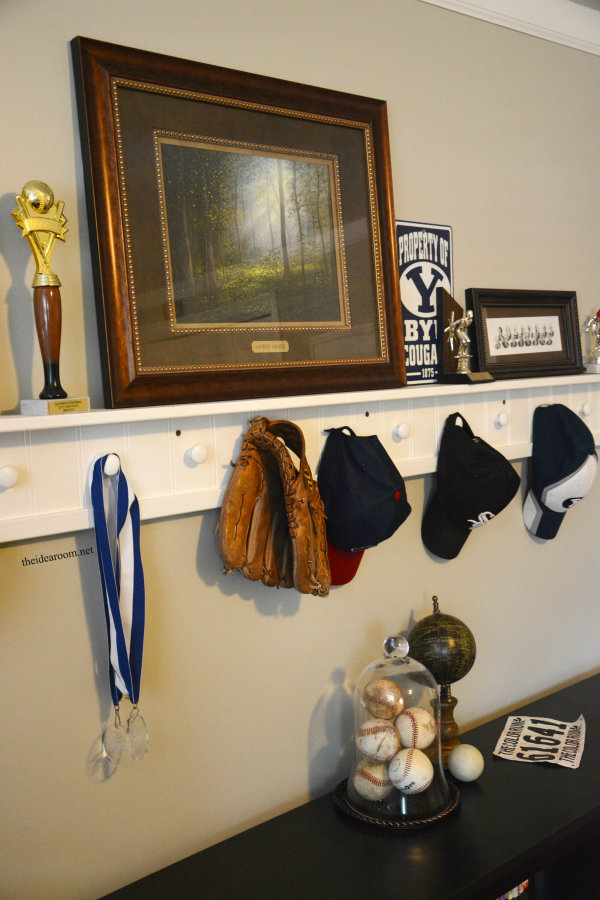
It ended up being a really quick and easy DIY Project that can be done in an afternoon or day (with drying times). We decided to go with white instead of the dark stained wood and I am really happy with how it turned out! He now can display his baseball hat collection, baseball mitt along with some trophies and medals.
All you need are the following materials to build your own DIY Peg Board Shelf.
- 1 board (back of the shelf) 5.5 inches by 82 inches
- bead board (same as the above) 5.5 inches by 82 inches
- top shelf board 3.5 inches by 82+ width of side molding
- wood molding corner cap (corner piece with 90 degree angle) long enough to fit along the bottom and two sides
- wooden knobs (we used 13)
- sander (sand paper)
- painter’s caulk or wood putty
- paint or stain
- drill
- drill bit (use size that fit the screws for your knobs)
- wood screws
- wood glue
I couldn’t find the picture I took of the very first stage so I will explain it as well as I can.
1. Take your cut board and glue your bead board on top of the back board (the board that sits against the wall). We cut our bead board in sections so that the lines would be vertical along the peg board shelf and just matched them up along the entire length of the shelf.
2. Measure and cut your corner cap molding so that a piece fits along the bottom and the two sides. You will need to cut the ends of the molding at a 45 degree angle so that they line up nicely. If you are unsure how to cut a 45 degree angle, you can always just line them up so that one overlaps the other one like in the shape of an L.
3. Make sure the side molding pieces end nice and flush with the top of the board and bead board where your shelf will sit. Measure twice and cut once!! Glue them into place with your wood glue and add a couple of small nails to hold it securely in place.
4. Glue the top shelf board into place and add a few nails along the top of the shelf to secure it to the back board of the shelf.
5. Let the wood glue dry. This usually doesn’t take very long.
6. Measure the back board of the shelf and determine how many knobs you want to place on your shelf. We tried to make the bead board as even as possible so that the knobs would be centered in the middle of the bead board rectangles. Our knobs ended up being 6 inches apart. We had 13 knobs total.
7. Drill a pilot hole for each knob. The pilot hole is where you will screw in the knobs. This will prevent you from splitting the wood when screwing in the knobs and gives you a perfect placement rather than trying to screw in the knobs from the back of the shelf.
8. Caulk all the seams and edges with your painter’s caulk or wood putty. Wipe off any excess caulk. Let it dry.
9. Sand all the rough edges and the lengths of the sides and top shelf until it is smooth. Wipe off excess dust with damp cloth.
10. Paint or stain your shelf and knobs. We added two coats of white paint and allowed the recommended drying time between each coat of paint.
11. To hang the shelf we located where we wanted the shelf on the wall. Then we determined where the studs in the wall where and made a little mark on the front of the shelf with pencil. Then while making sure the shelf was level with our level, we held the shelf and then screwed some wood screws directly through the front of the shelf. We will cover up the screws with some wood putty, lightly sand and add a dab of paint on it to hide them. You won’t be able to see them until you are right up on the shelf inspecting it.
And…I just realized when writing this up that we never did cover up those screws! Ha! I put it on the to do list for tomorrow! There is always something to finish up…am I right?!

Did you see the DIY Sports Scoreboard that I shared in a post this past fall? Be sure to check that out if you are interested in making one. It is a pretty easy DIY project as well!

I also re-did my son’s dresser (which was originally red) and painted it blue and added his favorite teams to make a fun Subway Art Dresser. If any of you are interested, I would be happy to type up a tutorial for how I made it.
We added some paneling to the wall behind his bed to add a little bit of interest to the room. I LOVE me some paneling! We did the wall with bead board and turned it sideways so that it ran horizontally instead of vertically.
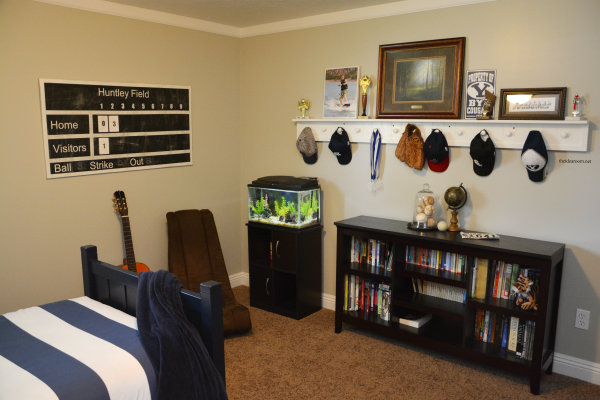
He loves his new room, and I love his new room. I just wish it would stay this nice and clean longer than one day :).
You may also be interested in making these DIY Photo Ledge Shelves.
JOIN OUR NEWSLETTER
Would you like more Recipes, DIY, Printables and Organization Ideas?
Subscribing to the newsletter will enable us to periodically send you creative content exclusively for Idea Room subscribers.
*View our Privacy Policy here.


Thanks got the tutorial! I am also interested to know what kind/where you got the multi shelf bookcase/shelf?
I believe I got it at Homegoods. It has been awhile so I can’t quite remember.
Love his room! I’m looking at doing something similar for my 7 year old son. I’d love to know where you found that comforter! Thanks!!
West Elm a couple of years ago. It looks like they are on clearance right now. I found it here: http://bit.ly/1UTWMwJ