
Blog Swap with The Dating Divas
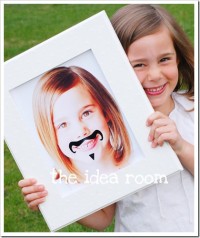
DIY Magnetic Silly Faces
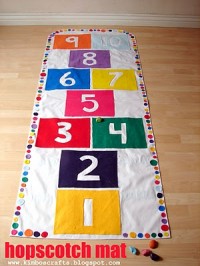
Hopscotch Play Mat by A Girl and a Glue Gun
Chalk Board Purse
Pinewood Derby Treat–Banana Car Splits
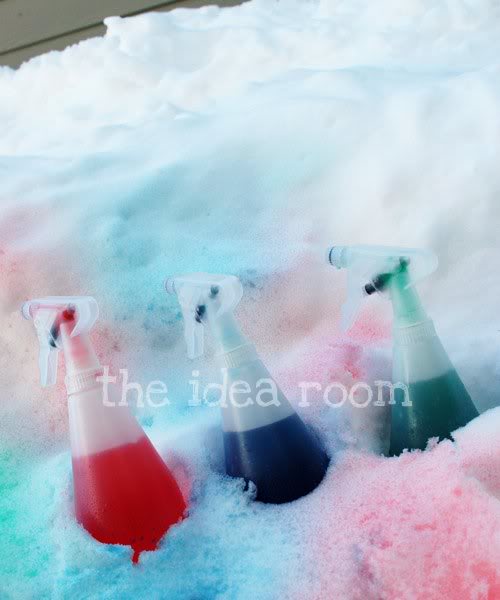
Snow Paint
Free Printable Halloween Game
Chalk Board Notebook and Party Cups
Ice Cream Sundae Bar Birthday Party
Recipe Scrapbook
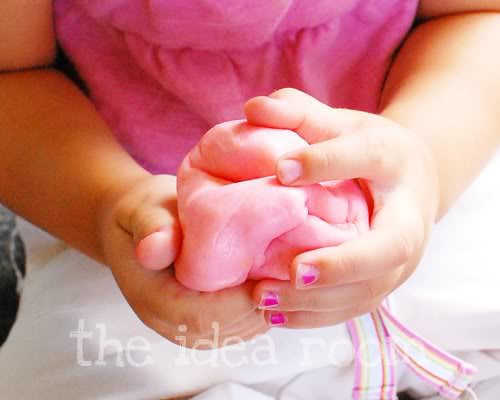
Silly Putty
- « Previous Page
- 1
- …
- 5
- 6
- 7
- 8
- 9
- 10
- Next Page »


