


Holiday Housewalk Tour with Balsam Hill

JOY Wood Christmas Sign

Christmas Recipes
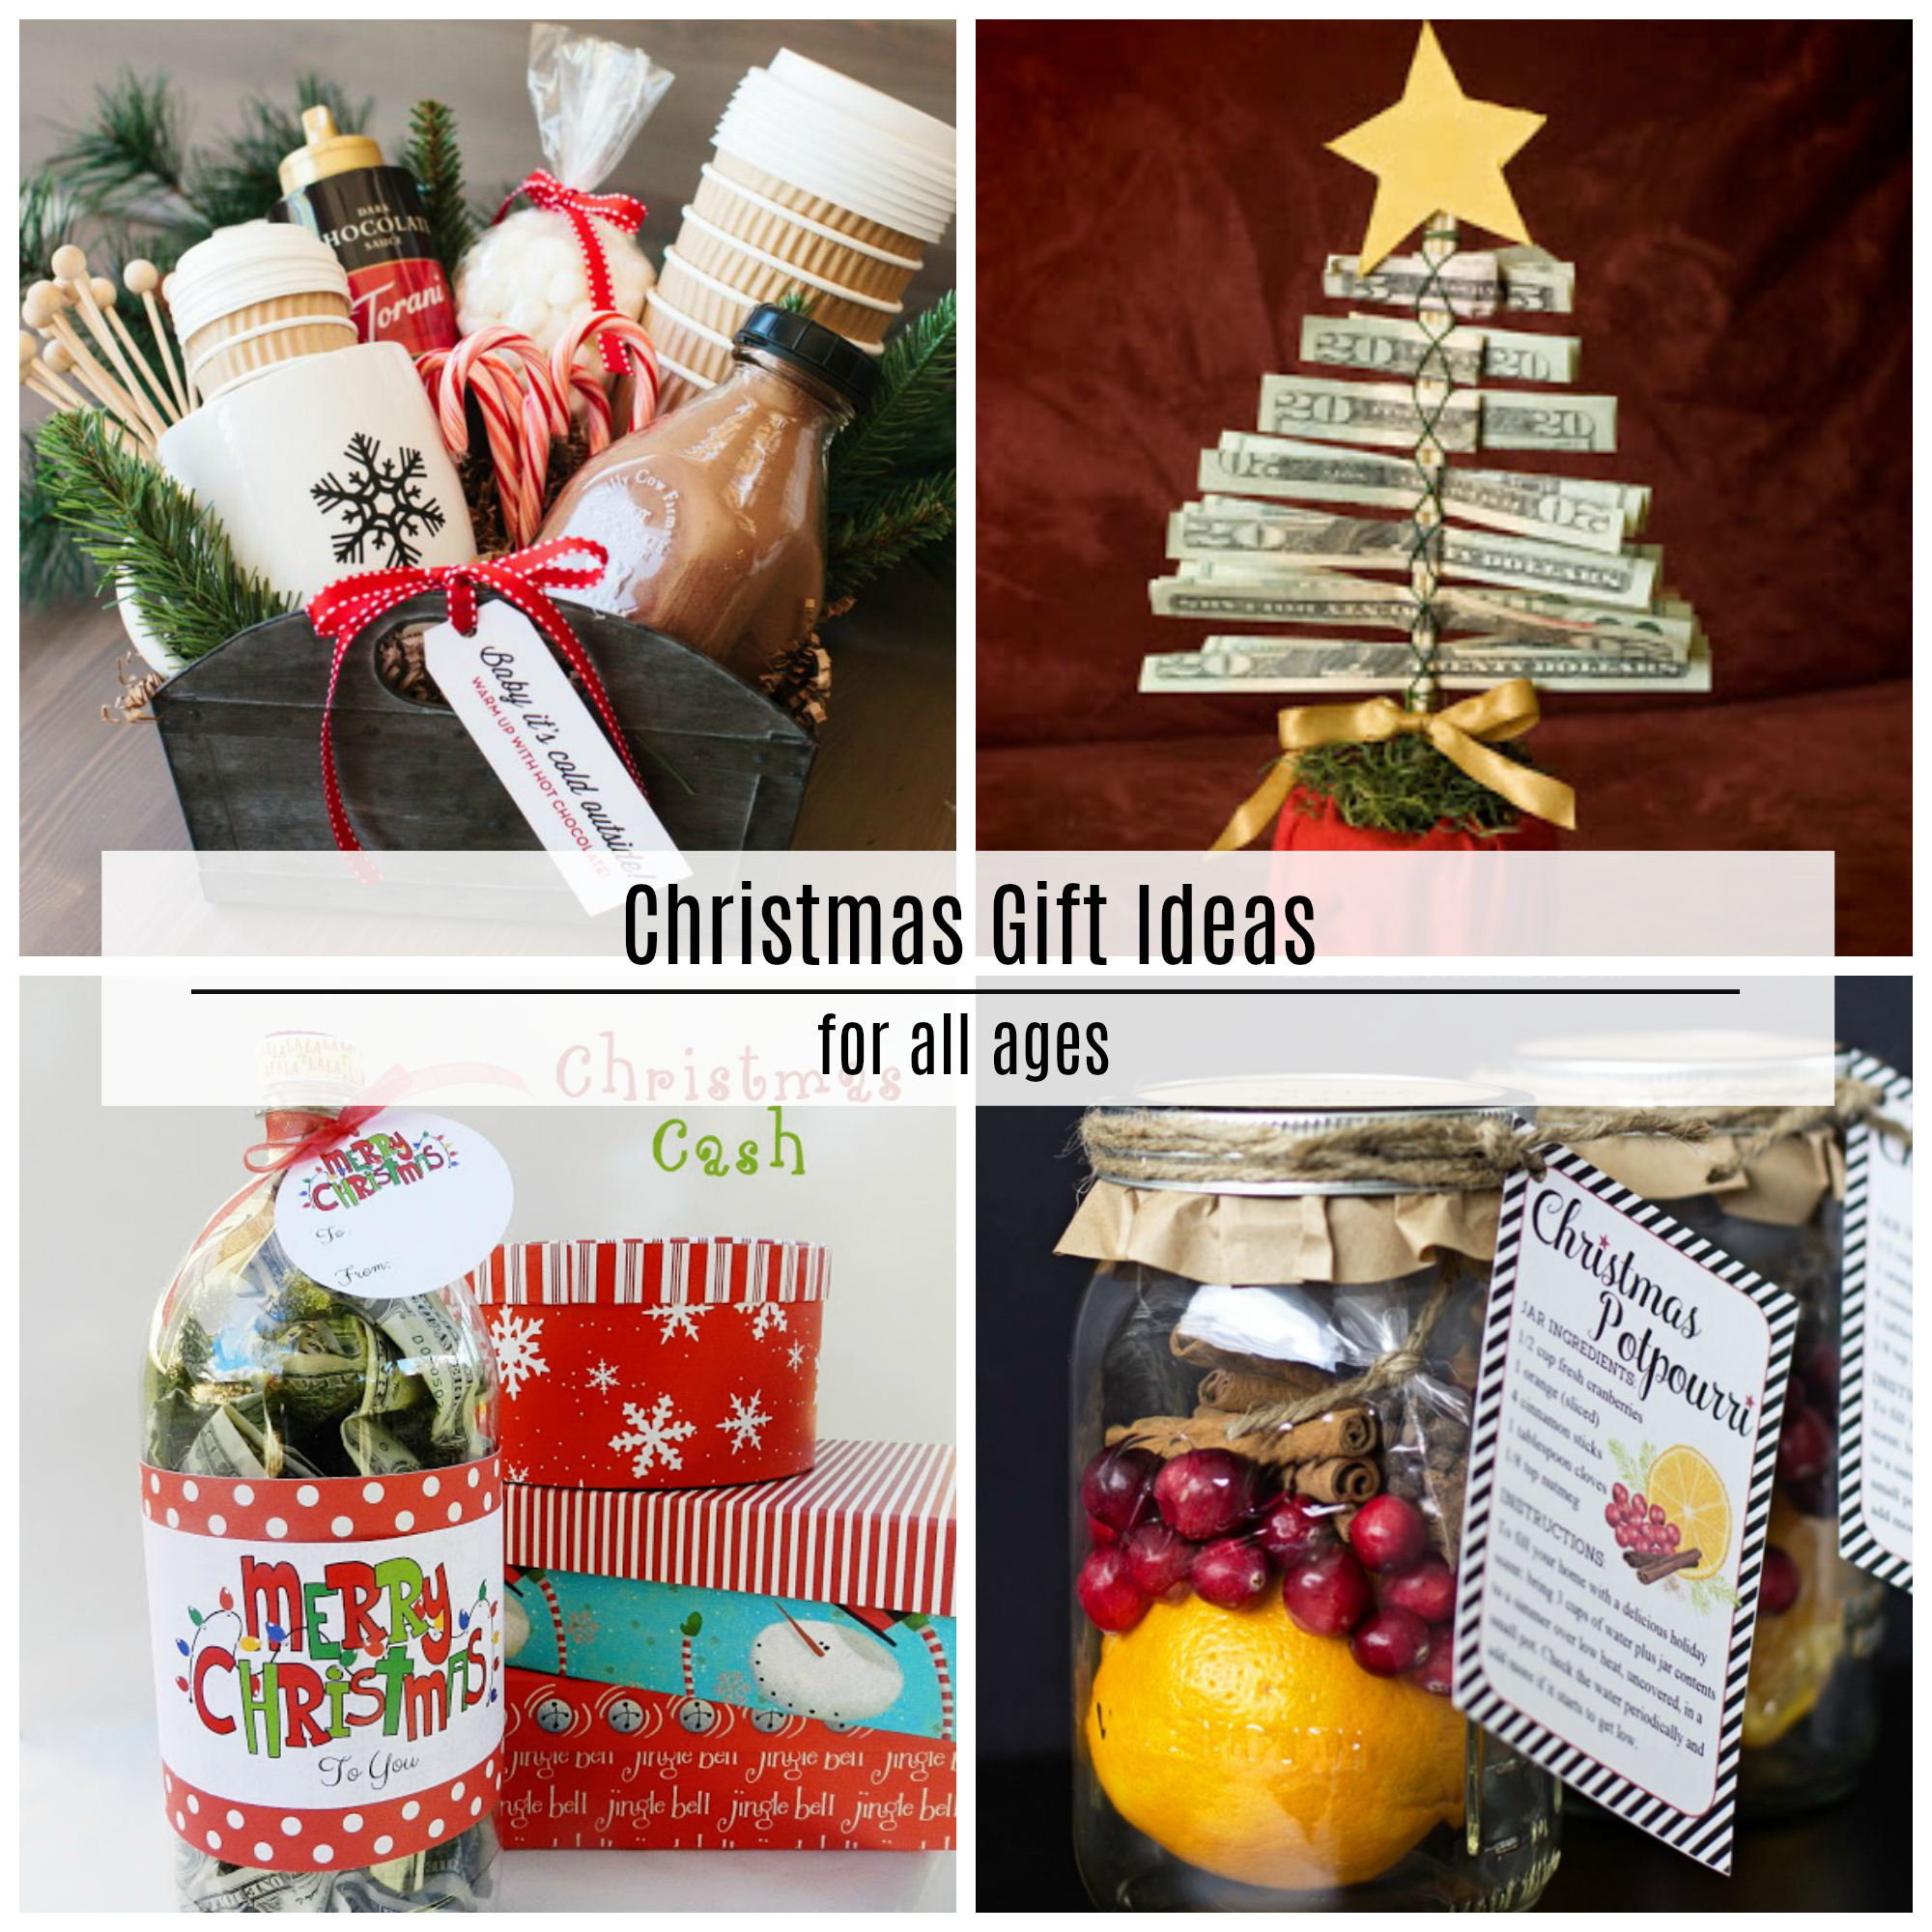
Christmas Gift Ideas
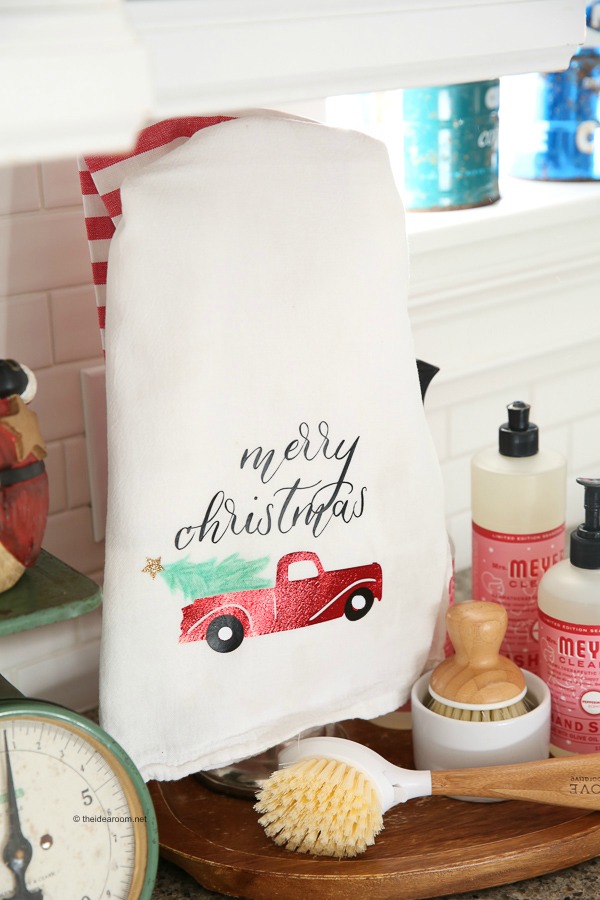
Christmas Neighbor Gift Hand Towel with Cricut Maker

Christmas Crafts and Treats

Printable Christmas Gift Tags

Slow Cooker Rocky Road Bars

Santa Crafts and Treats
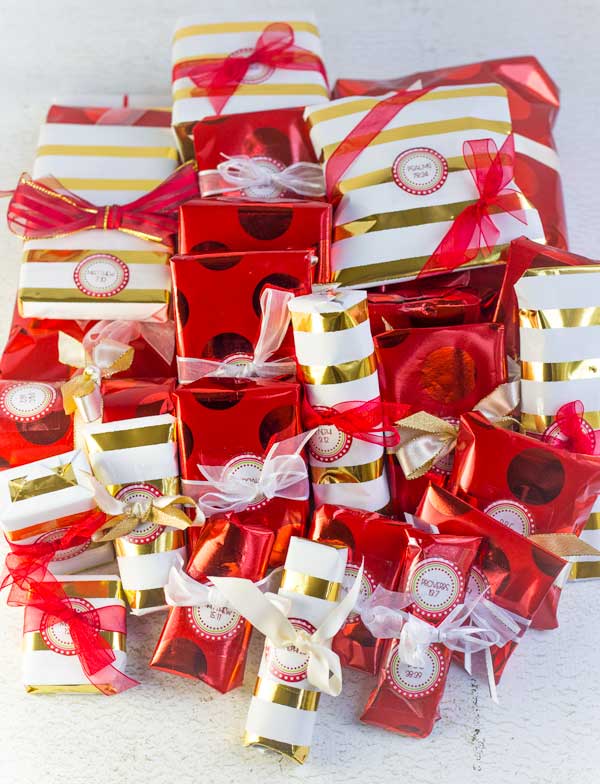
Scripture Clues Christmas Package Gift Idea
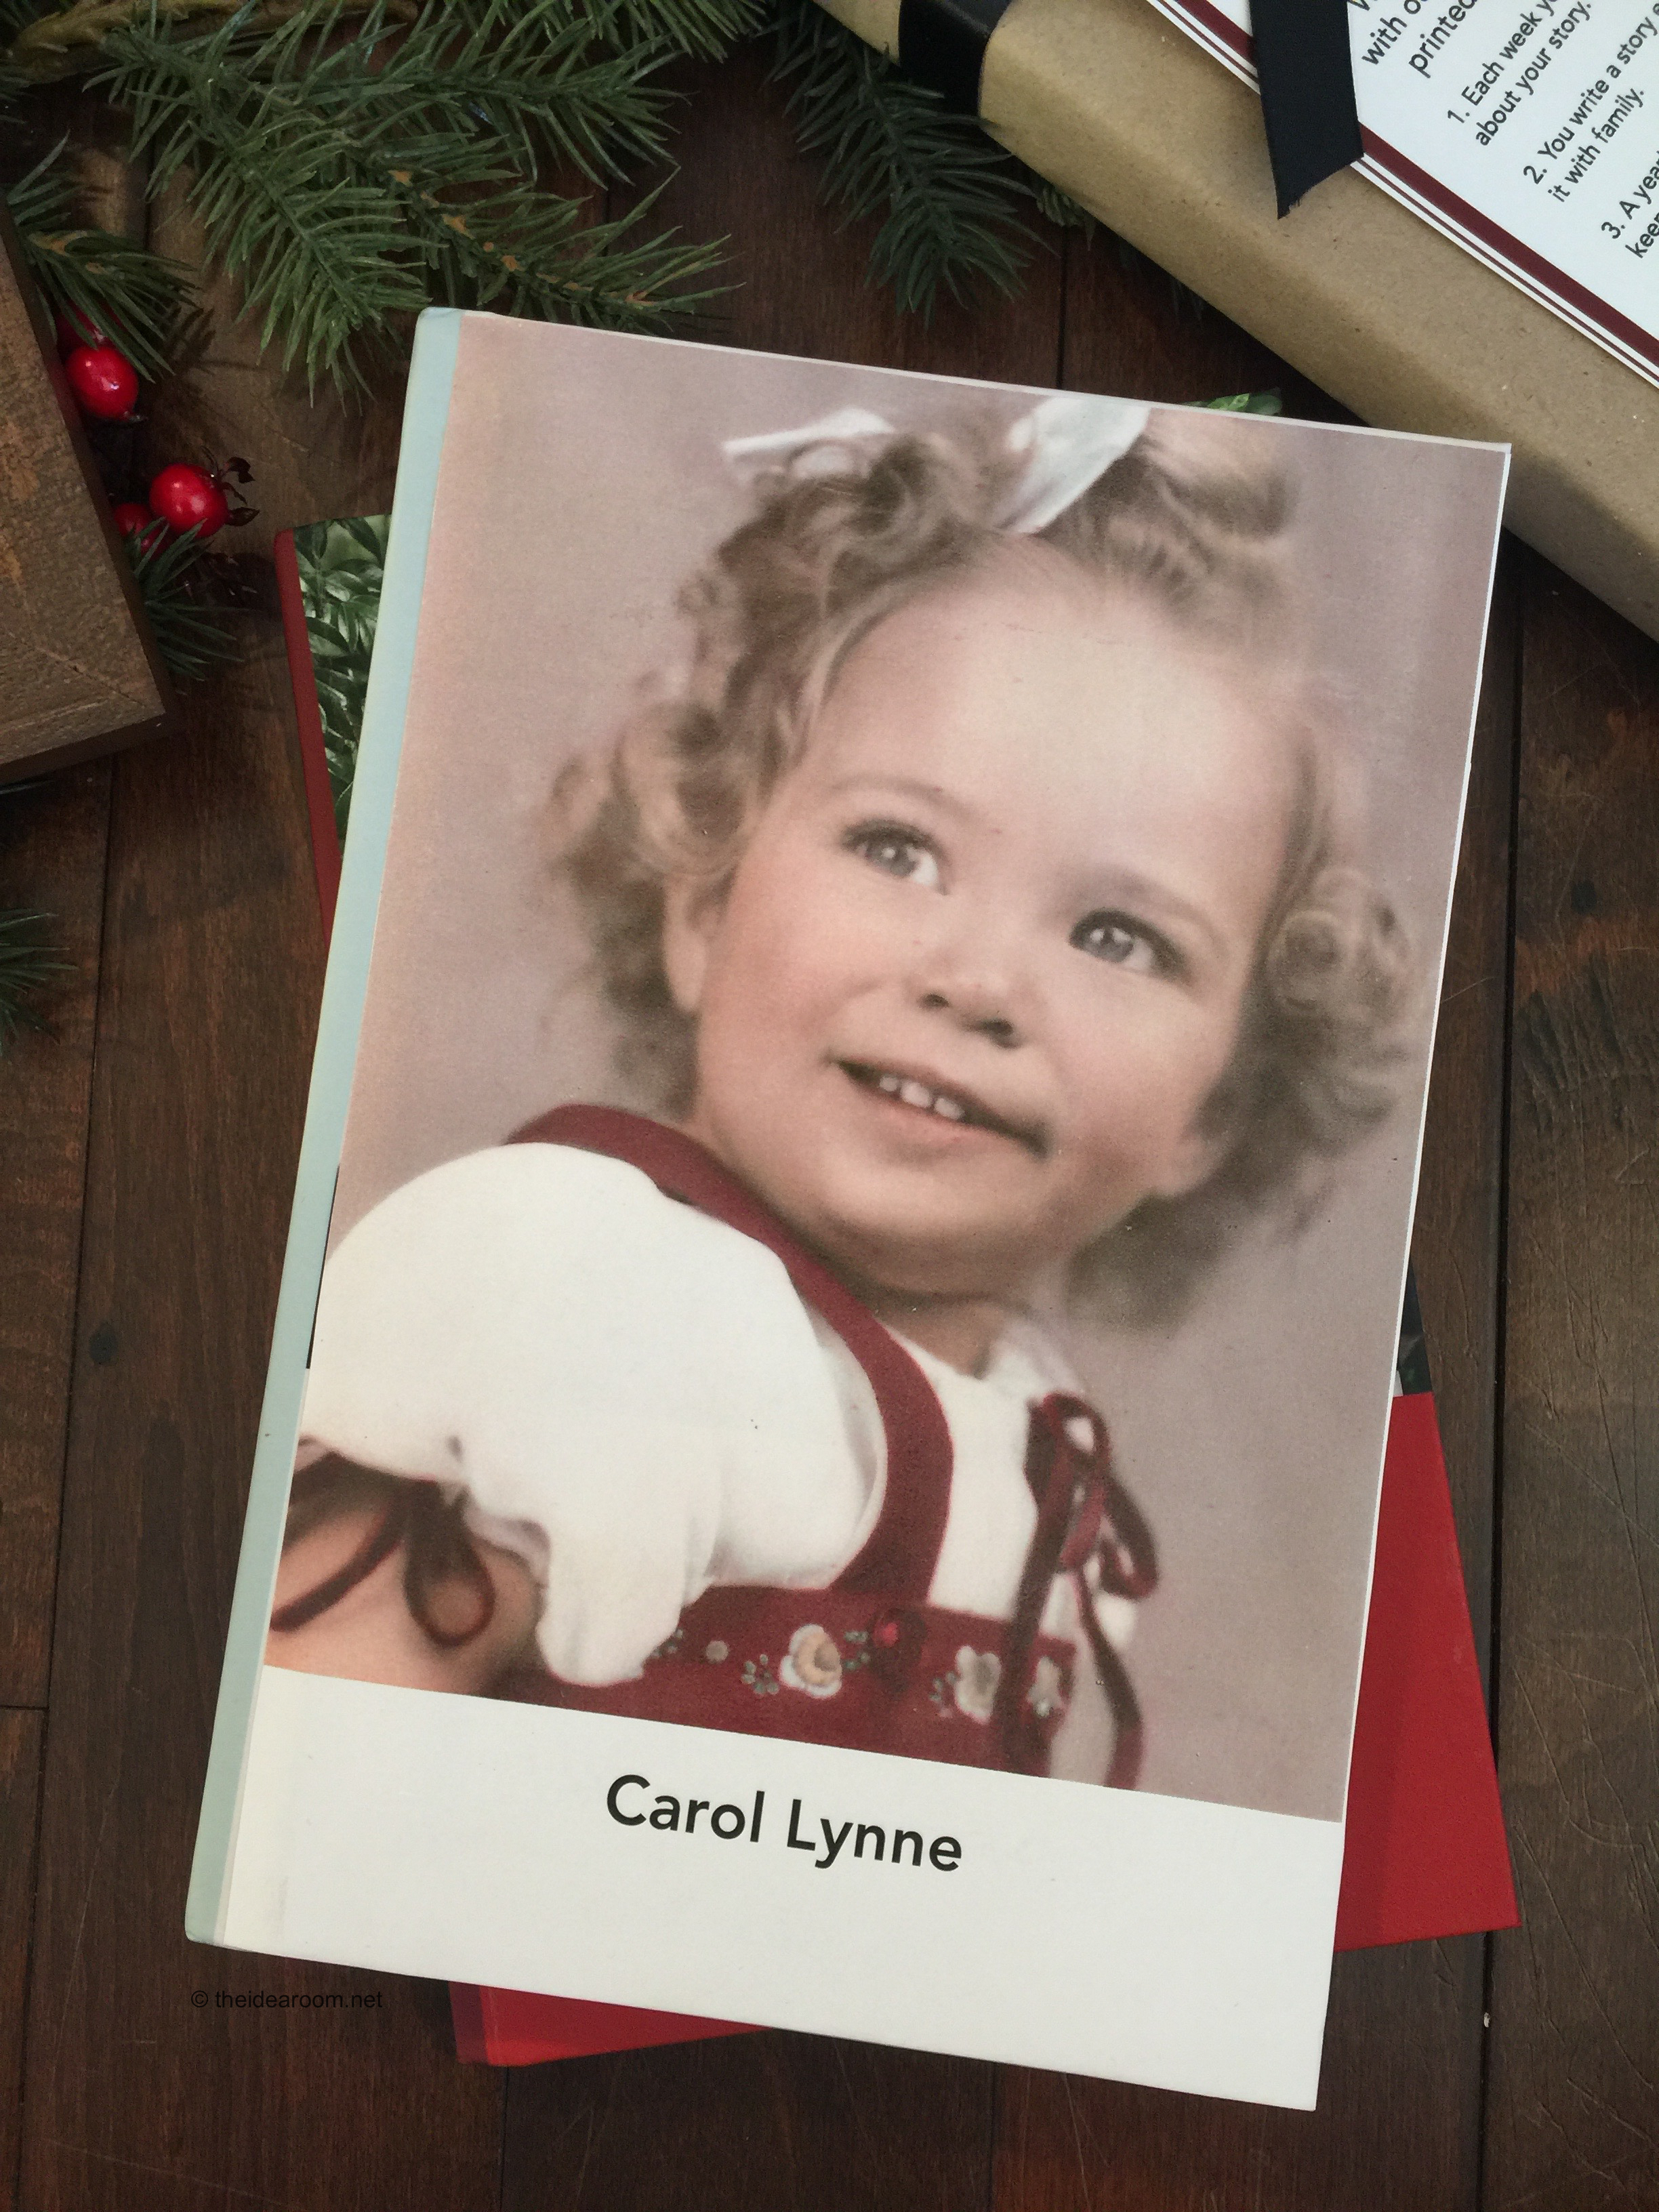
StoryWorth Gift Card for Mom and Dad
- « Previous Page
- 1
- …
- 6
- 7
- 8
- 9
- 10
- …
- 18
- Next Page »


