
The New Cricut Explore™
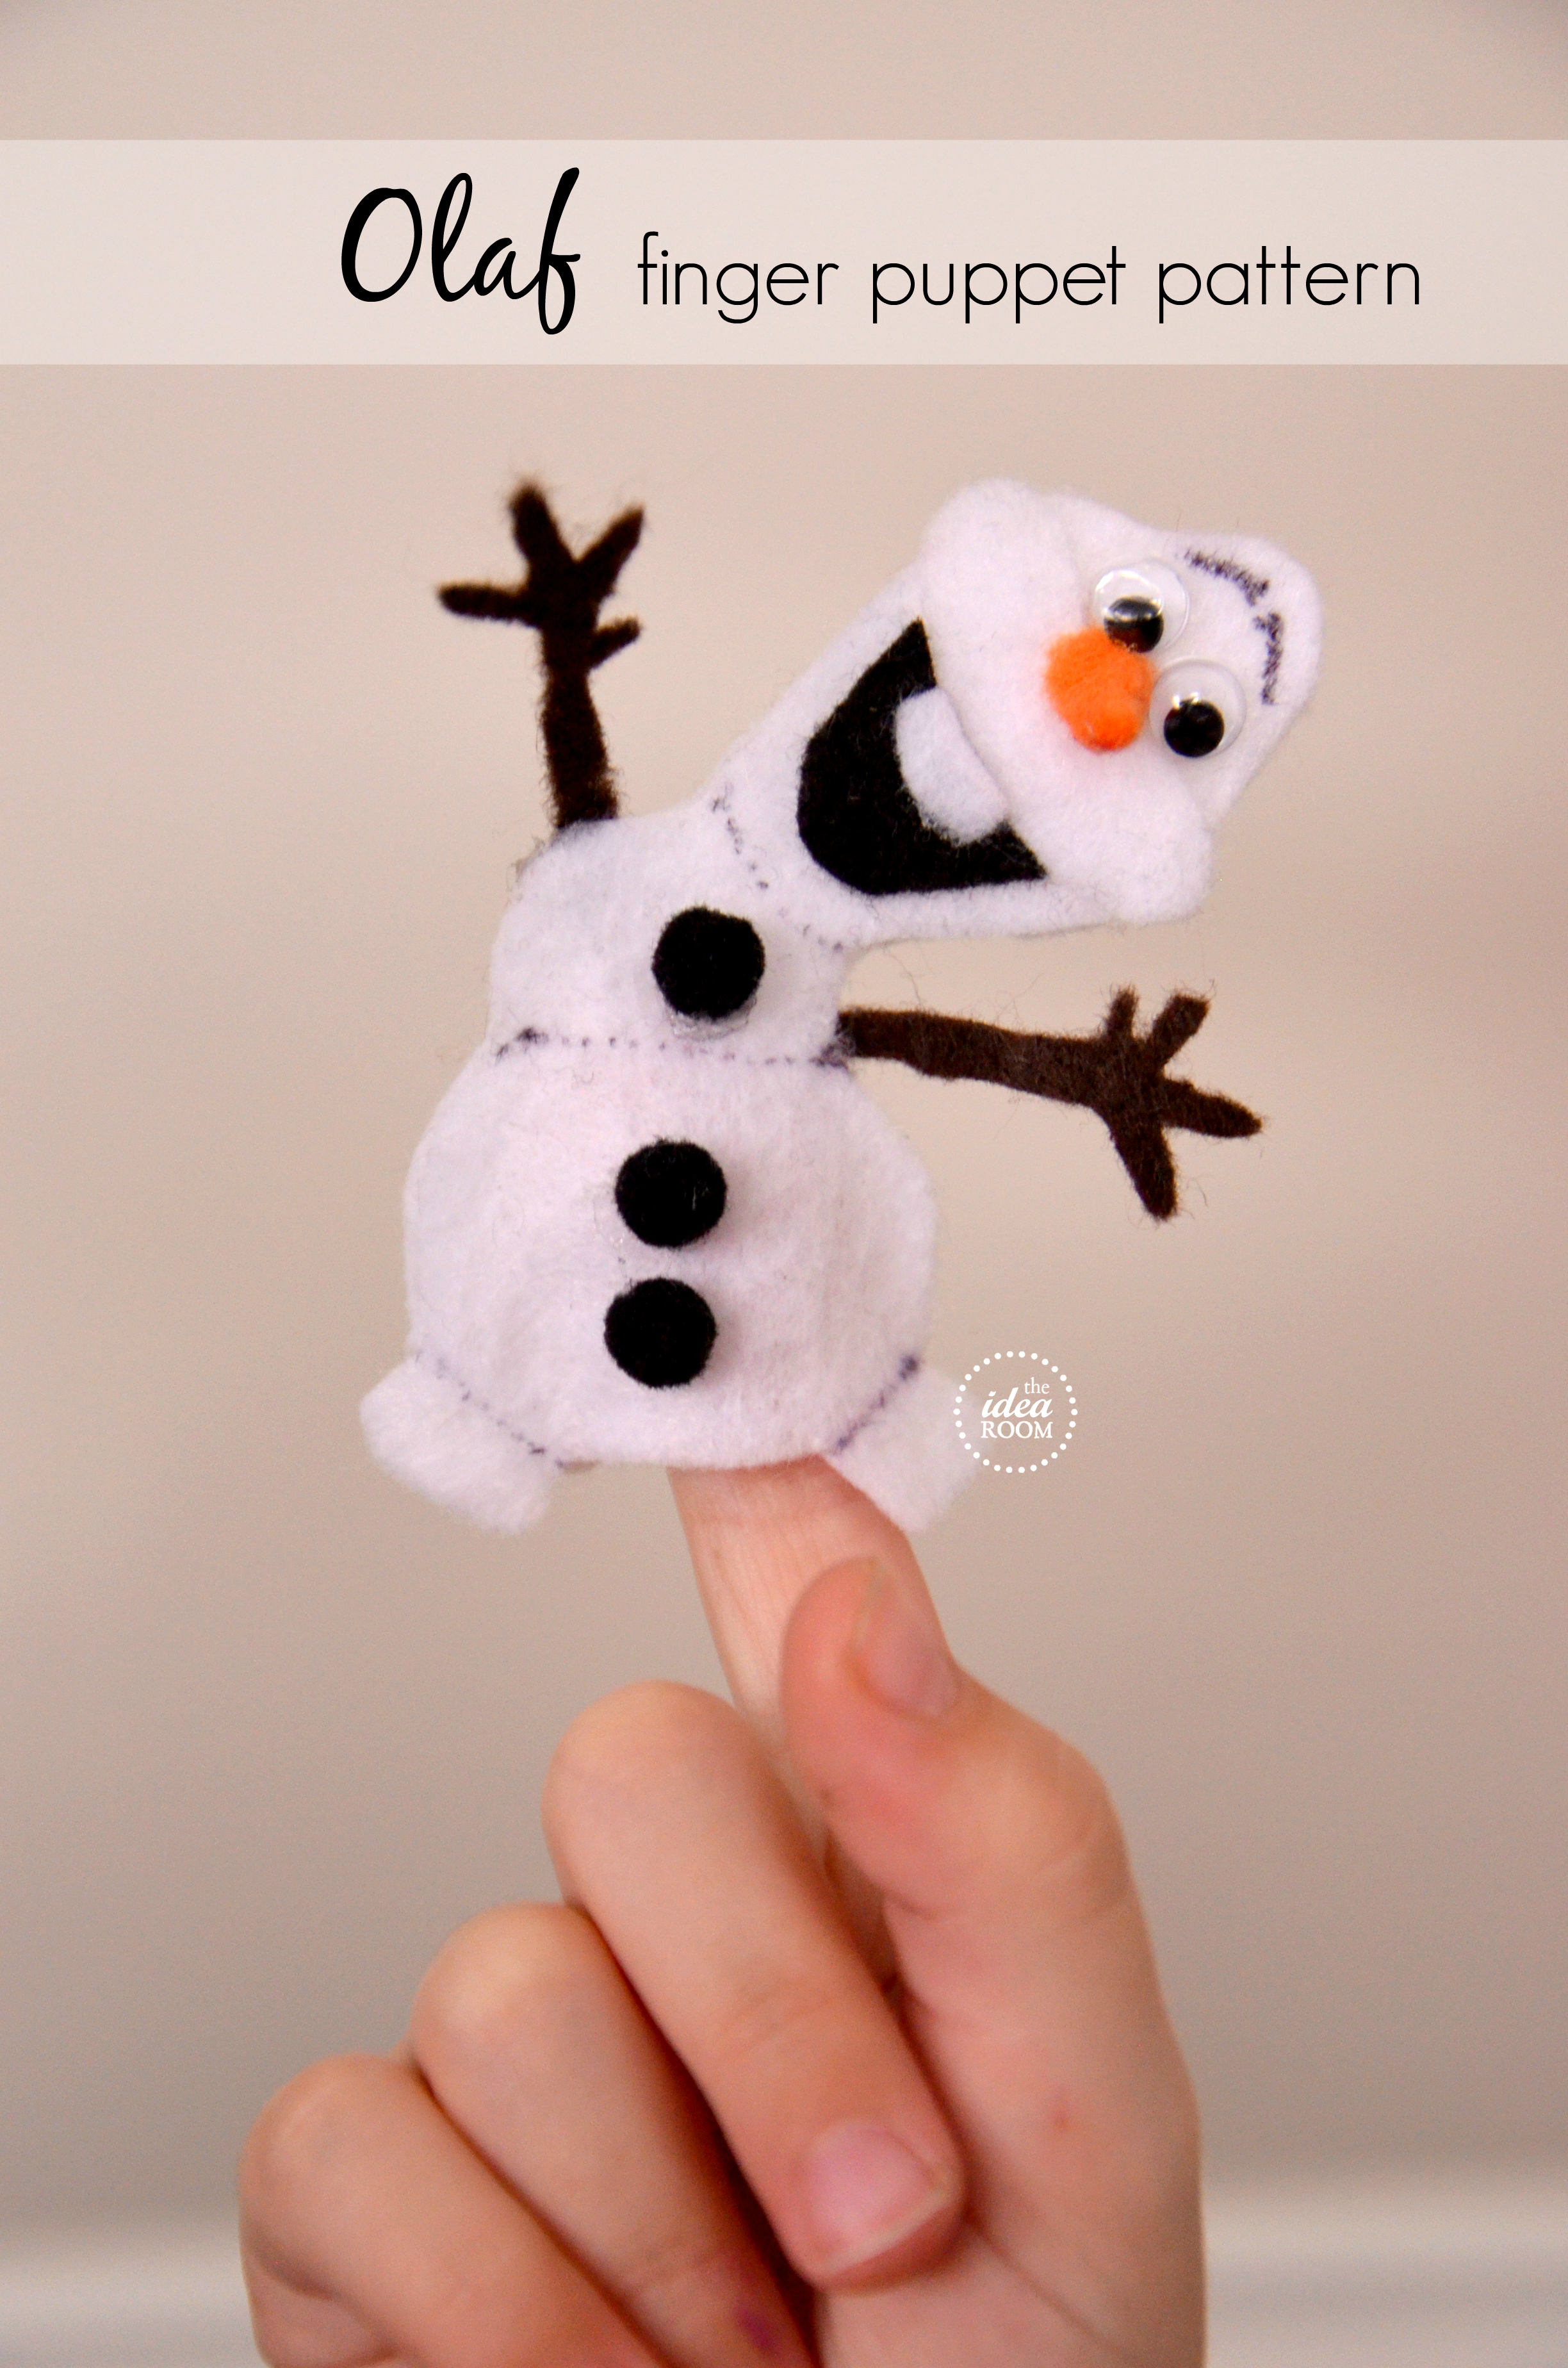
Olaf Finger Puppet Pattern

DIY Silk Screened Tote–Entirely Eventful Day
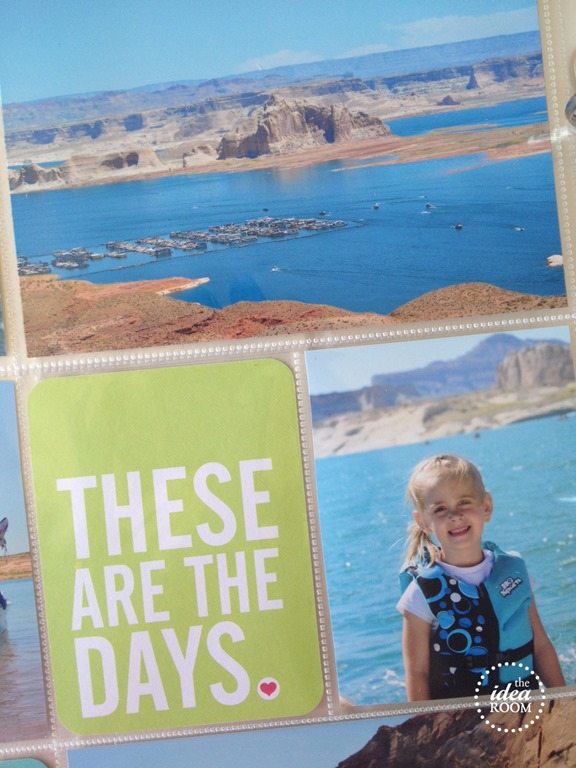
Project Life
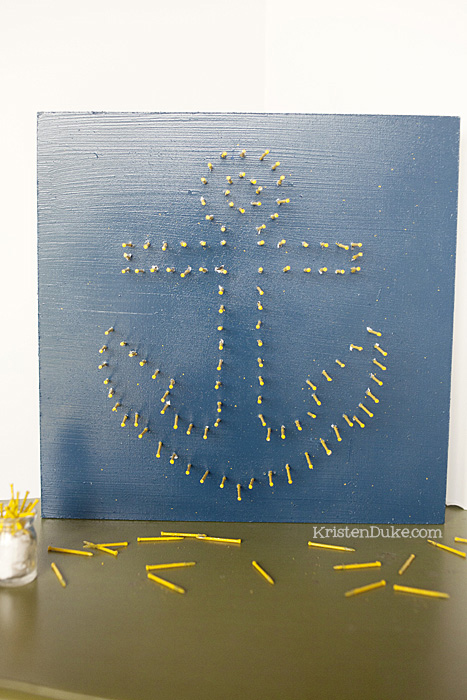
Nail Art Project–Capturing Joy
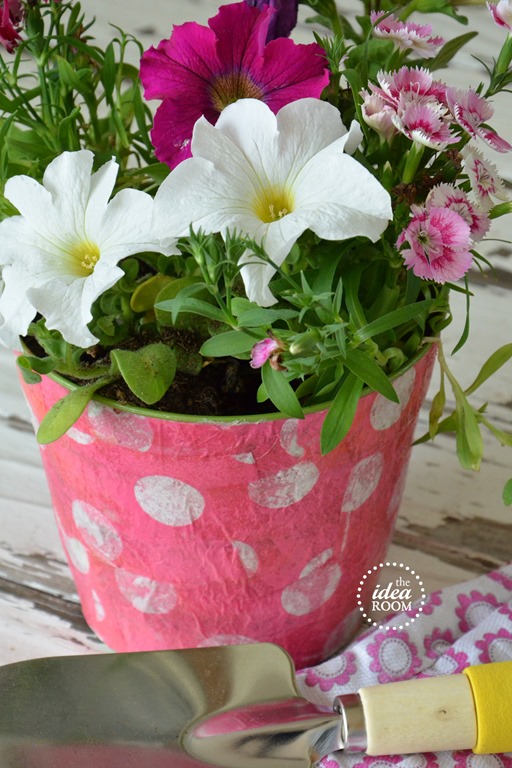
dress up your Flower pots
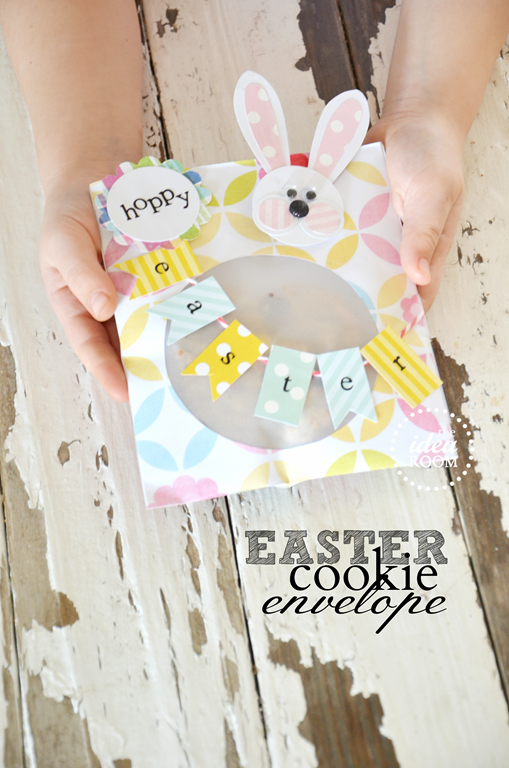
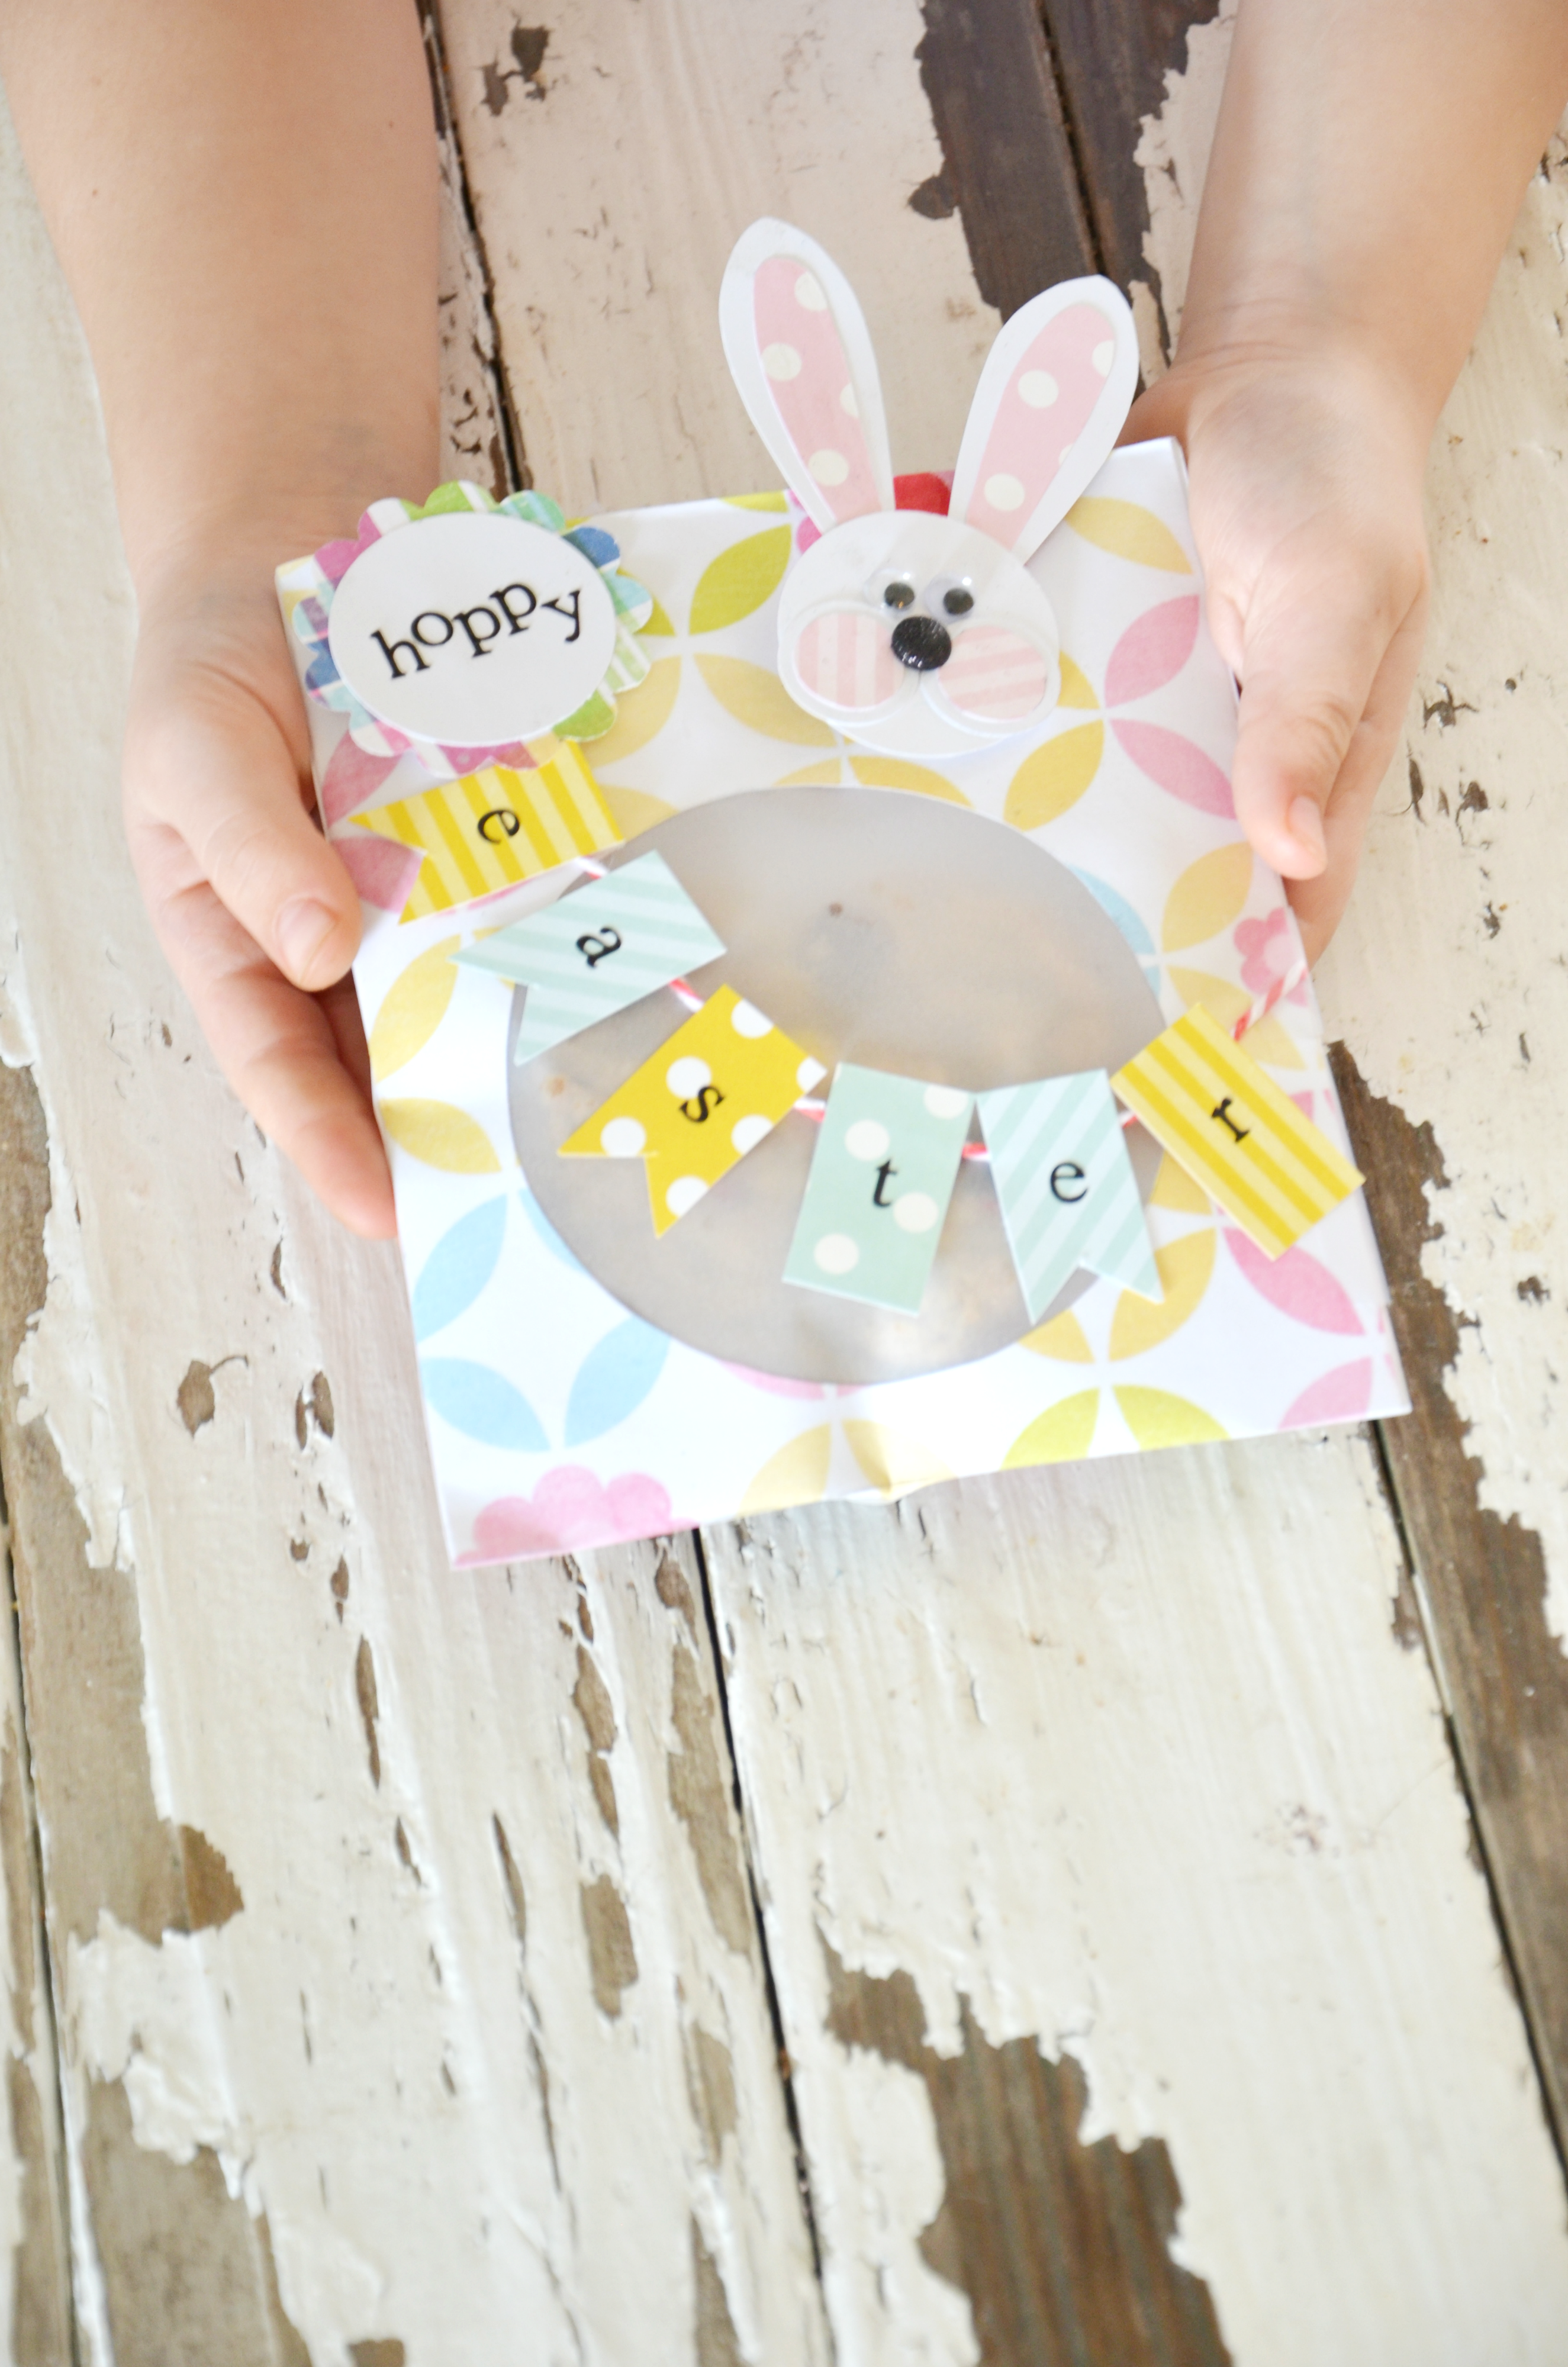
Easter Cookie Envelope
CRE8TIME Movement–Easter Craft
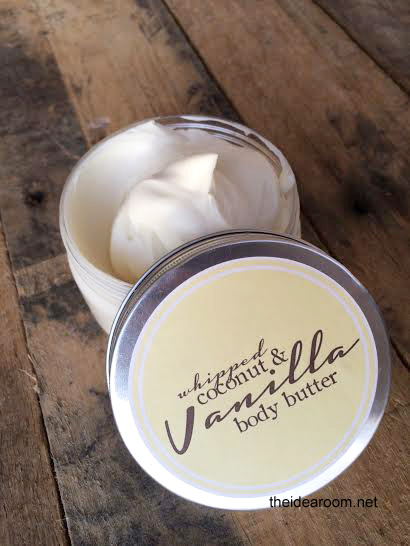
Handmade Soap Recipes
How to Make Homemade Lavender Soap

Valentine Specimen Art
- « Previous Page
- 1
- …
- 8
- 9
- 10
- 11
- 12
- …
- 18
- Next Page »


