
Oh Holy Night Christmas Sign
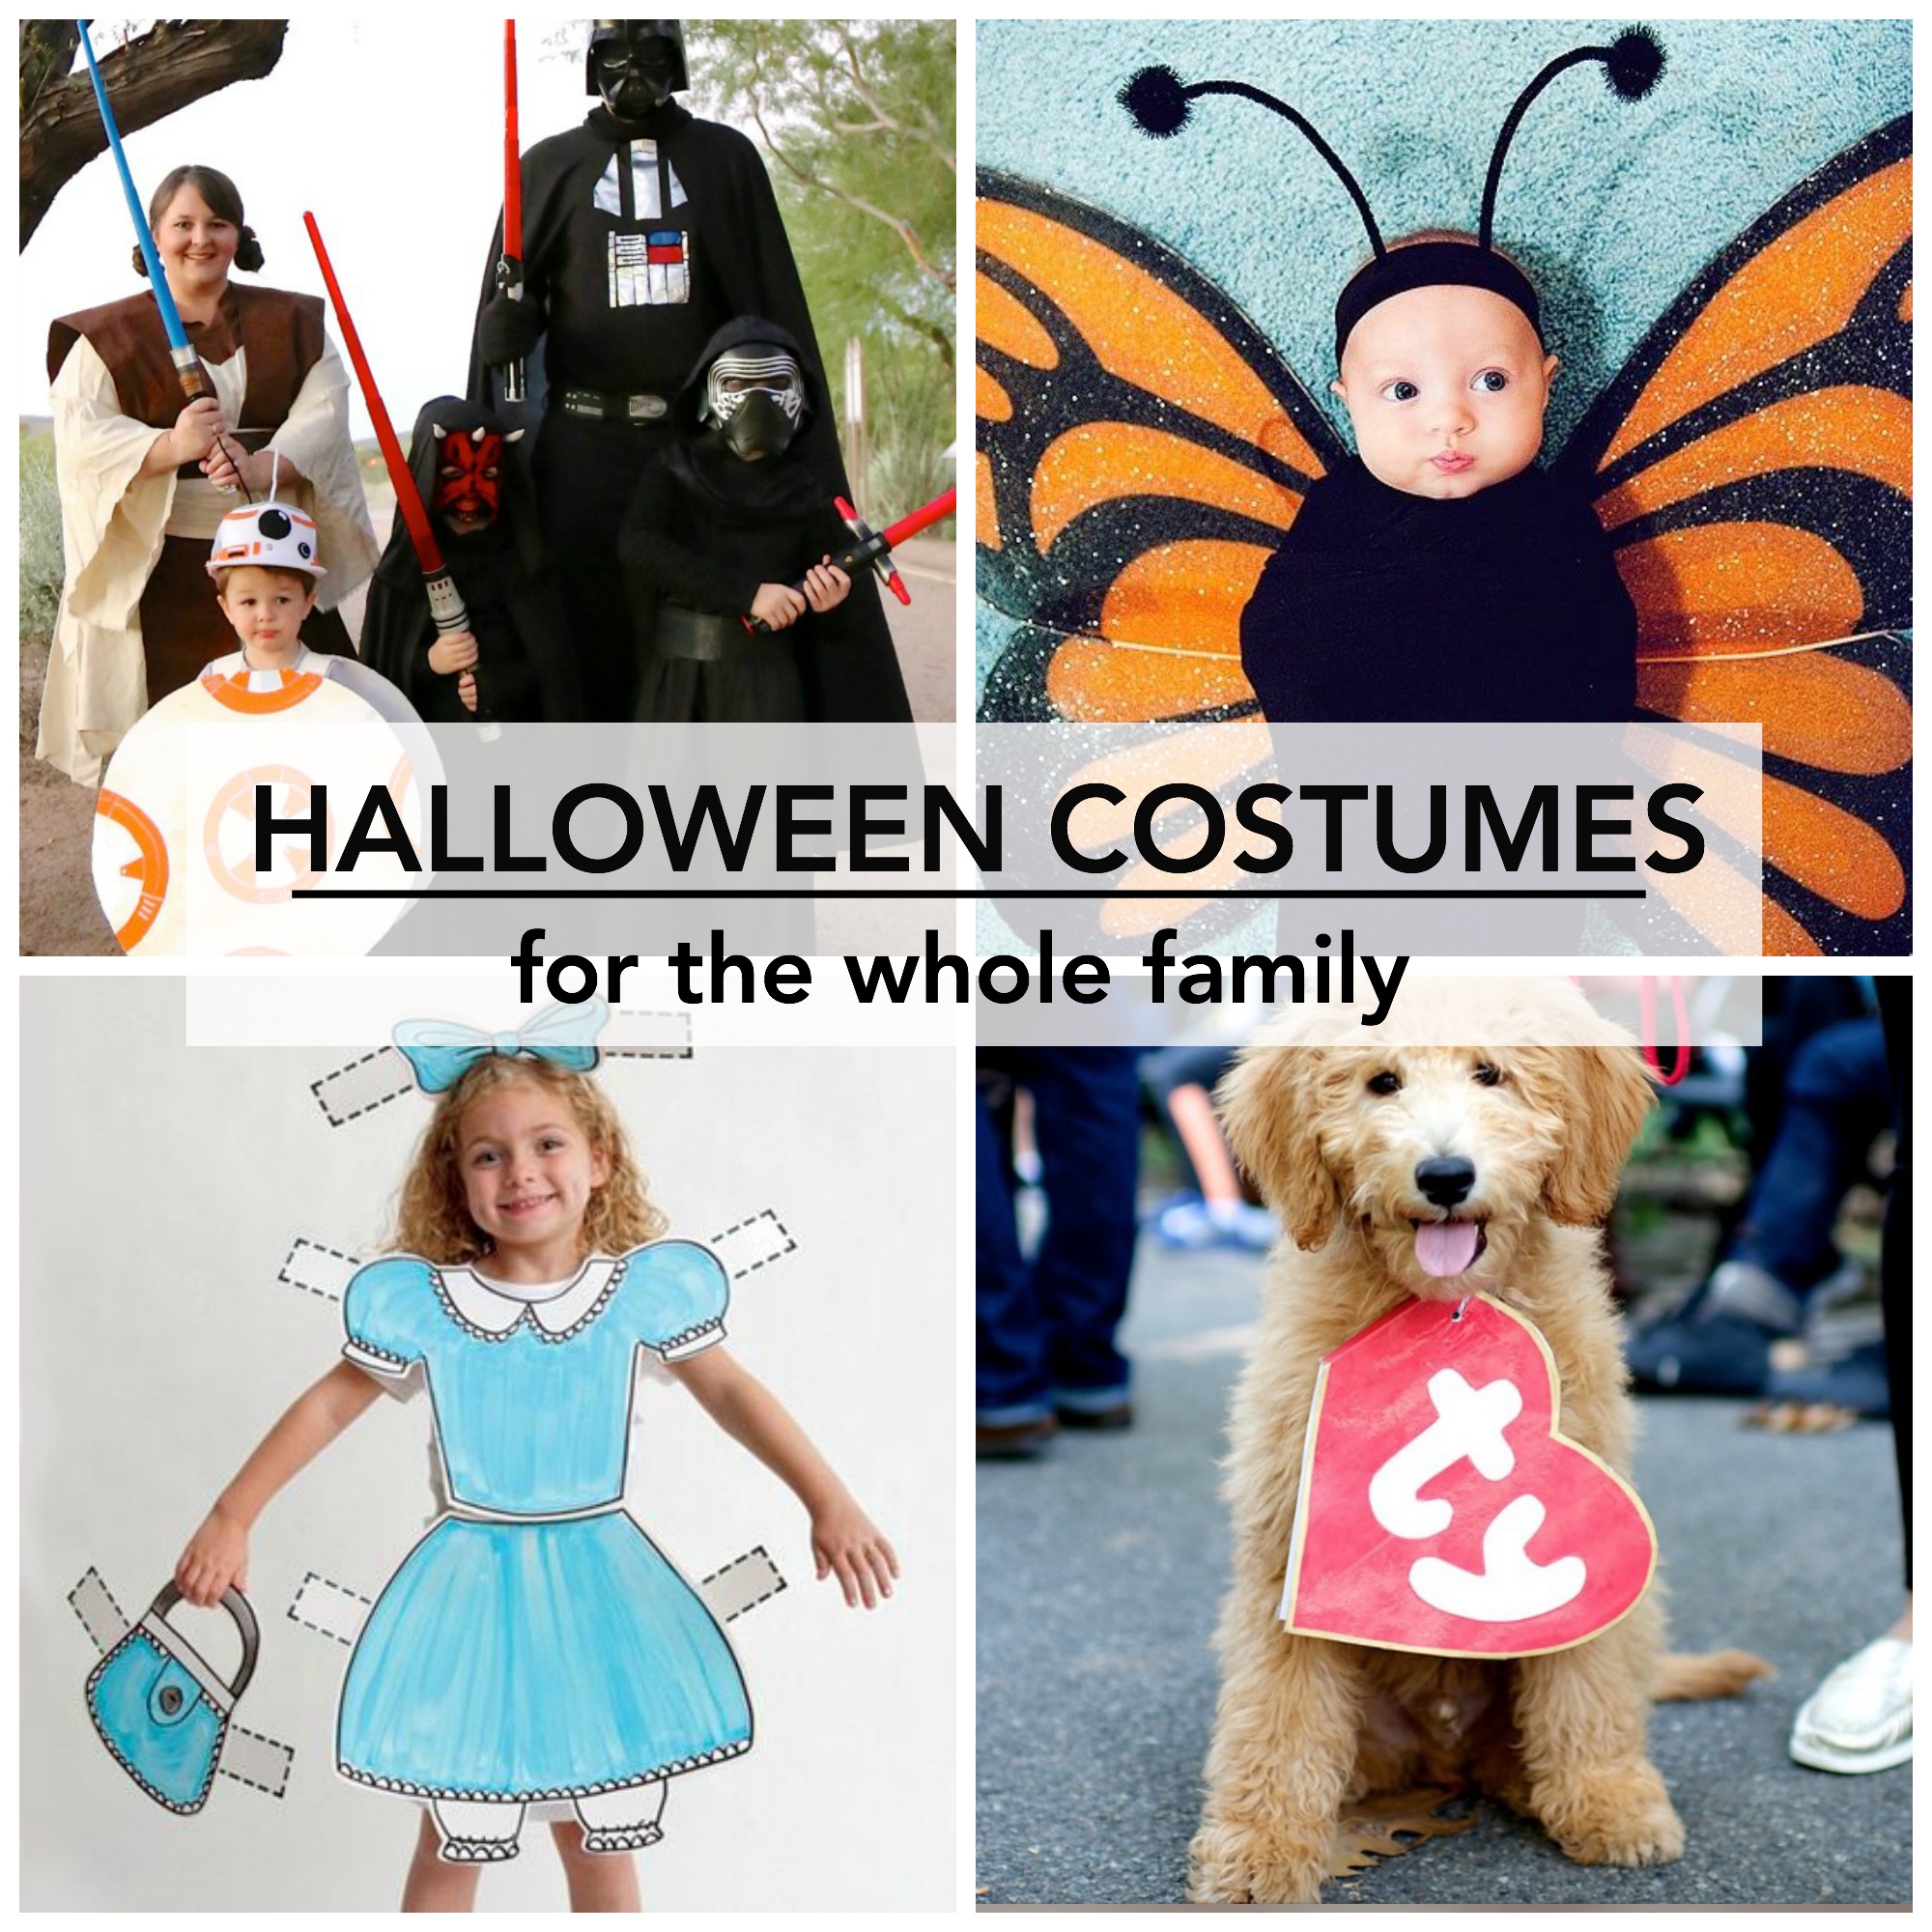
Halloween Costume Ideas
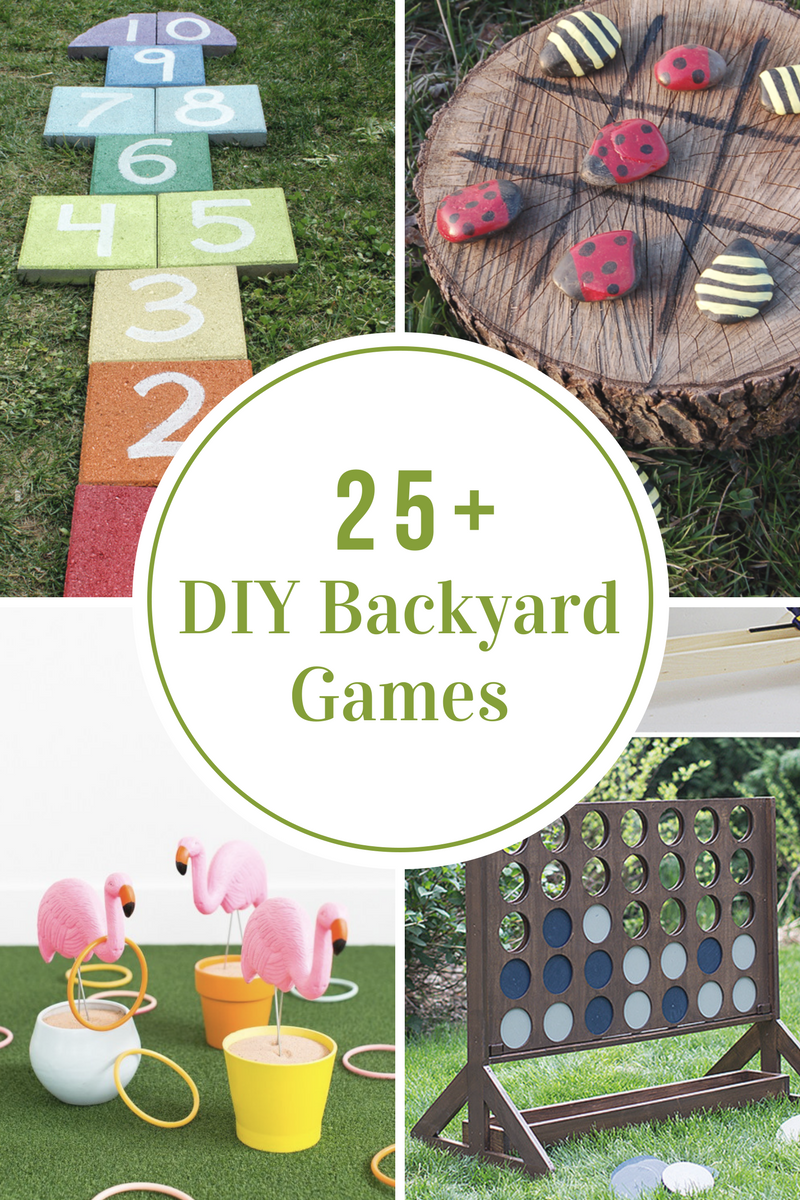
DIY Backyard Games
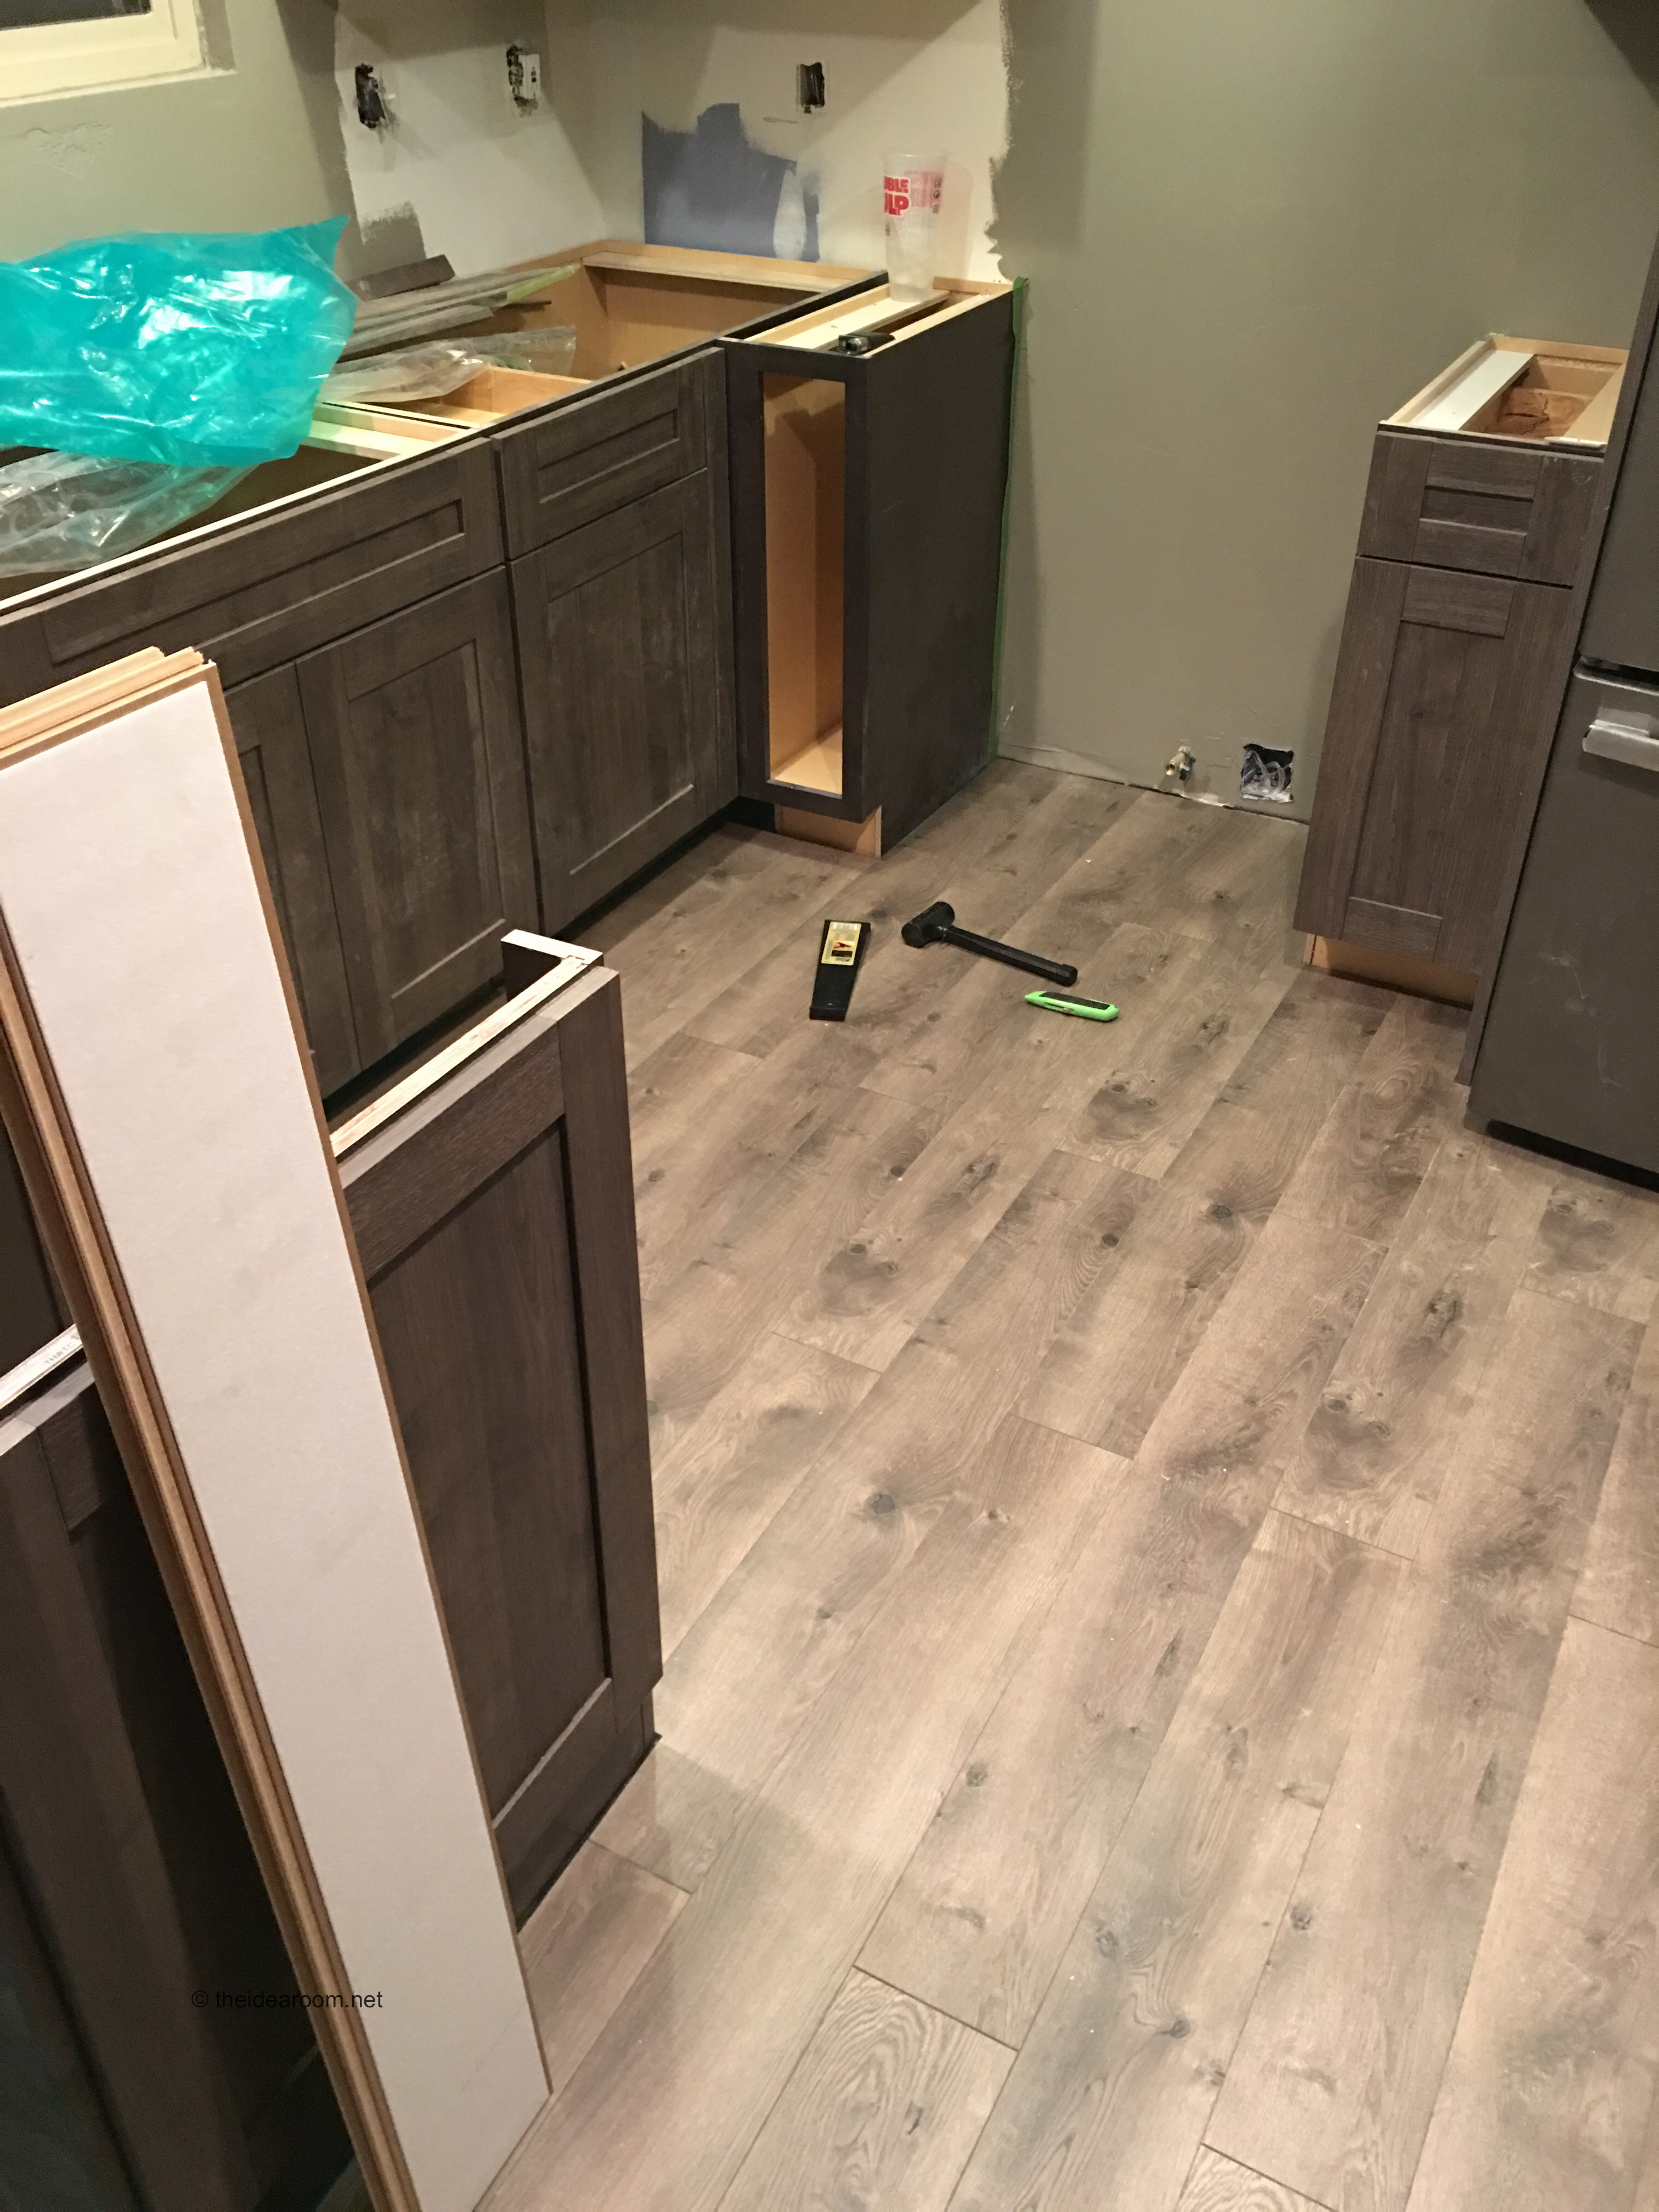
How to Install Laminate Flooring
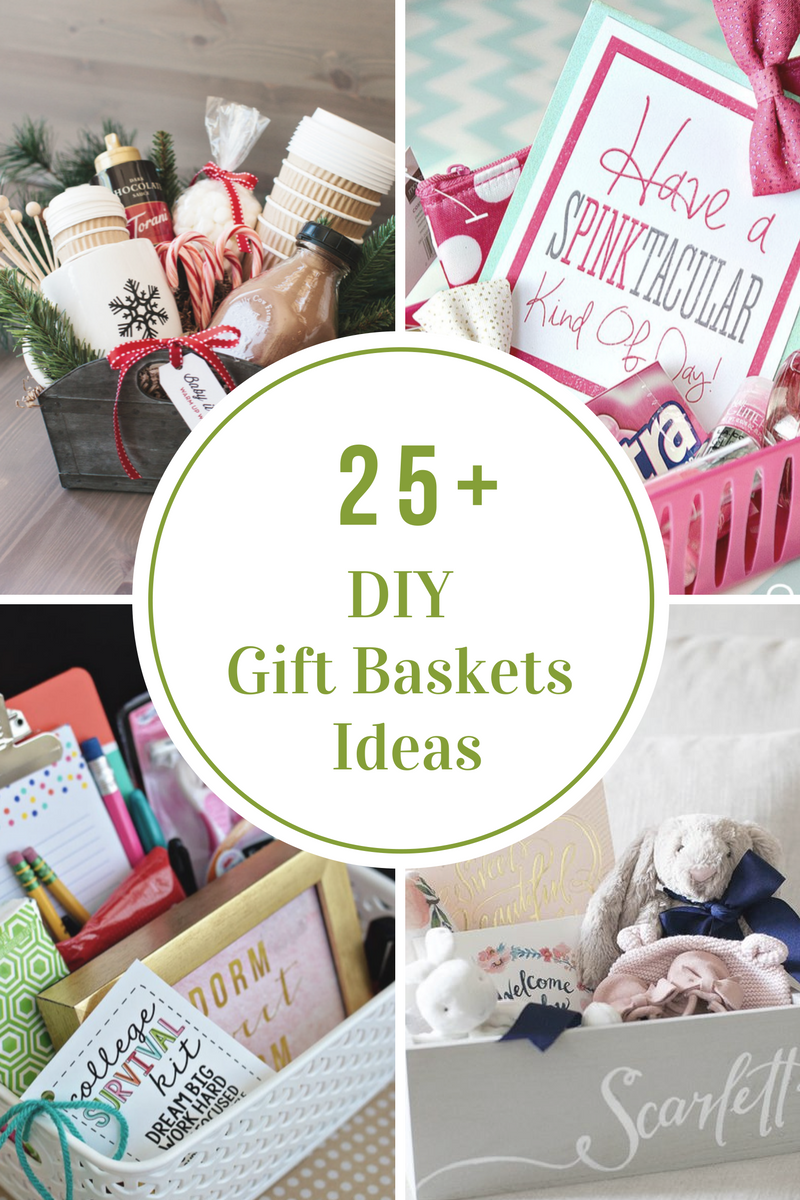
DIY Gift Basket Ideas
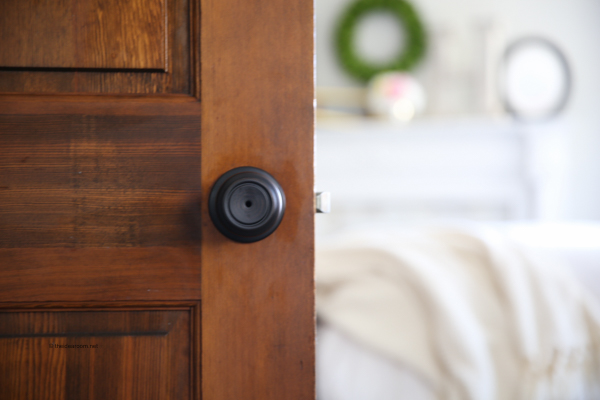
How to Install a Door Knob
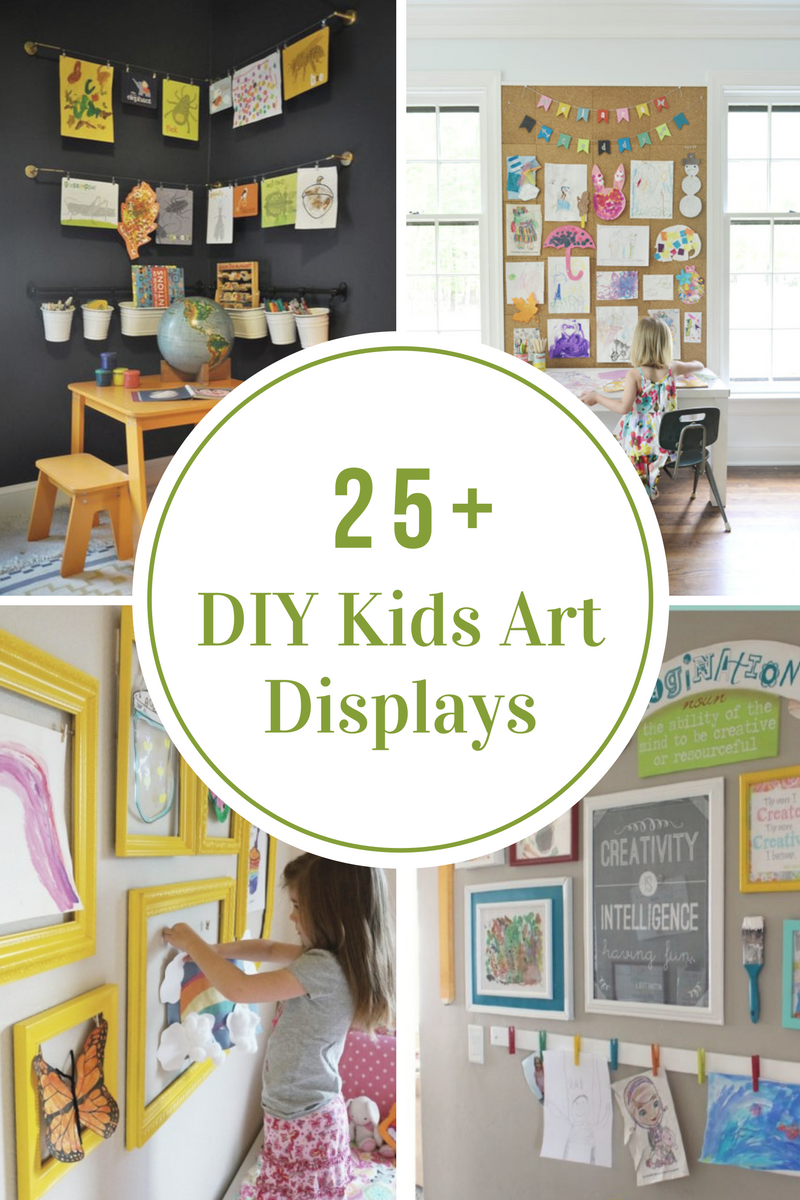
DIY Kids Art Displays

How to Build an Outdoor Bench

Fruit Crafts and Treats
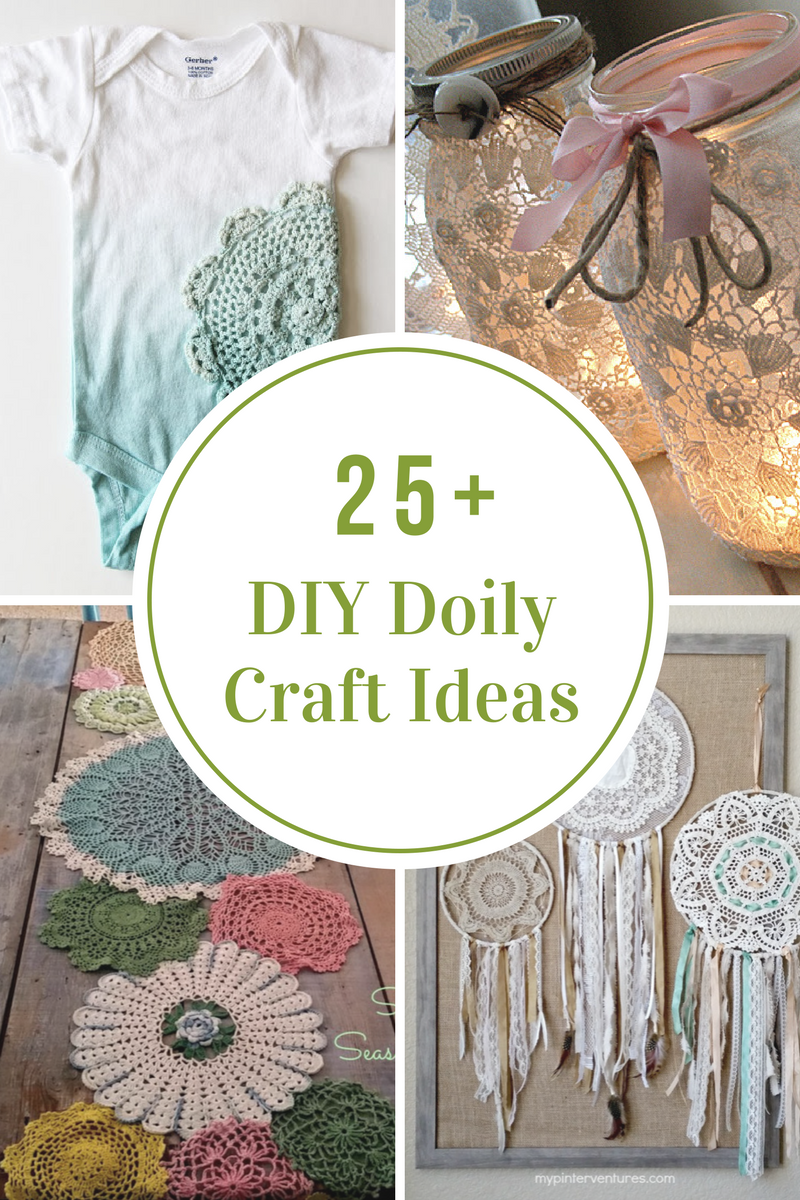
SHARING CREATIVE IDEAS FOR USING THOSE VINTAGE AND PAPER DOILIES
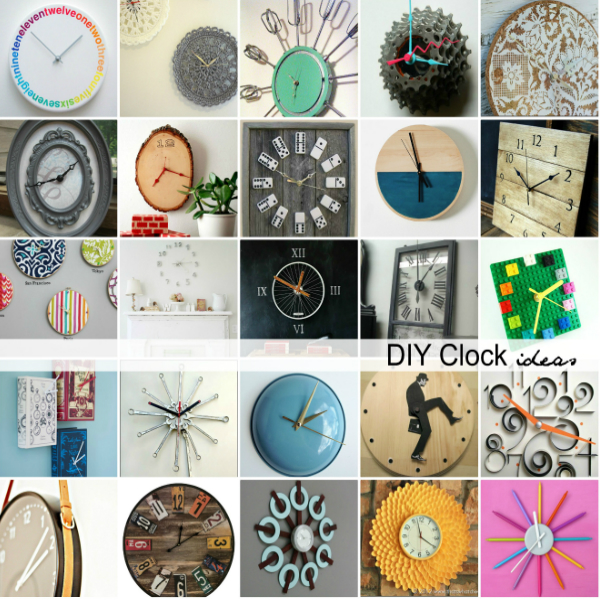
DIY Clock Ideas
- « Previous Page
- 1
- 2
- 3
- 4
- 5
- …
- 9
- Next Page »


