
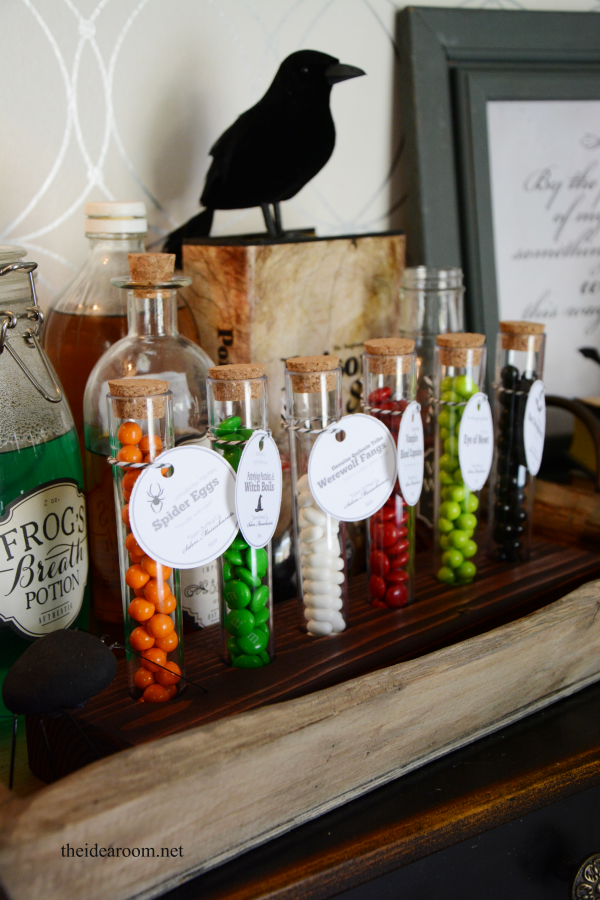
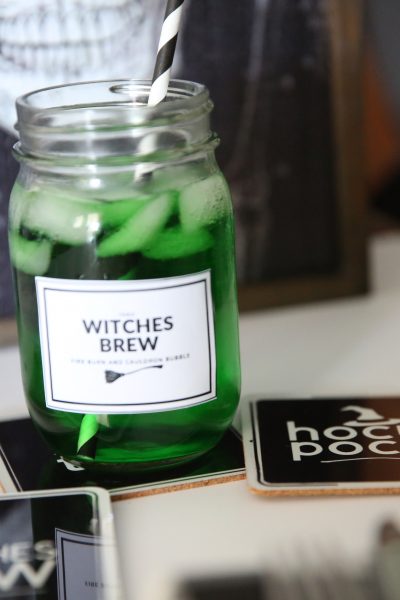
Download My Free Halloween Potion Names and Labels
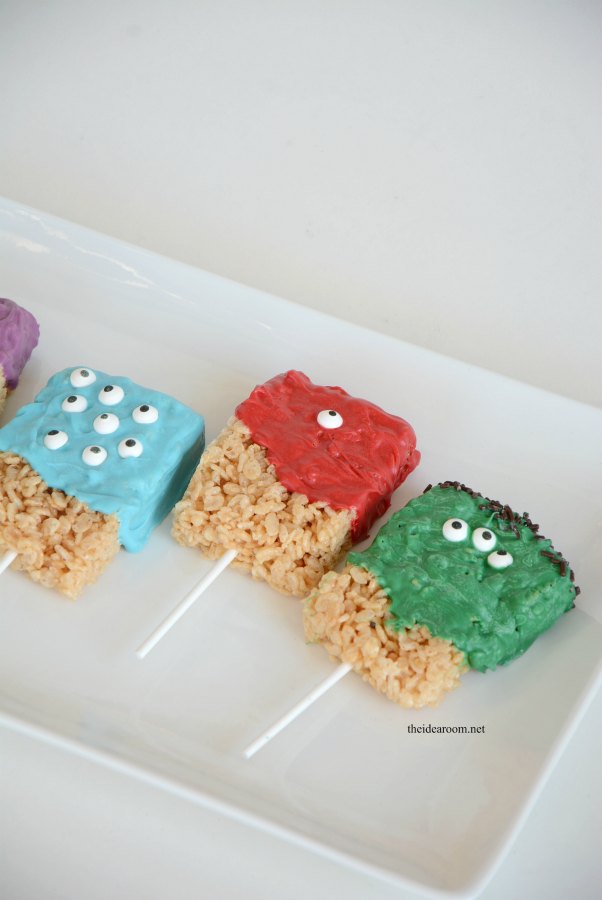
Halloween Rice Krispie Treats
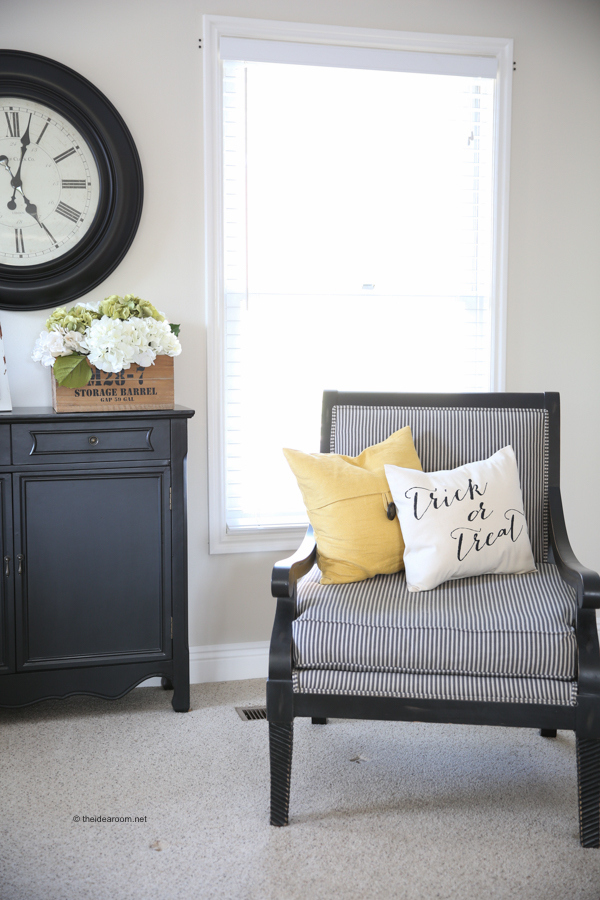
Halloween Decor: Pillow Covers

Pumpkin Pancakes
Cricut Tools
Cricut Infusible Ink Coasters for Halloween
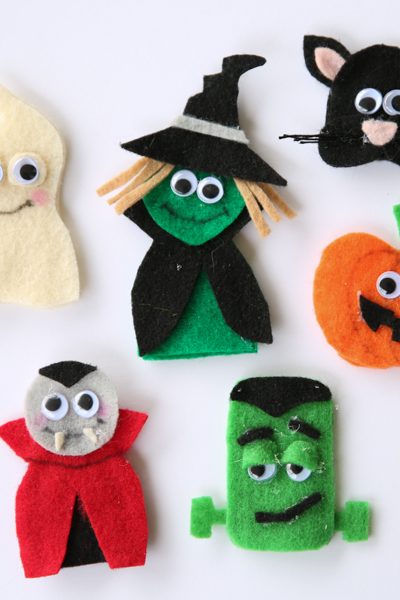
Halloween Finger Puppets
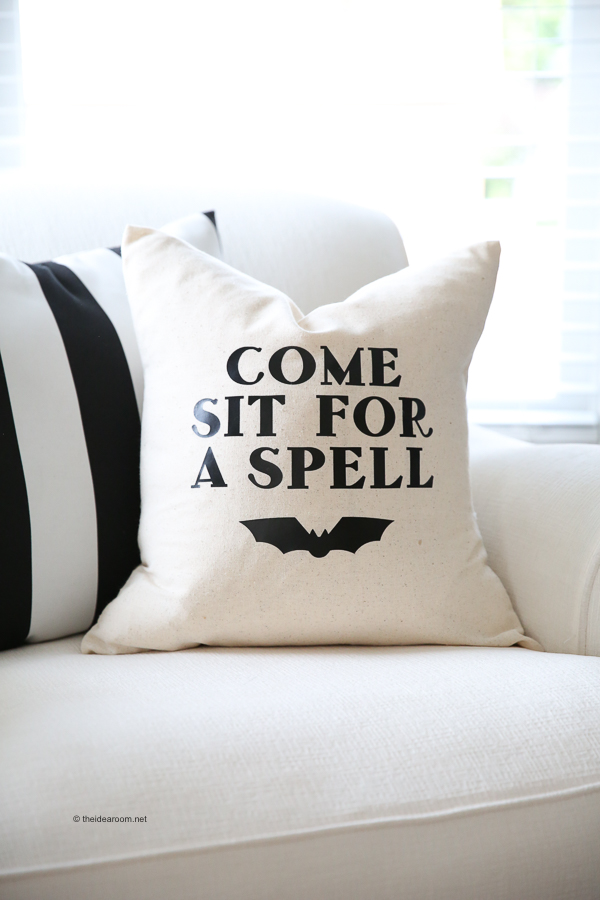
DIY Halloween Pillows + Cricut Easypress 2

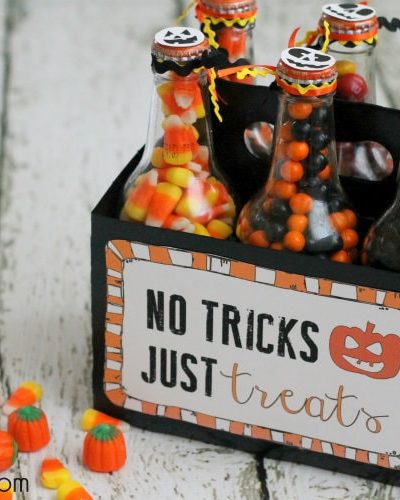
Halloween Party Ideas
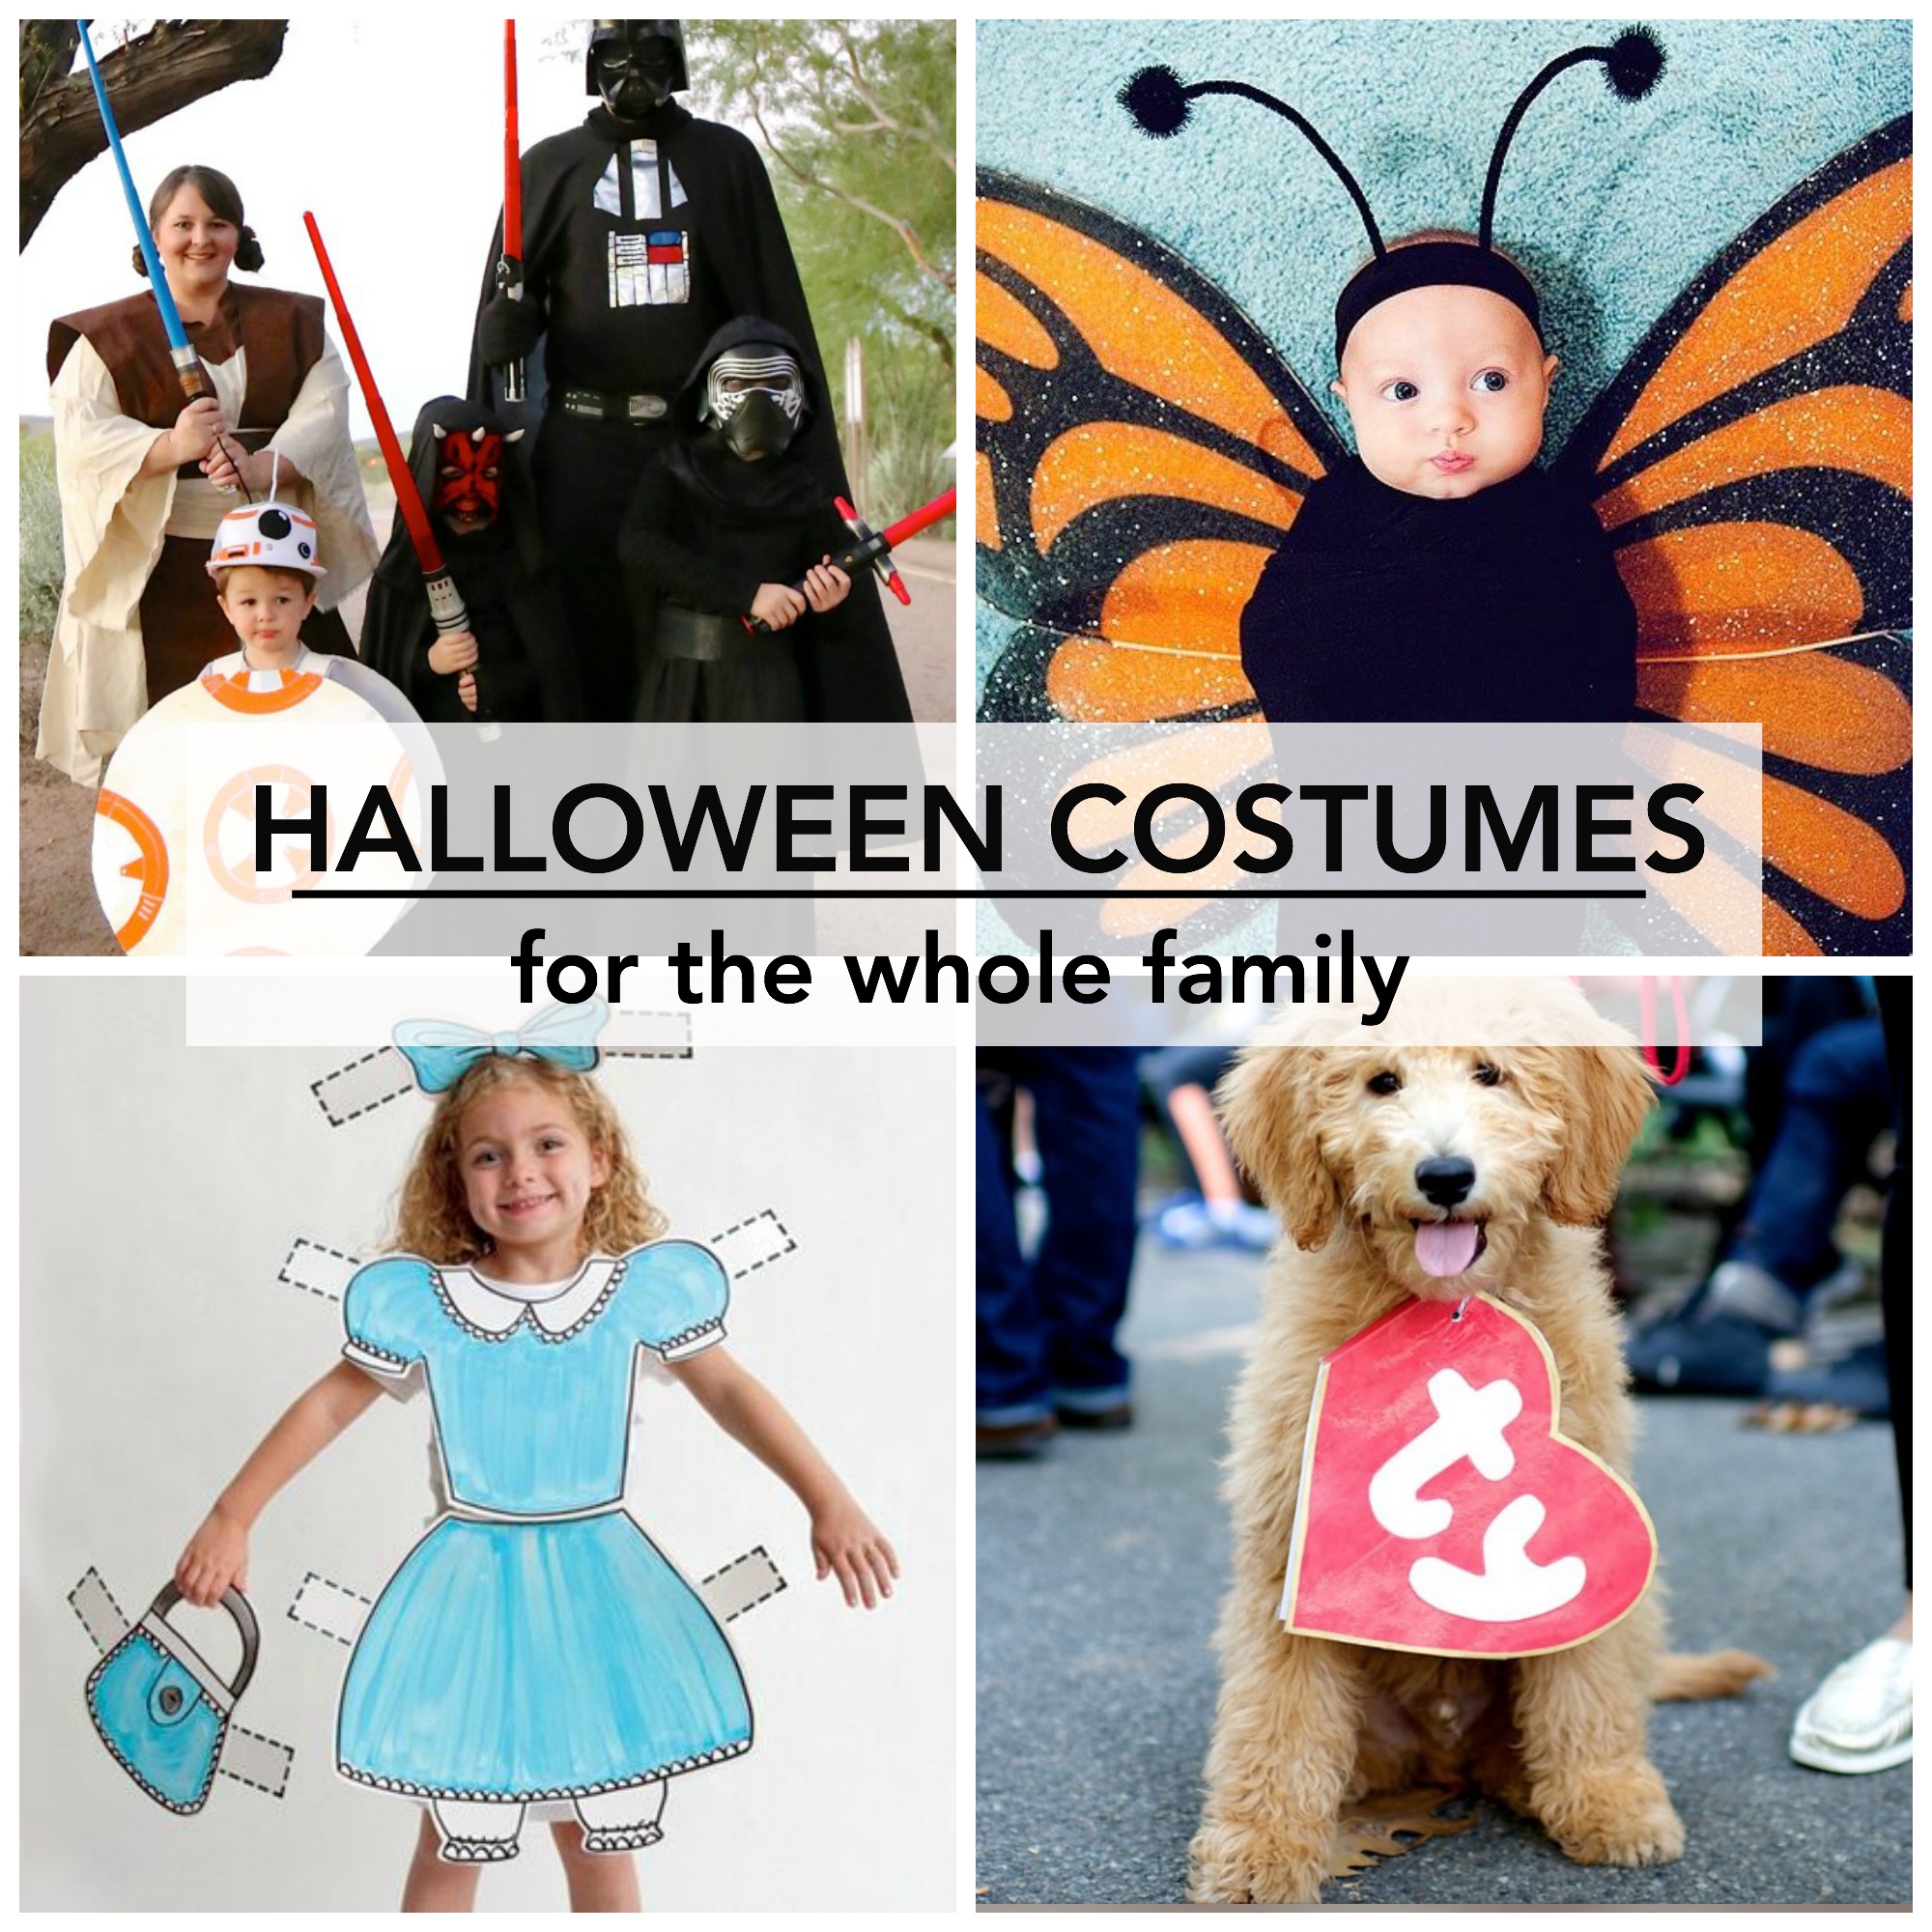
Halloween Costume Ideas
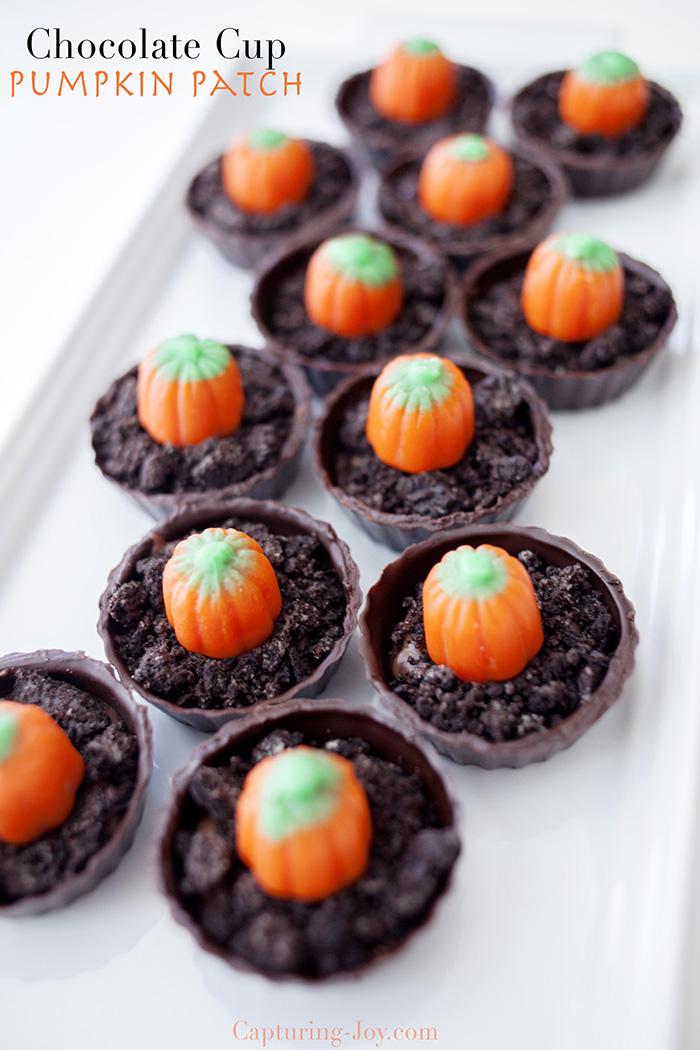
Chocolate Cup Pumpkin Patch Dessert
- « Previous Page
- 1
- 2
- 3
- 4
- 5
- …
- 10
- Next Page »


