


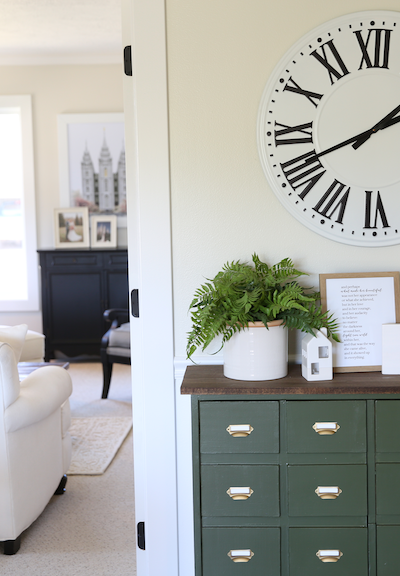
How to Make DIY Engineer Prints
Office Decor Sign
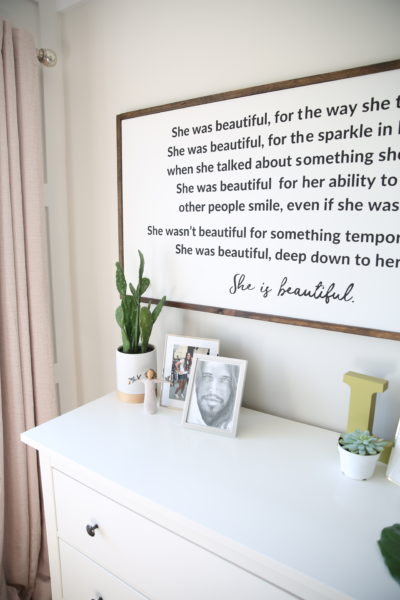
Girl’s Room Decor: DIY Wood Sign
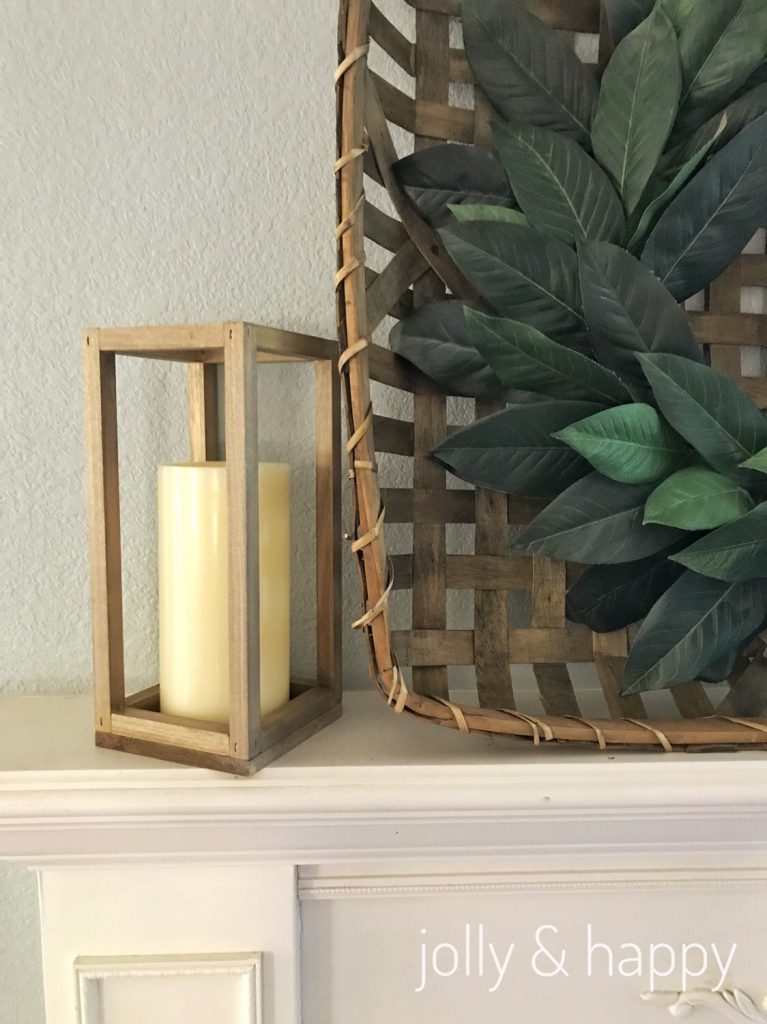
How to Make a Lantern

How to Paint Your Wood Garage Door with Purdy Tools

How to Make a Rustic Farmhouse Wreath
Girls Room Renovation with Sherwin Williams
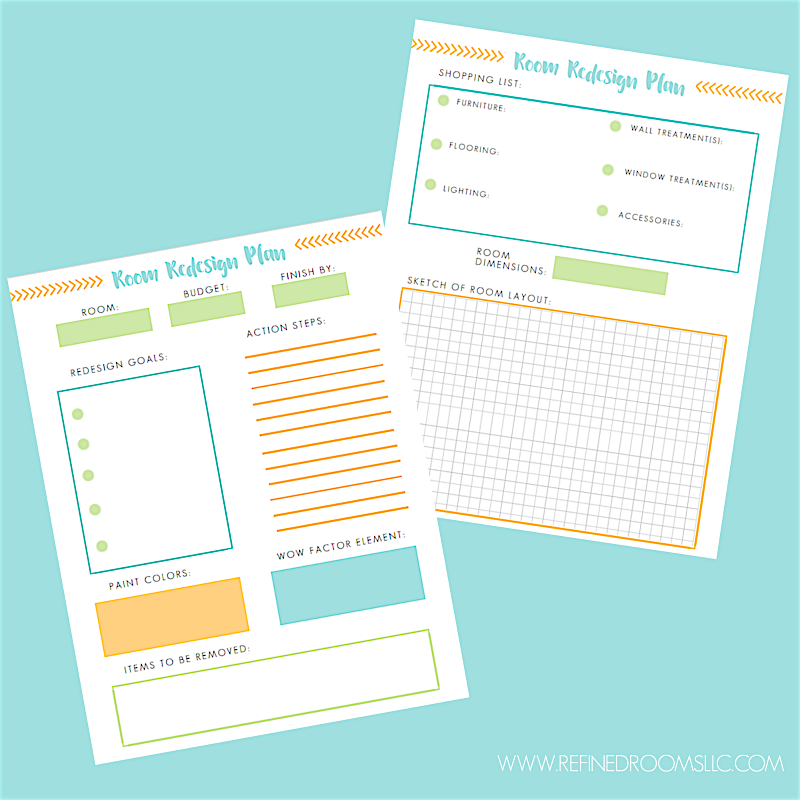
Printable Room Redesign Plan
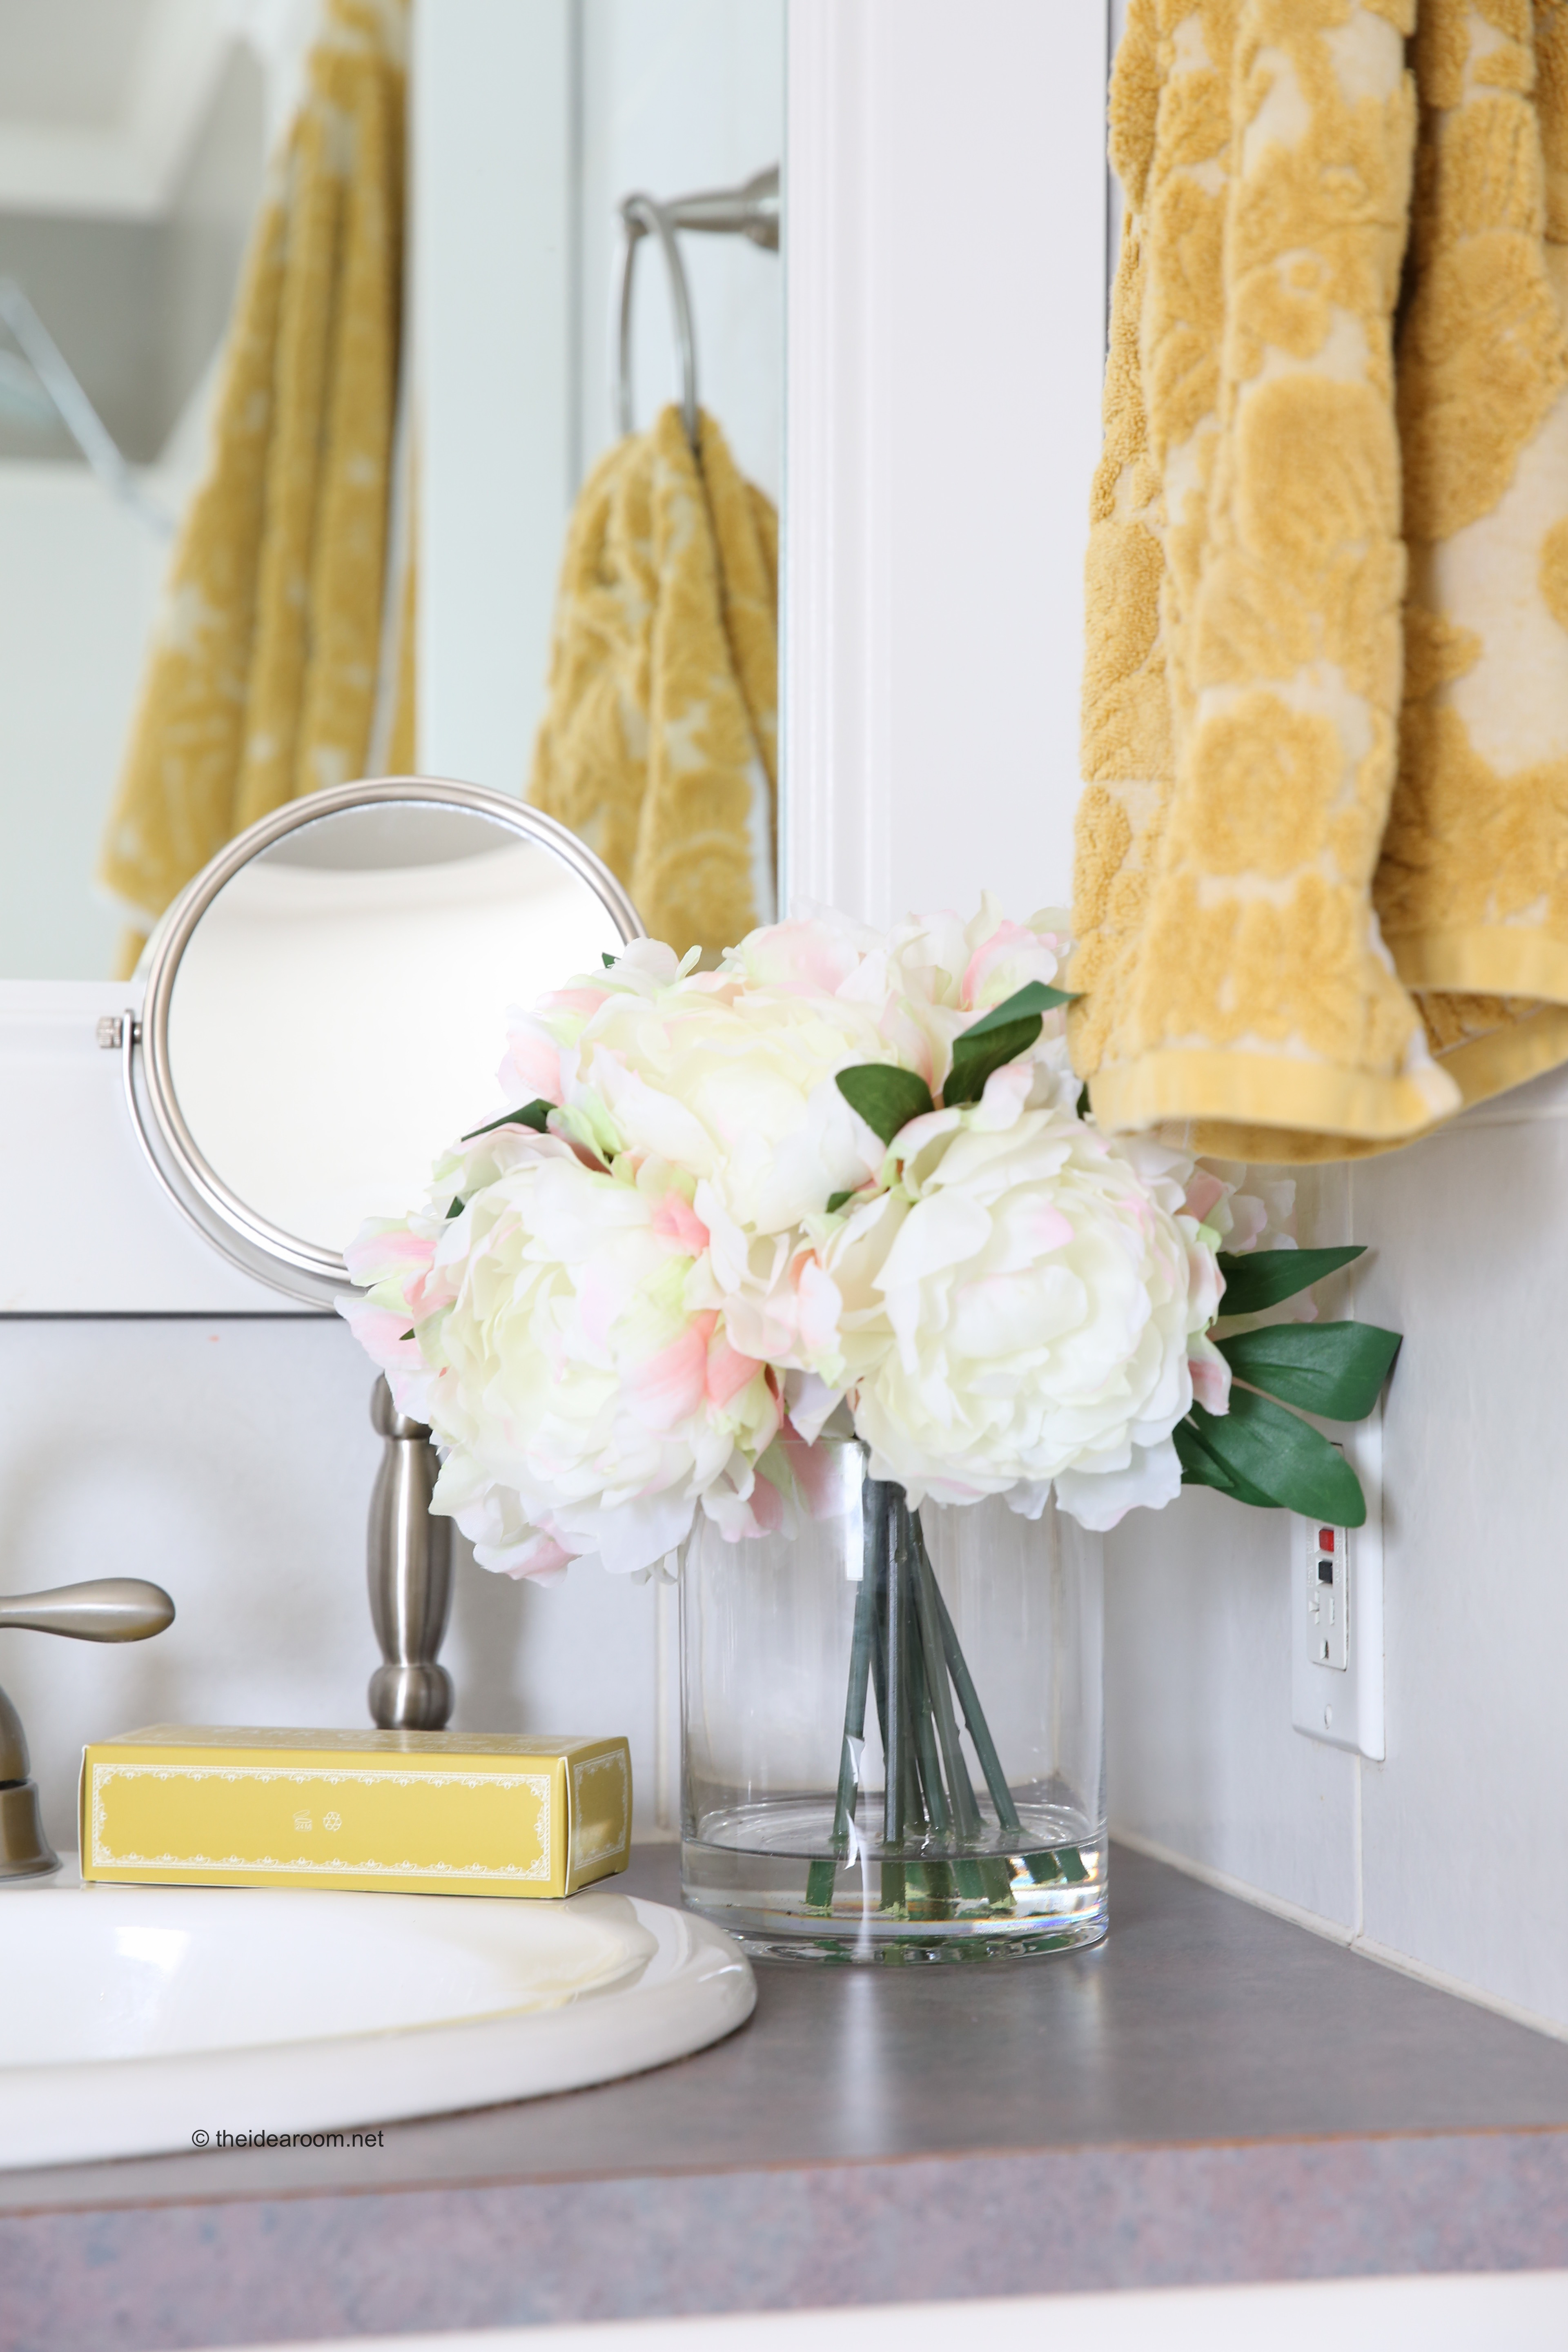
Balsam Hill’s Spring Floral Arrangements

Card Catalog Side Table Renovation
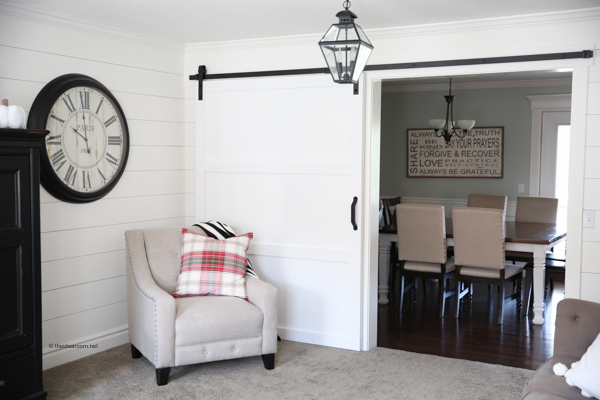
How to Install Barn Door Hardware
- « Previous Page
- 1
- 2
- 3
- 4
- …
- 14
- Next Page »


