

How to Make a Room Uniquely Yours
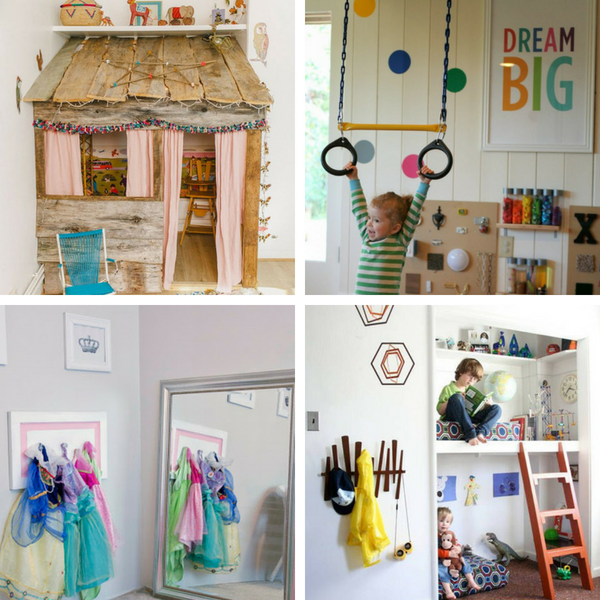
Kids Room Ideas
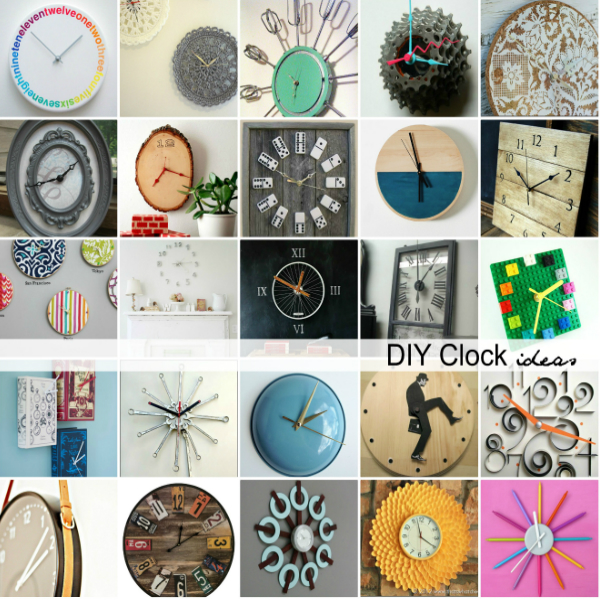
DIY Clock Ideas
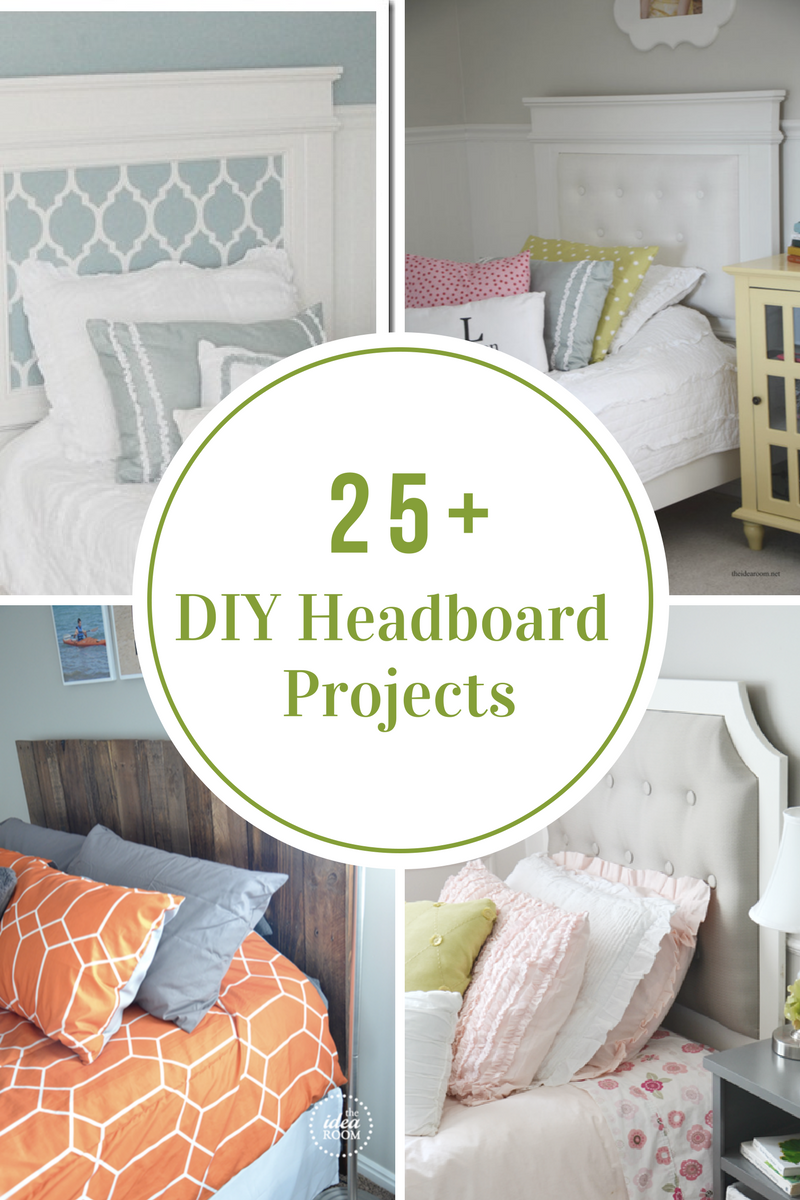
DIY Headboard Project Ideas

2016 HGTV Dream Home with GMC
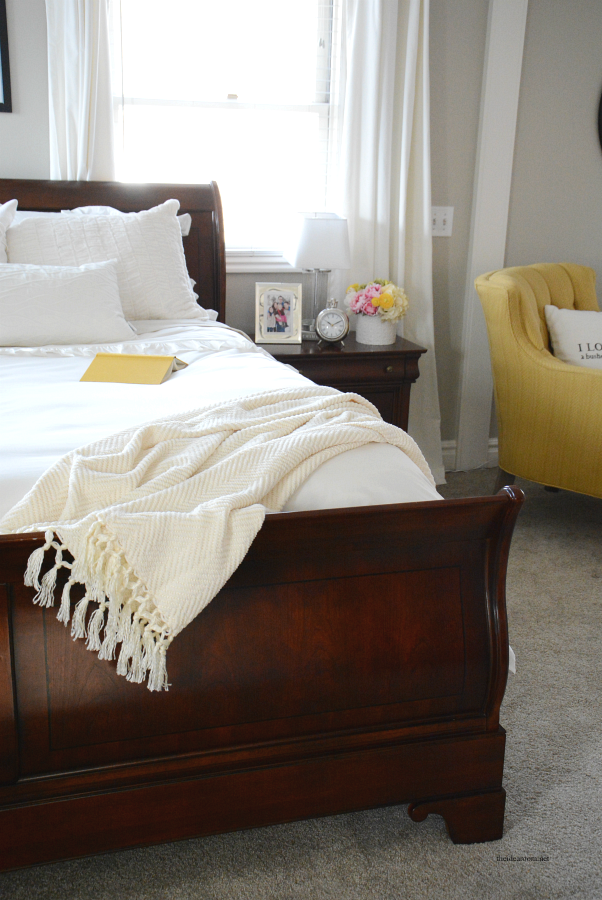
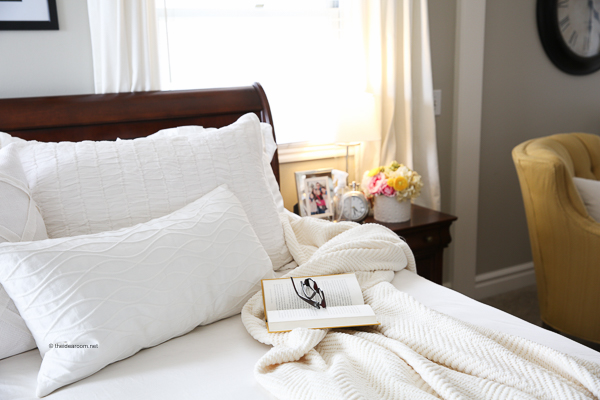
Master Bedroom Refresh
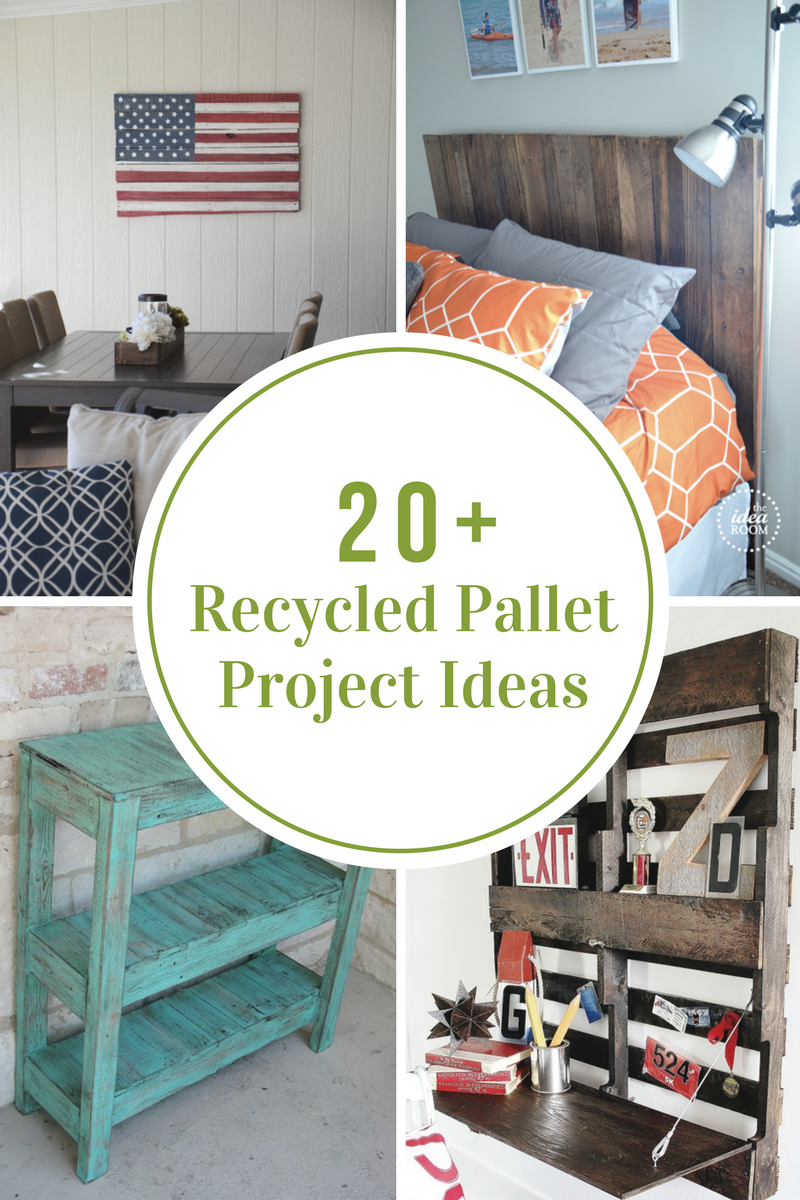
Recycled Pallet Project Ideas
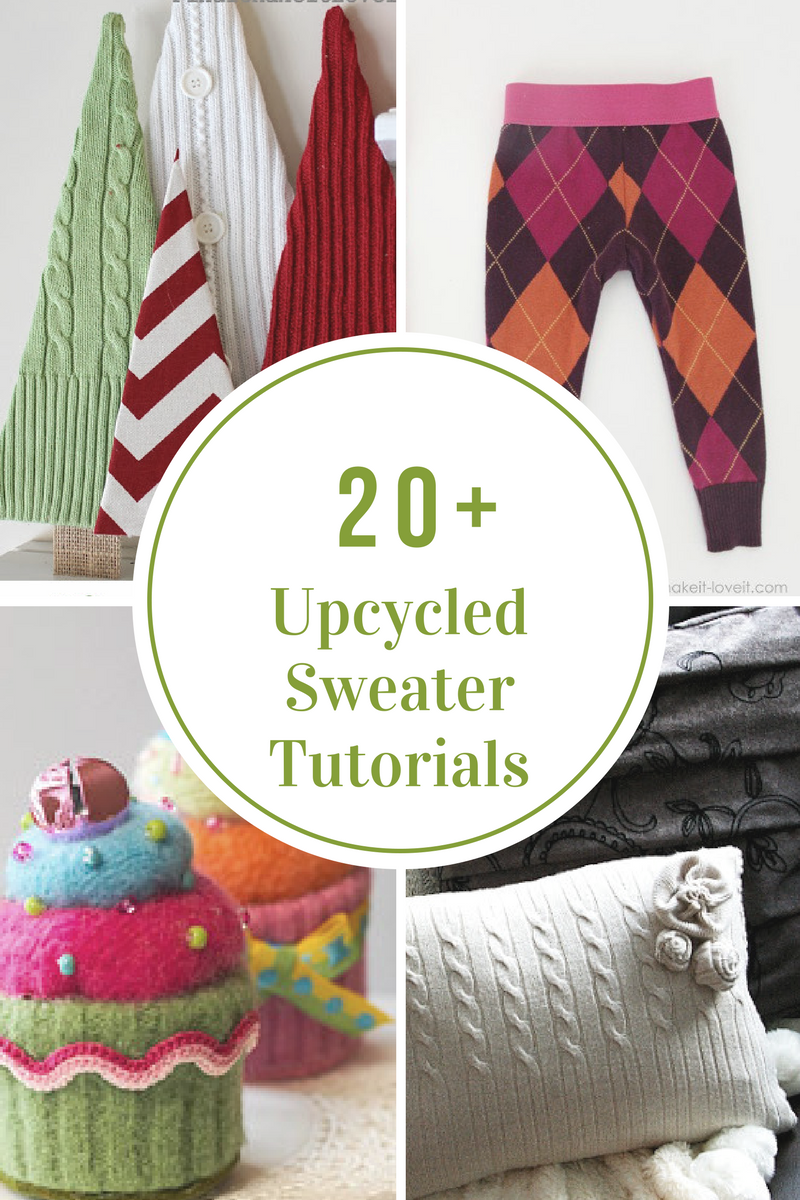
30 Upcycled Sweater Tutorials
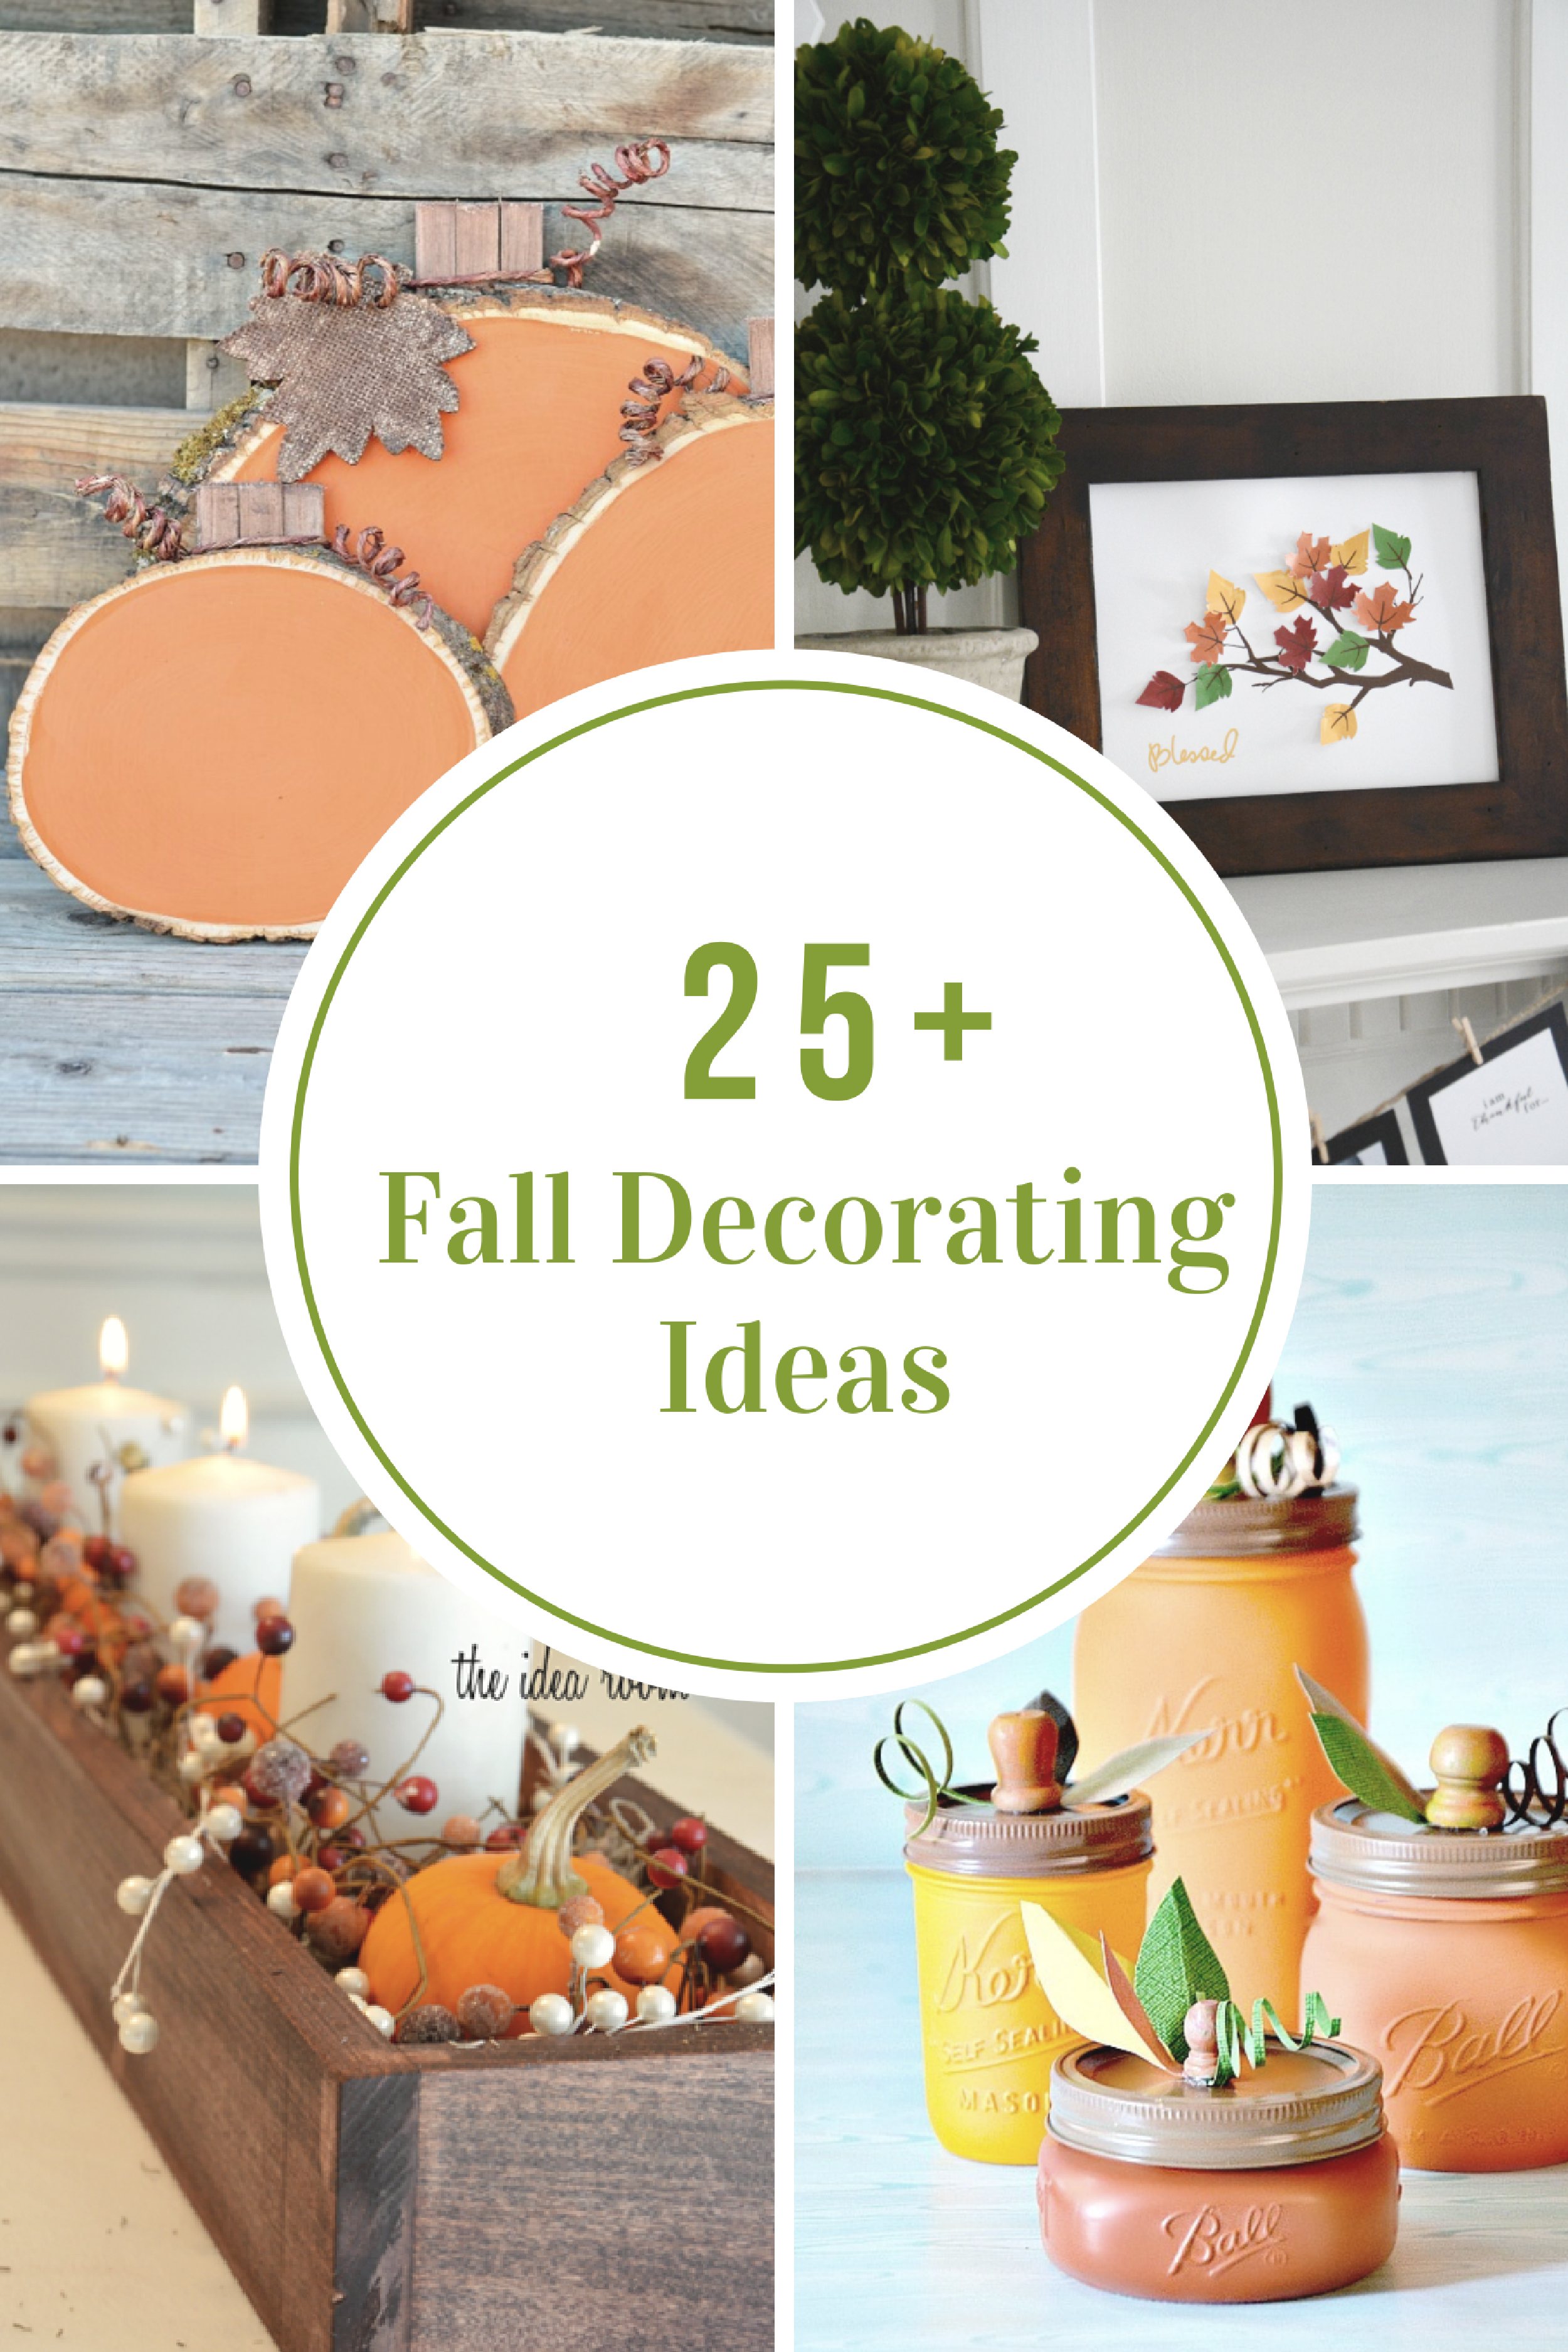
Inexpensive Fall Decorating Ideas
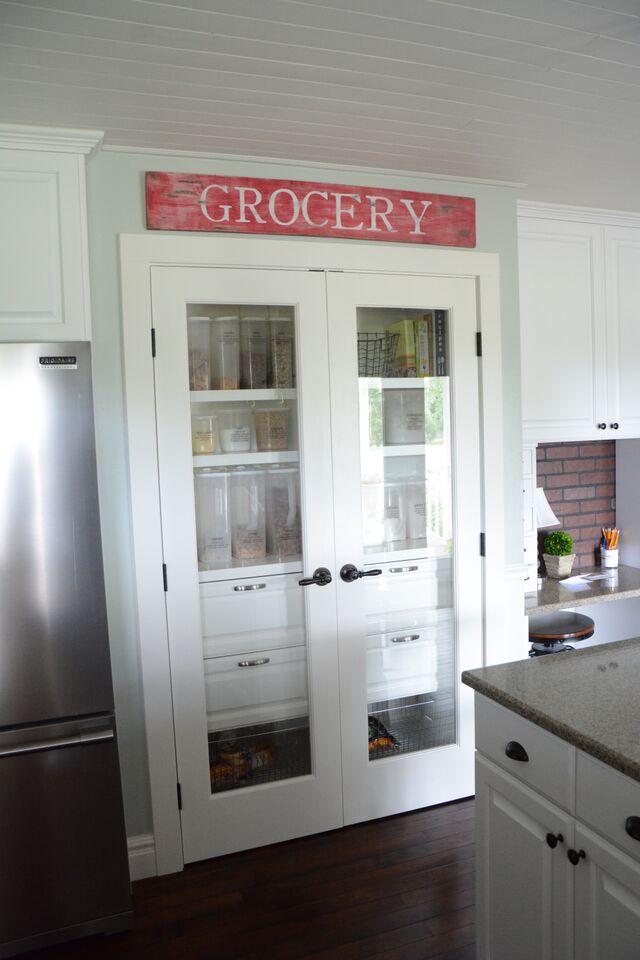
Pantry and Charging Station Tutorial
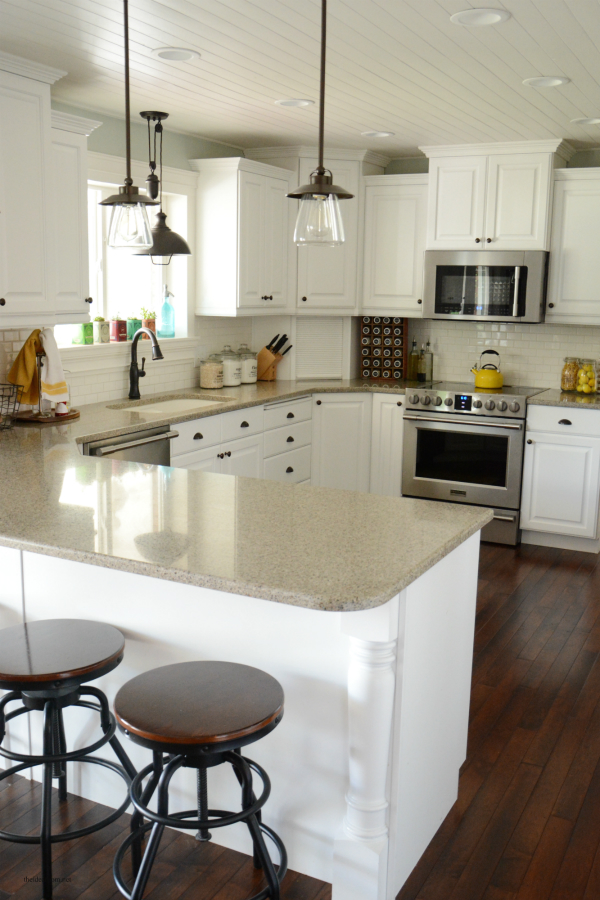
Kitchen Update Reveal
- « Previous Page
- 1
- 2
- 3
- 4
- 5
- …
- 14
- Next Page »


