
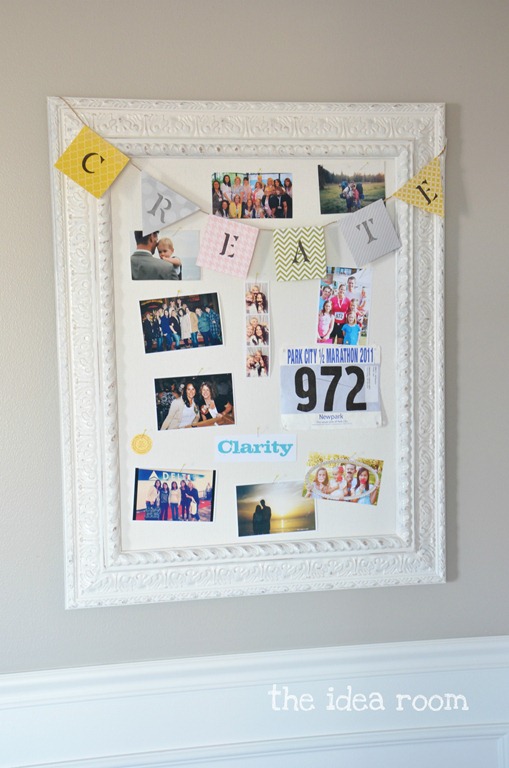
Create Bulletin board

Hair Tool Storage Cabinet

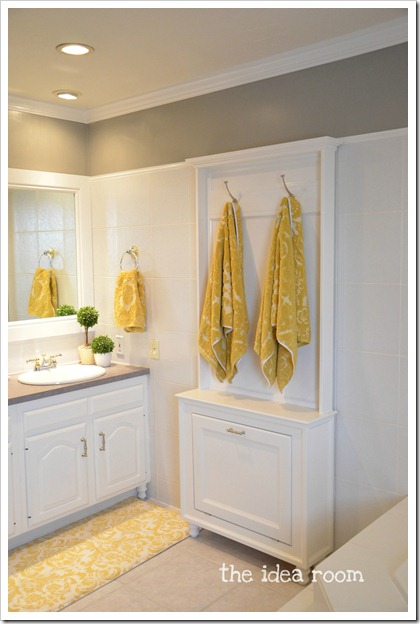
customized towel rack
progress…

My Colortopia—my image inspiration
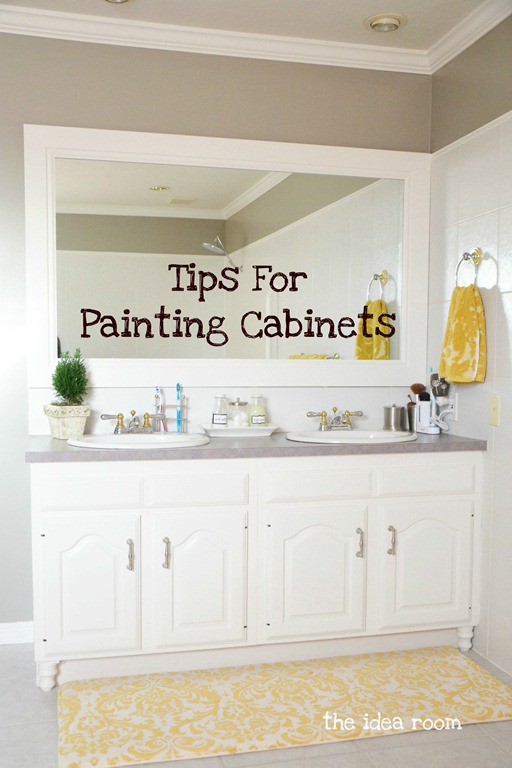
paint your cabinets
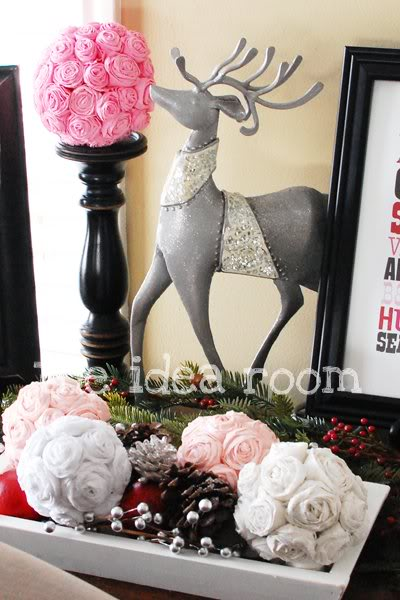
video tutorial—tissue paper rosettes
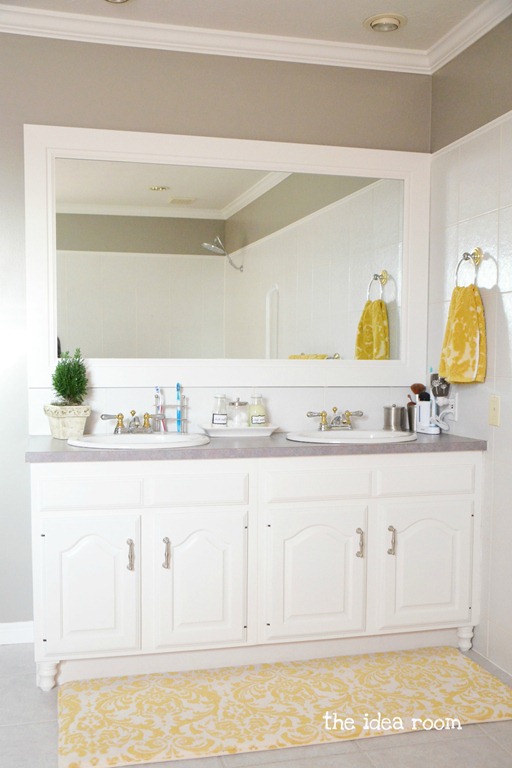
updating builder grade bathroom cabinets
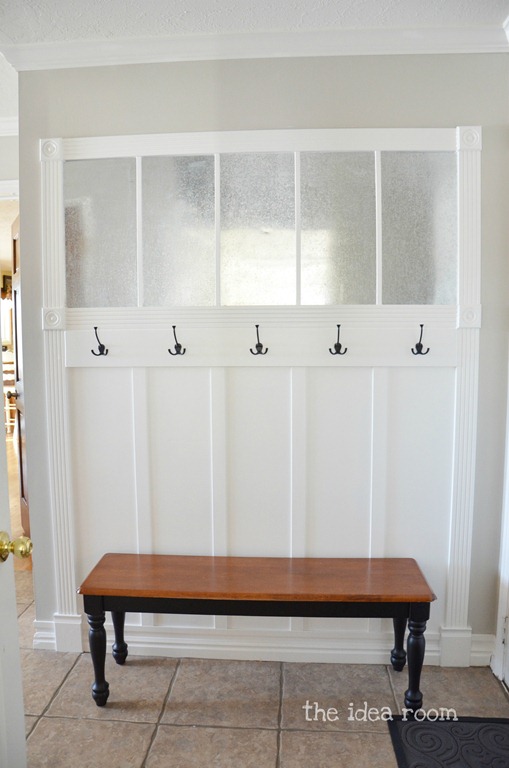
organizational boards
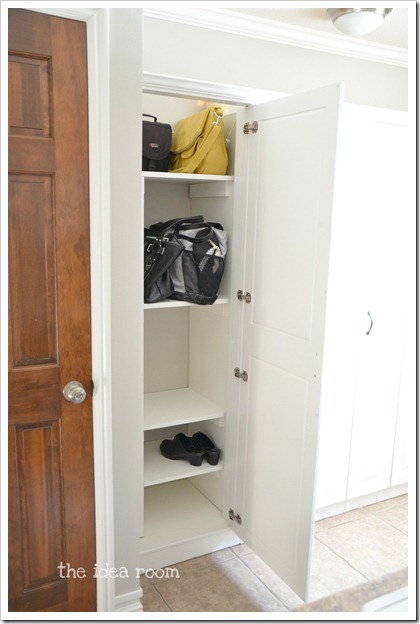
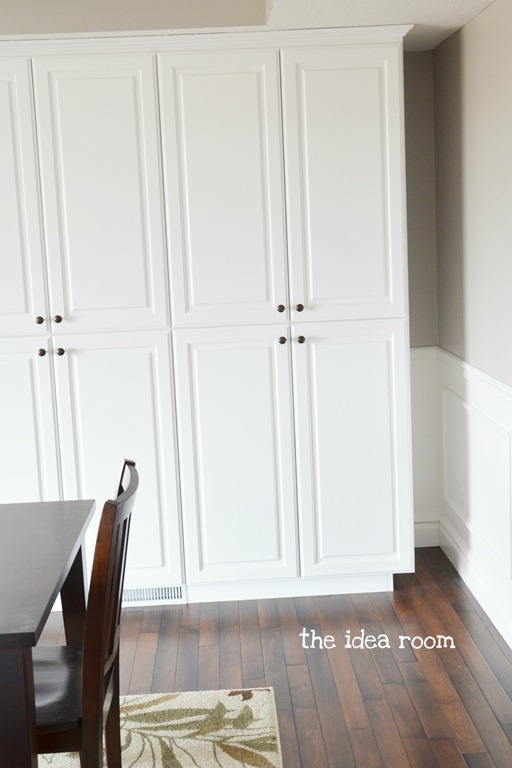
how to build a closet shelf
to paint or not to paint…
- « Previous Page
- 1
- …
- 7
- 8
- 9
- 10
- 11
- …
- 14
- Next Page »


