
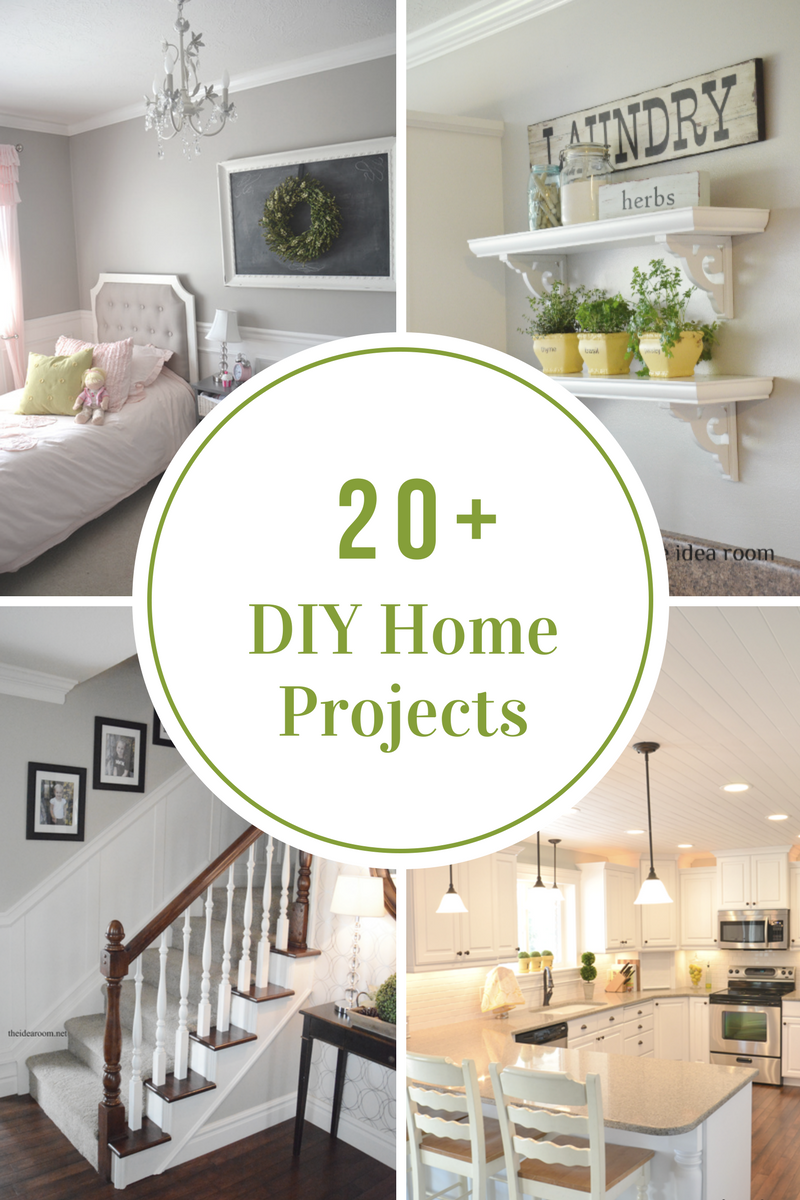
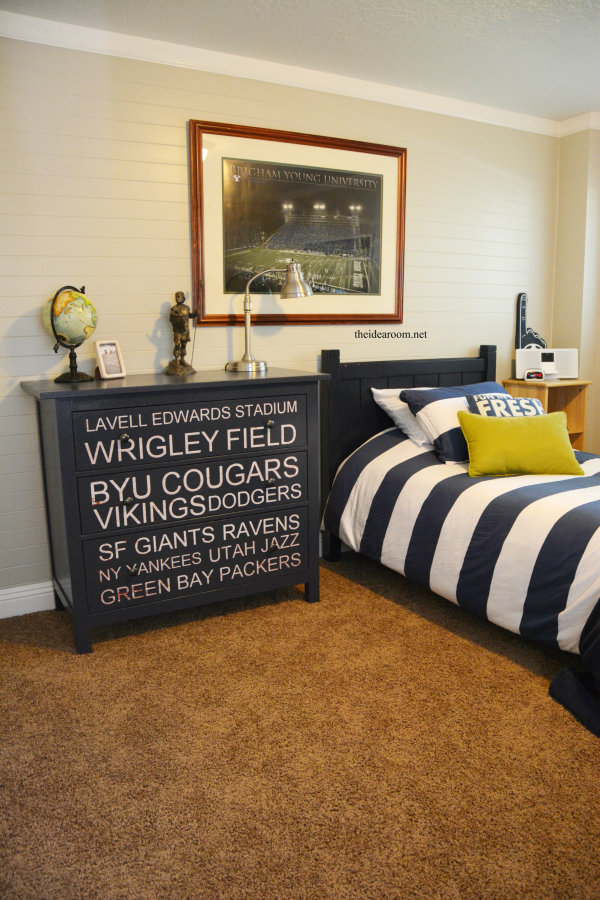
DIY Subway Dresser
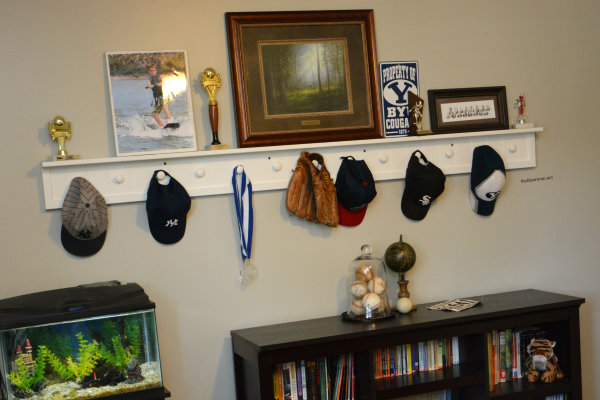
DIY Peg Board Shelf
Tufted Headboard Tutorial

Dresser Makeover Reveal
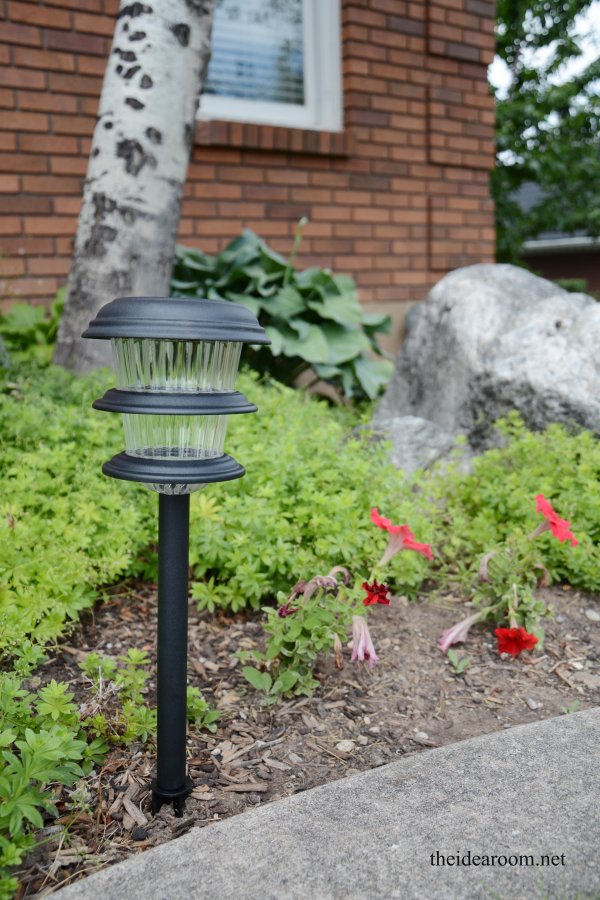
Outdoor Lighting
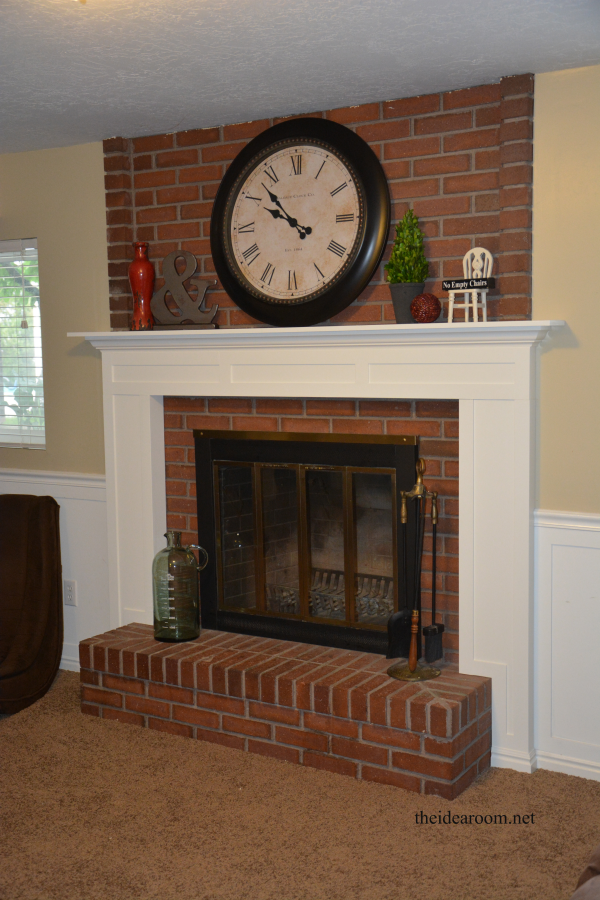
How to Make a DIY Fireplace Mantel
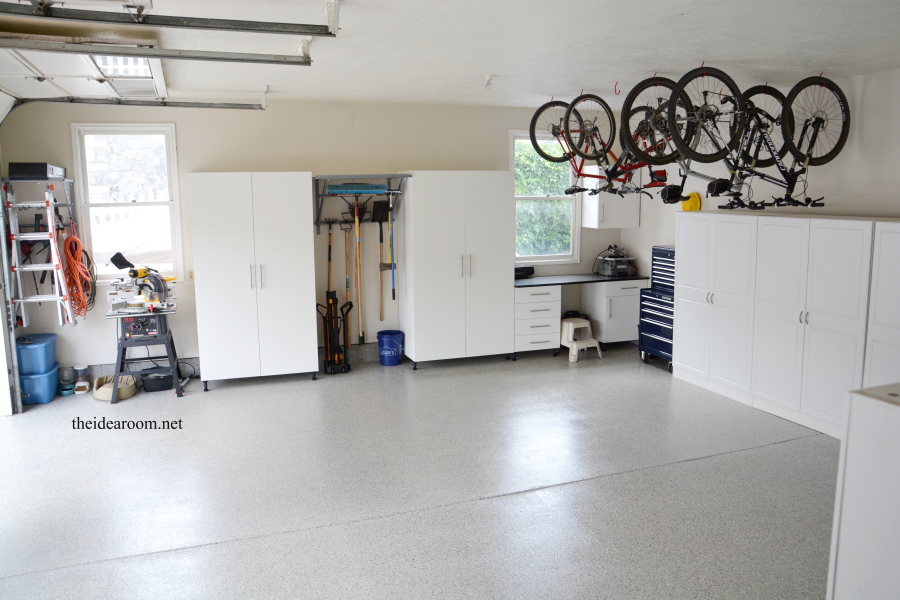
Garage Organization & Giveaway
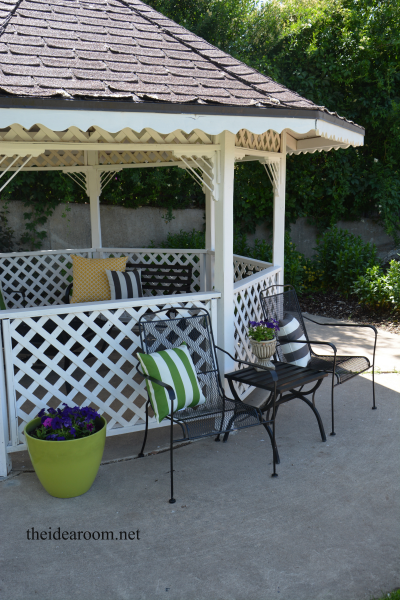
Outdoor Gazebo Project
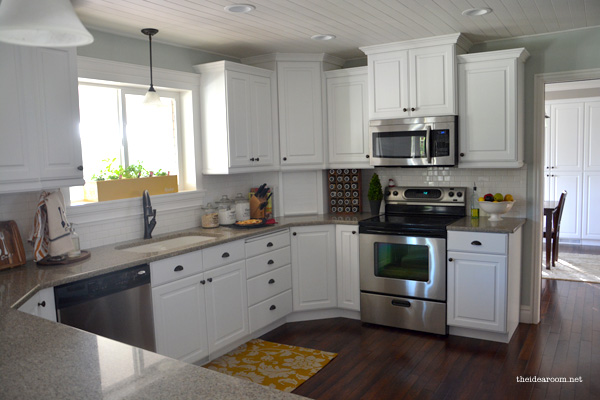
Kitchen Tour Updated
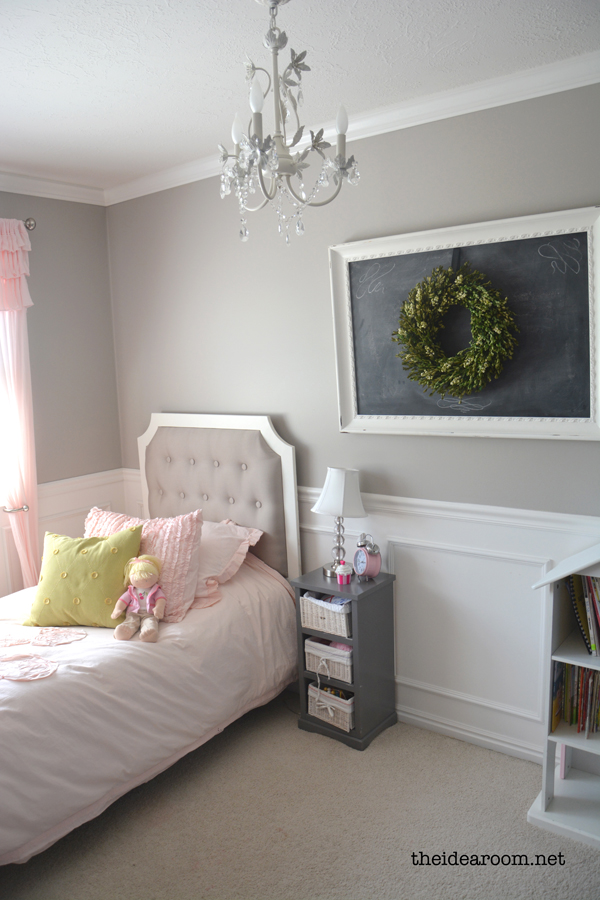
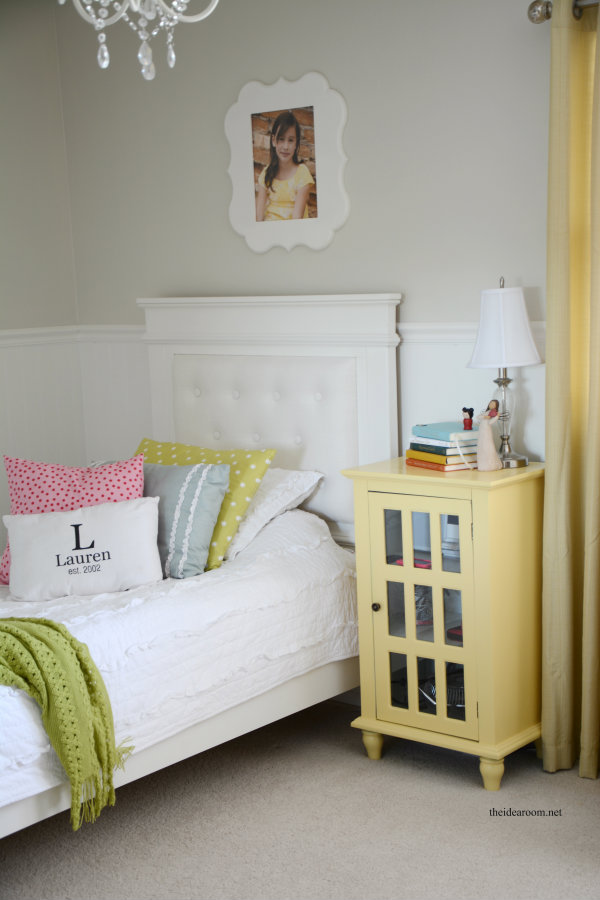
Girls Room Reveal
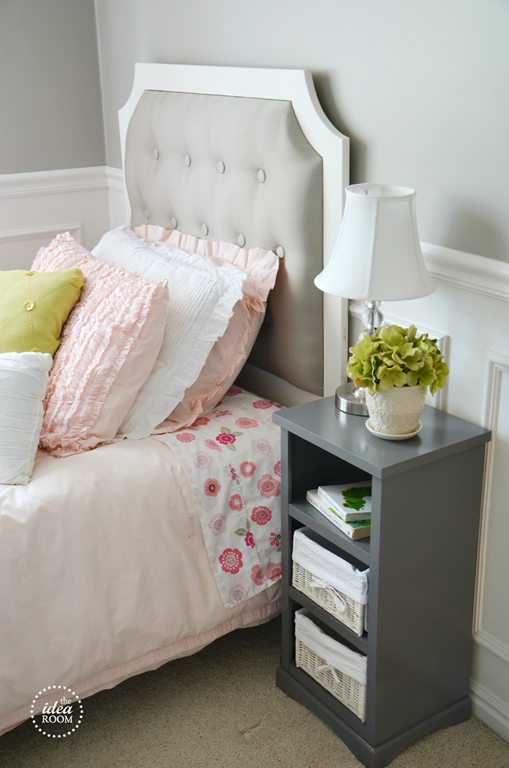
DIY Tufted Headboard–Part 2
- « Previous Page
- 1
- 2
- 3
- 4
- 5
- …
- 7
- Next Page »


