
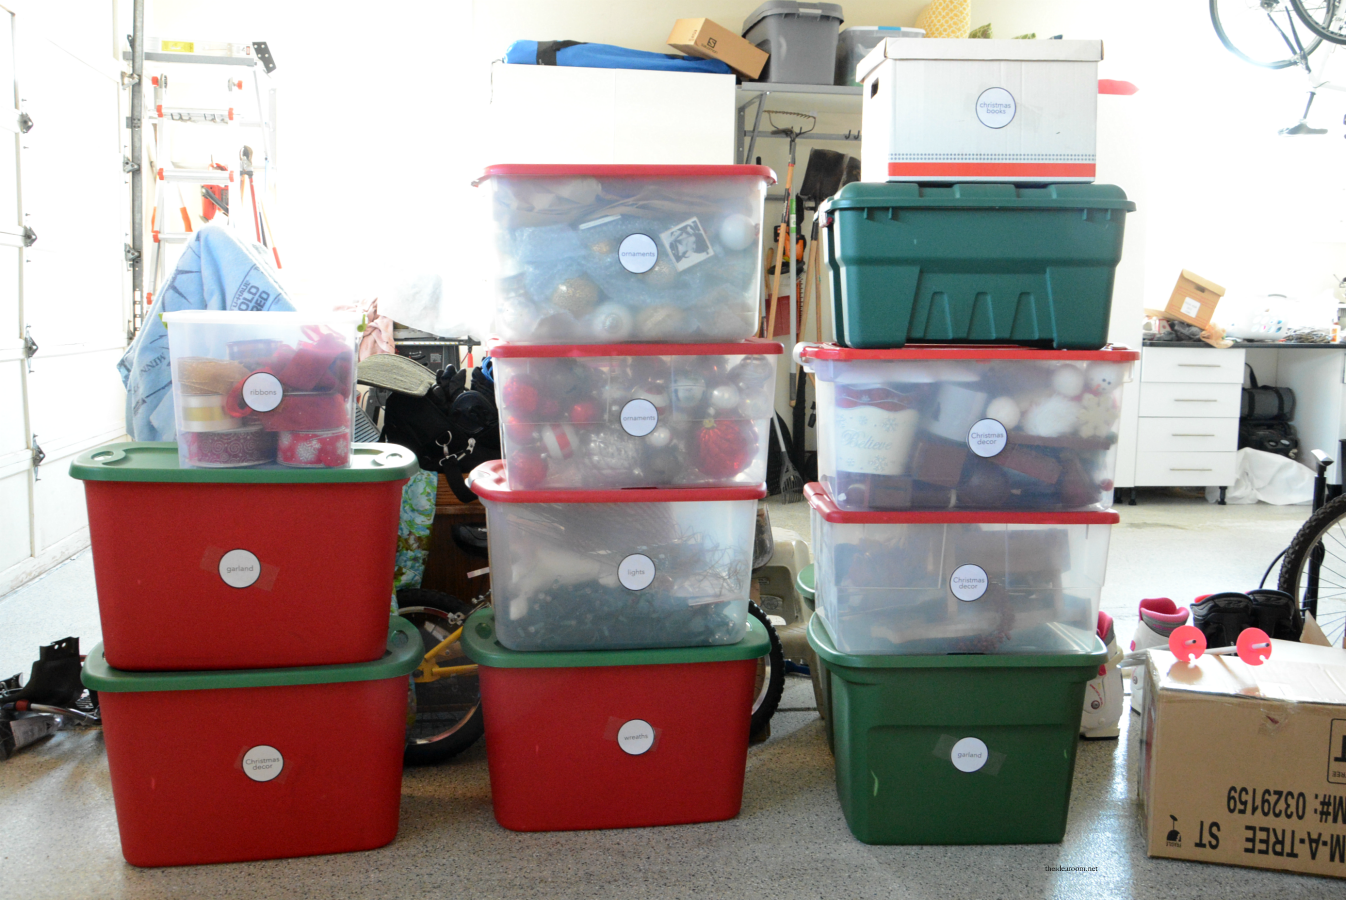
Christmas Decor Organization Labels
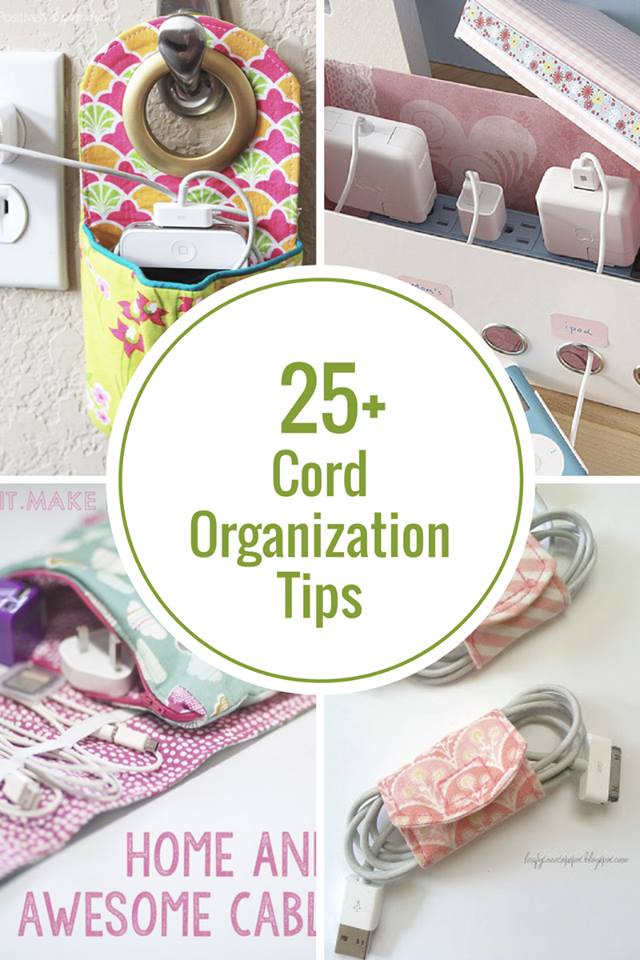
Cord Organization

DIY Gift Wrapping Station

Family Command Centers
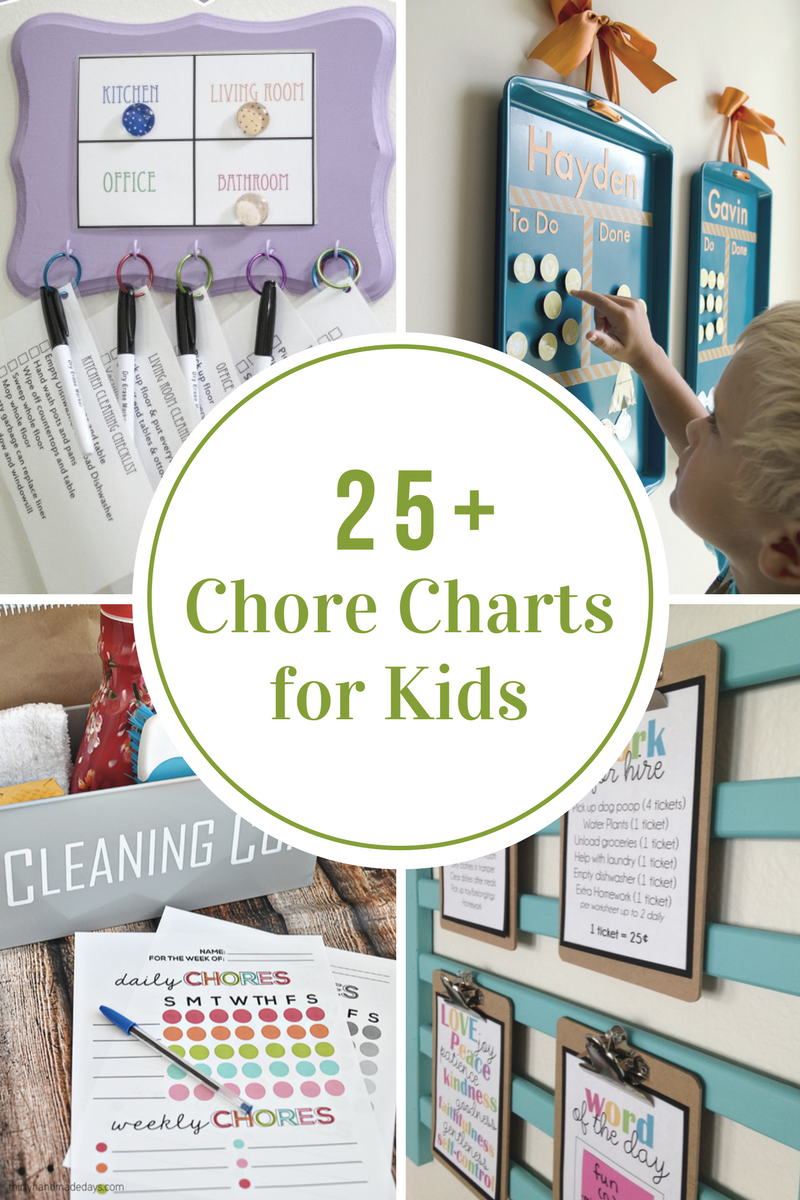
Chore Charts for Kids
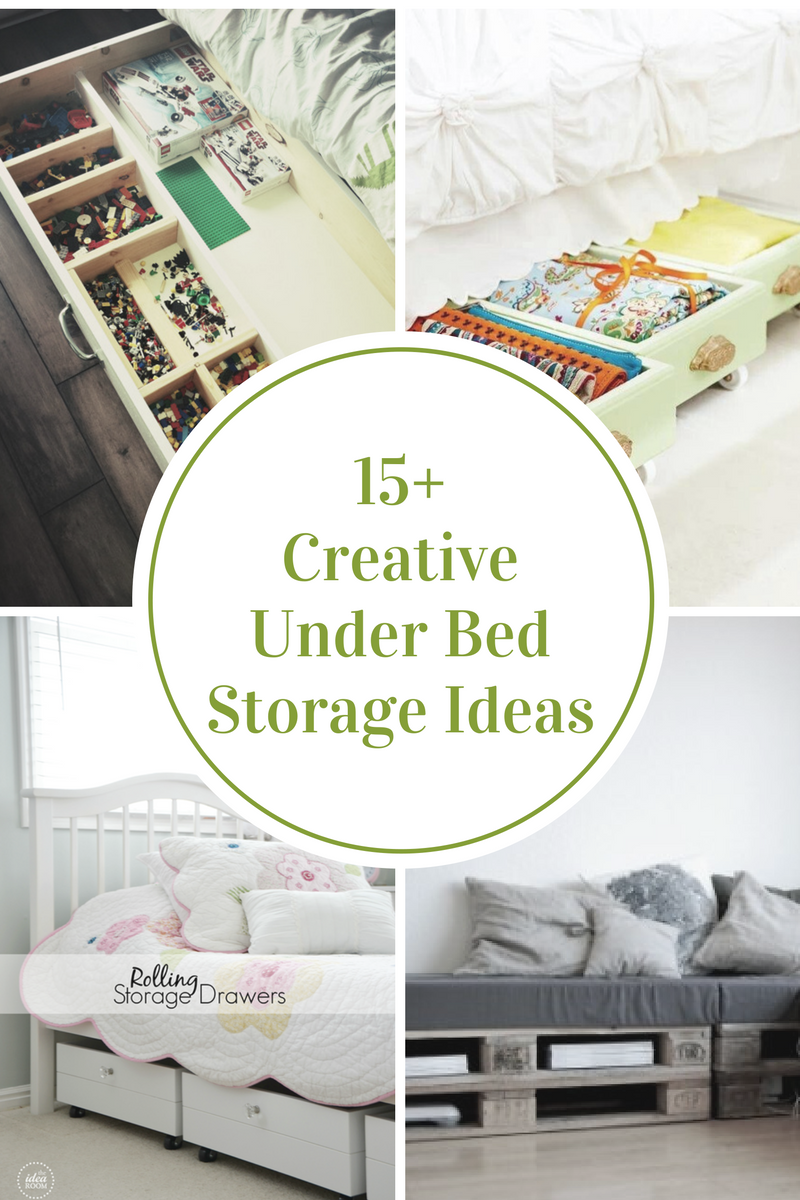
Creative Under Bed Storage Ideas
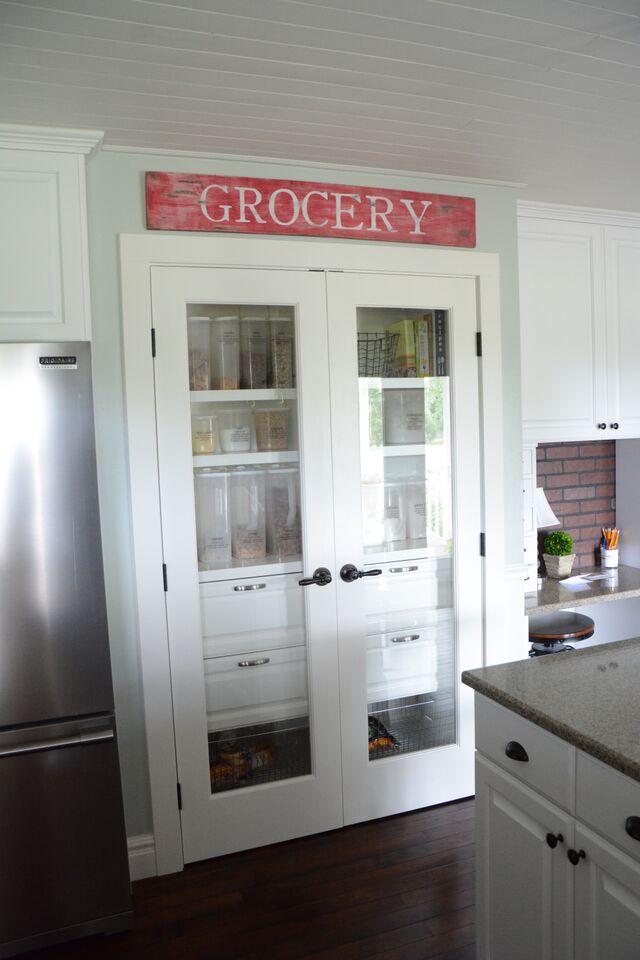
Pantry and Charging Station Tutorial
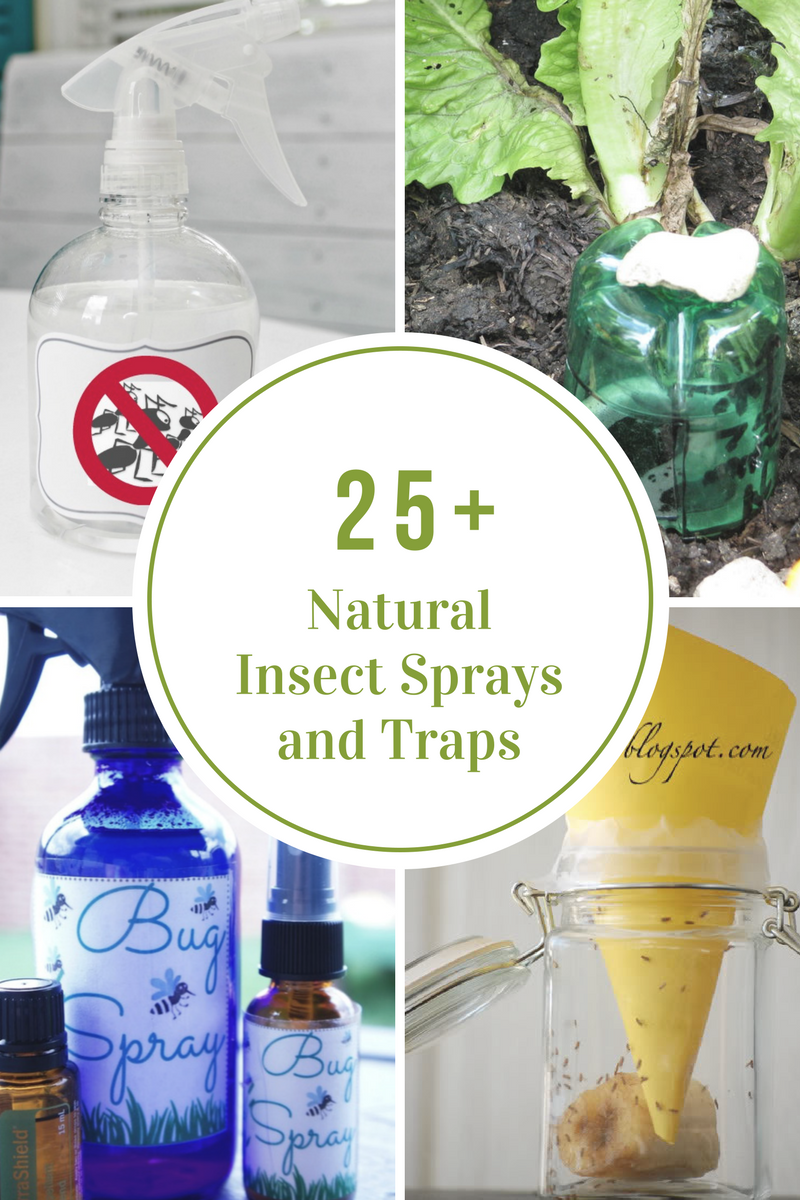
Natural Homemade Insect Sprays and Traps
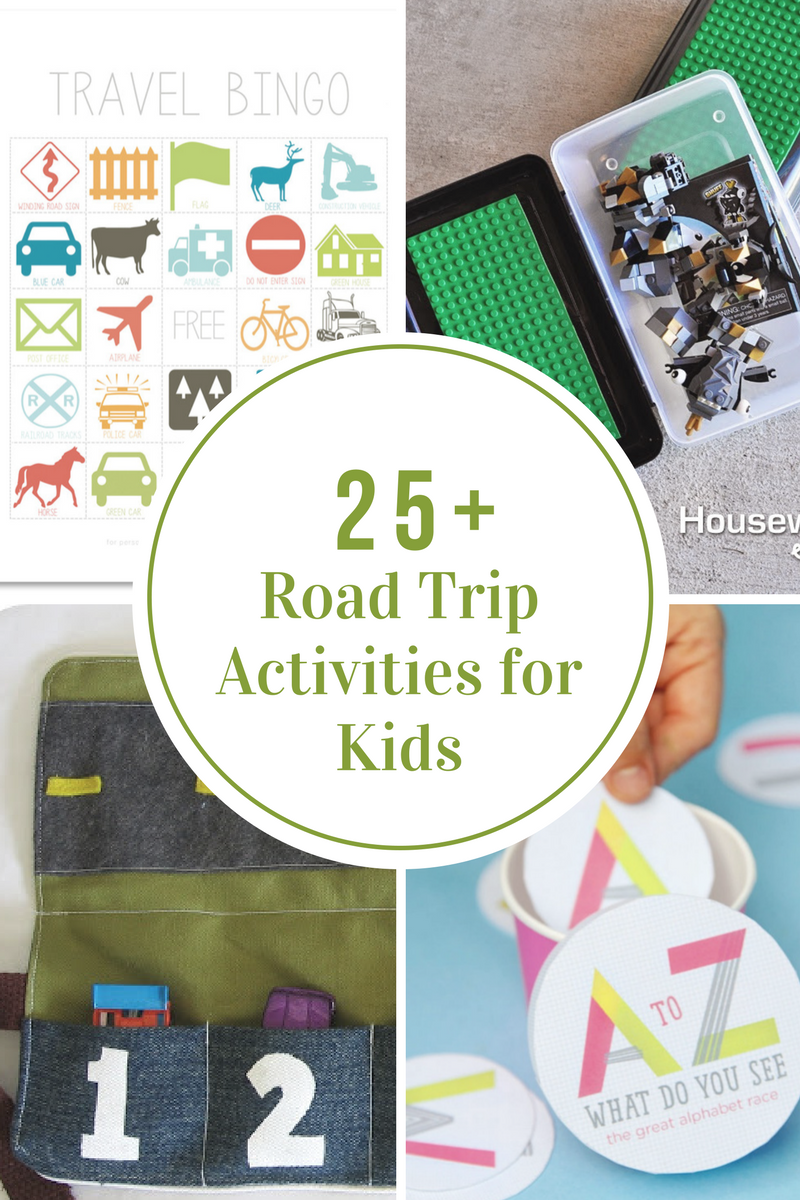
Road Trip Activities: Traveling with Kids
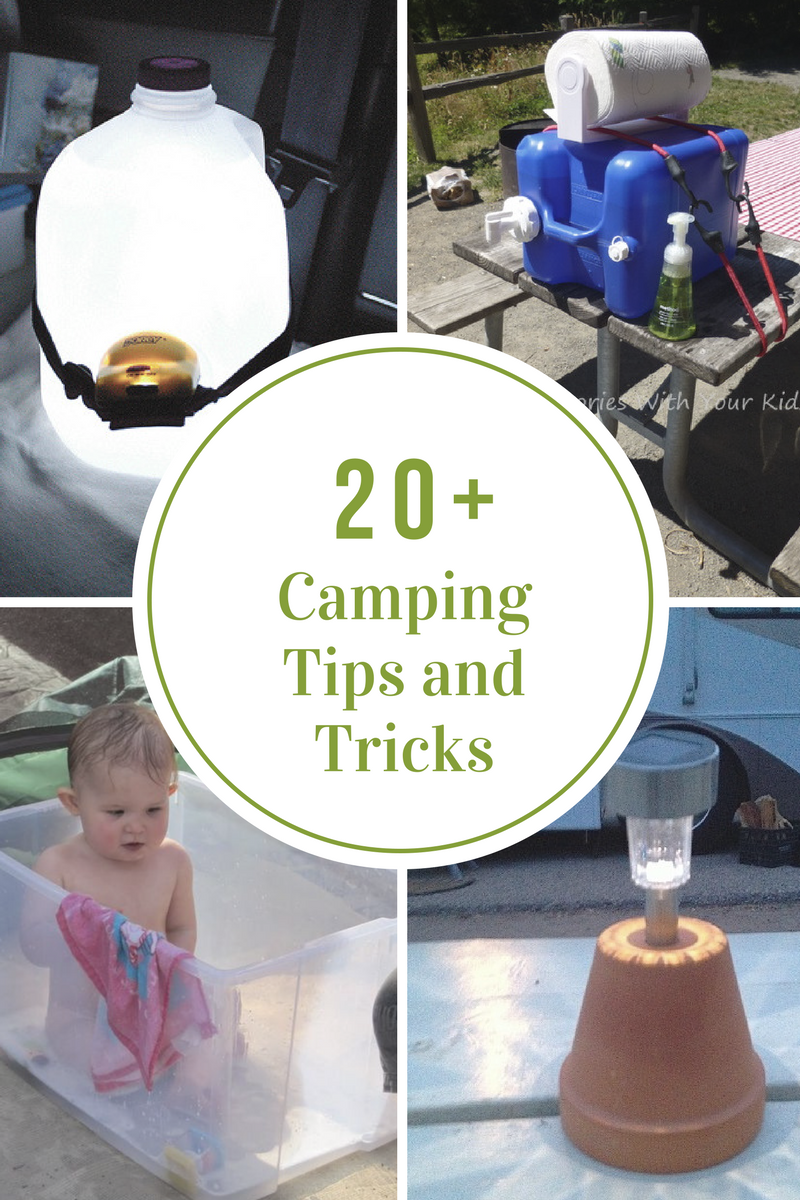
20 Camping Tips and Tricks
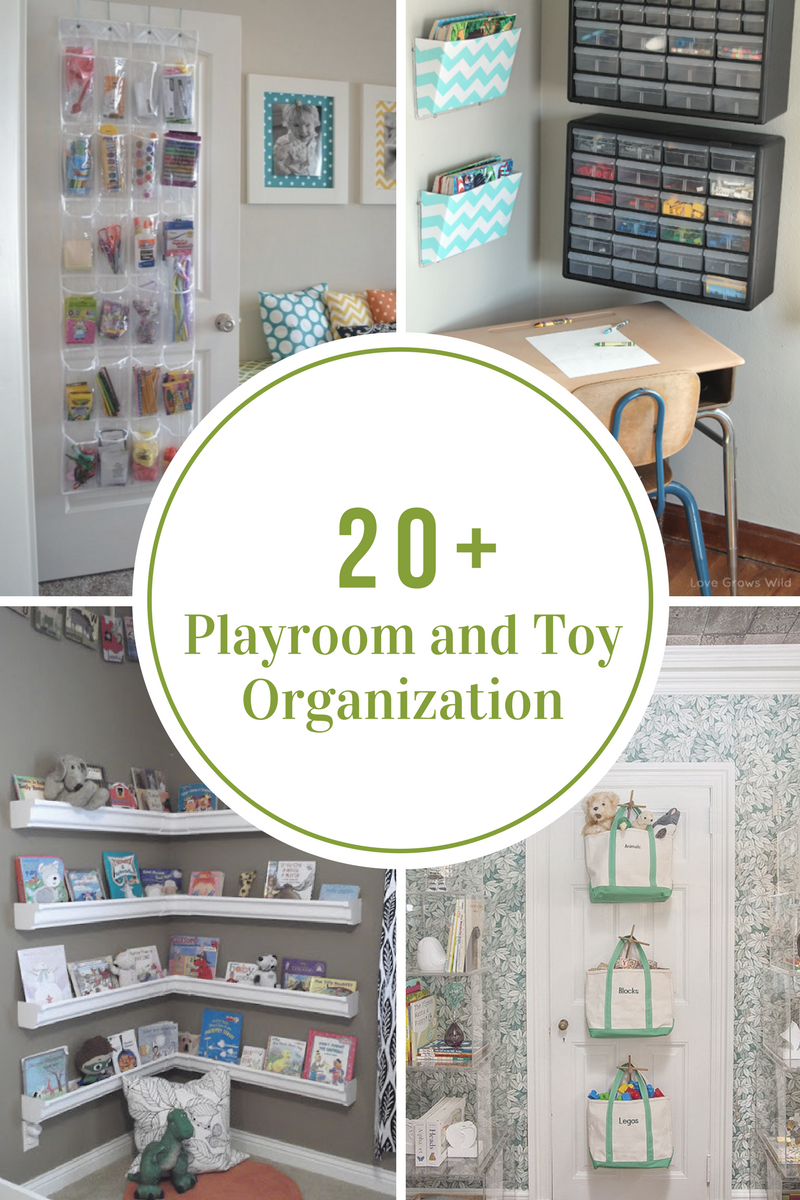
Playroom and Toy Organization Tips
- « Previous Page
- 1
- 2
- 3
- 4
- 5
- …
- 7
- Next Page »


