
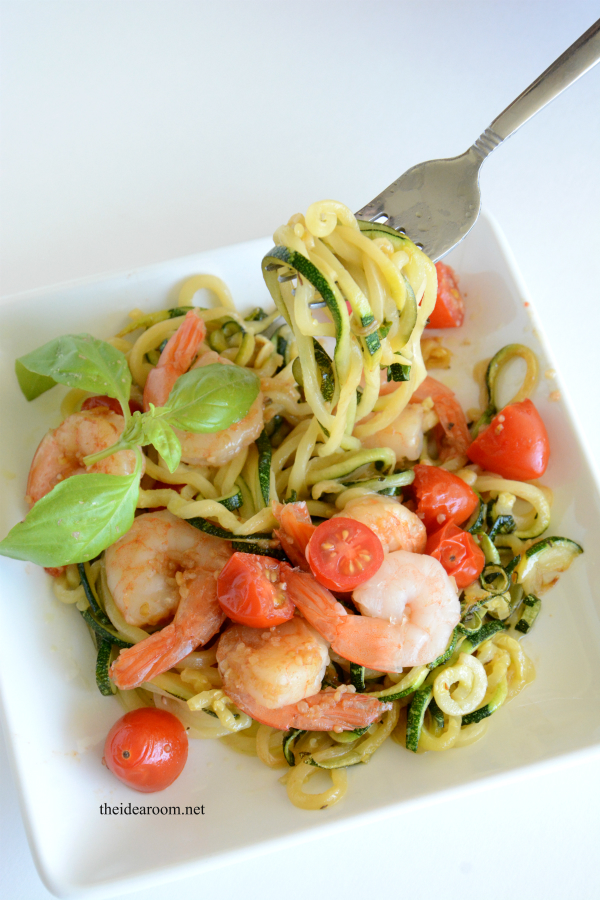
Shrimp Scampi with Zucchini Noodles
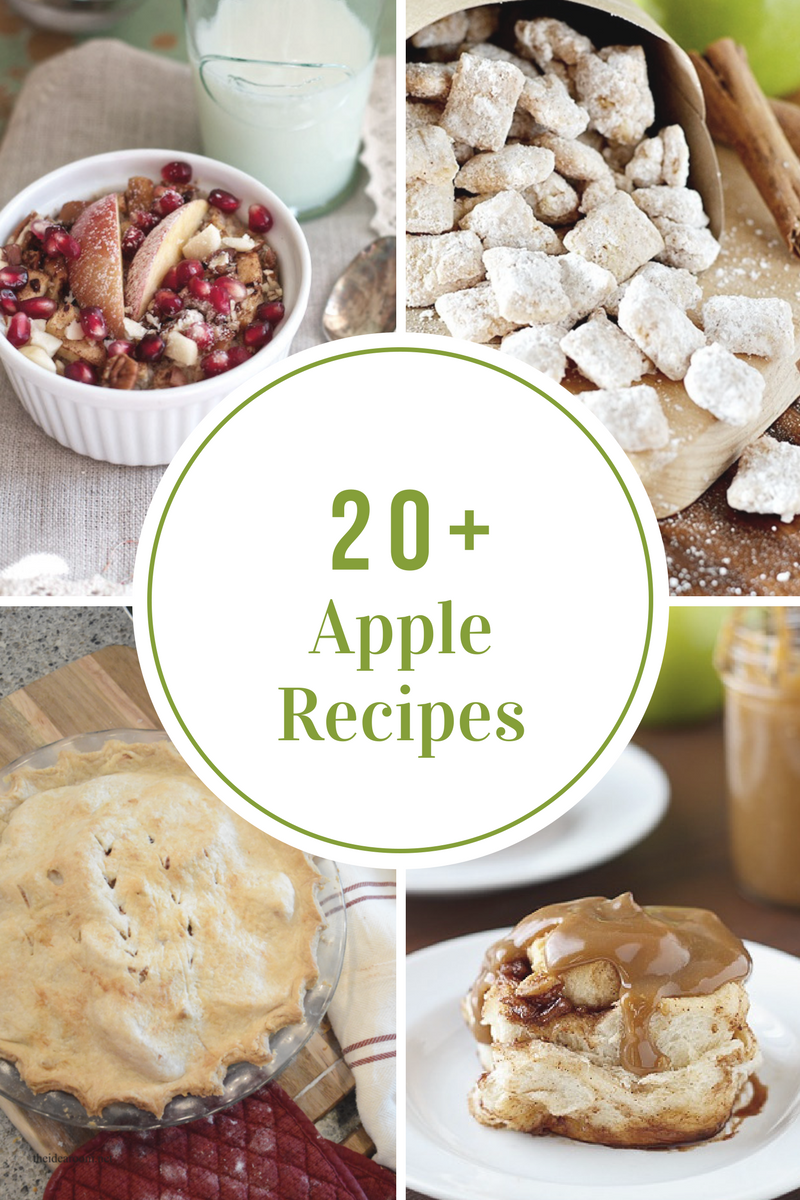
Apple Recipes

Kabobs and Blender Brownies
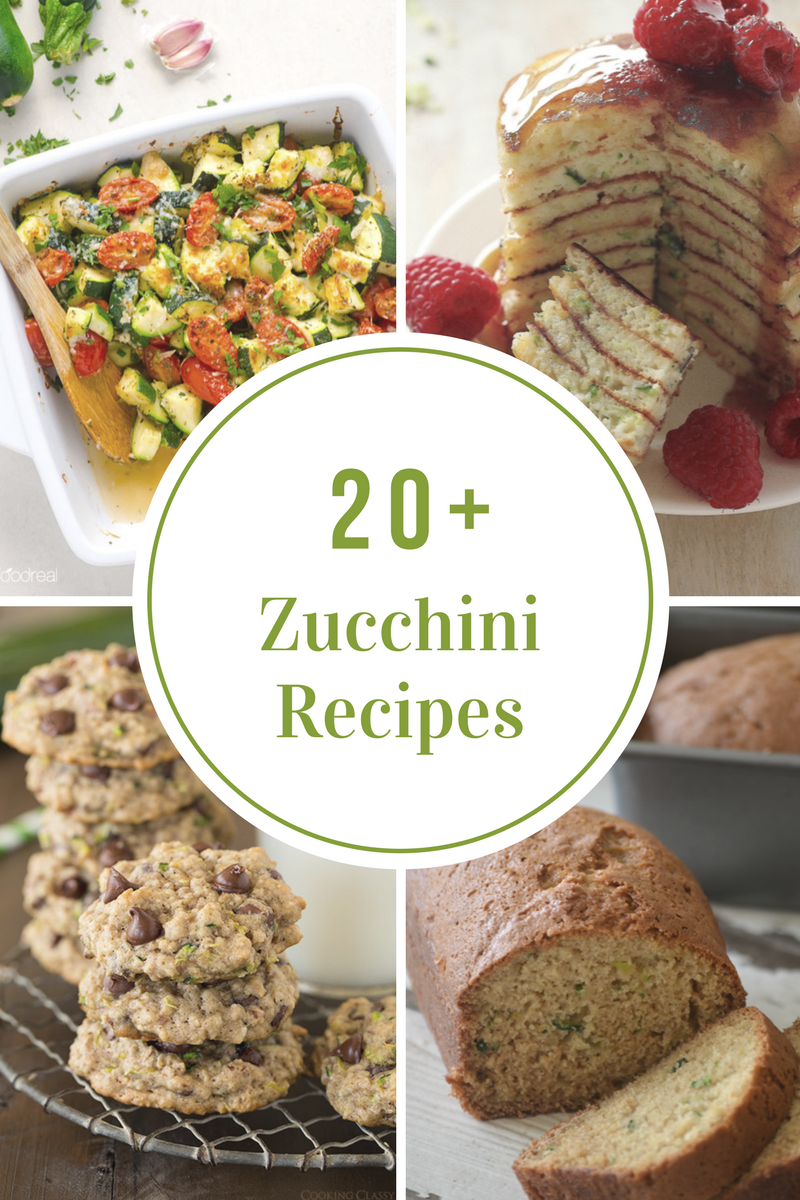
Zucchini Recipes

Cherry Dessert Recipes
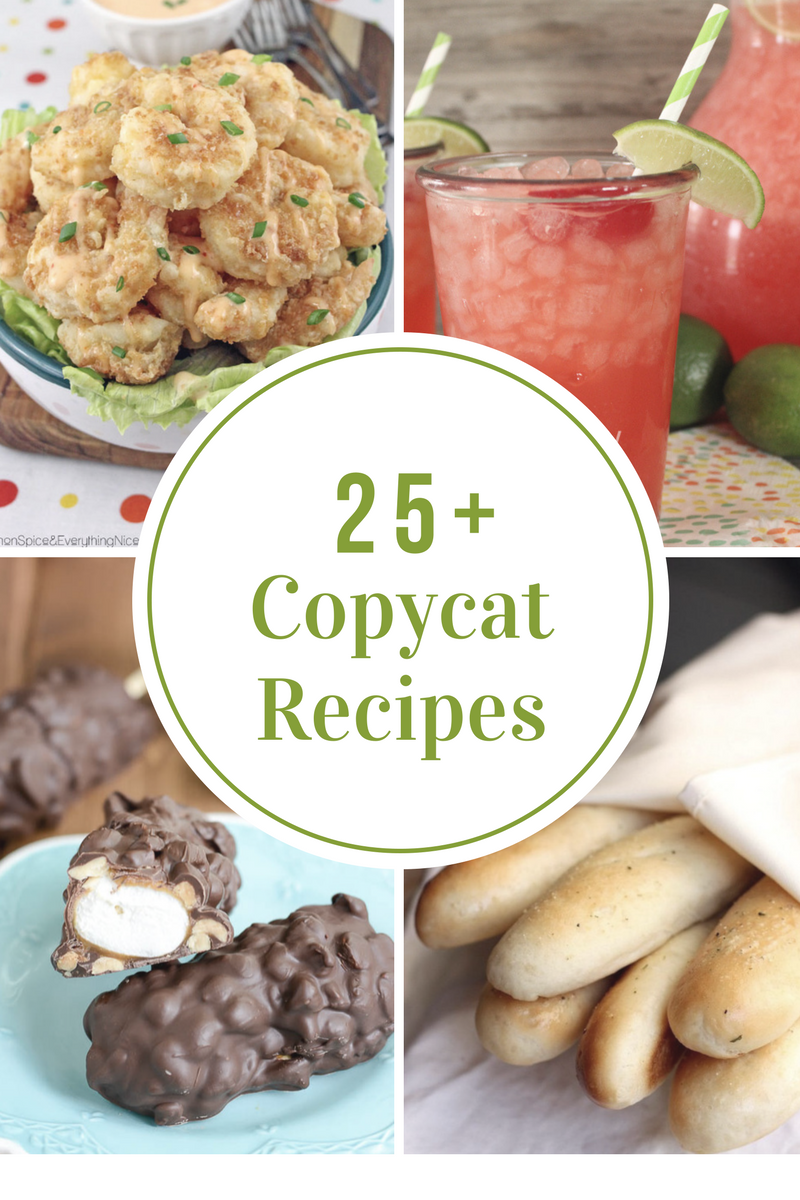
Copycat Recipes
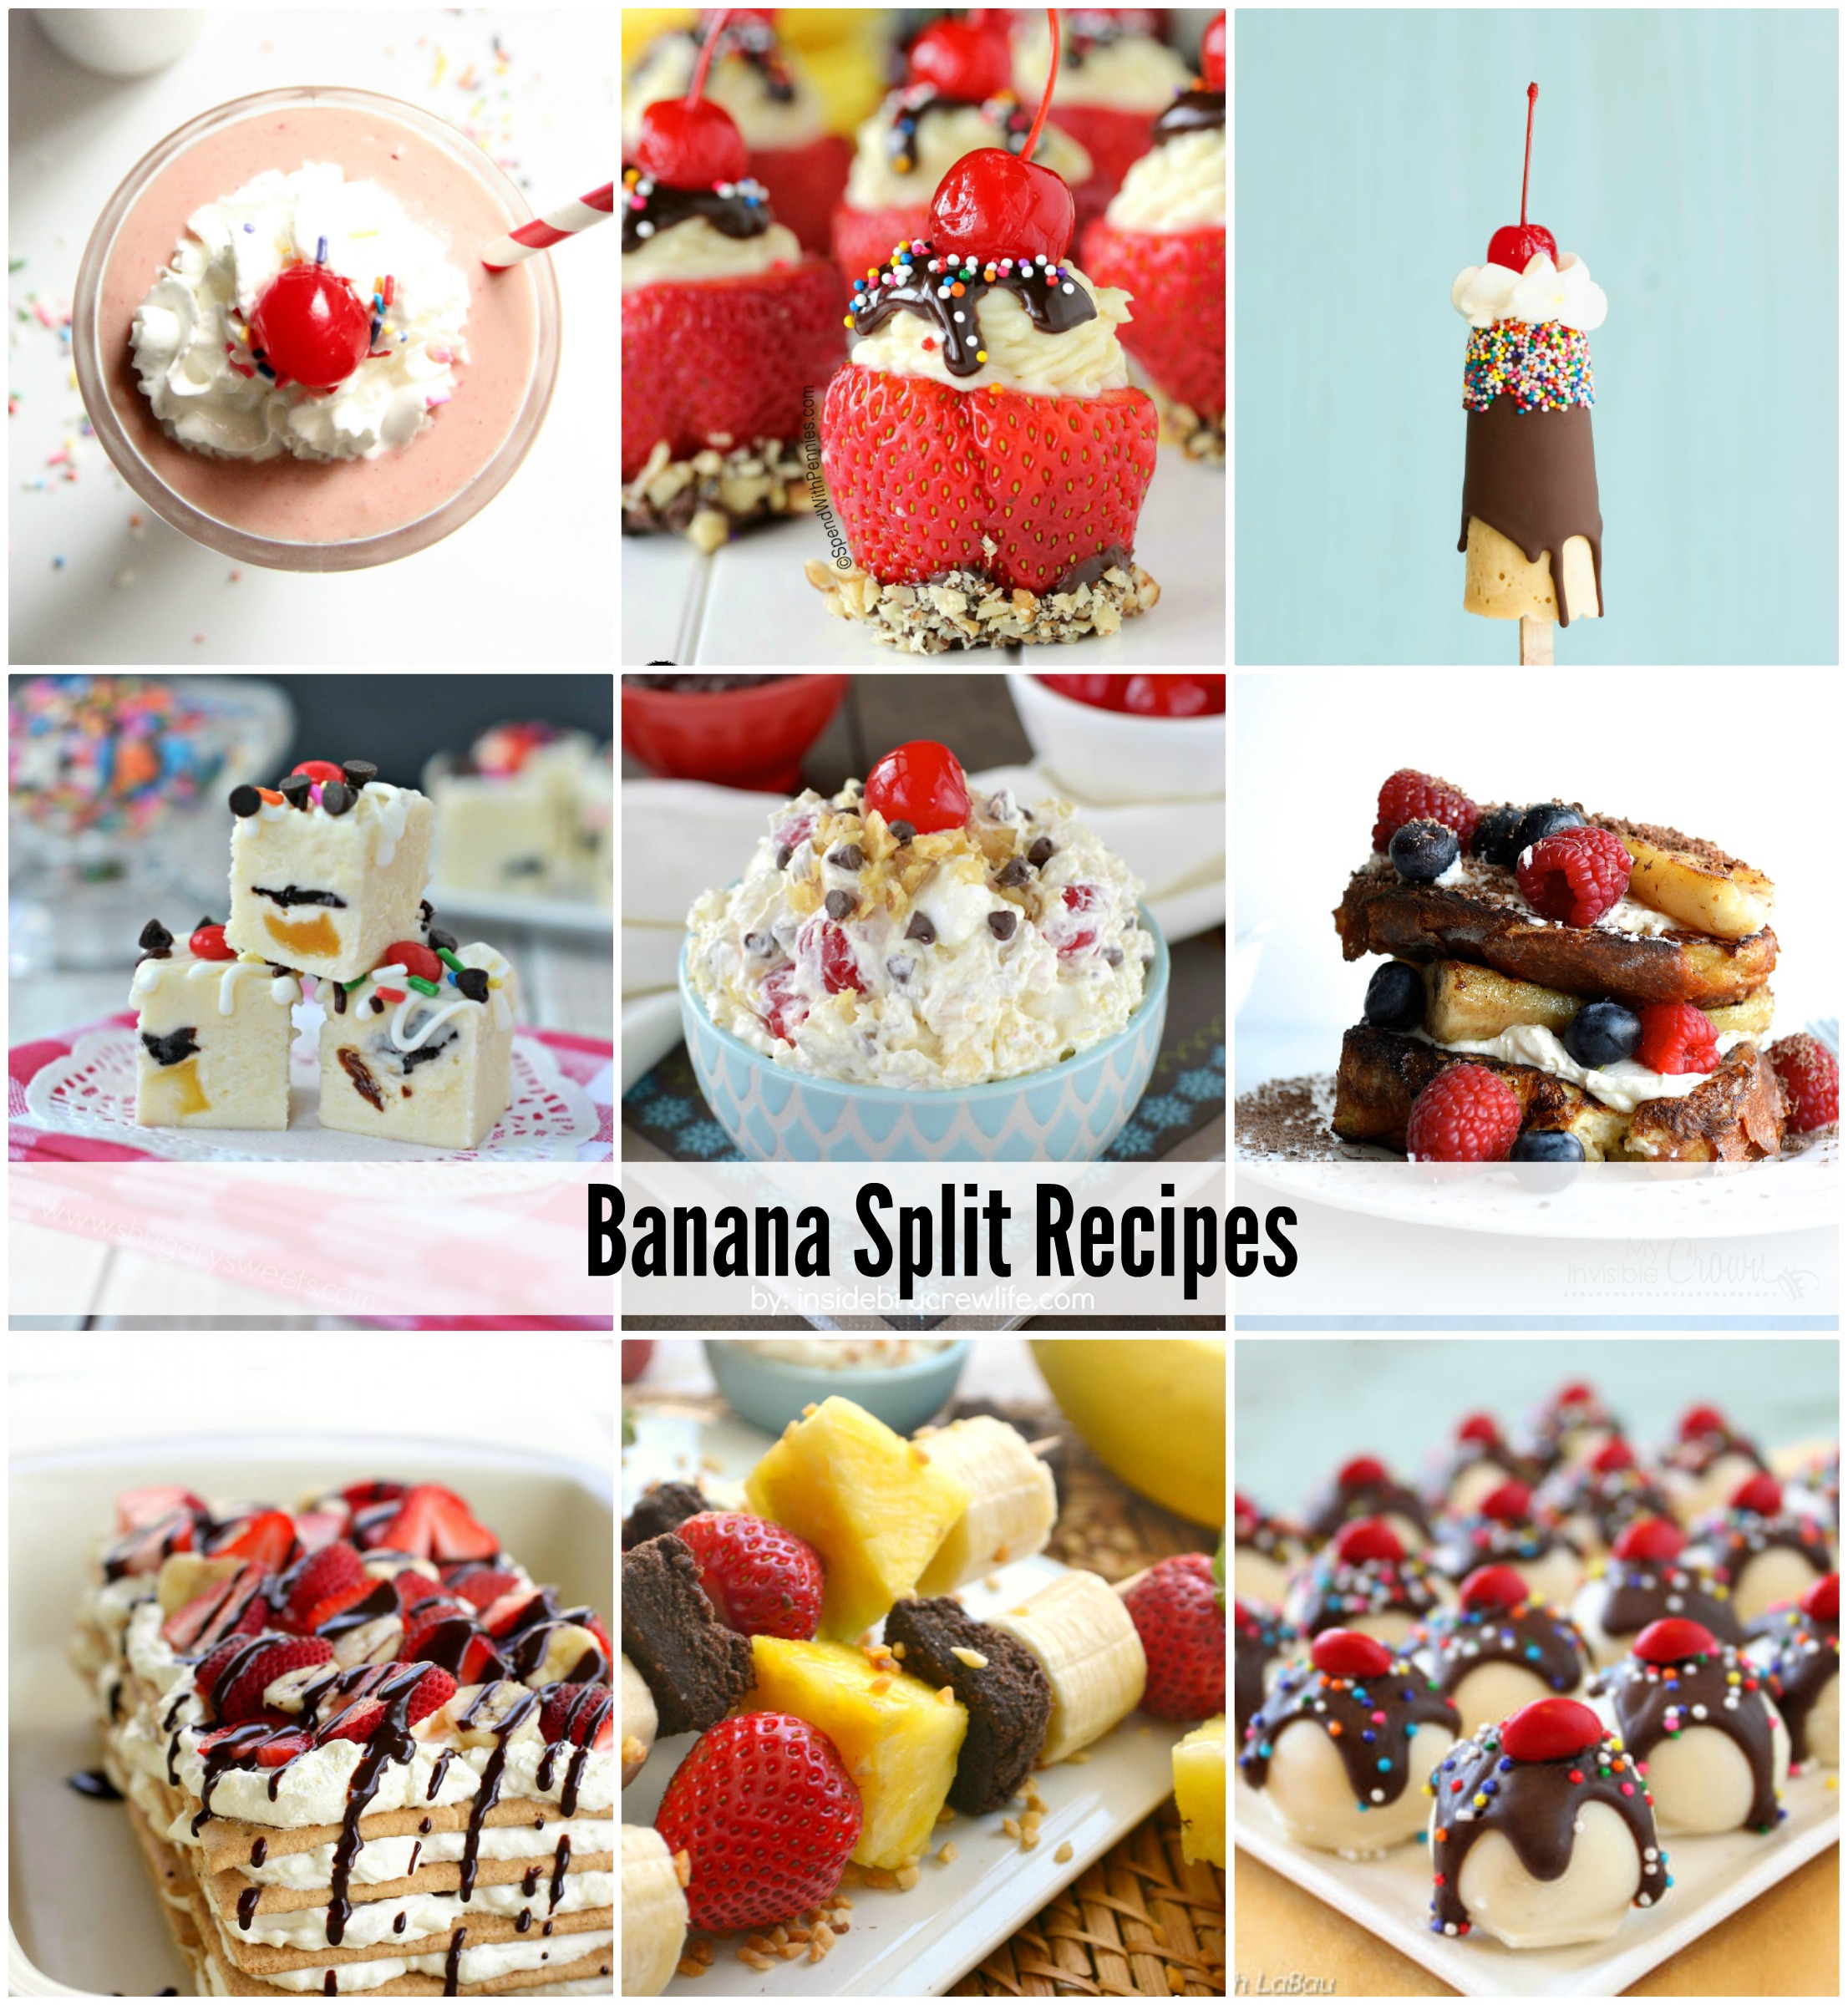
Banana Split Recipes
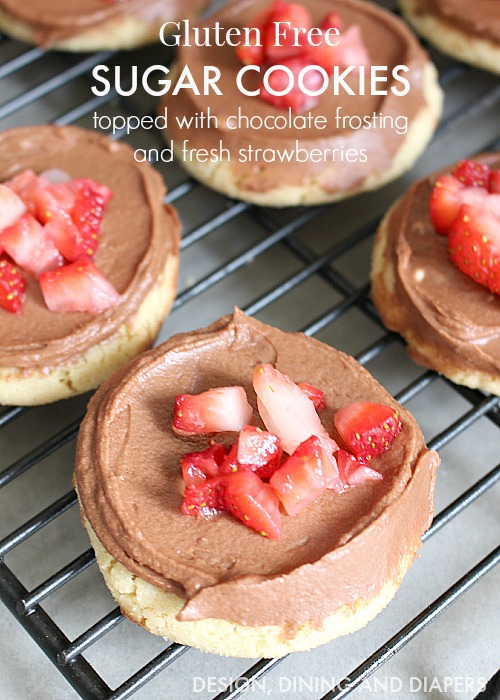
Gluten Free Sugar Cookies with Buttercream Frosting
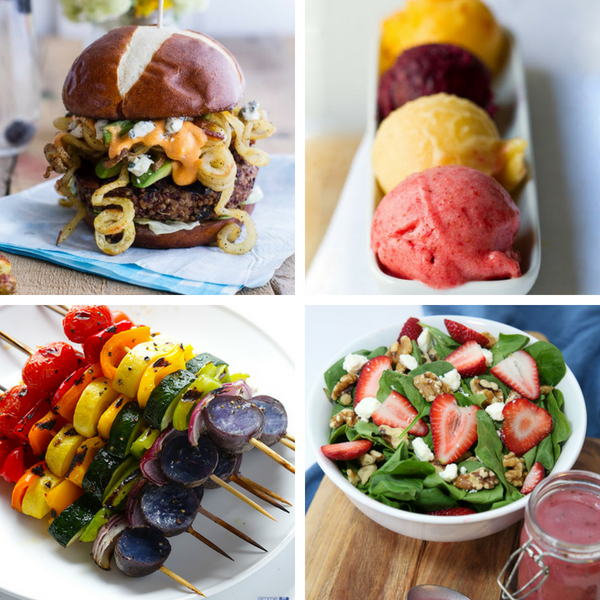
Summer Recipes
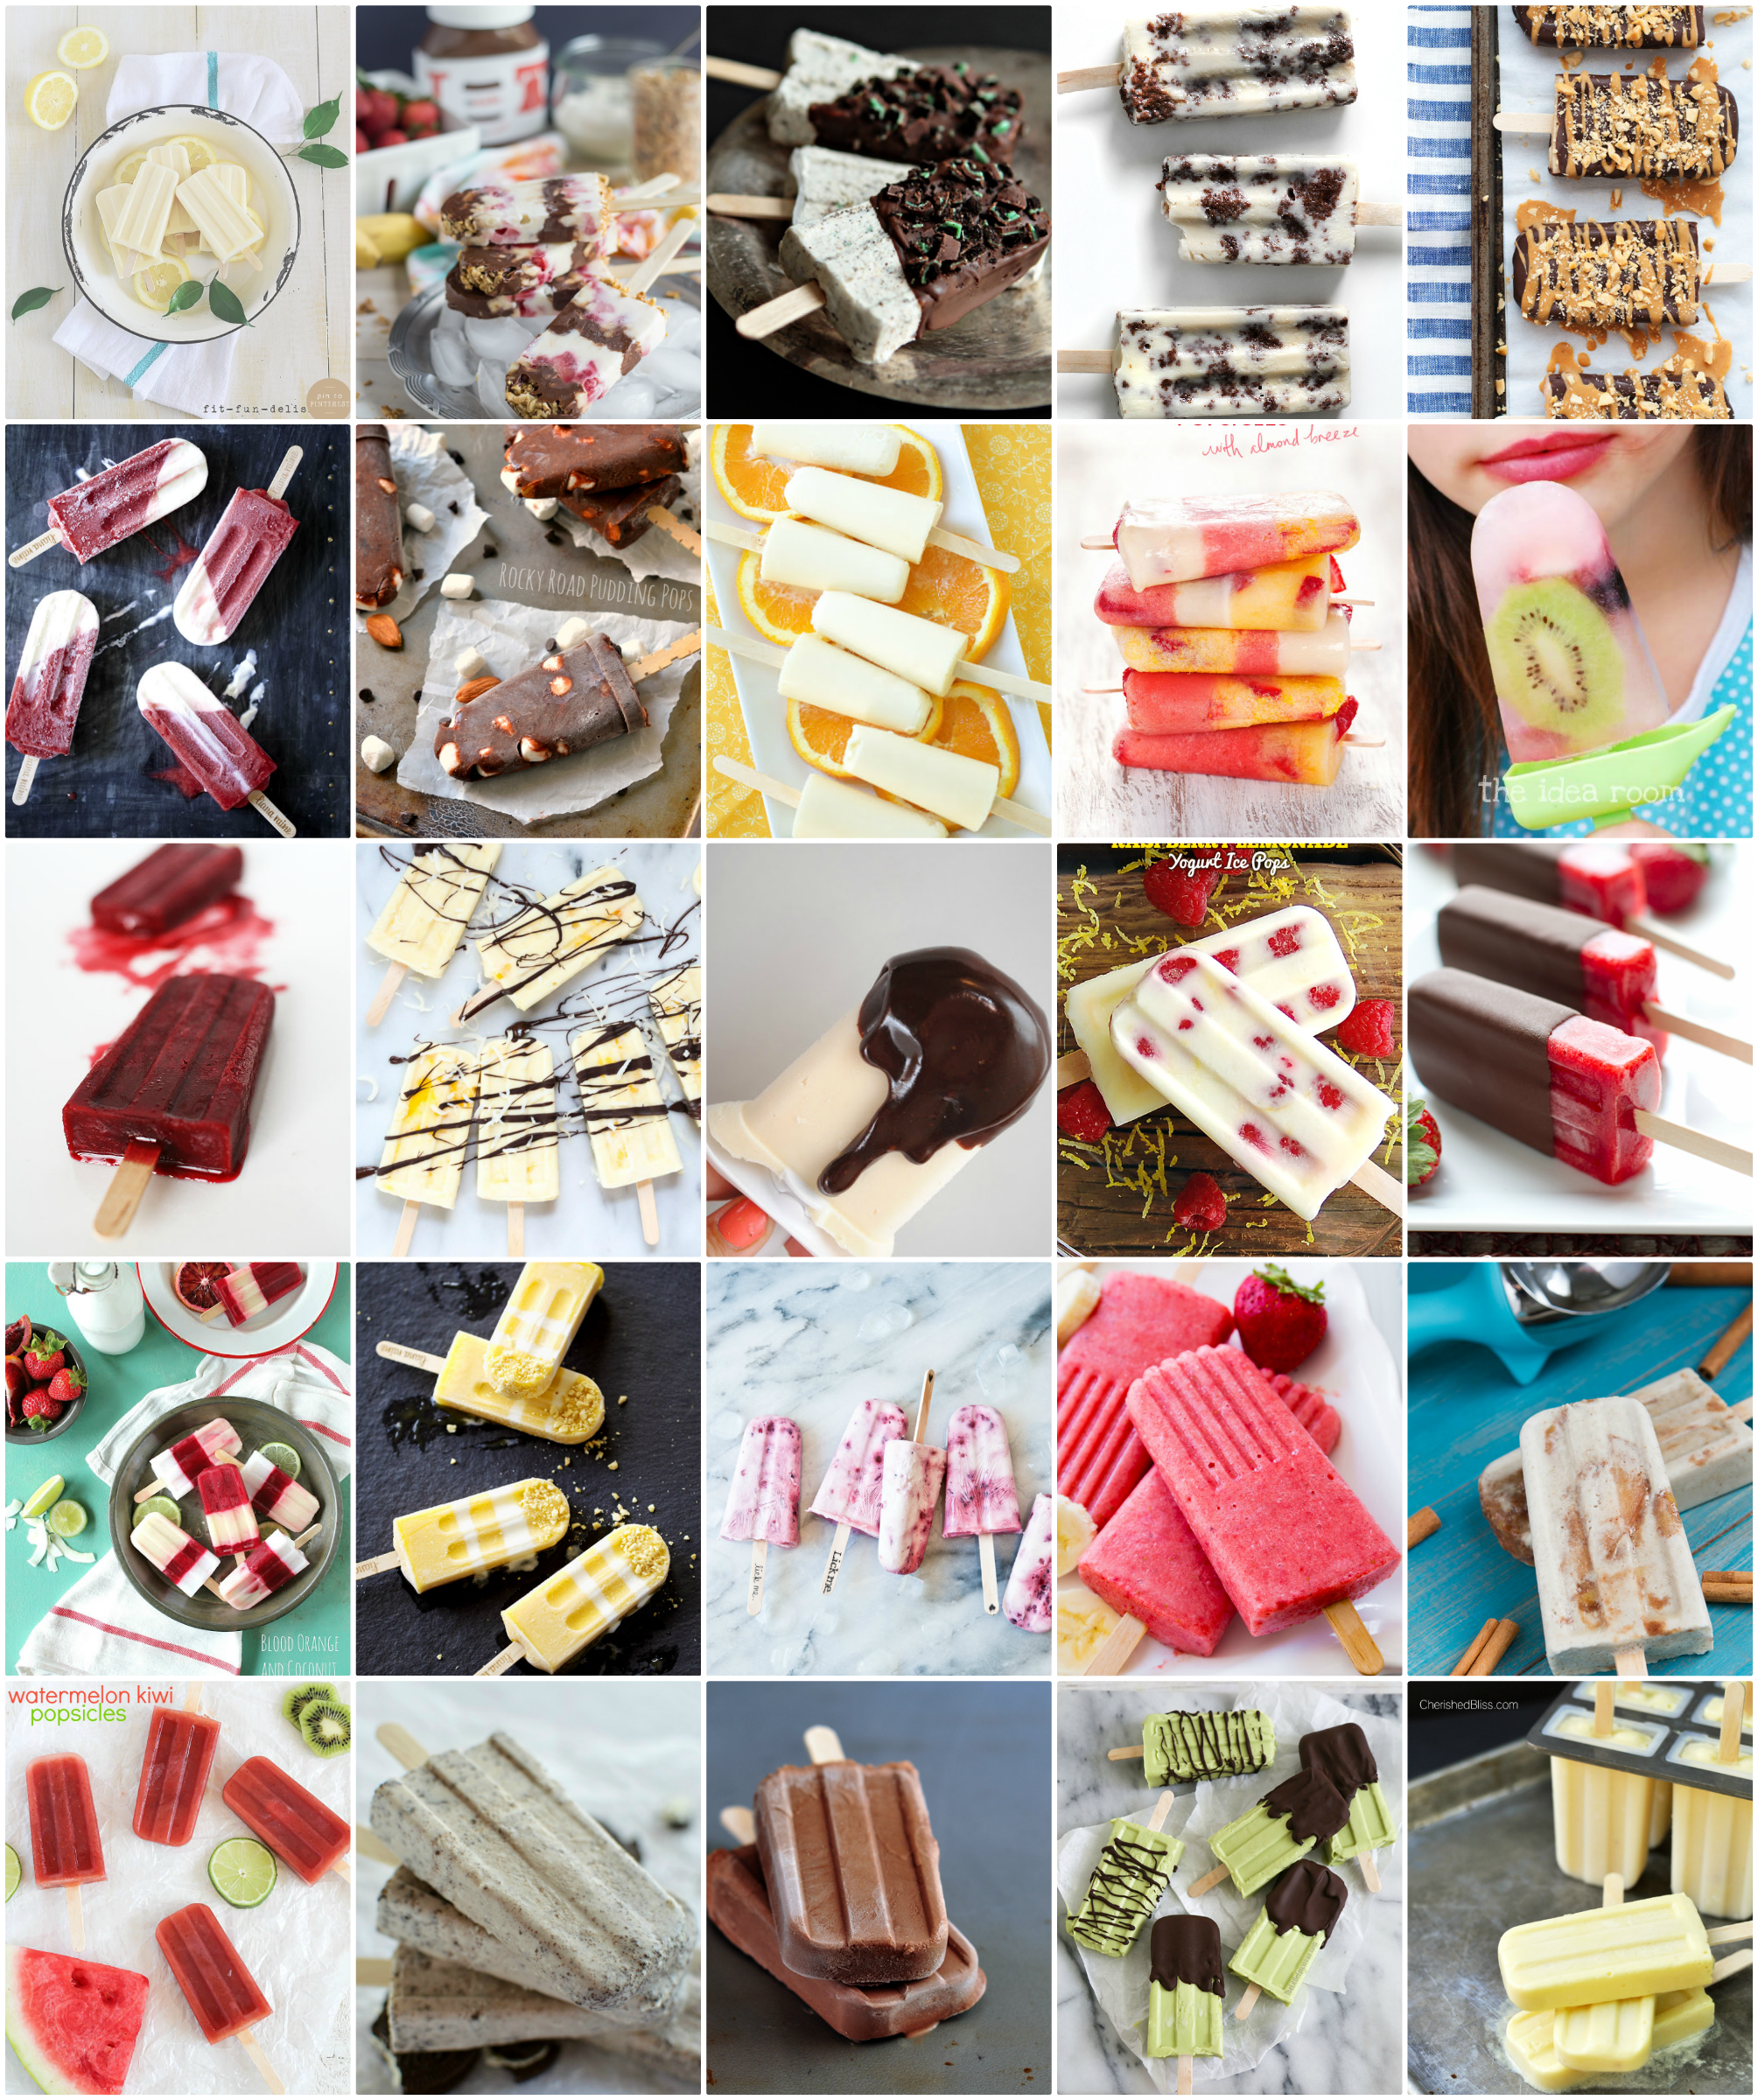
Popsicle Recipes

Amazing Muffin Recipes
- « Previous Page
- 1
- …
- 37
- 38
- 39
- 40
- 41
- …
- 52
- Next Page »


