
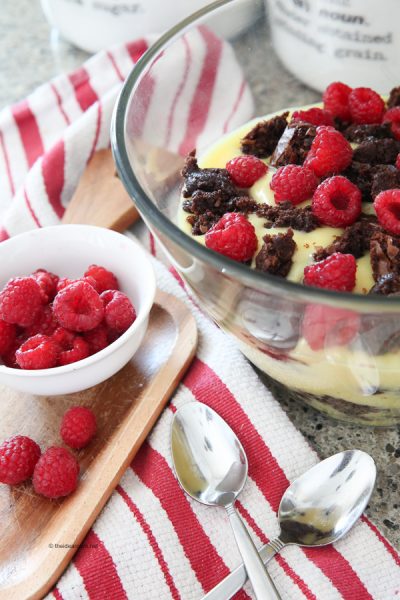
Brownie Trifle
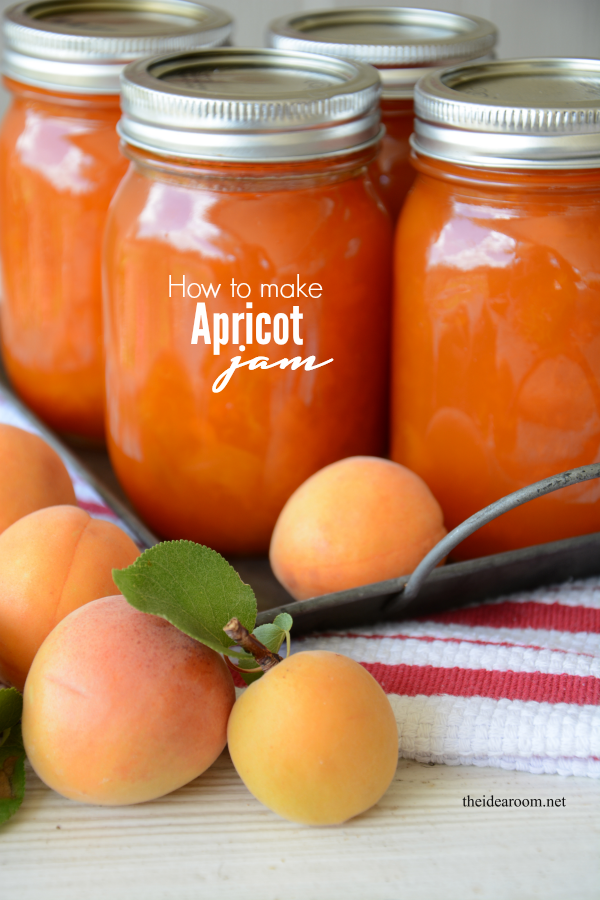
Apricot Jam
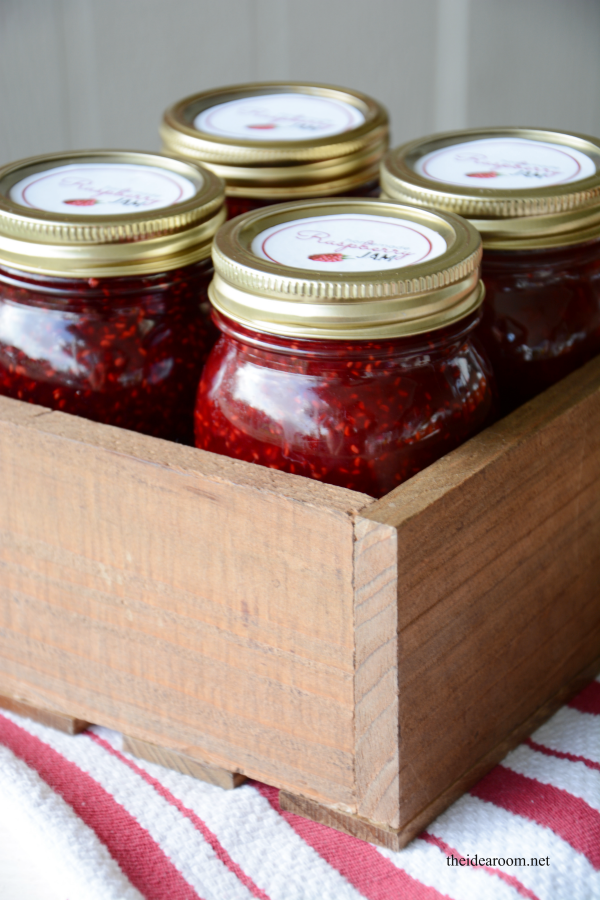
How to Make Raspberry Jam without Pectin
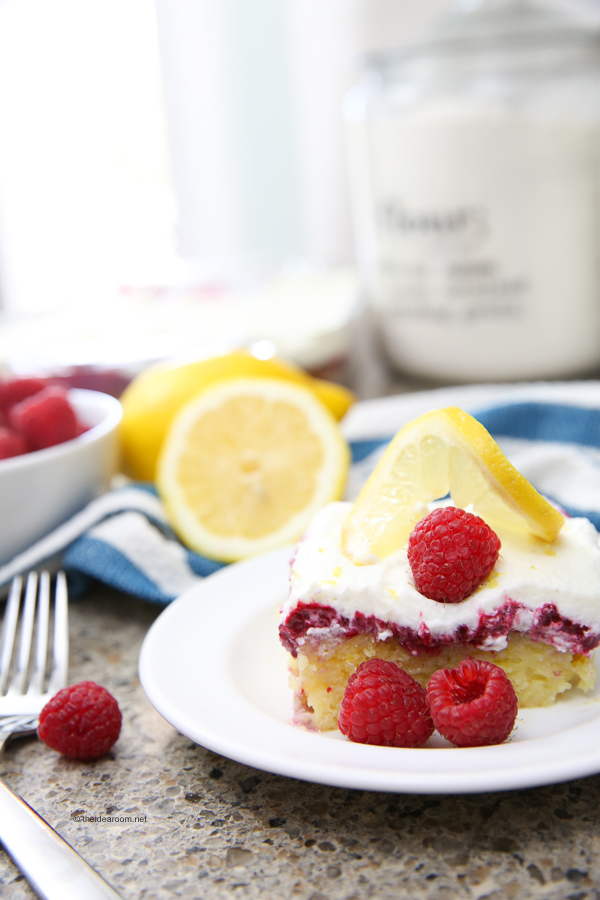
Jello Poke Cake
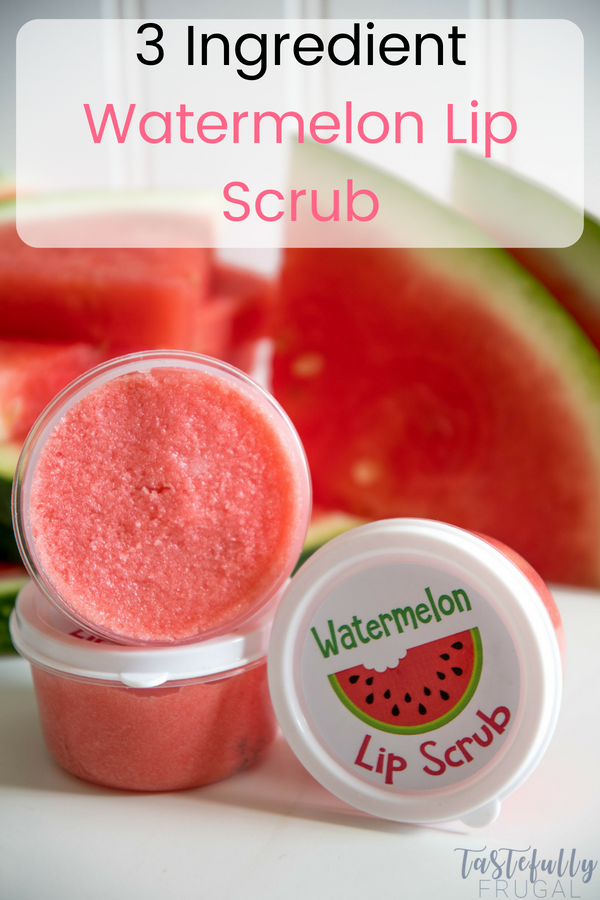
Lip Scrub
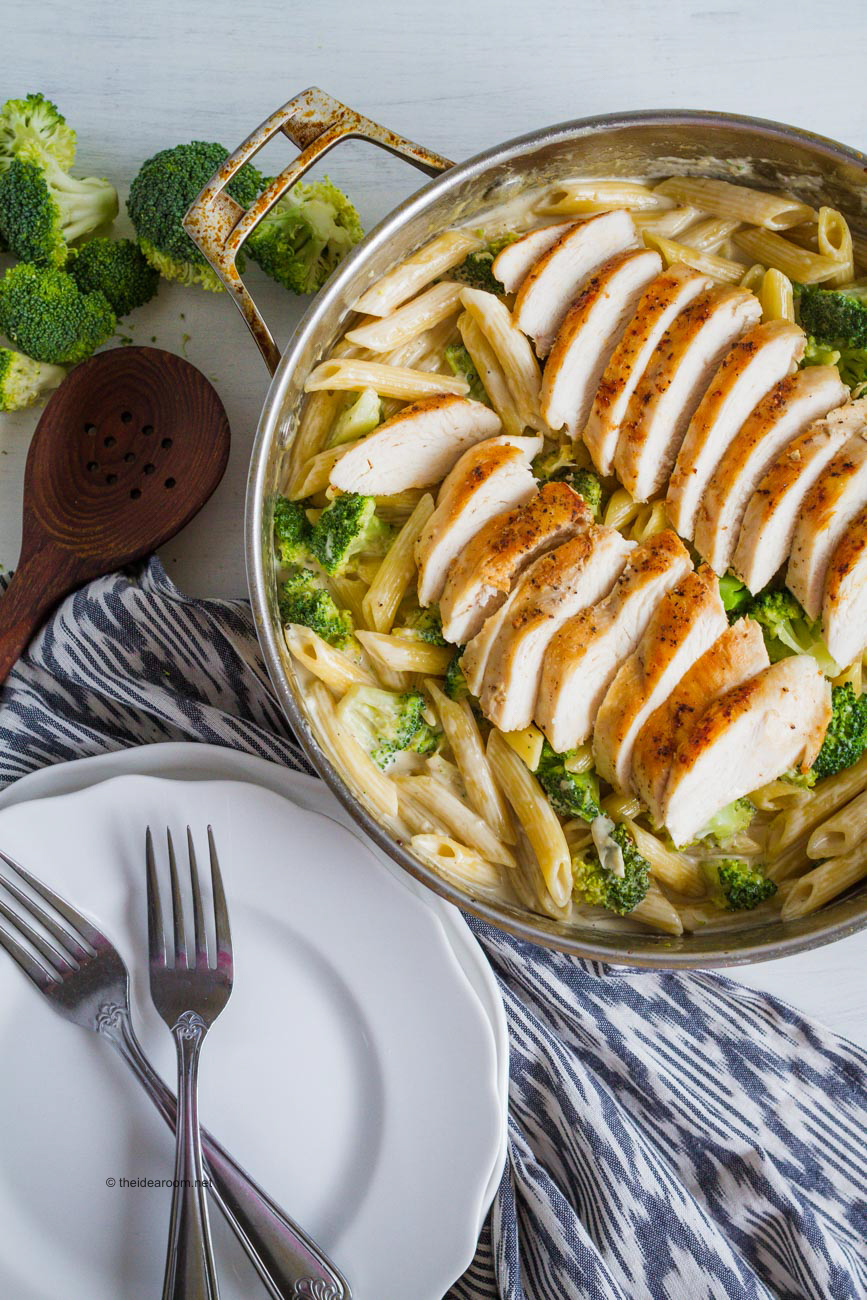
Chicken Broccoli Alfredo
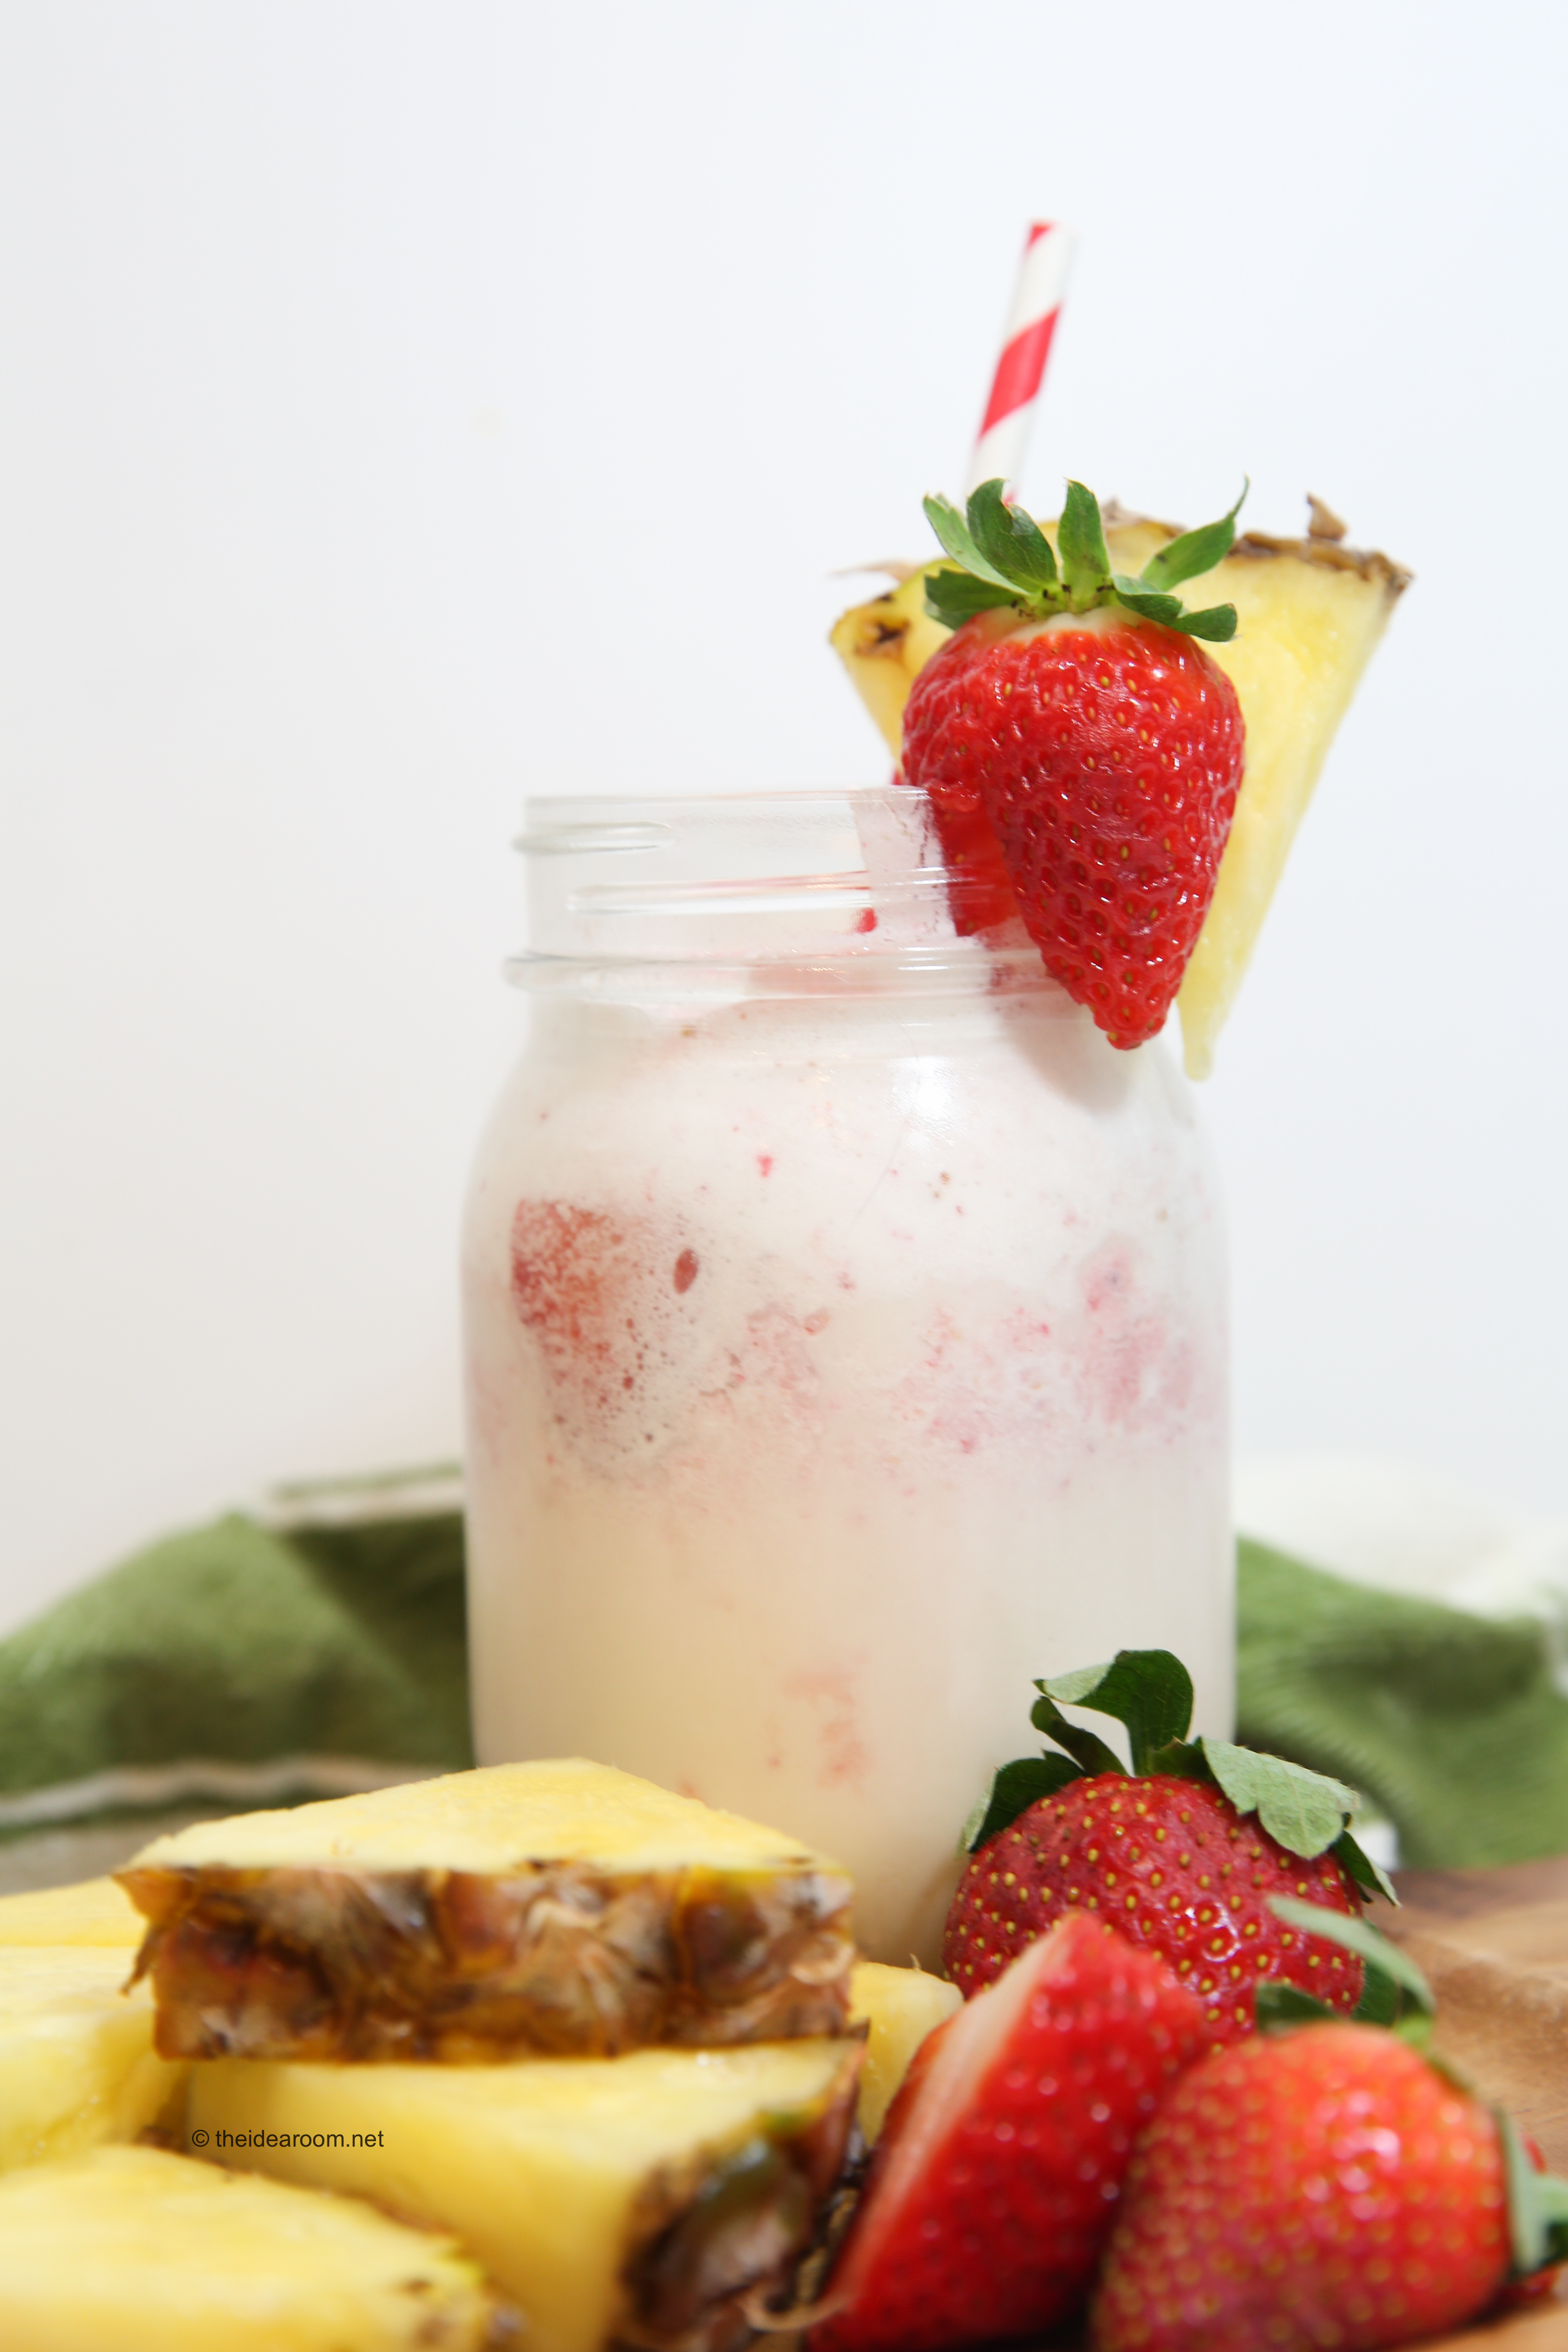
Strawberry Pina Colada
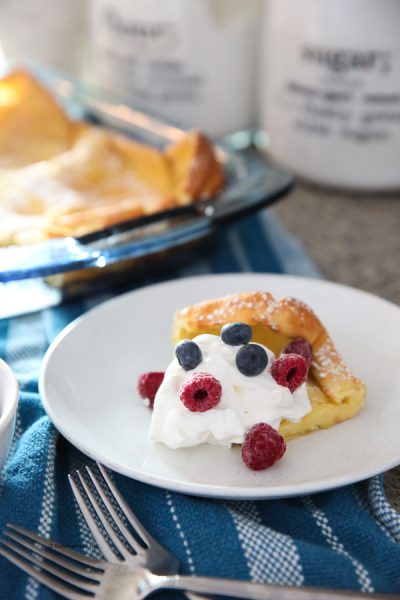
How to Make German Pancakes
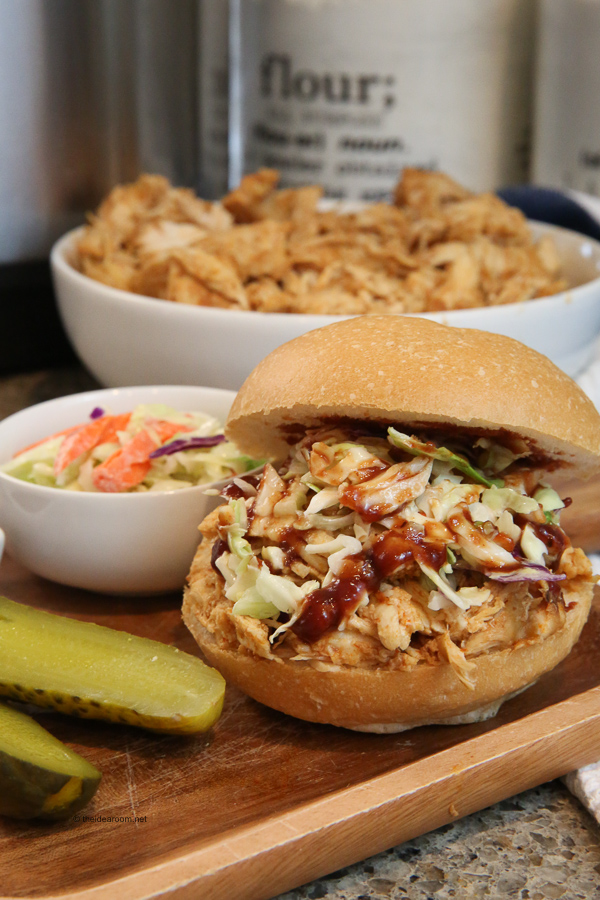
Instant Pot BBQ Chicken
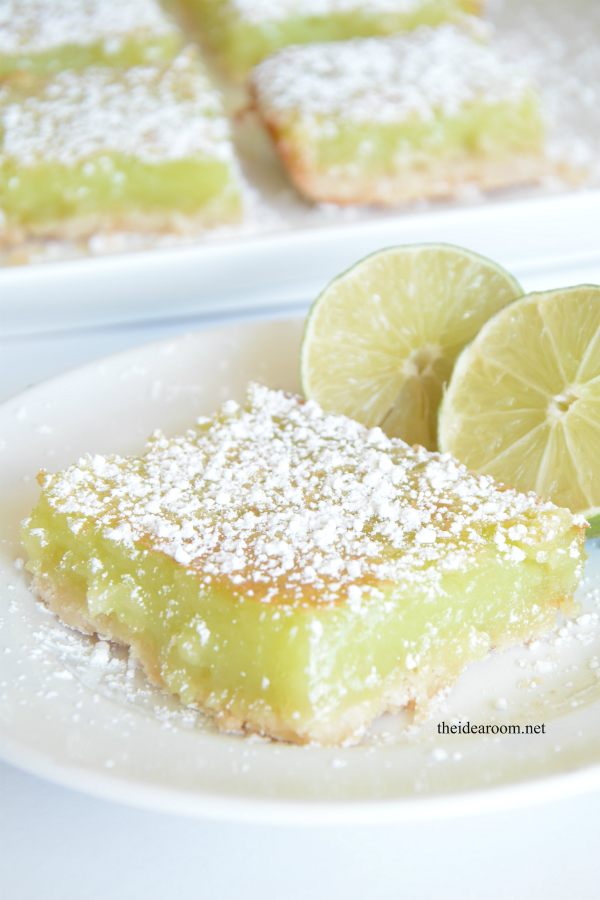
Key Lime Bars
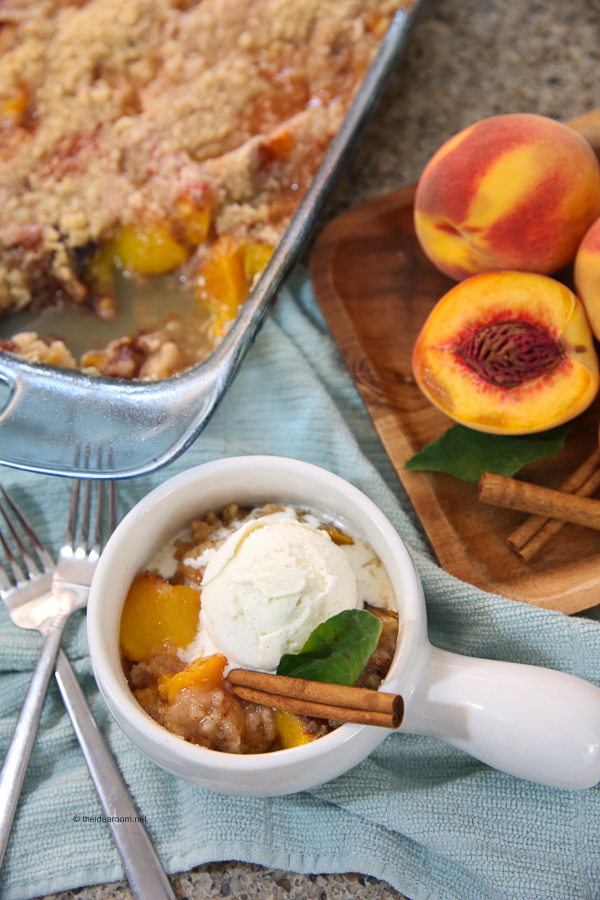
Peach Crisp Recipe
- « Previous Page
- 1
- …
- 3
- 4
- 5
- 6
- 7
- …
- 52
- Next Page »


