

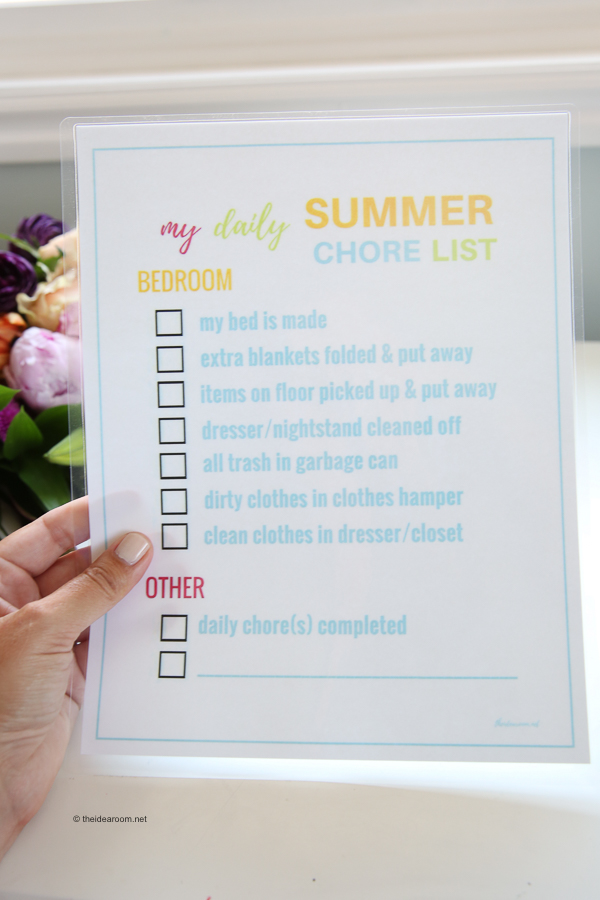
Chore List for Kids

A Fun Washi Tape– Summer Crafts for Kids
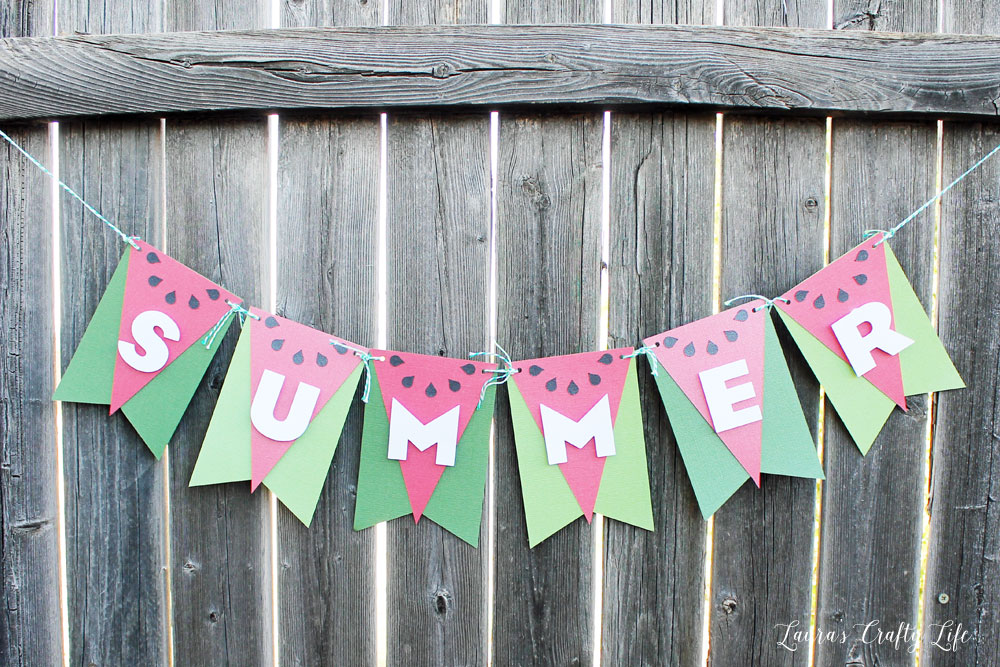
Summer Banner
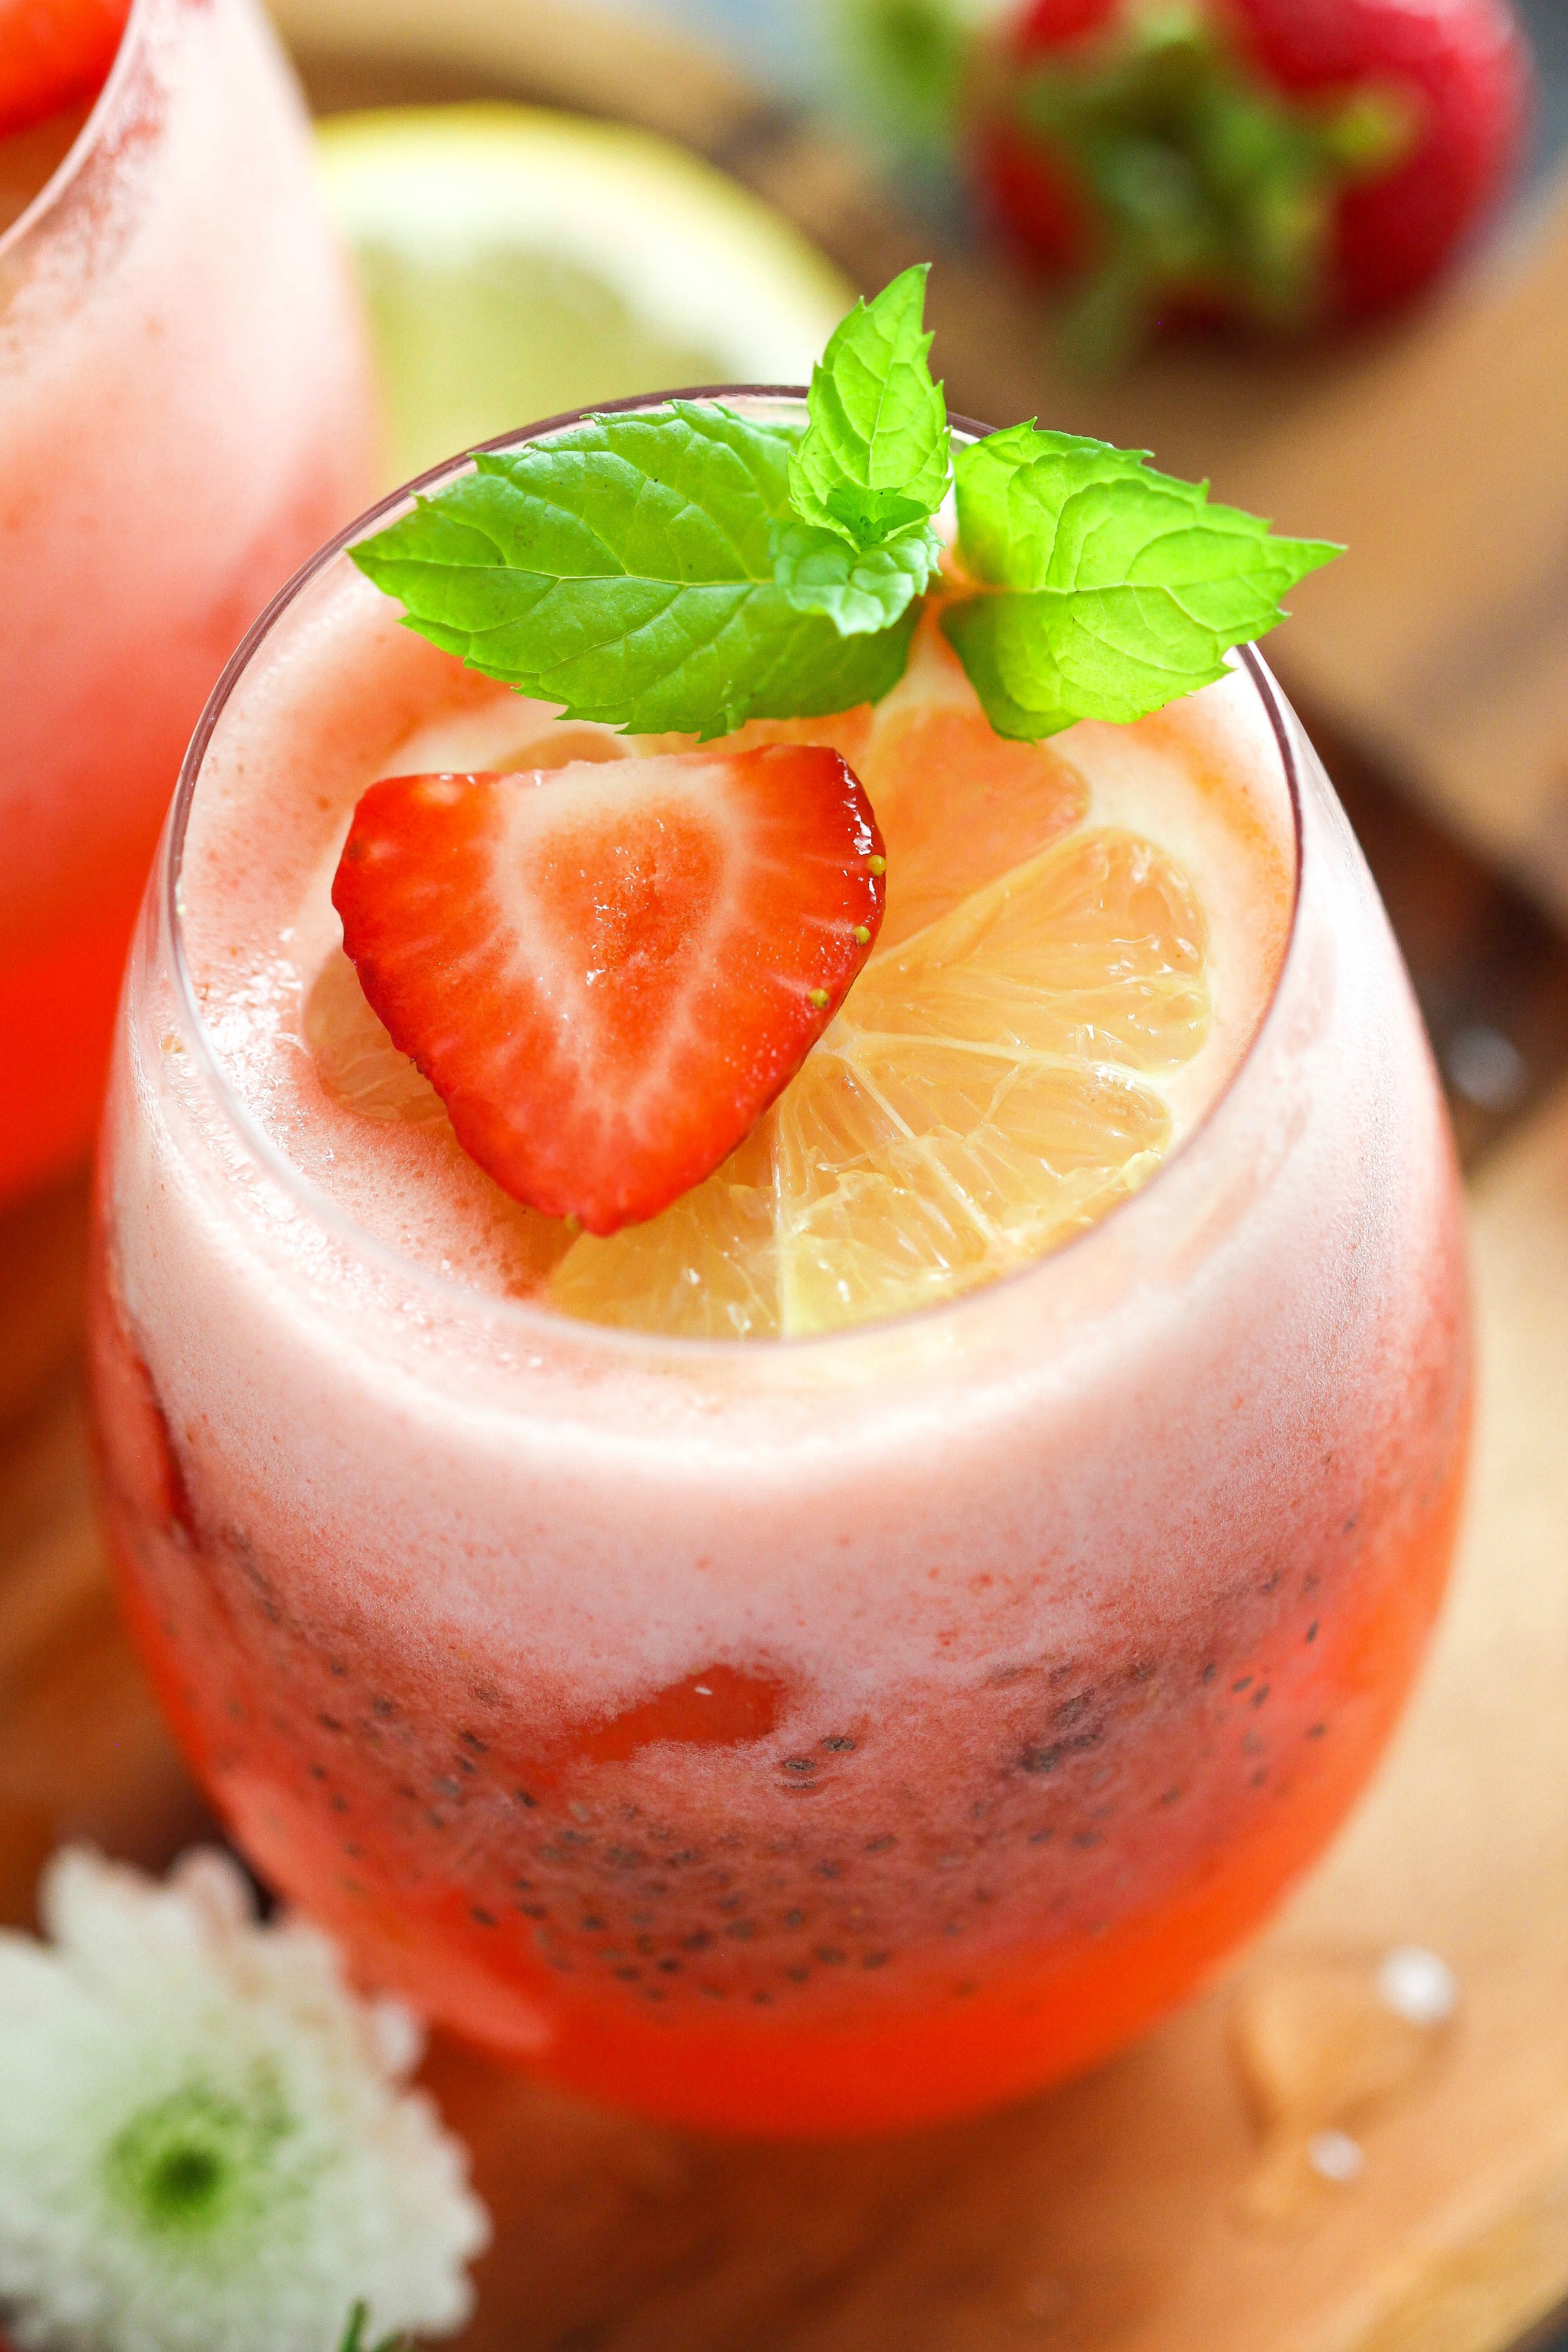
Chia Seed Drink- Strawberry Lemonade with Chia Seeds
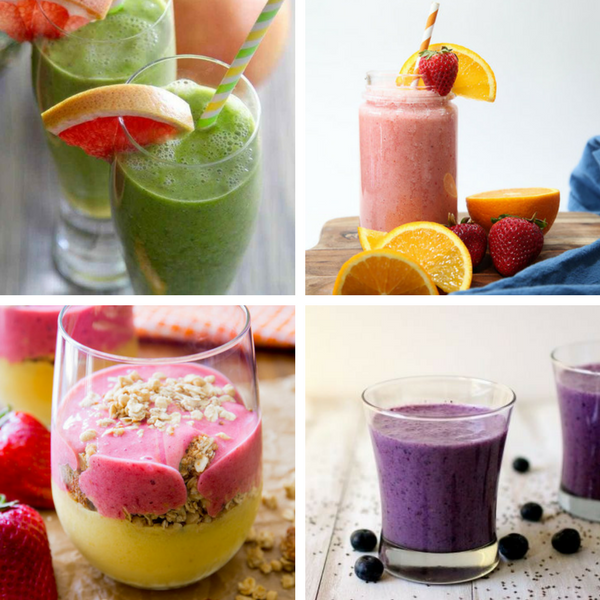
Smoothie Recipes

Best Lemon Recipes and Lemon Desserts

Blackberry Recipes
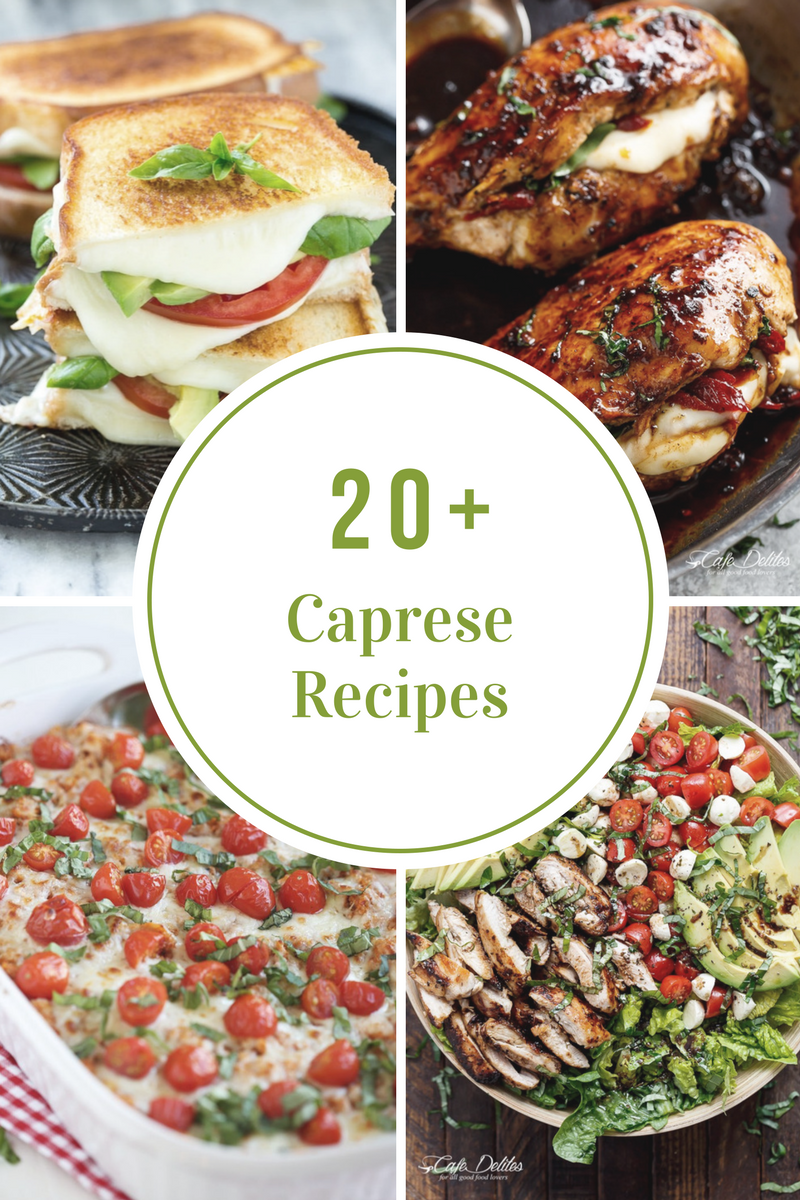
Caprese Recipes
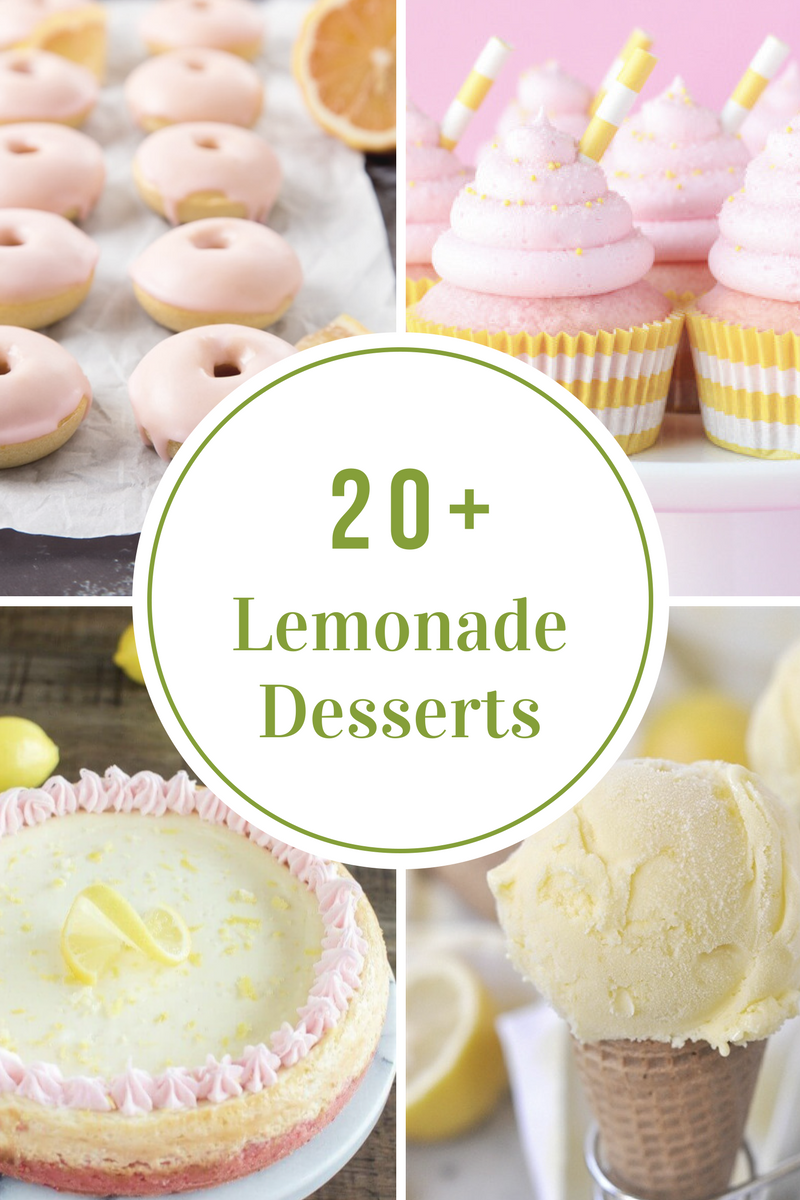
Lemonade Dessert Recipes
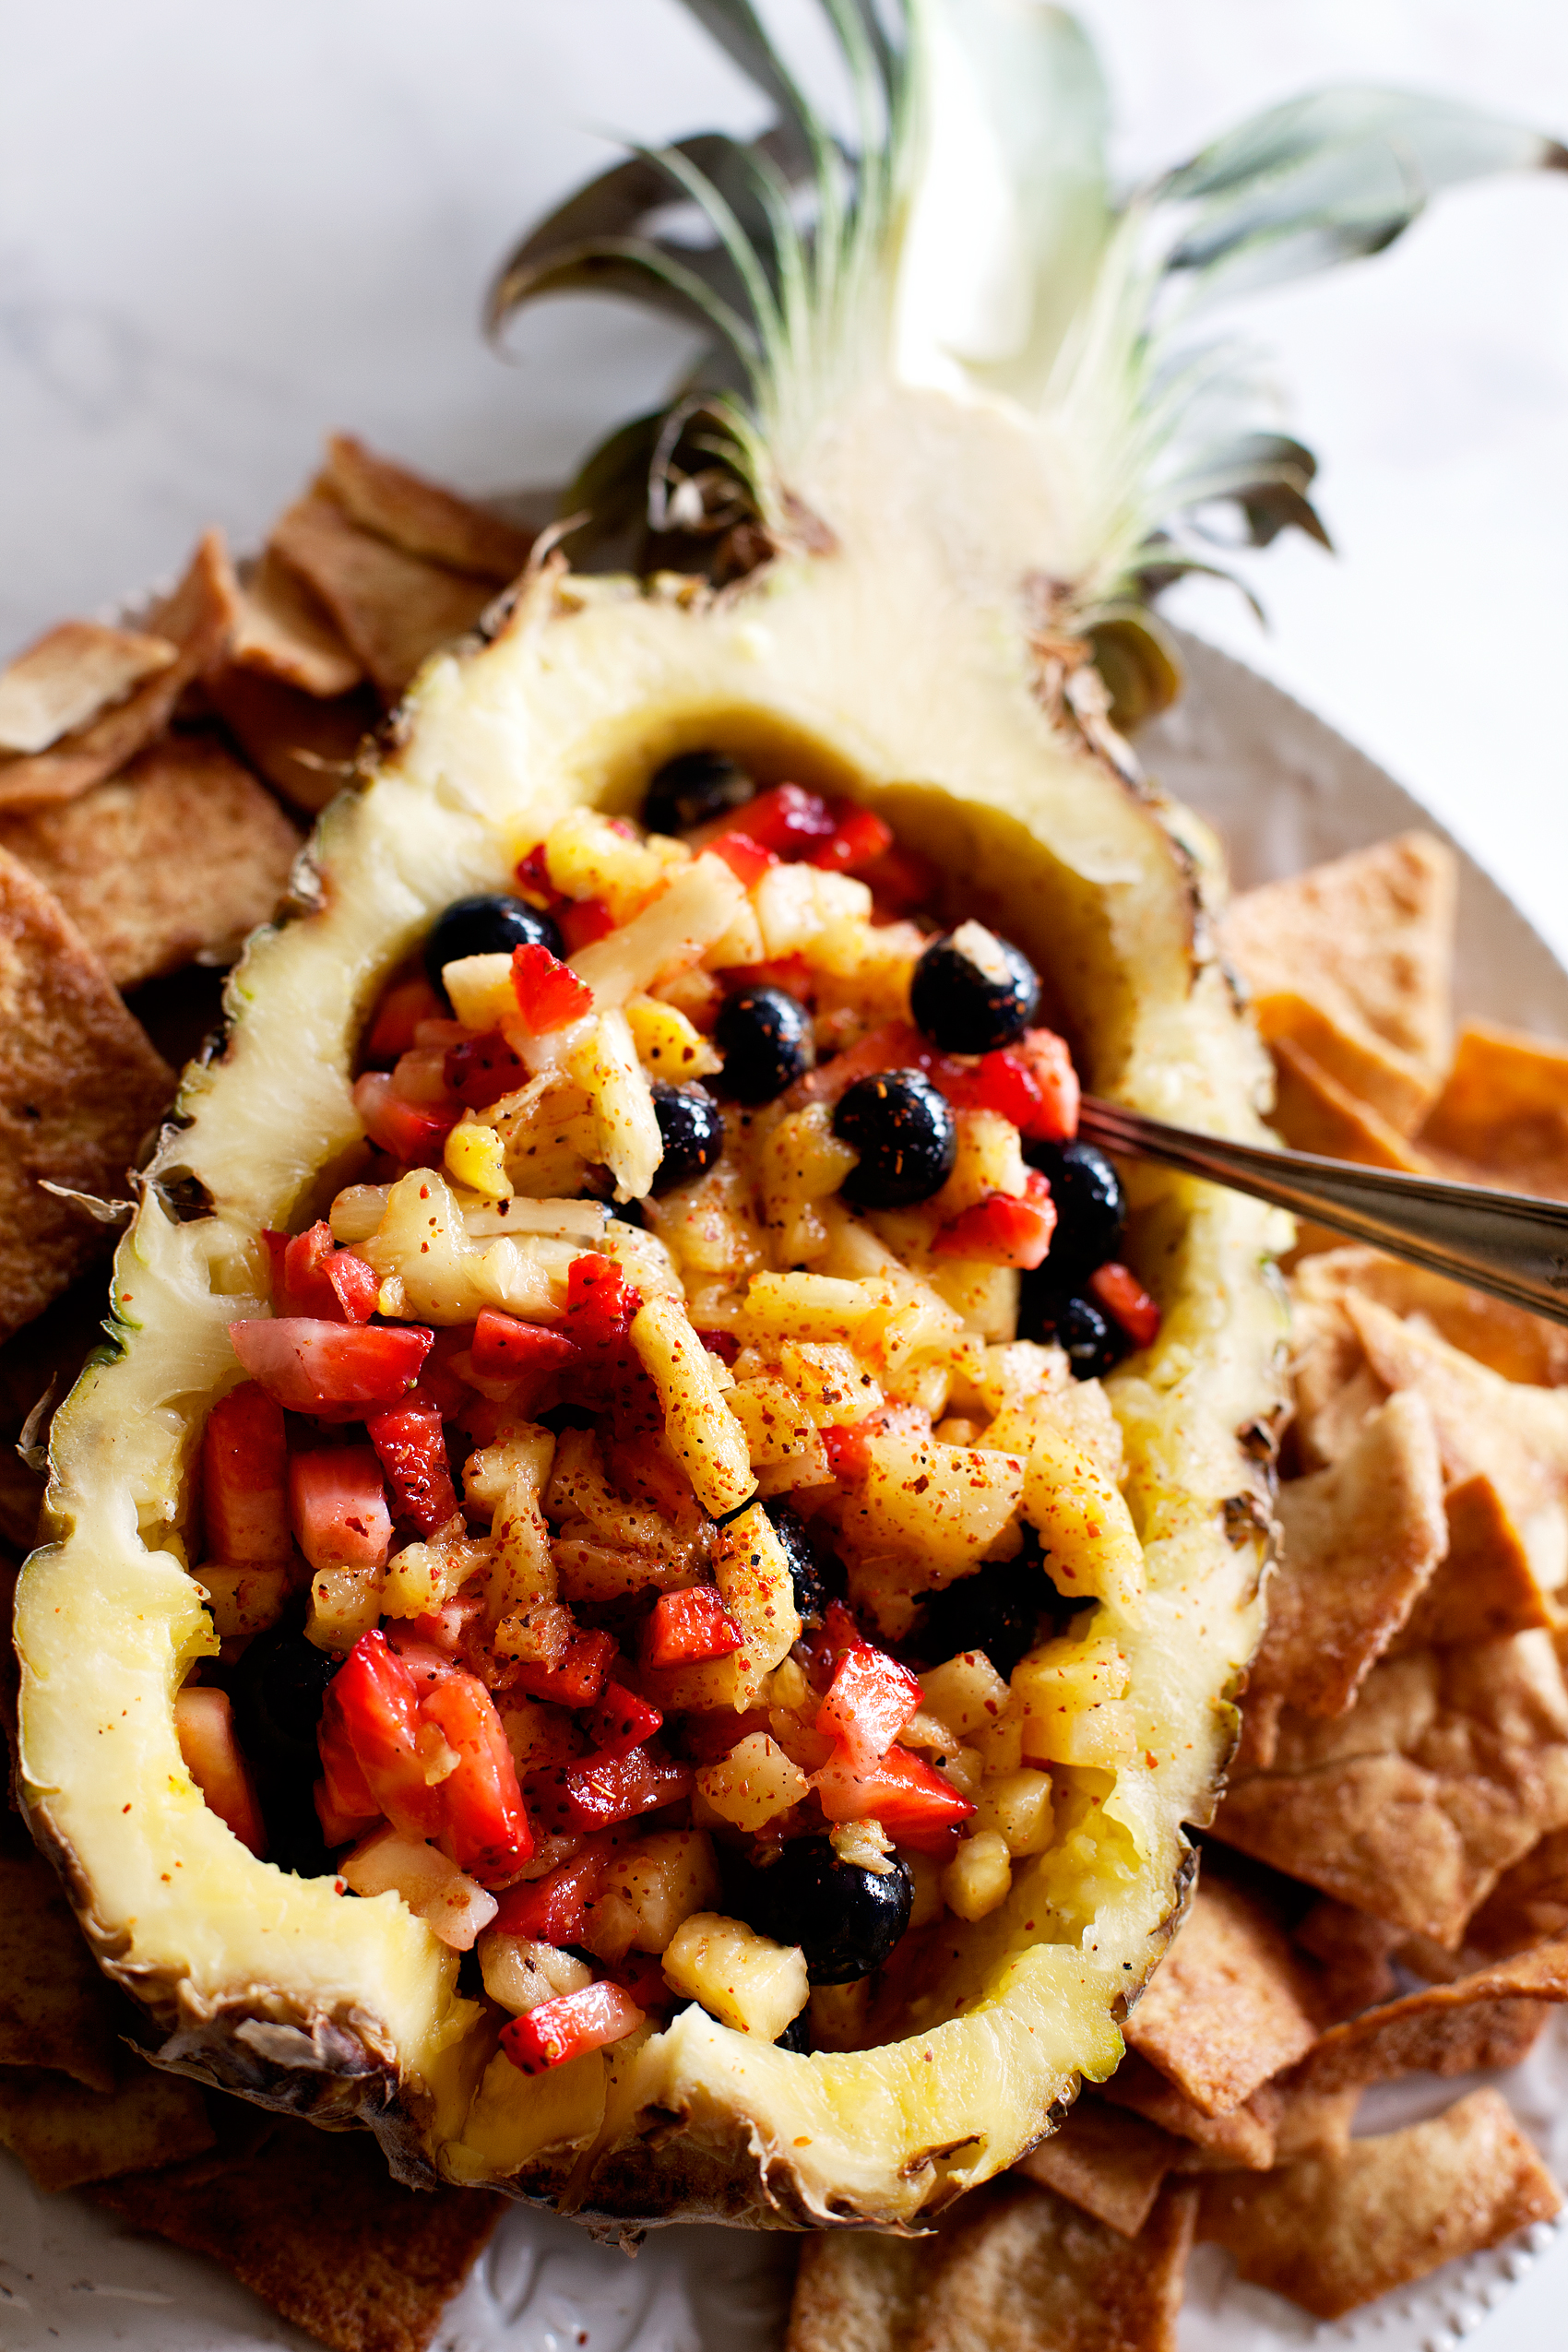
Fresh Pineapple Salsa Recipe
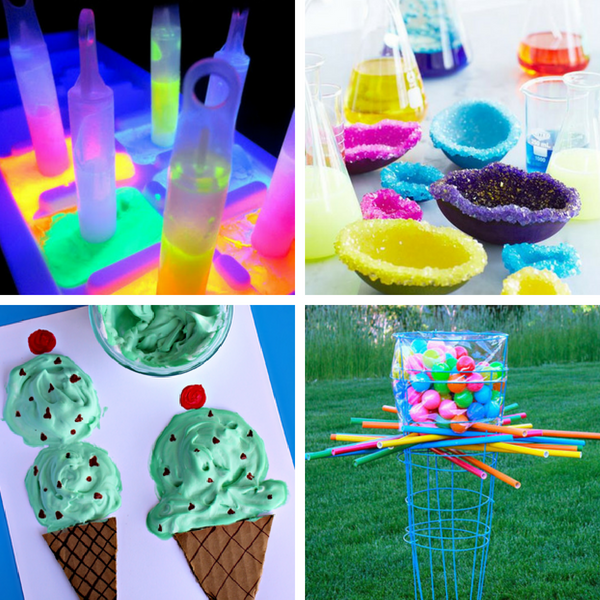
Summer Bucket List
- « Previous Page
- 1
- …
- 3
- 4
- 5
- 6
- 7
- …
- 12
- Next Page »


