
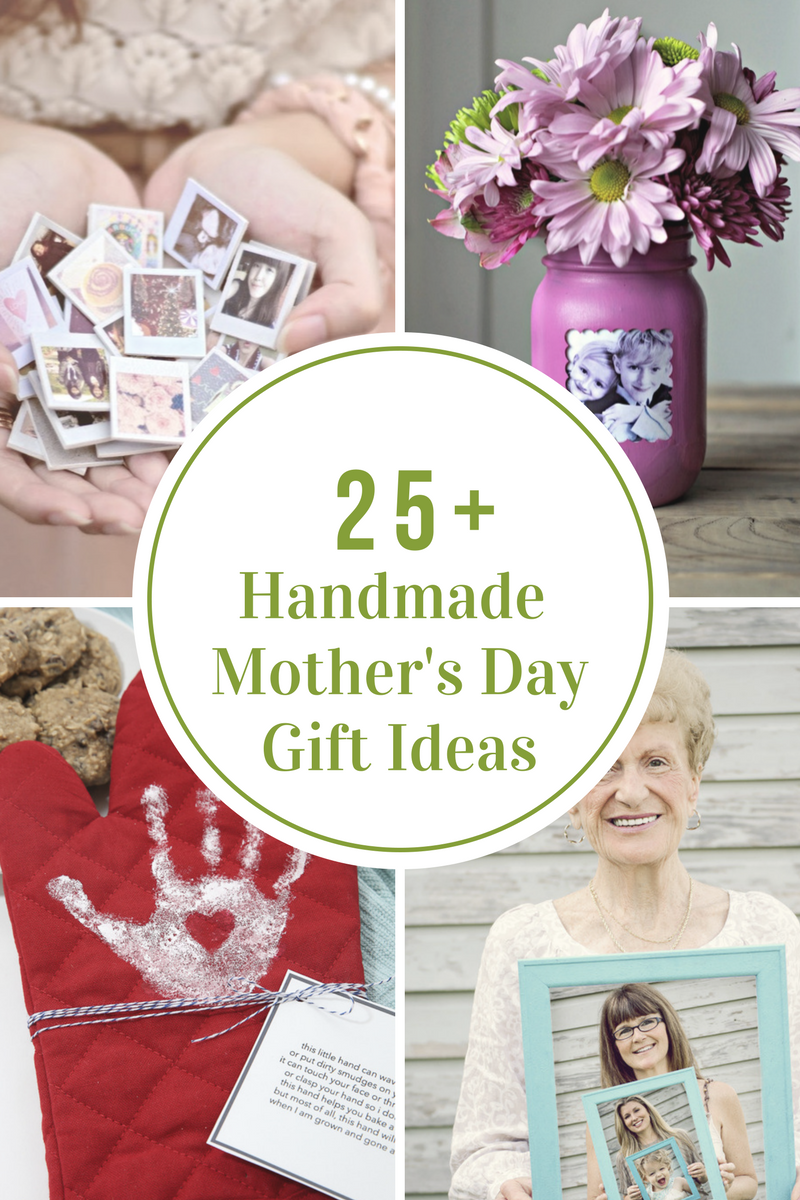
Handmade Mother’s Day Gift Ideas
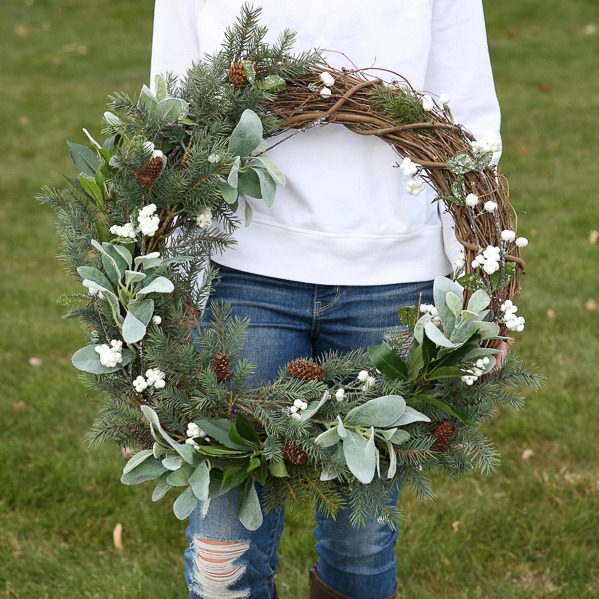
How to Make a Rustic Farmhouse Wreath
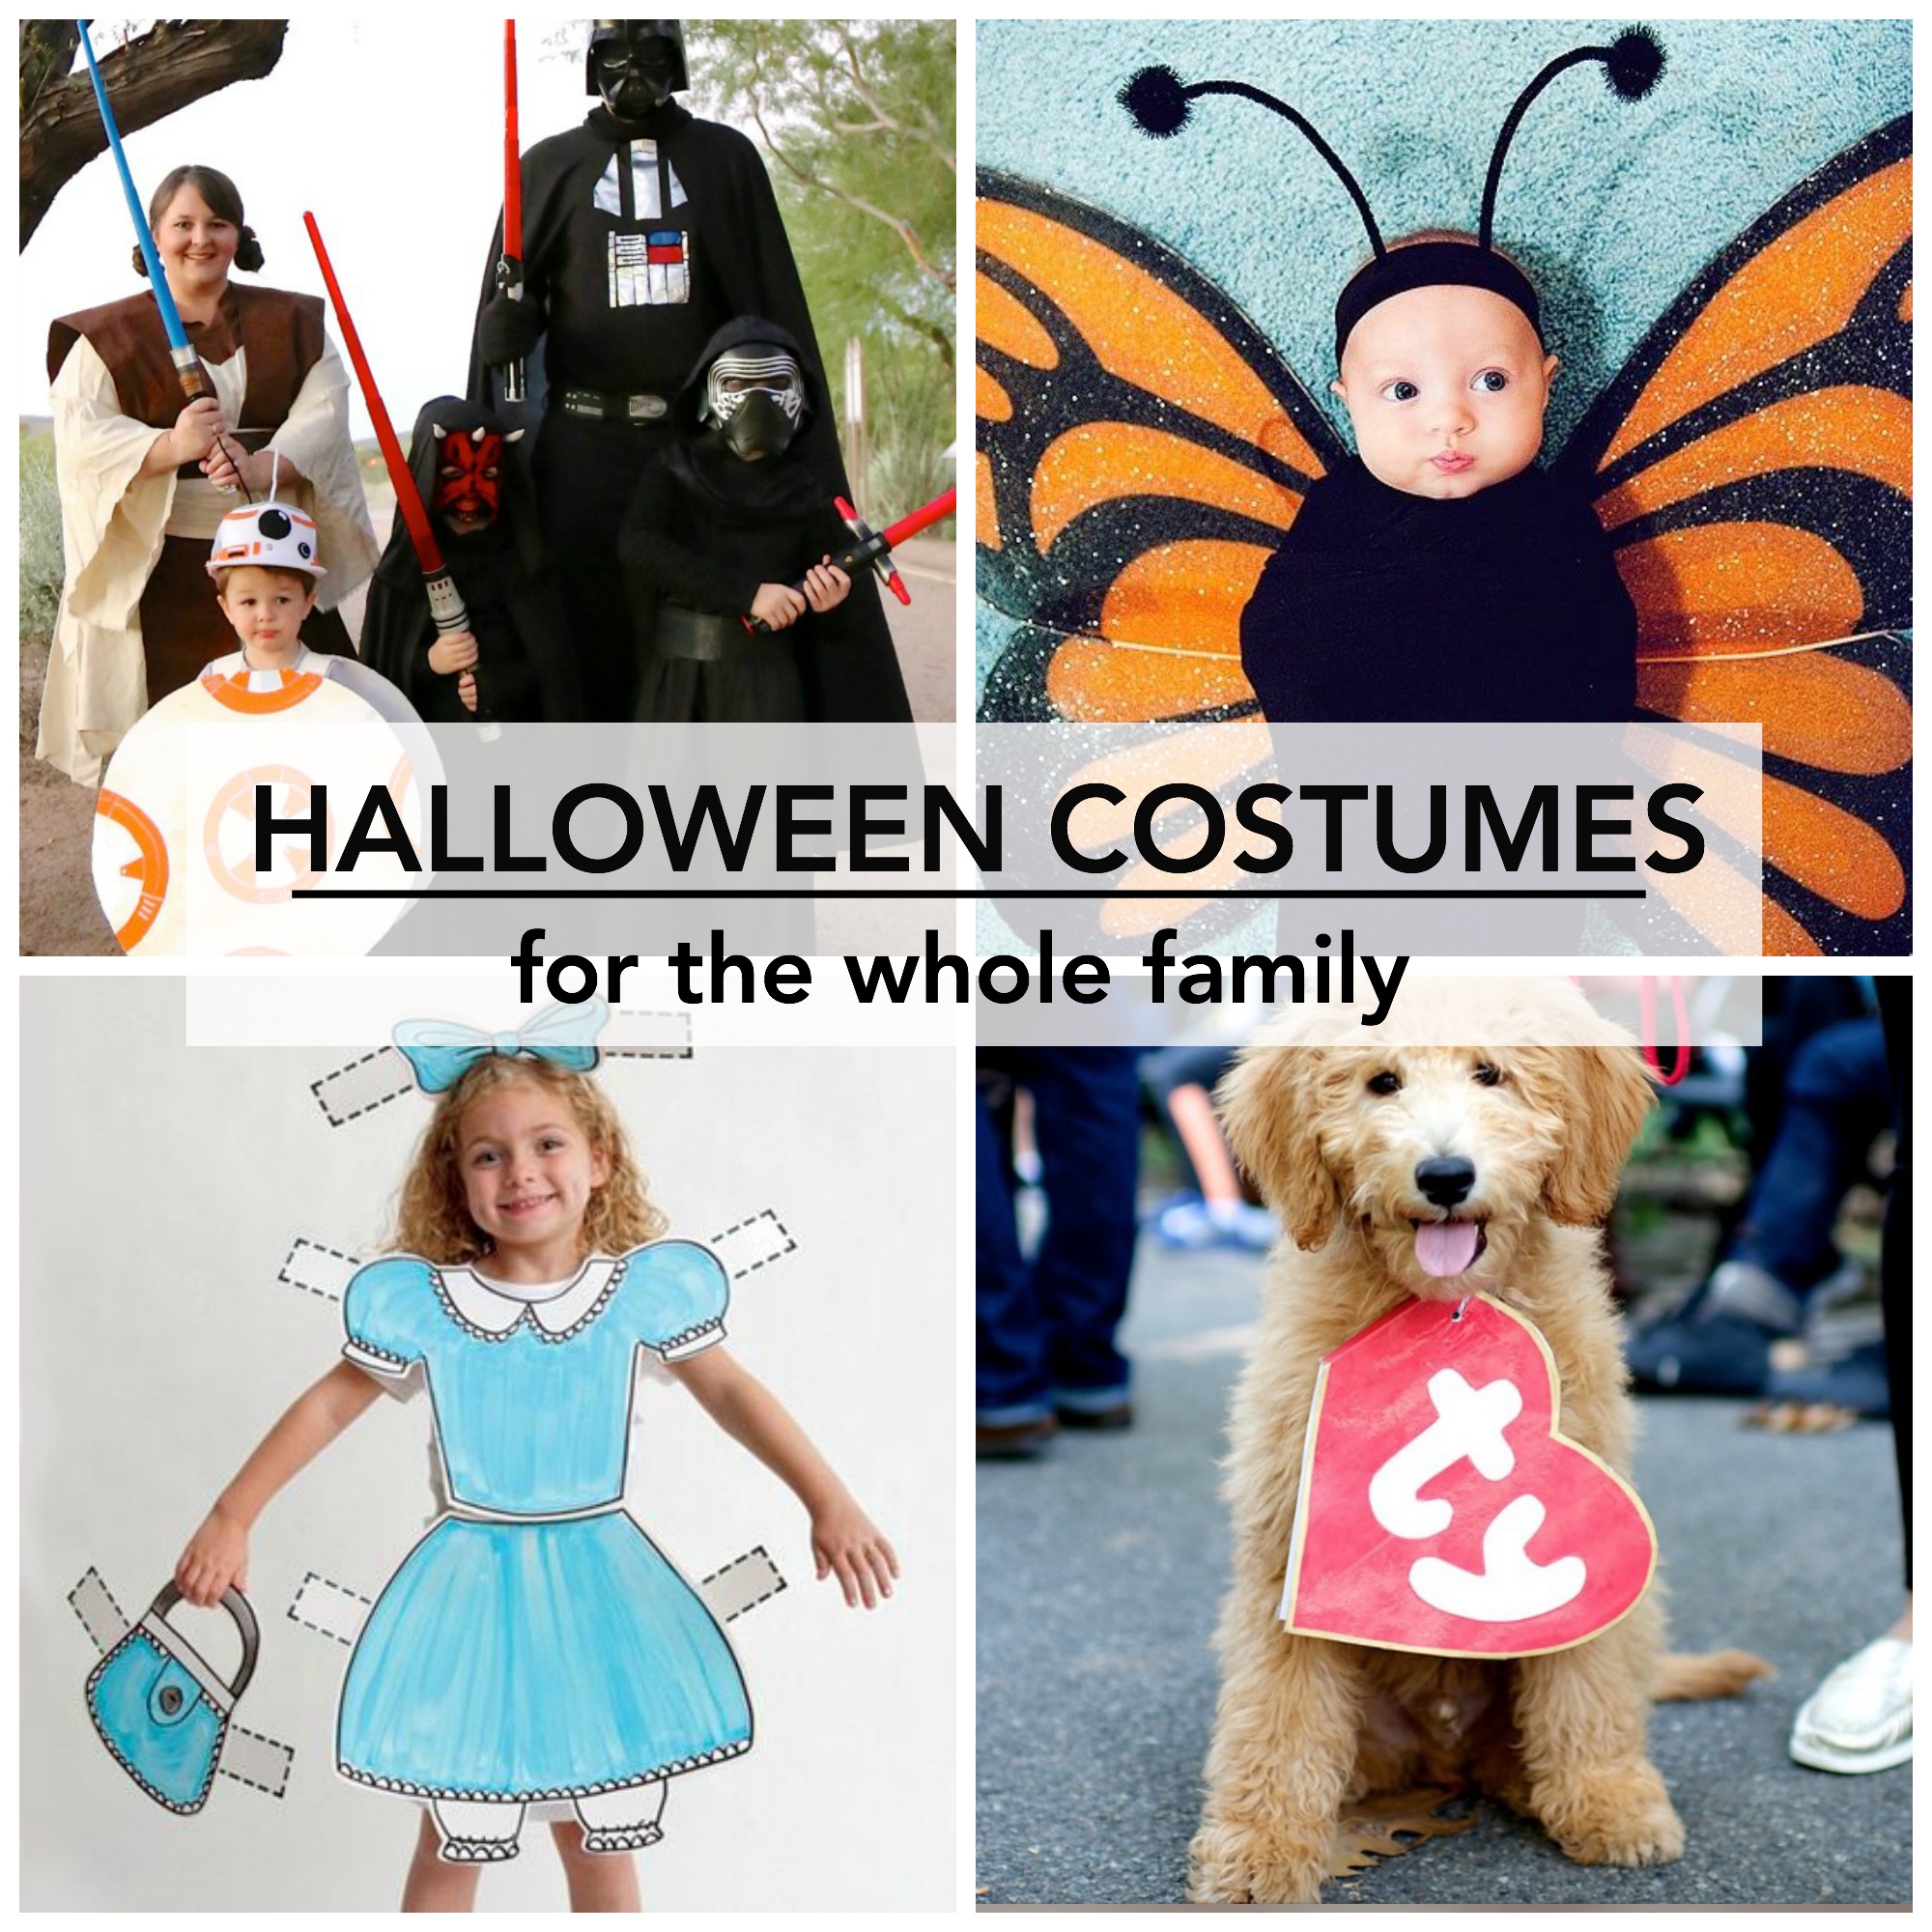
Halloween Costume Ideas
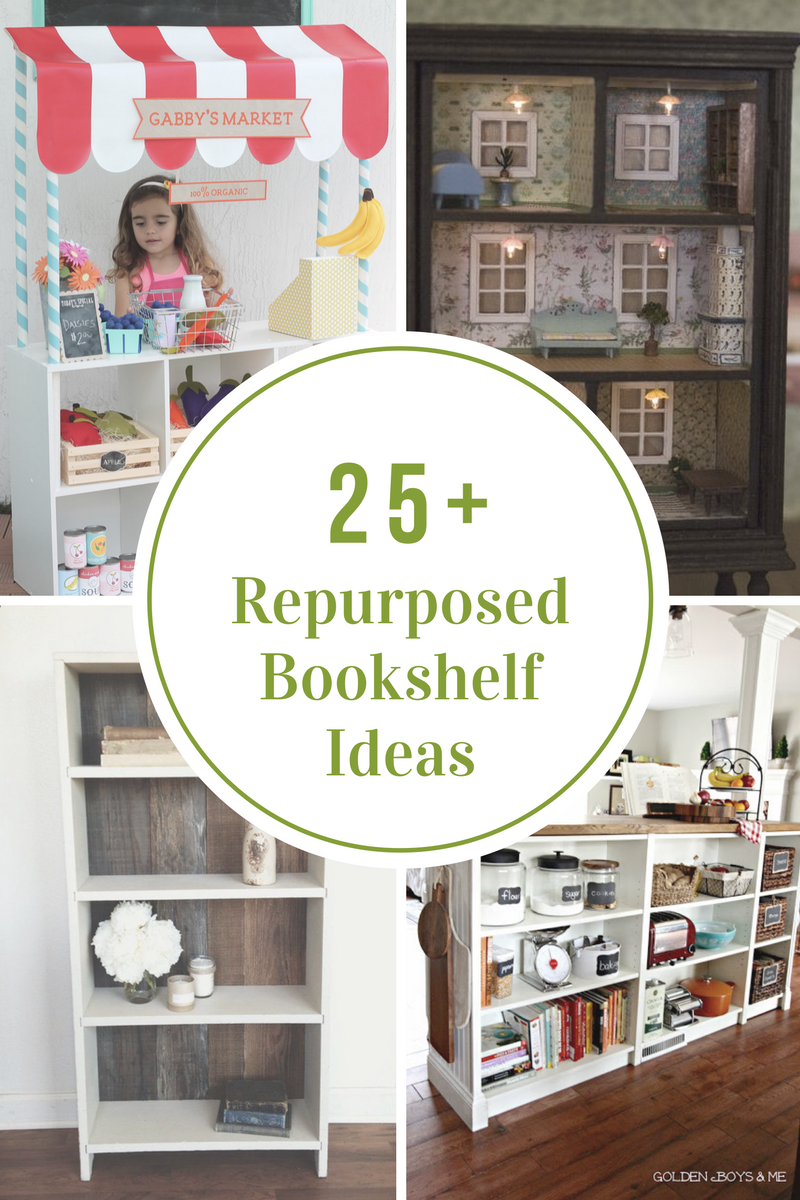
Repurposed Bookshelf Ideas
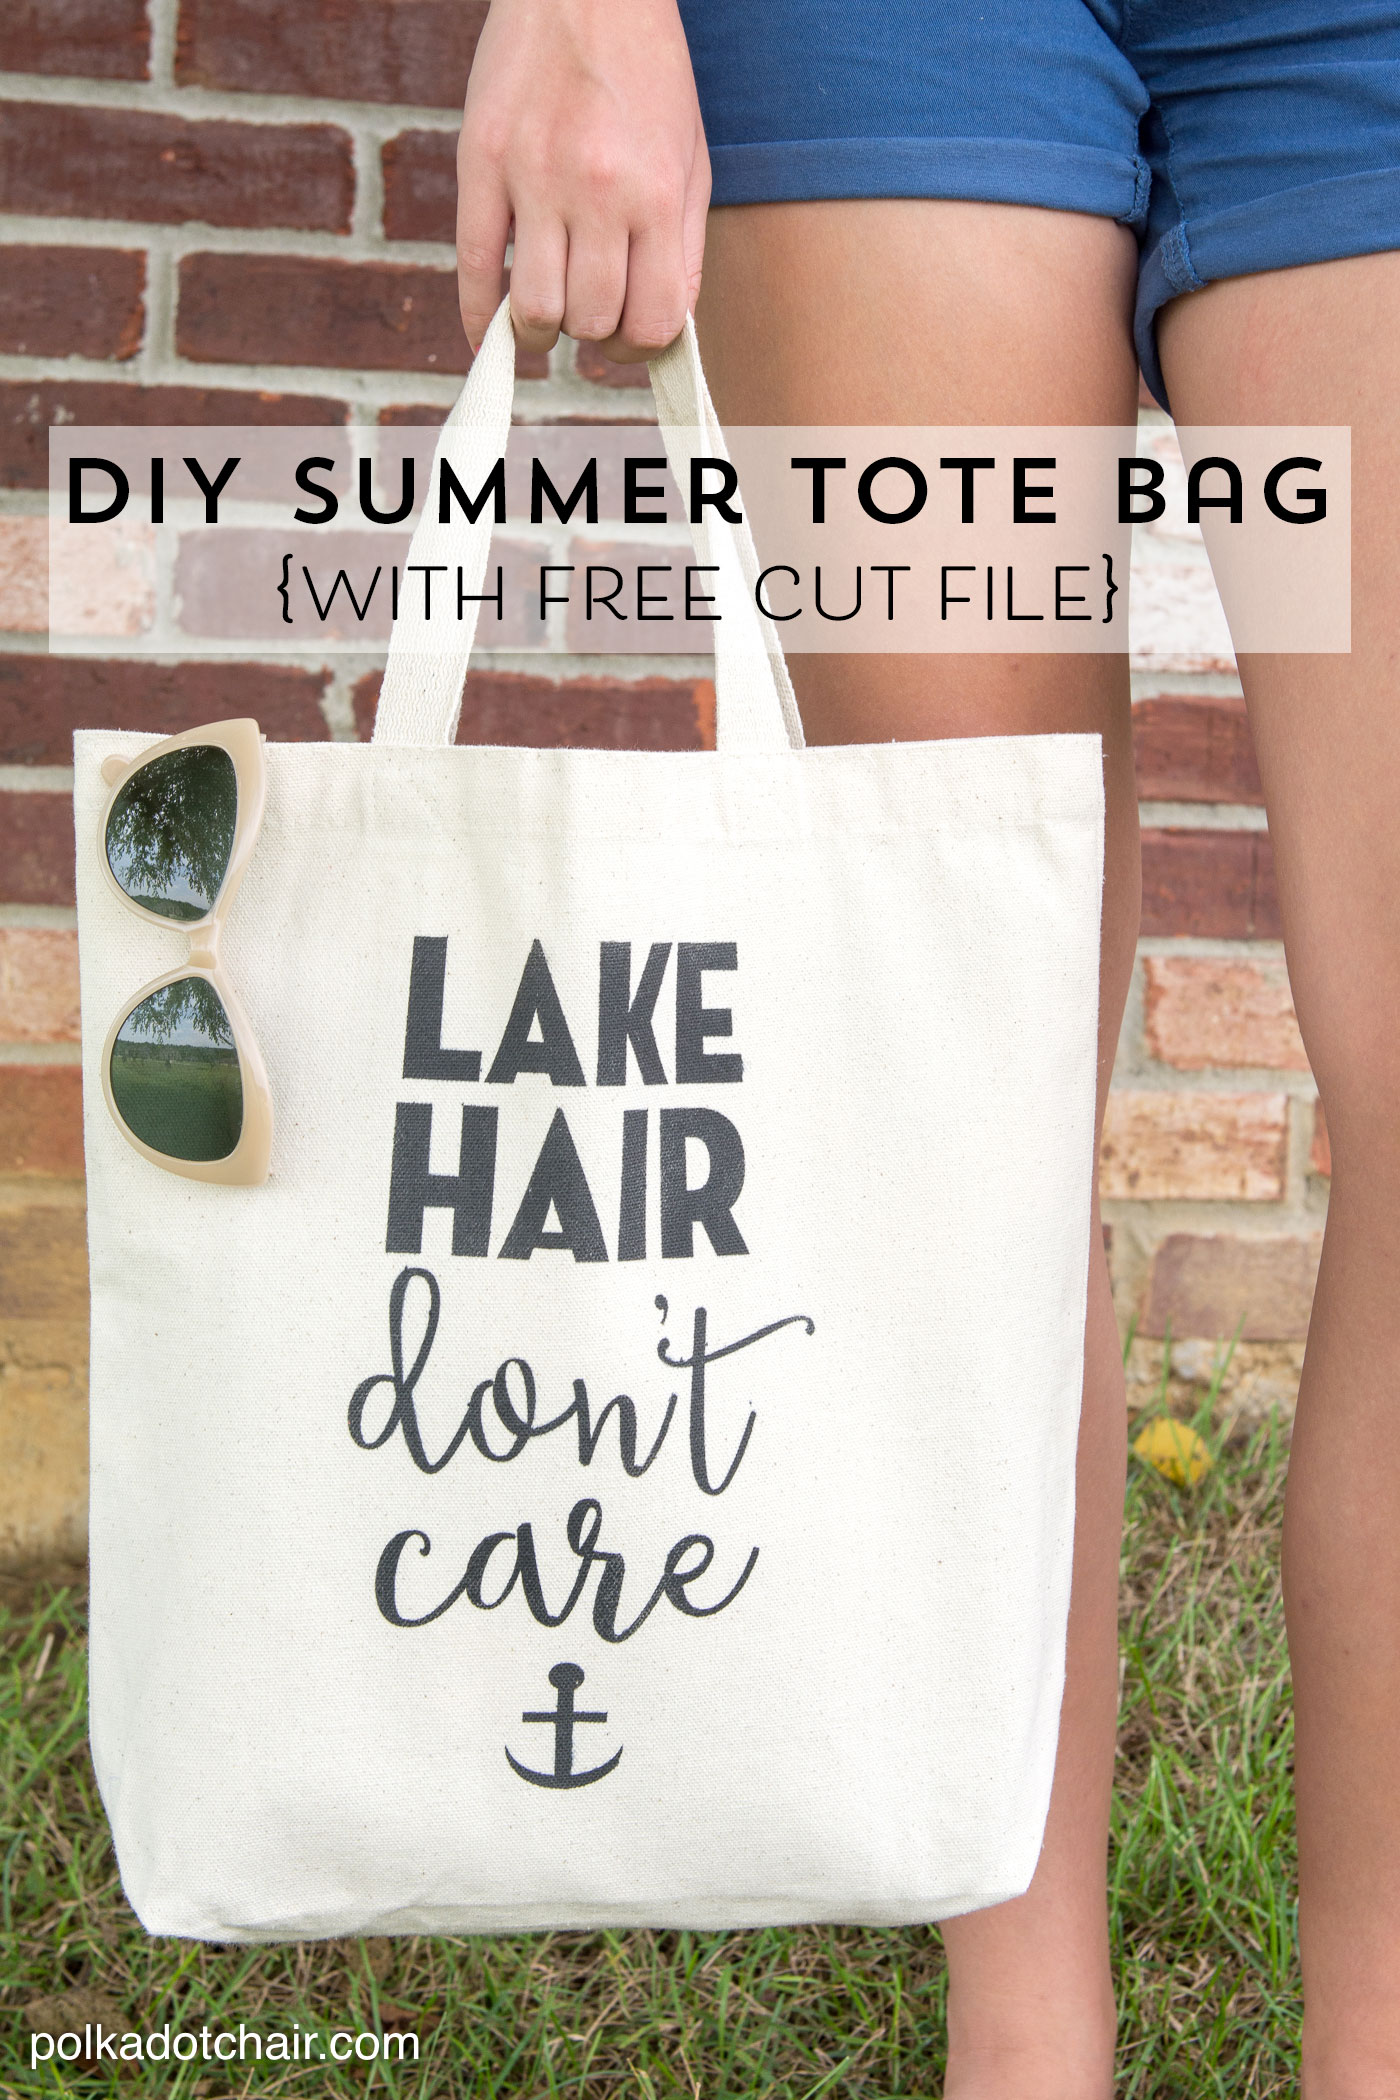
DIY Summer Tote Bag

Outdoor Furniture
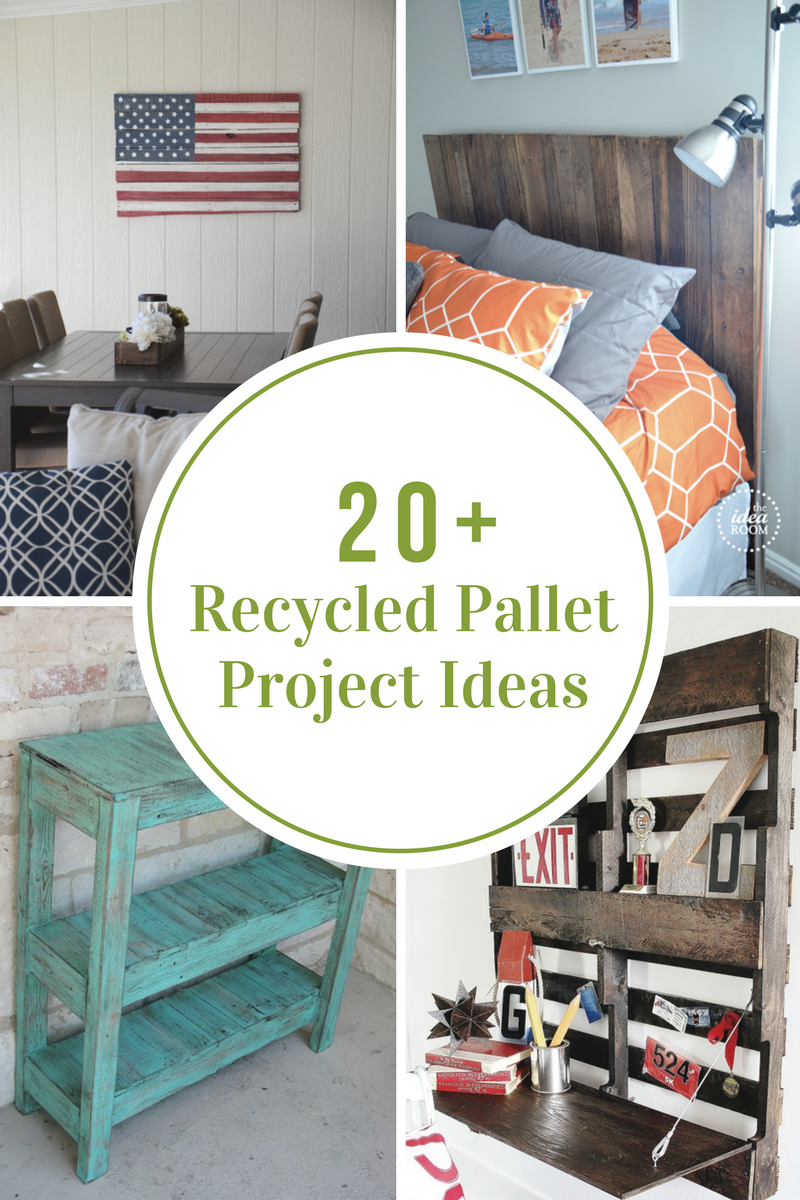
Recycled Pallet Project Ideas
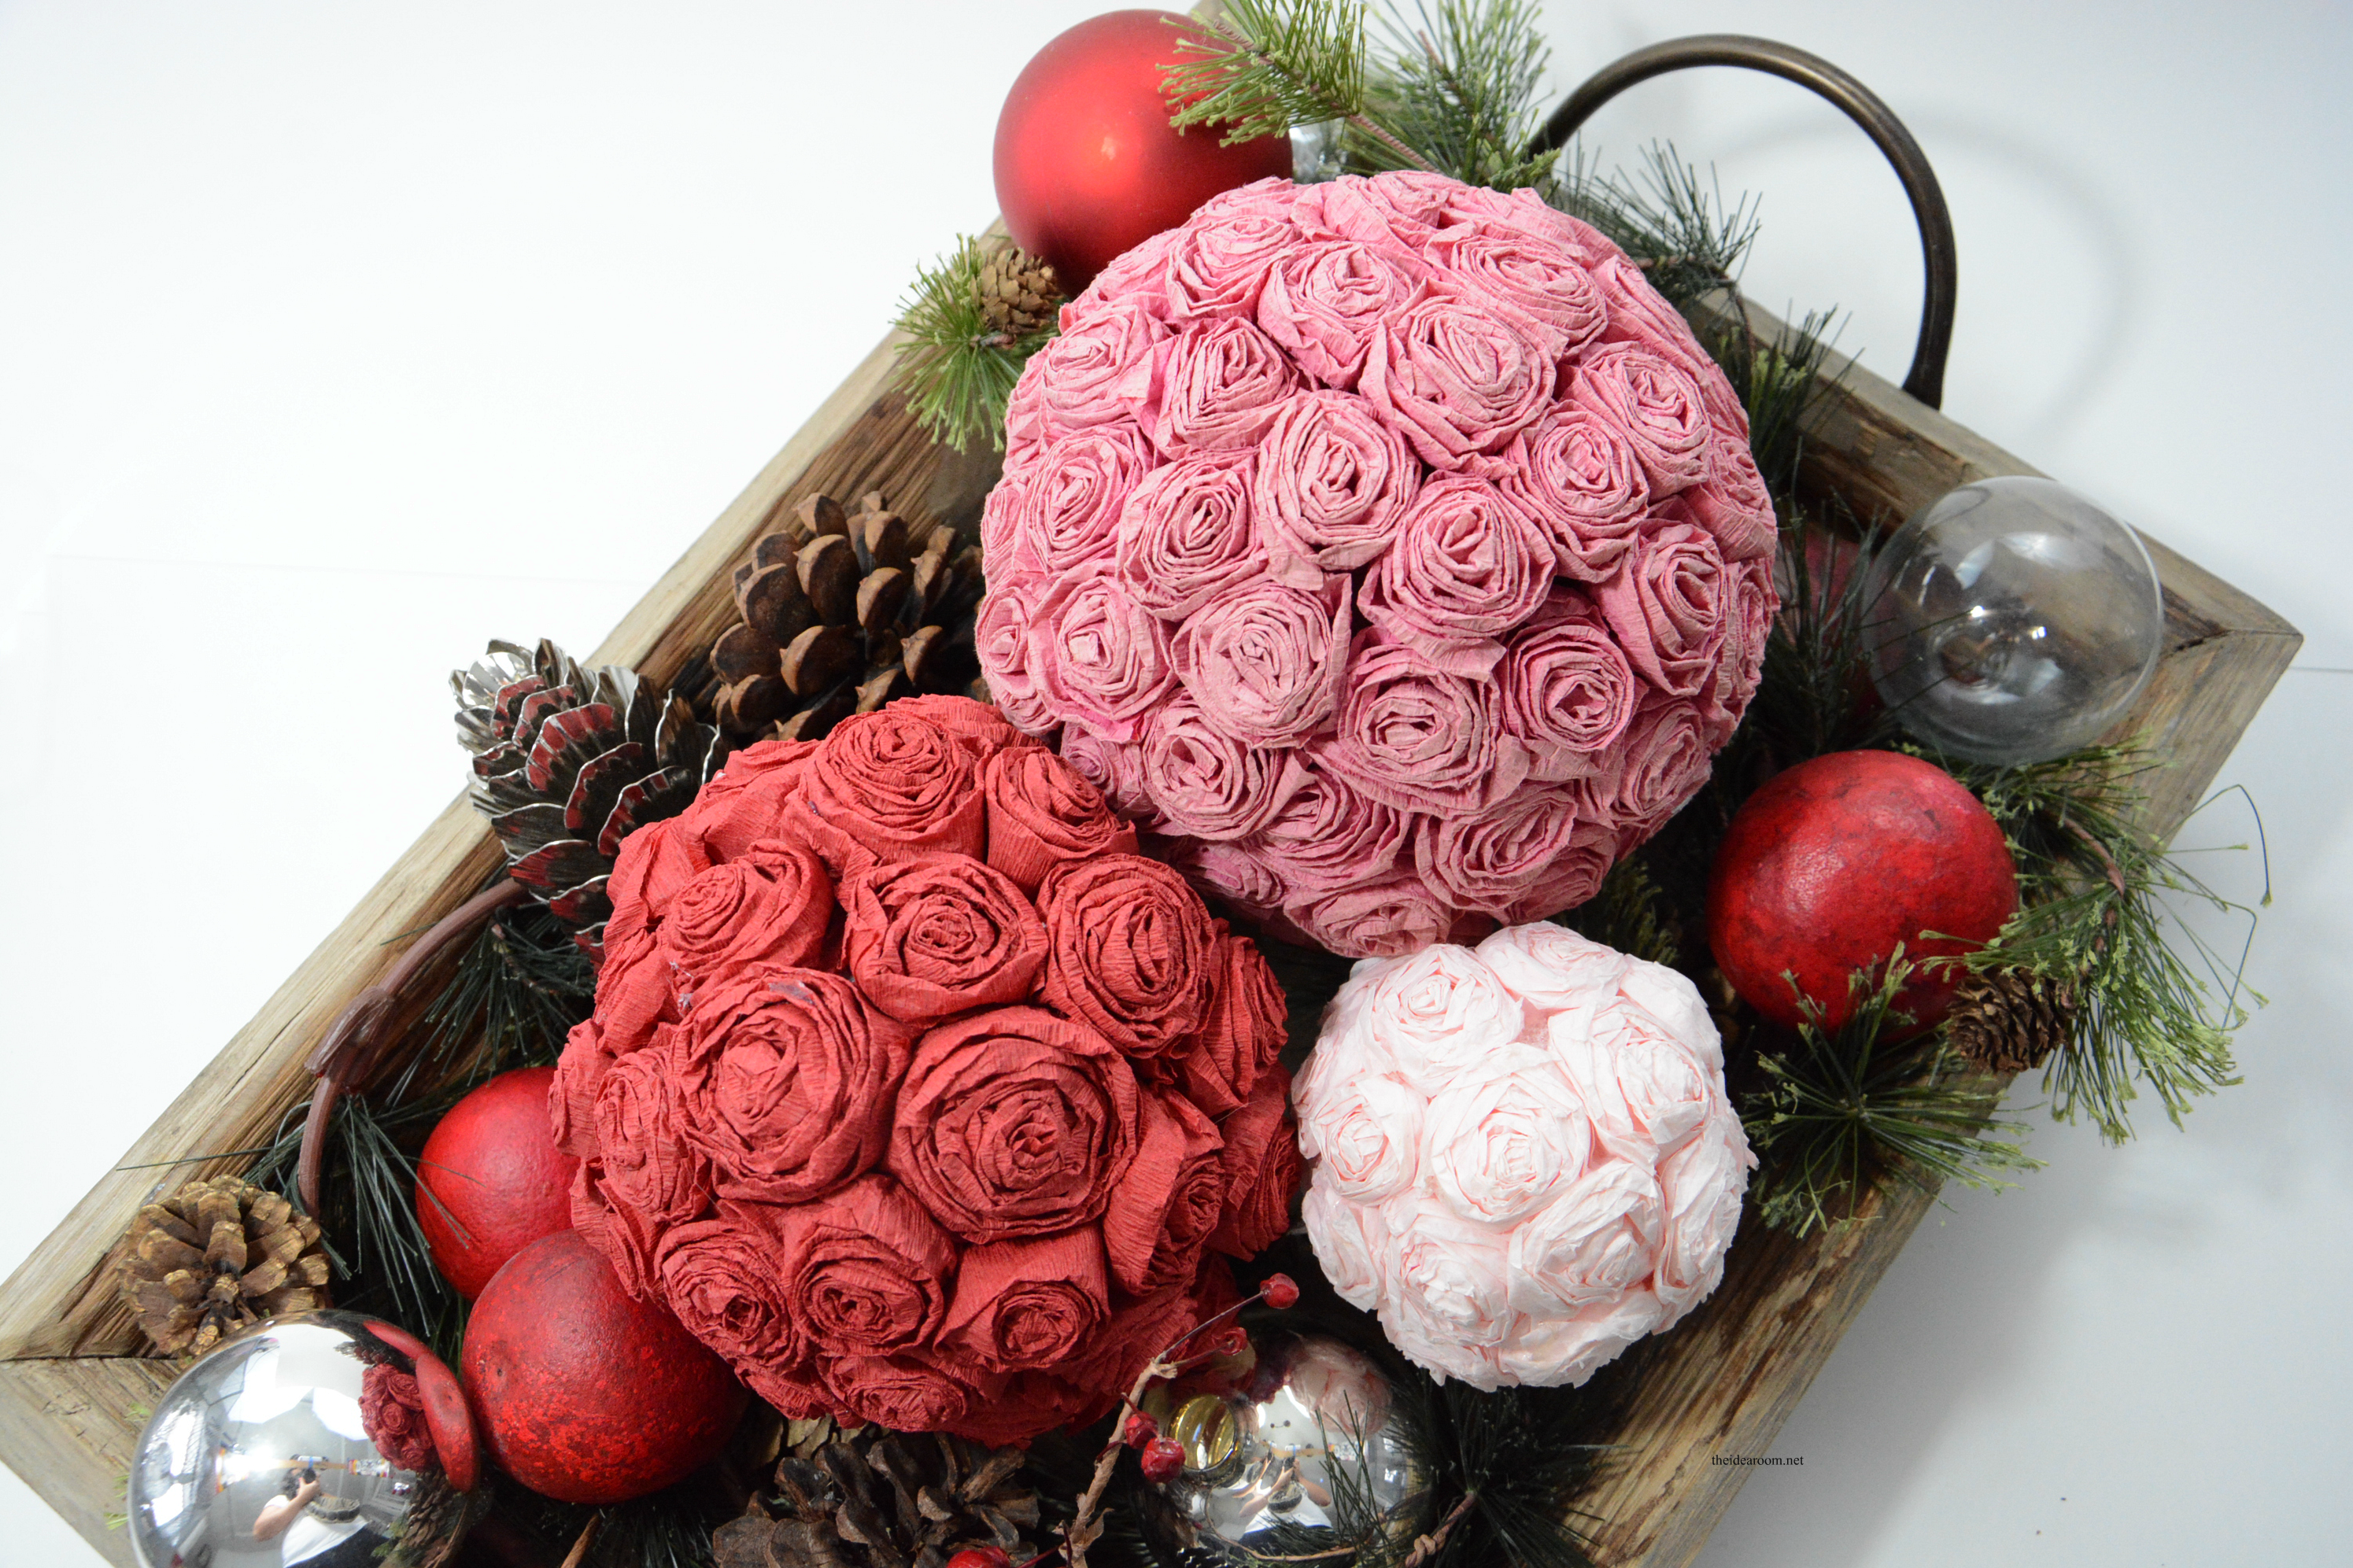
Tissue Paper Flowers

Baking Tips and Tricks
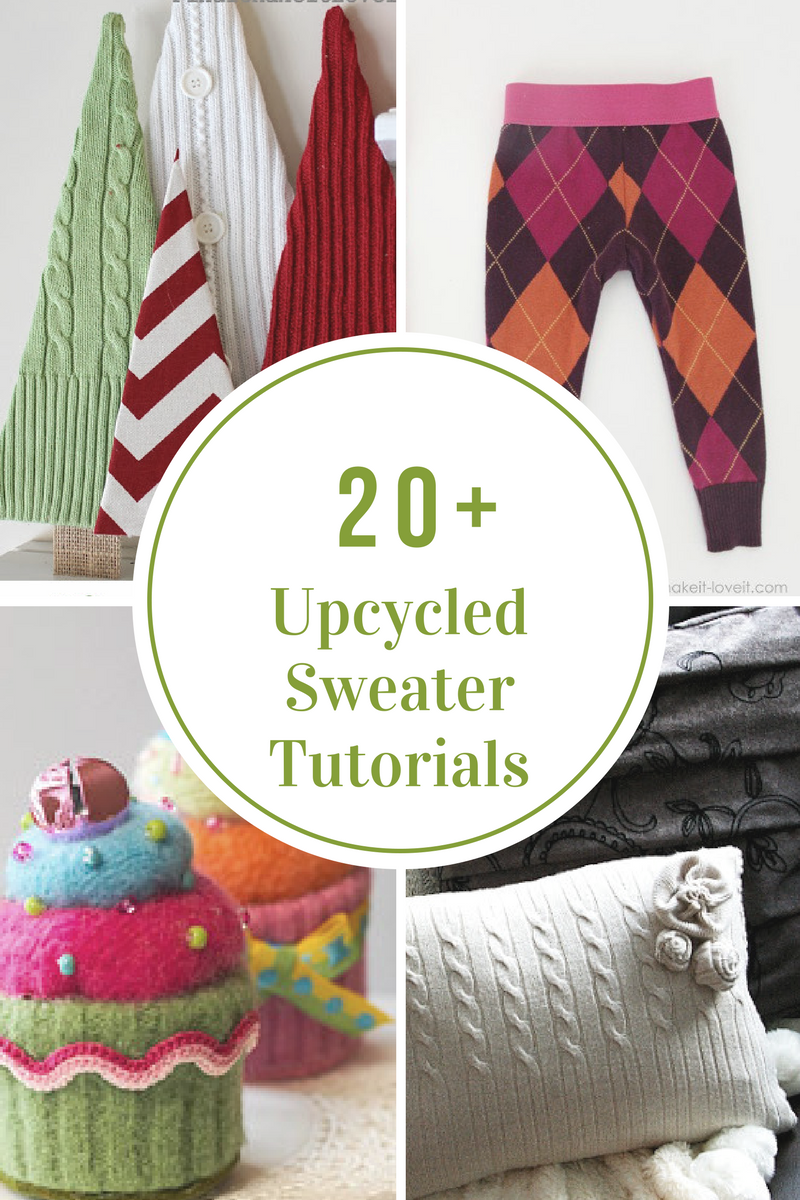
30 Upcycled Sweater Tutorials
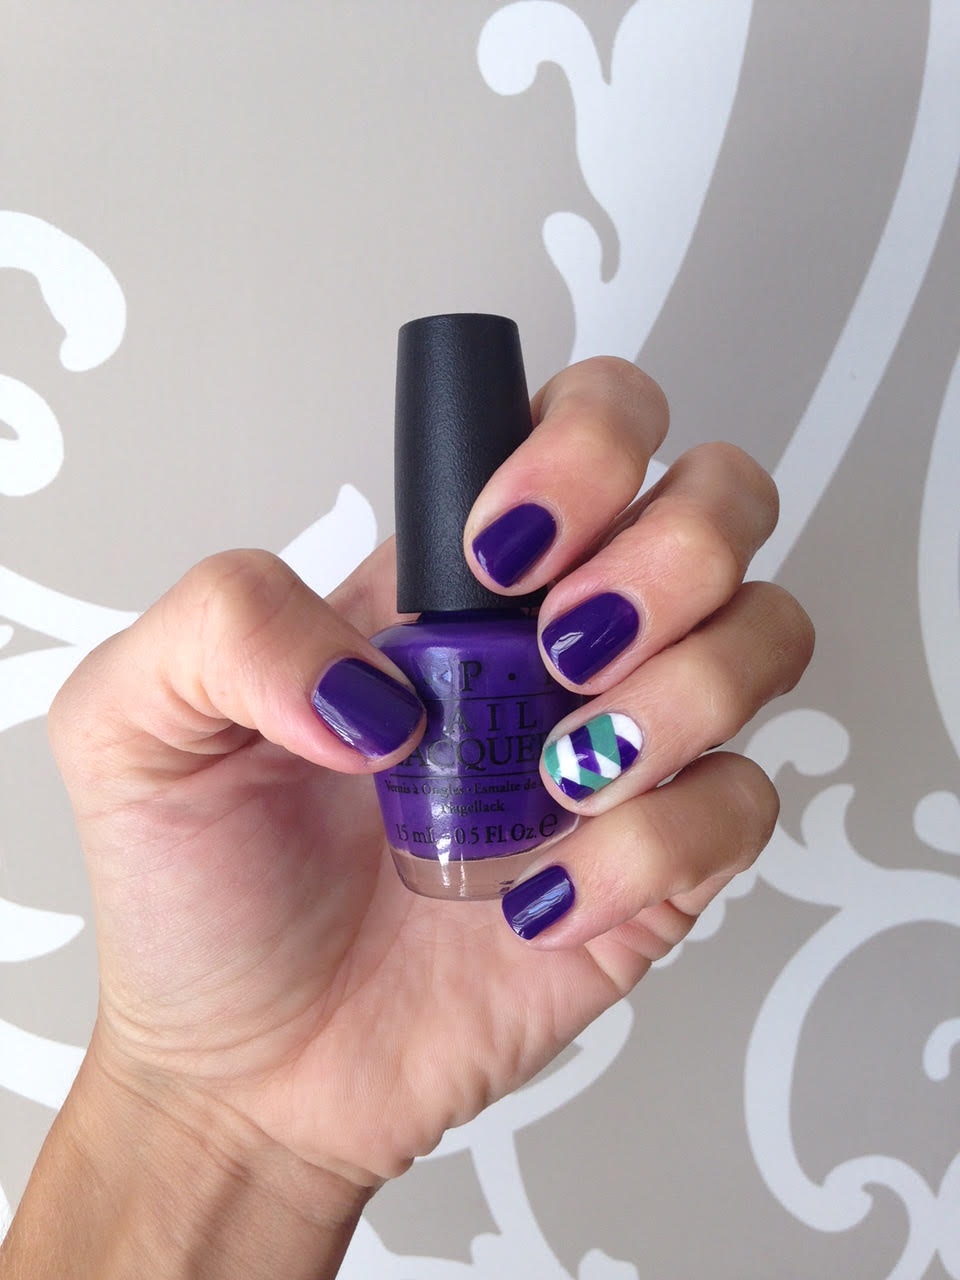
Fishtail Nail Art Designs
- « Previous Page
- 1
- 2
- 3
- 4
- …
- 9
- Next Page »


