
*This is a sponsored post by me for 3M DIY Website , however all opinions and statements are my own. See below disclosure for more details.
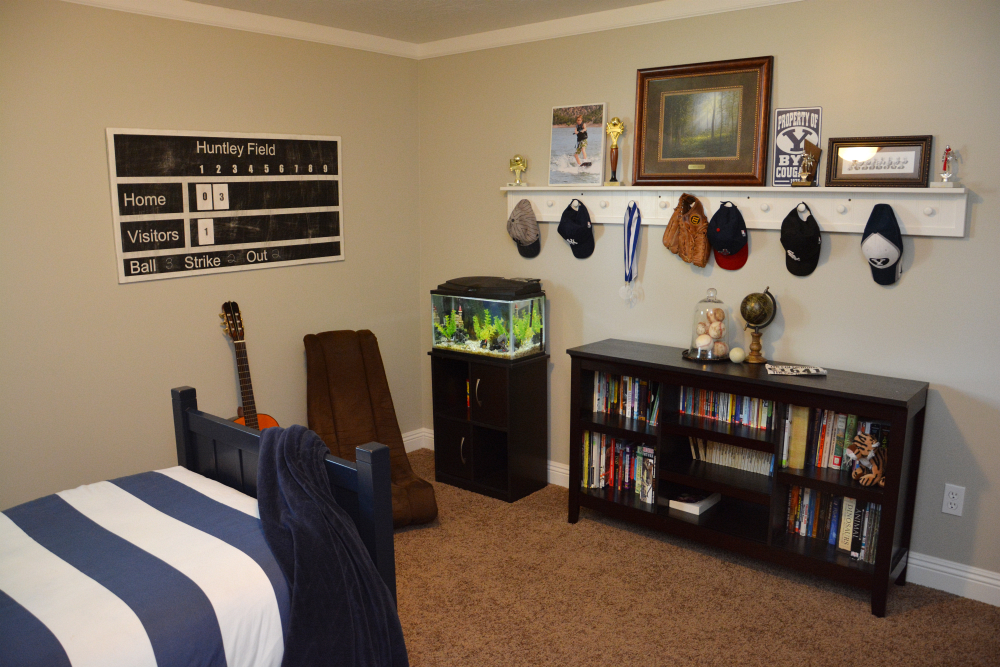
I am so excited about my latest DIY Project…a Sports Scoreboard for my son’s room. He is a huge sports fan and wanted to reflect that in his room. We actually started working on updating his room (in which he was still using Mickey Mouse sheets) about a year and a half ago to something more reflective of his age and personality. I had a large blank wall that I felt would be perfect for a “vintage” baseball scoreboard which can double as a chalkboard.
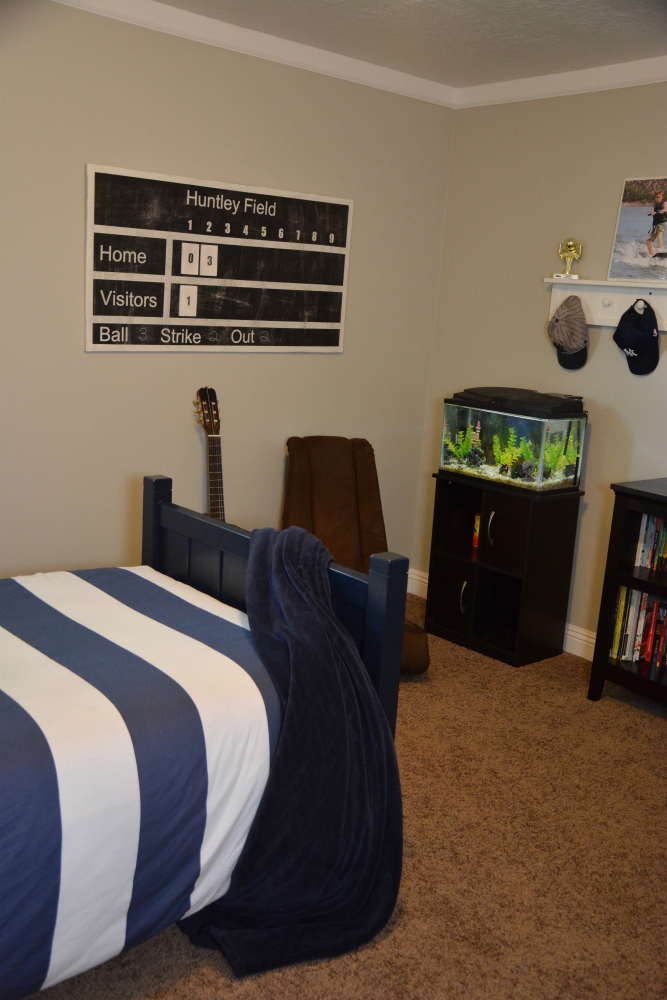
I was able to work with 3M DIY Website on this project and I used several of their products to create the DIY Sports Scoreboard. I am so happy with the results and I love how it finishes off his room. I think we can finally cross his room off of my project list. Better still is that HE is really happy with it.
Want to make a DIY Scoreboard for a room in your home? Today I will share with you how I made this one so you can make one too.
Materials needed:
- board (we used a nice piece of MDF board measuring 24.5 inches tall x 46 inches wide)
- white paint
- paint brush
- roller
- ScotchBlue™ Painter’s Tape
- Black Chalkboard Paint
- Vinyl lettering or stickers for field name and numbers 0-9 & 0,1, and 3 (or numbers of your choice)
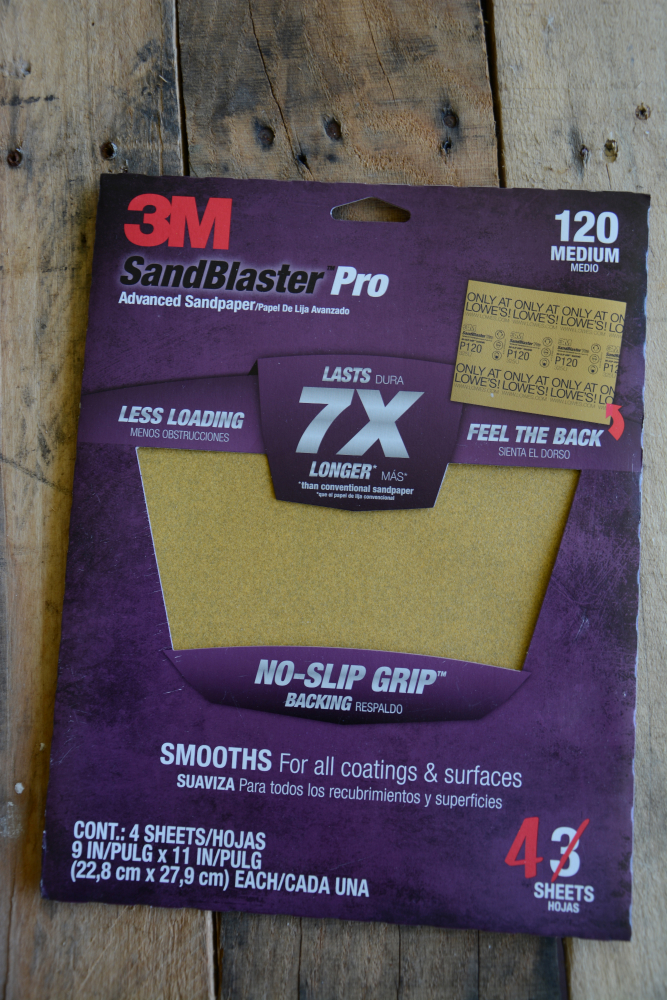
- 3M™ SandBlaster Pro Sandpaper
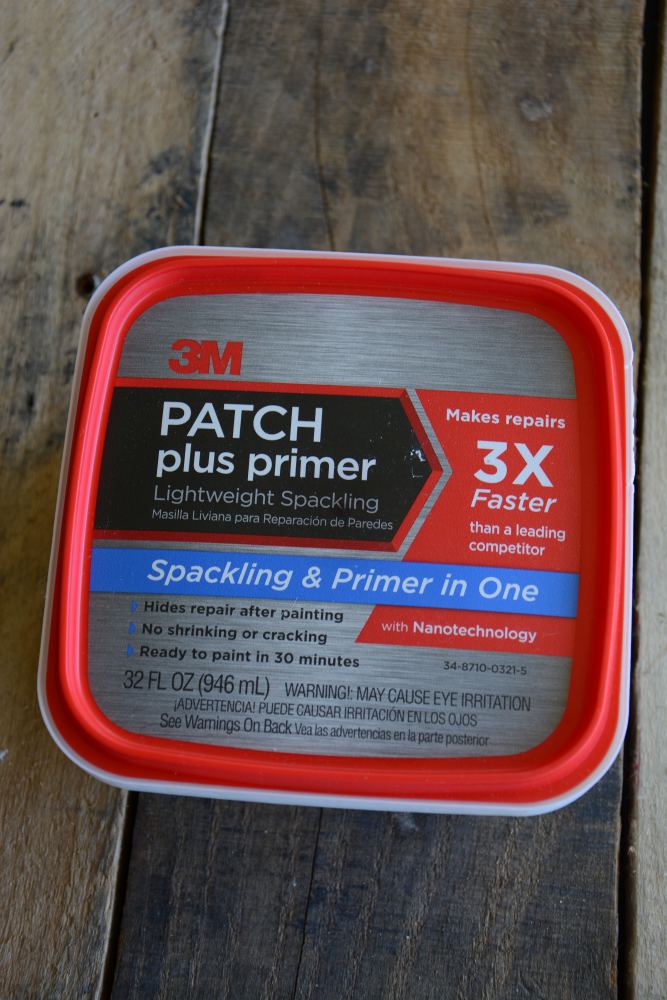
- 3M™ Patch plus primer
- 3M™ Advanced Abrasives Sanding Sponge
- Scotch™ Velcro
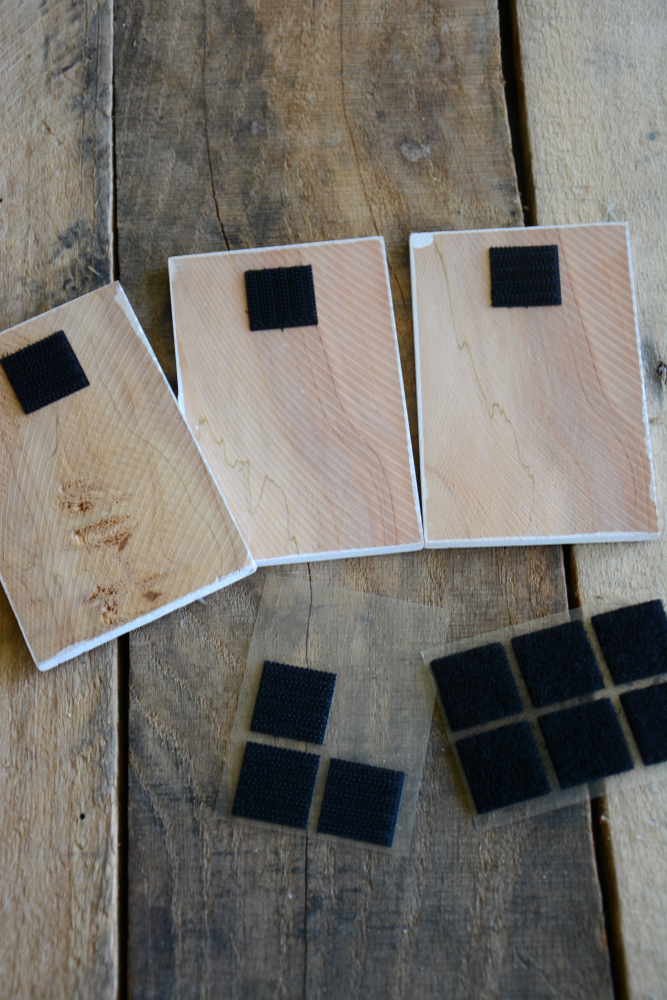
- Small thin piece of wood for the score cards
Instructions:
- Cut your MDF to the size you prefer to fit your wall. Ours was an old piece of scrap wood we had sitting around from a past project. It measures 24.5 inches tall by 46 inches wide.
- Sand entire board with 3M™ SandBlaster Pro Sandpaper by hand or with a hand sander.
- Fill any holes or dents with 3M™ Patch plus primer. Let it dry and sand it smooth with 3M™ SandBlaster Pro Sandpaper
- Dust it off and paint it white including sides of the boards. Let it dry completely.
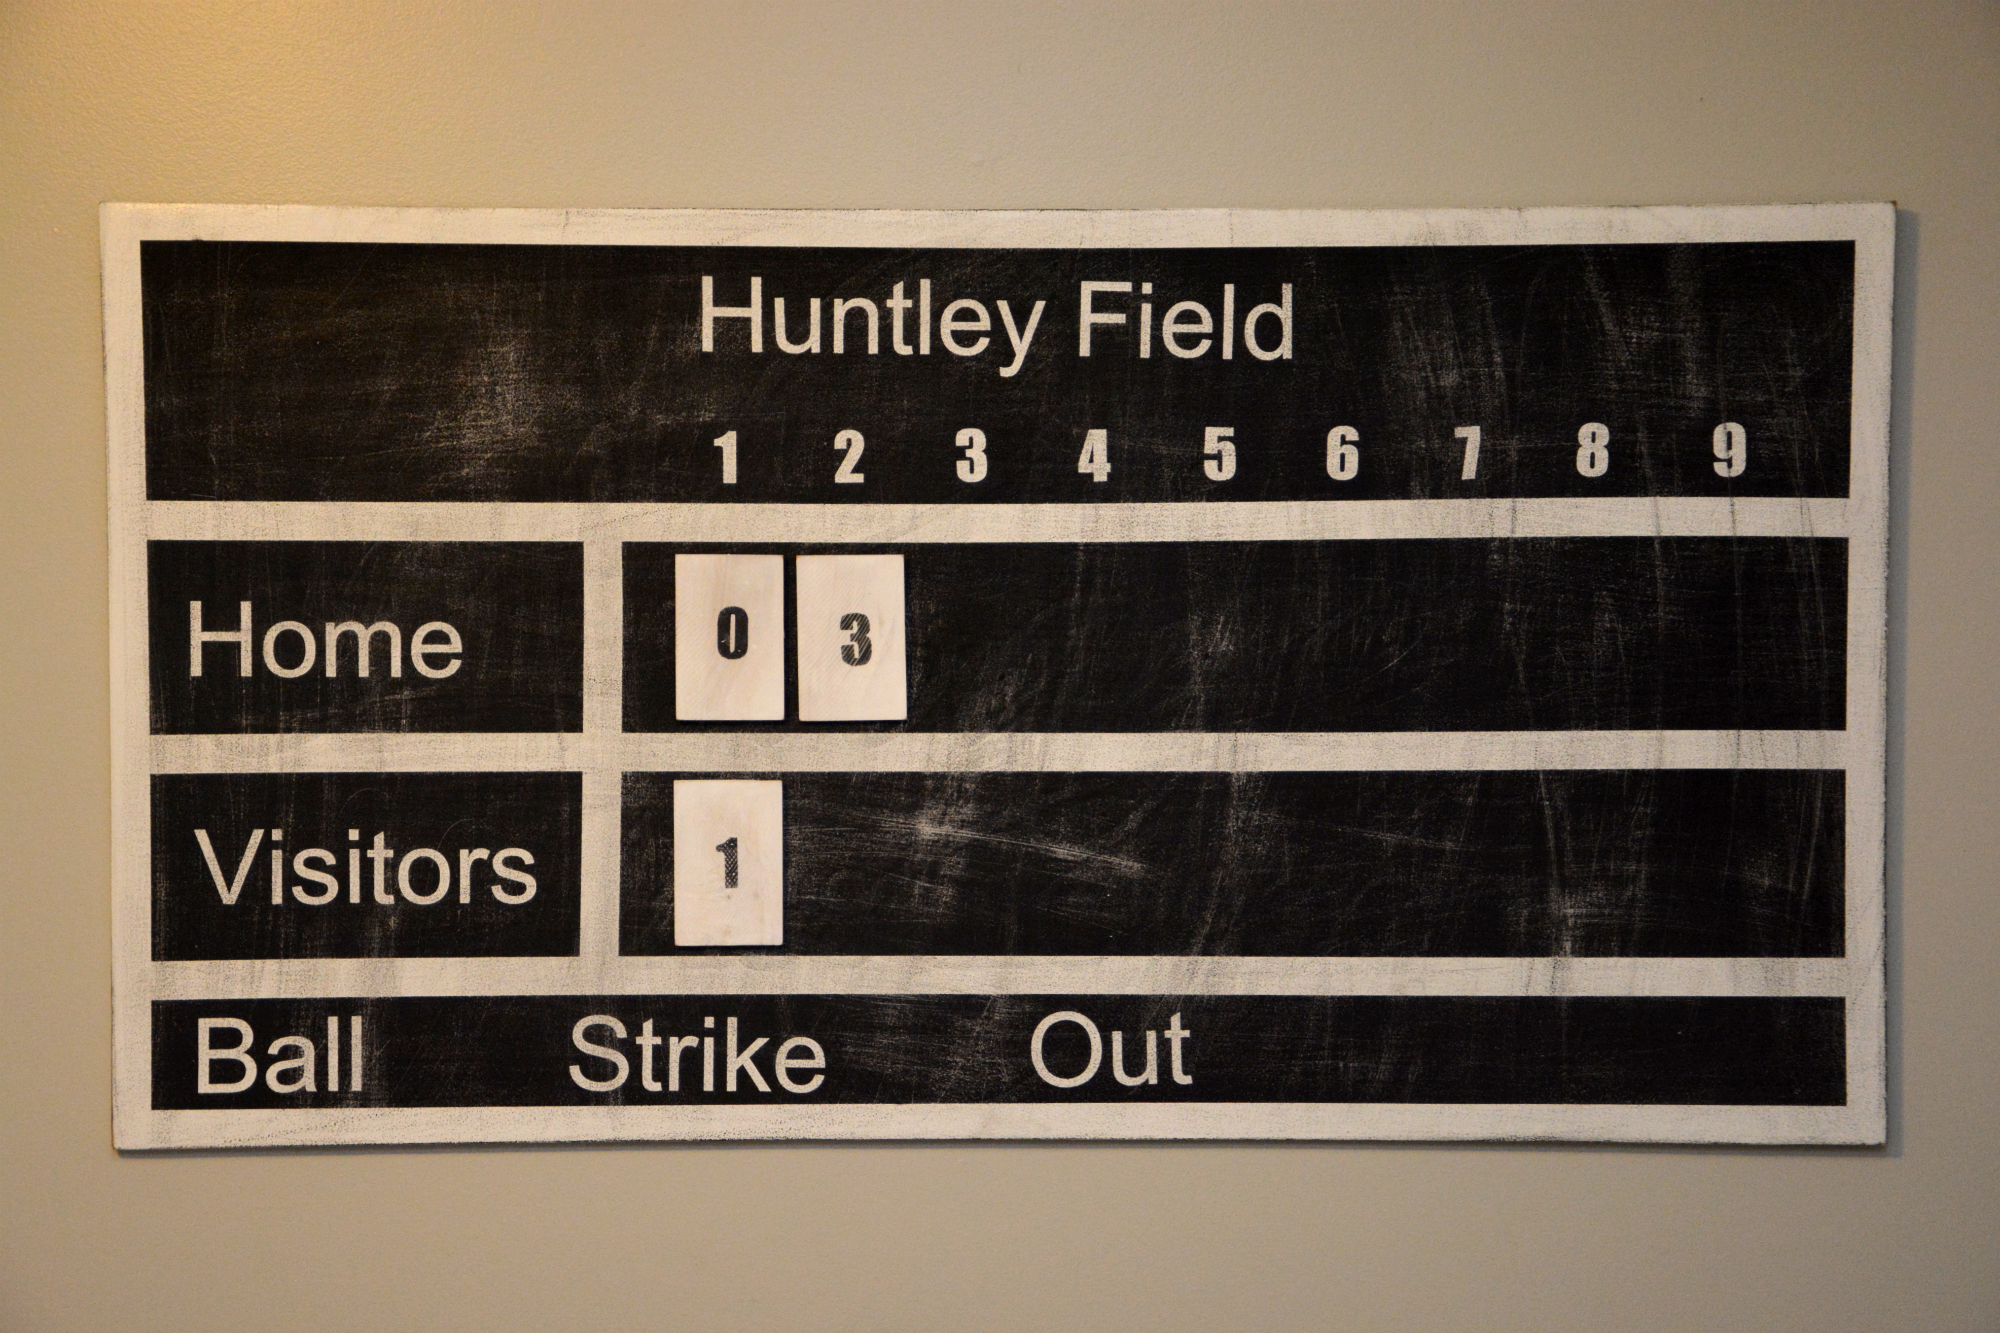
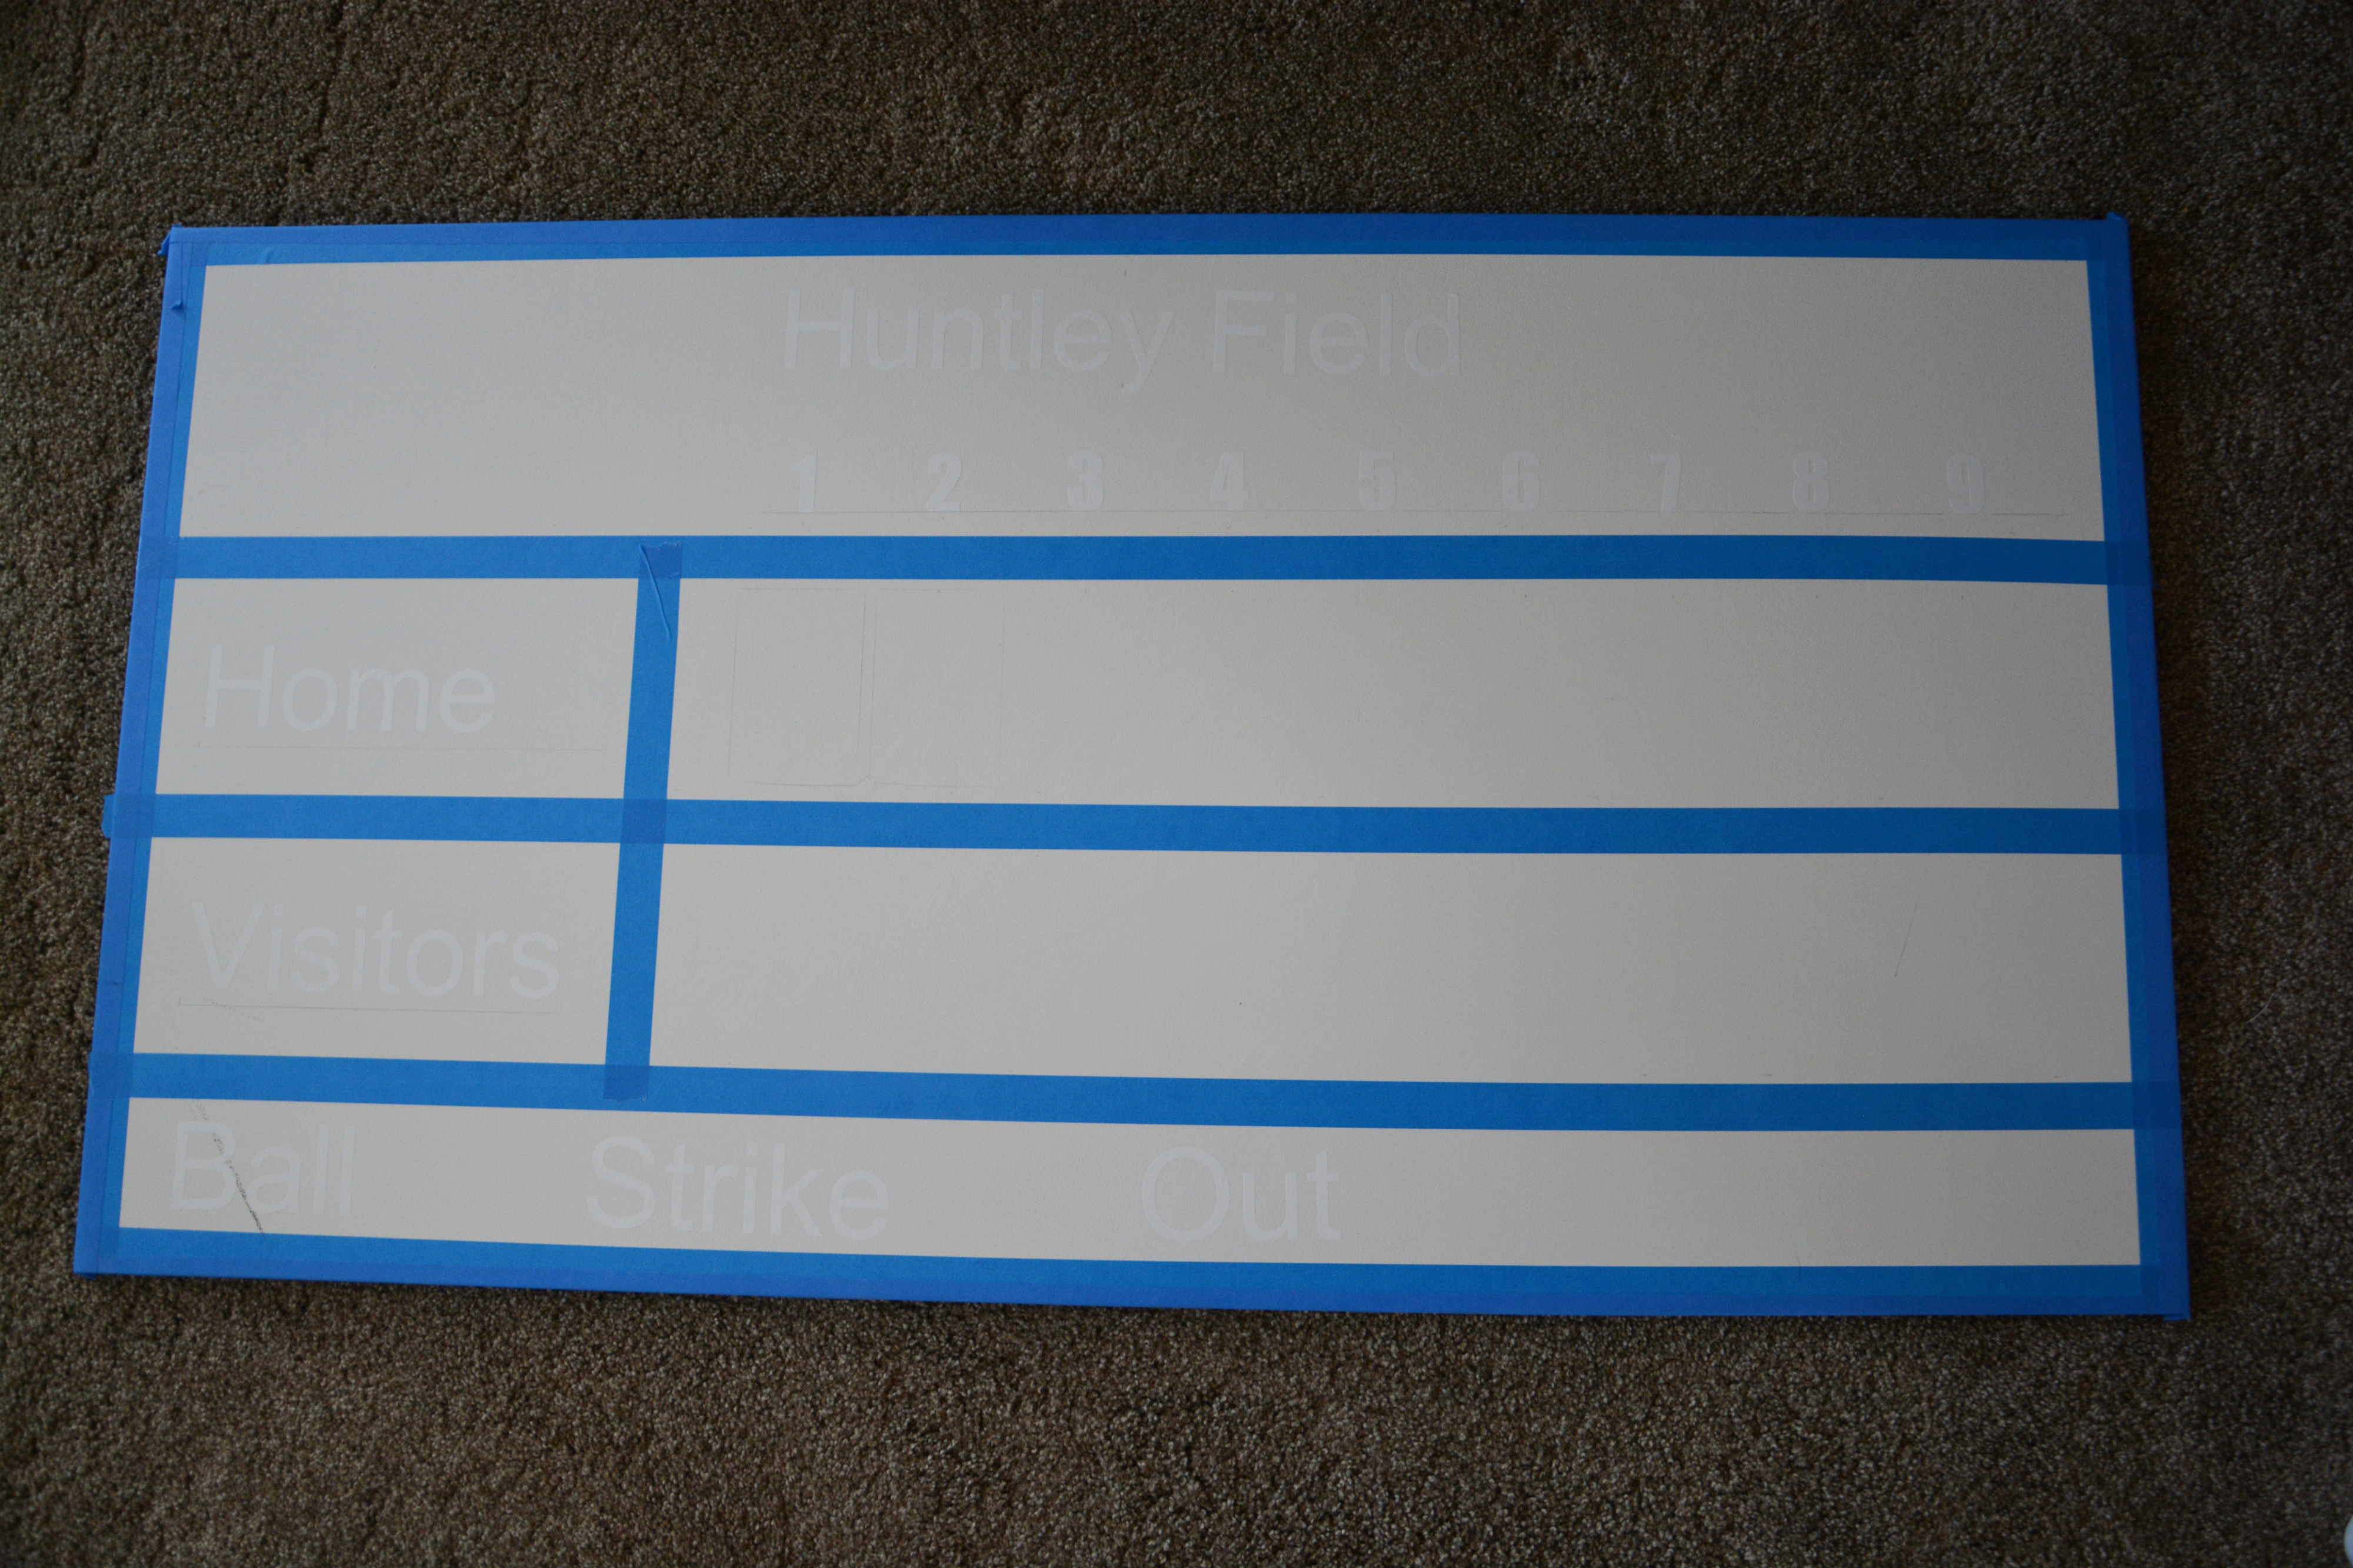
- Measure off the board so that you have a larger row on the top, two of the same size of rows in the middle and then a smaller row on the bottom. Add two columns in the middle section for the home and visitor teams.
- Use ScotchBlue™ Painter’s Tape and tape off the edges of the board. I did not tape on the sides. I wanted them white. Then tape off the lines for each row and column.
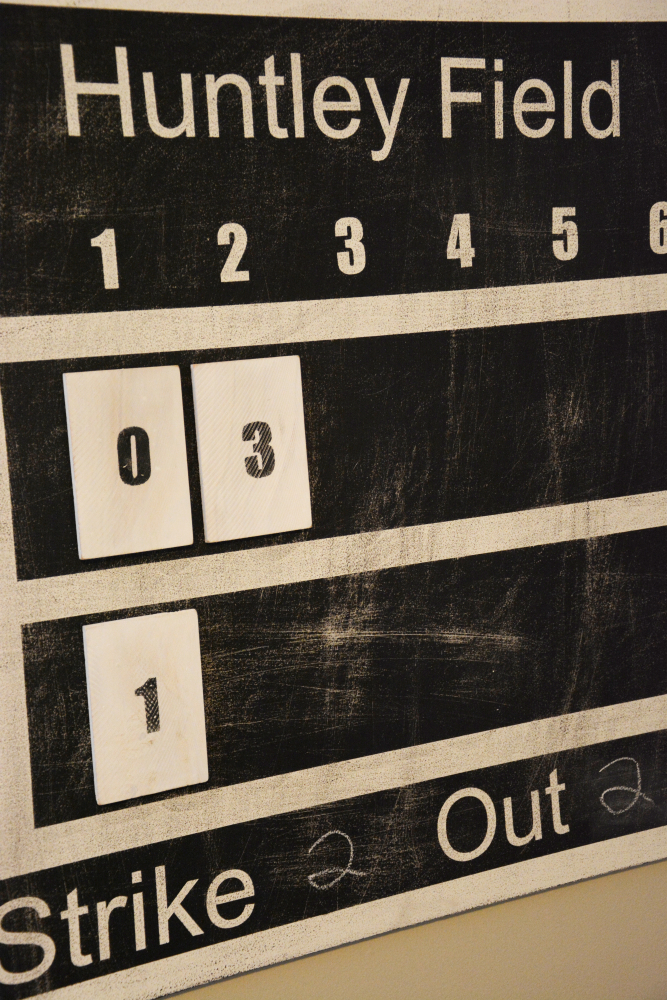
- Cut your vinyl lettering or use stencils for the wording and the numbers. (Mine are white and you can see them if you look closely in the picture below).
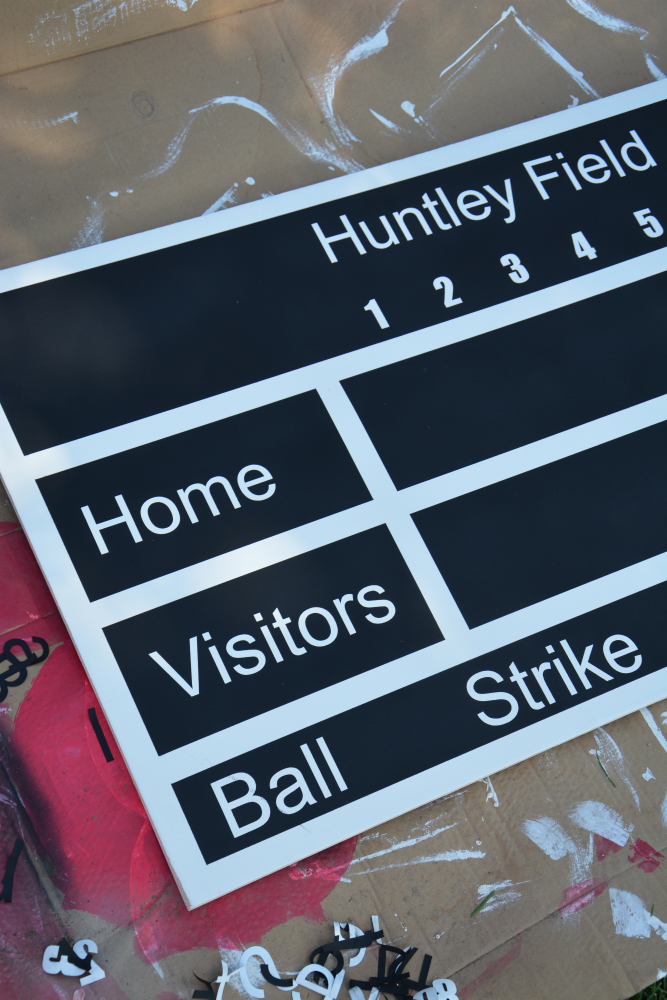
7. Paint the board (over the vinyl stickers) with your Chalkboard Paint. Before it dries completely, carefully peel up the ScotchBlue™ Painter’s Tape so that you get nice, crisp lines.
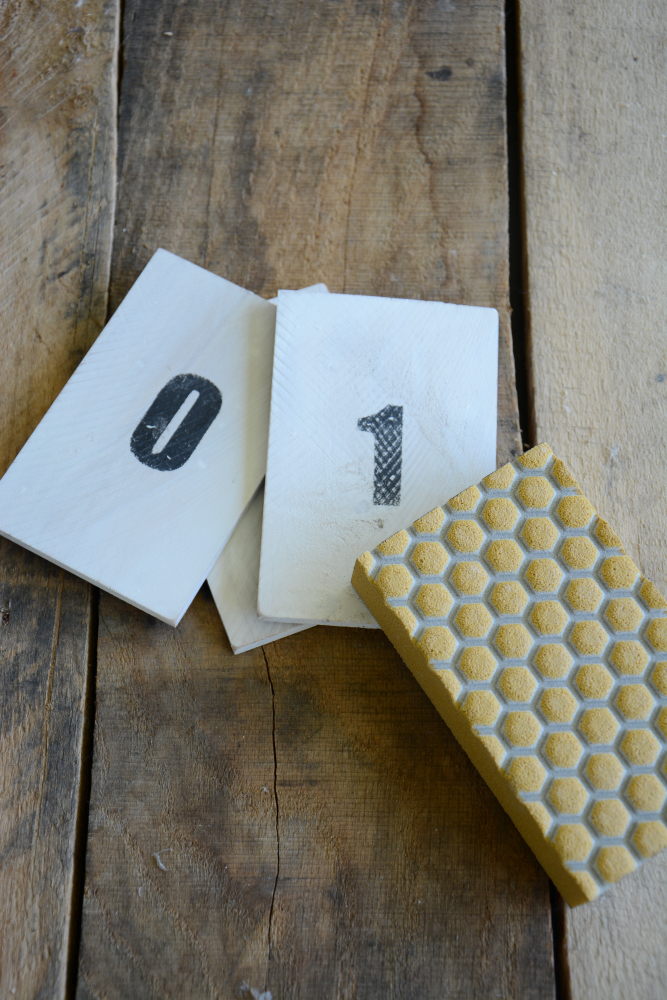
8. Take your small pieces of wood and cut them (if needed) so that they fit into the spot you have specified with the innings.
9. Paint them white. Let them dry.
10. Use your number stencils and paint the numbers on the wood scorecards black. Let them dry and then sand them to scuff them up with your 3M™ Advanced Abrasives Sanding Sponge.
11. Take your 3M™ Advanced Abrasives Sanding Sponge and rough up the entire board to give it a vintage look and feel.
12. Attach the Scotch™ Velcro to the backs of the scorecards and then attach them to the board. This way you can move them around if needed or you can remove them completely if you want to use the board as a chalkboard.

13. Put a couple of screws into the back of the board and string a thick wire across them to make a hanger so you can hang the scoreboard onto your wall. Be sure to secure the board by screwing it into a stud so that it is held tightly on the wall.
I am just so happy with the products from 3M™ that I was able to use for this project. They were all high quality and make the project come as out perfectly as I had envisioned in my head. So go ahead and make one for your home!
If you would like to learn more about 3M™ and their products you can find them and follow along here:
3M DIY Facebook
3M DIY Twitter
3M DIY Instagram
 Disclosure: I am proud to be a 3M™– sponsored blogger, and, as part of my responsibilities, I get the opportunity to evaluate products from 3M DIY. Opinions are my own and additional product used in the project were selected by me.

JOIN OUR NEWSLETTER
Would you like more Recipes, DIY, Printables and Organization Ideas?
Subscribing to the newsletter will enable us to periodically send you creative content exclusively for Idea Room subscribers.
*View our Privacy Policy here.


What a great idea!! I love it. Pinned :)
Thanks so much Jen! xo
What a great idea! I’m thinking I need to make one that can be used outdoors. Maybe it will end the “no, you only had 2 points” arguments that plague the outdoor fun at our house.
Such a great idea! We get this at our house too!!
My son needs one of this!
Thanks Desiree! He really does. I should have made two!! :)
LOVE this – such a great idea!
Love this. What a fun idea!
So cute! Thinking of making this for my classroom – maybe modifying for Science vocabulary words – Hmmmmmmm…and ideas?
Pam- What a fun teacher you are. Your students will love this.