
Here is the tutorial I promised you before I left for Summer Camp.
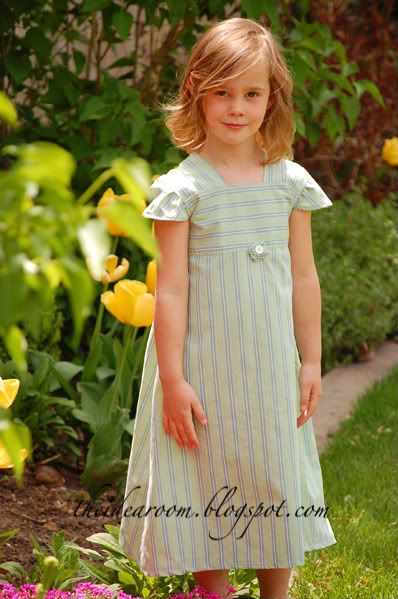
I came across this super cute tutorial for making a man’s button down shirt into a girls dress and knew I would make one.
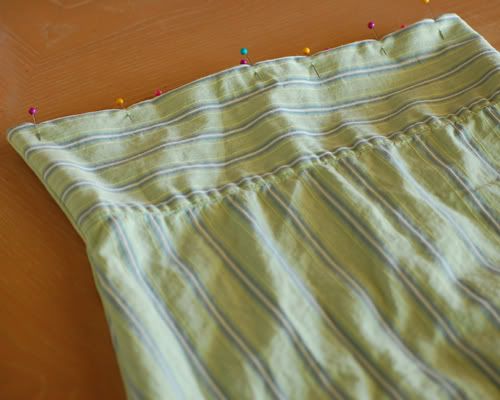
I followed her tutorial and made the dress body. I wanted the bodice to come up a bit higher than just under the shoulders, so I cut out two round notches under her arms and using my daughter wearing the bodice to eyeball how much of a half-circle to cut. I of course then sewed a seam on these new arm notches.
Then when it was time to make the sleeves (shoulder straps), I improvised and came up with something that would give my daughter more coverage on her shoulders.
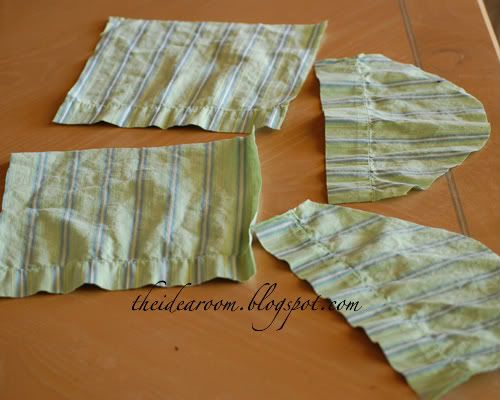
I cut out two peices of material to cover the front and back of her shoulders. I used material that measured 8 in by 7 in. You will have to decide what will work for your needs and for how it fits your daughter. Remember to leave a 1/4 to 1/2 inch extra for a seam allowance.
Next I cut two peices of material for the ruffle sleeve. I made this just like I did for the Pillow Case Night Gown here. I made my cap sleeves so that they were cut in the shape of half of an oval with the length measuring 9 in and the widest part of the oval measuring 3 inches.
Take your square peices and fold over a 1/4 seam on two opposite side and iron flat.
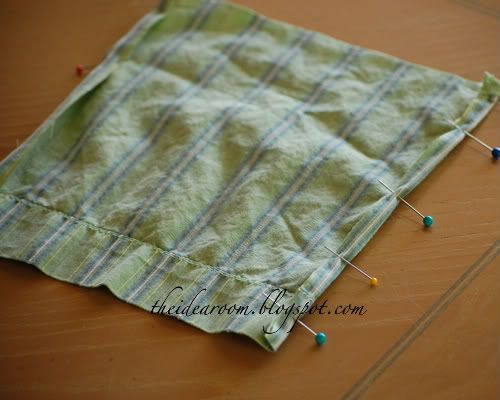
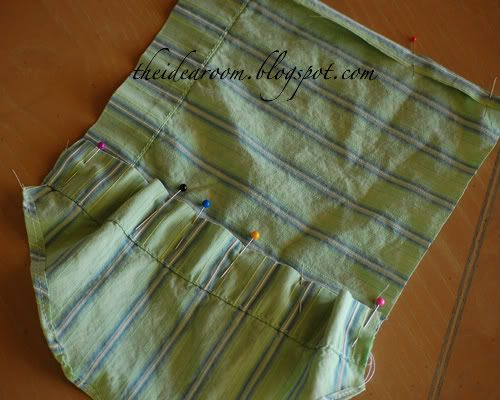
Take your half oval (cap sleeve) and pin it on top of one of your ironed down seams like the picture below.

I wanted a few ruffles in the sleeve, so the lengths did not match. Pin it so the ends match up. There will be some wrinkles where you pin it. This is what you want. If you do not want it to be ruffled, make your lengths the same size.
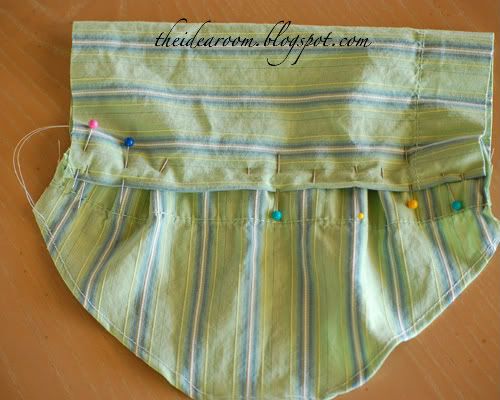
Now fold the end without the cap sleeve pinned on, over and line it up with the other end of the sleeve. Add some pins to hold in place. When it is pinned, sew them together.
Now try your dress on your model and pin shoulder straps in place. (I forgot to take a picture of this. If you need a picture, I took one that was similar in my pillowcase nightgown tutorial). When shoulder straps are pinned in place, sew them onto the bodice of the dress in the front and back.
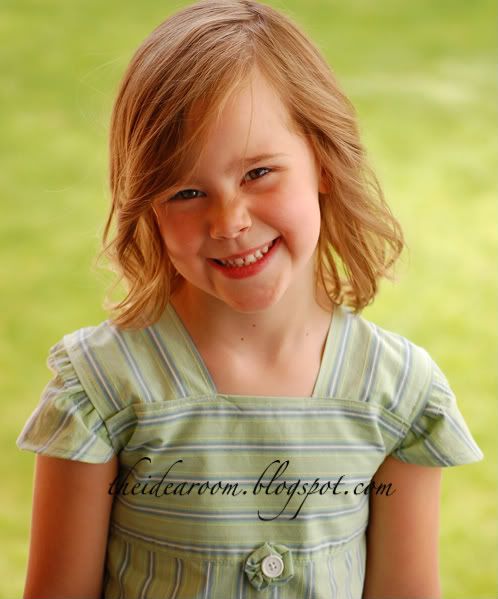
Now you should be finished! This dress is so simple and cute. My daughter has already worn it several times. I have plans to make another slightly different one when I can find some time. I thought summer would slow us down, but I have not sat still for a long time and its not looking like I am going to get there any time soon. Any one else feeling the same way?

JOIN OUR NEWSLETTER
Would you like more Recipes, DIY, Printables and Organization Ideas?
Subscribing to the newsletter will enable us to periodically send you creative content exclusively for Idea Room subscribers.
*View our Privacy Policy here.


I've had that tutorial bookmarked for a while. but my dd is older, so i'm not sure if I could get a dress made for her. I love how you did your straps/sleeves. great job.
Great idea!
I made this for my daughter last summer (or maybe the one before) and just did plain straps and then made a simple peasant dress to go underneath it.
I can't wait until my basby girl is older and I can start making her dresses. Right now she is only 5 months…a little early to start doing that quite yet.
so cute. I love the sleeves.
How cute! I Love it!
Such a cute idea! Makes me wish I had a little girl. (maybe one day)
I really want/need to find time to make my daughter one of these refashioned outfits. I love yours with the sleeve. I am linking to it at somedaycrafts.blogspot.com for future reference!
I love the sleeves as well, but they seem to be sewn on differently in this tute than the pillowcase dress. On the pillowcase dress, it's obvious they're just sewn on to the bodice. In your pic here, the bodice is all sewn up, but the pic looks like the sleeves are sewn farther down the bodice. Is it just me? Maybe you wanted to simplify for us? Will it still work as described?
Jackie–I went back a read through my tutorial again and realized I left out a little part. I did cut notches is the bodice for some arm holes because I wanted the bodice to come up higher on my daughters chest. I rewrote and added some information. I didn't take a picture of it so I forgot to add that part in. Thank you for pointing that out. I realized that was a bit confusing. That is why it may appear to be different than the sleeves on nightgown. When I fit my daughter with the shoulder pieces (that I attached the sleeves too) I also angled them a little so that the neck was not completely square. They just seemed to fit better that way on my daughter.
If anyone else notices anything amiss, I greatly appreciate your help. Sometimes when you write these things you don't realize when you miss something important.
So fun! This was an after church conversation last week, and a friend of mine referred me to you. I have heard of these dresses {never seen one that wasn't online} but either A}, they are too home spun looking and need some serious professional help, or B}, they are too strappy, and have to be worn over another top which is ok, unless that top is not found etc, on the day it is needed…..I have a feeling there are going to be some men minus some shirts in their closets very very soon! THANKS!
LOVE this. I made the one you linked to this summer, but wondered how to best make it with sleeves. wonderful. Thanks! :)
Wow! Incredible! I can't wait to try it. Thanks so much for the share! I think I would even leave it short sleeve and throw a nice cotton long sleeve under for the winter!!!
i just made one for my daughter and I seriously am a beginner sewer. So cute and really easy. I love your site. Makes me think, "Hey, I CAN be crafty!" :)
I really admire this, I mean it really looks interesting!