
Are you moving soon? Let your friends and family know your new address with these fun We’ve Moved Cards. They are a fun way to share the news of your recent move and are so easy to make. Using Cricut’s Print Then Cut feature all you have to do is load them into your Design Space and you can have cards printed and ready to go within a few minutes.

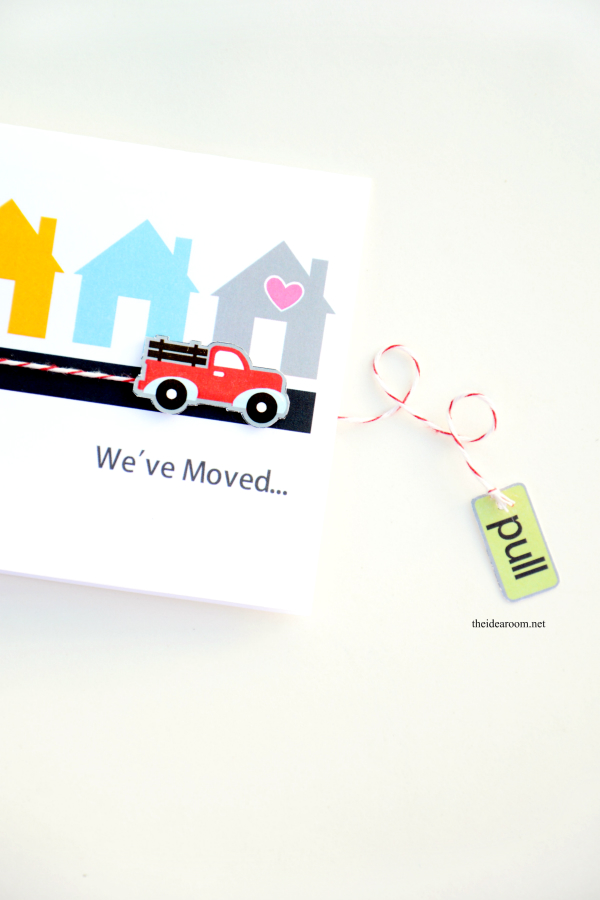
The cards, have a fun little pull tag connected to a string that actually moves the little red truck from one house to the next. The truck starts at one end of the street and you can pull it to the other end using the string.
Learn how to make them with the directions below!
Materials needed:
Cricut Explore machine or Cricut Explore Air machine
Scoring Tool
2 sheets of white card stock
Ink Jet Printer
Glue Gun or Glue
Baker’s Twine
Scissors
Project Directions:
1. Click on the Make It Now button.
![]()
2. Pull project up in your Cricut Design Space.
3. Replace your new address in the text box in place of the generic address provided. Change the font, color and size if desired, and add any new details if desired ie. an email or cell phone number.
4. Load 2 sheets of white card stock into your printer.
5. Select “GO”.
6. Print out the We’ve Moved Cards.
7. Load We’ve Moved Card and the Address Card (one at a time) onto a light grip Cricut Mat.
8. Cut each card. Then remove from the mat.
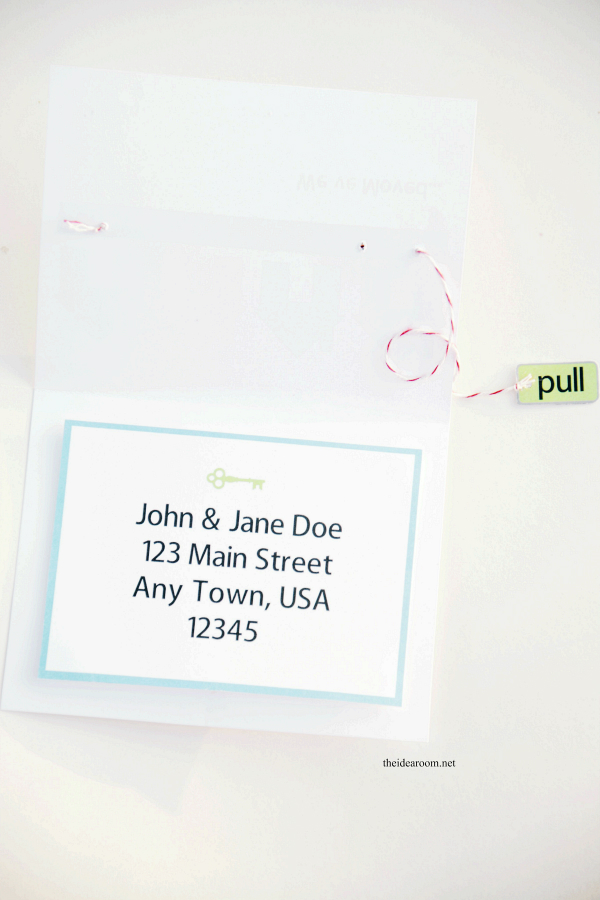
9. Take a long piece of Baker’s Twine (at least 12 inches). Put the twine up through one hole and down through the other so that the twine lays on the top of the card.
10. Put the other end of the twine through the hole on the pull tab and tie it on gently.
11. Pull the string so that the pull tab is close to the right end of the card by the gray house. Leave a little bit of string on that end.
12. Glue the Moving Truck to the string so that it sits flat on the road of the card.
13. You will need to test the pull cord so that the truck has room on the string to move across the entire card back and forth.
14. Adjust the string on the left side and tie a knot on that end to prevent it from pulling through the hole.
15. Glue your address inside the card, or just set it loosely in the card if you want to send a little handwritten note to the recipient.
![]()
JOIN OUR NEWSLETTER
Would you like more Recipes, DIY, Printables and Organization Ideas?
Subscribing to the newsletter will enable us to periodically send you creative content exclusively for Idea Room subscribers.
*View our Privacy Policy here.


These are so cute!! We just moved 2 months ago. These will be great to mail out to the extended family and friends. Thanks so much!!