
This next project ranks up in my top ten most favorite projects…ever! Seriously. It is really making me happy. I LOVE lights on in the house and feel like they should be something that occurs other than just Christmas time. I put some fun bulb lights in my office/craft room and turn them on when I need a little happiness boost.

So why not add some fun lights to another room of the house that I spend a lot of time in with the family…the family room. These lighted letters are quite the rage right now and I LOVE them…I didn’t want to pay the price for them and figured we could make one pretty easily. We used up scrap pieces of wood we had from other projects and so the only thing we had to buy were the lights.
We purchased our Room Essentials white string lights from Target. They have them online and in some stores. I also found them here: Globe Lights.

Here is how we made our Lighted Letter Sign…
You will need the following:
Room Essential String Lights (or your own choice)
Piece of wood large enough for your letter (ours was 18 inches wide by 24 inches tall)
1/4 inch MDF cut into 3 inch strips for the edges (enough to go around all edges)
drill and a 13/16th drill bit (this bit fits the RE lights above, adjust if using different lights)
wood glue
staples or nails
sand paper
spray paint or stain (we used Valspar’s Golden Maize in a Satin finish)
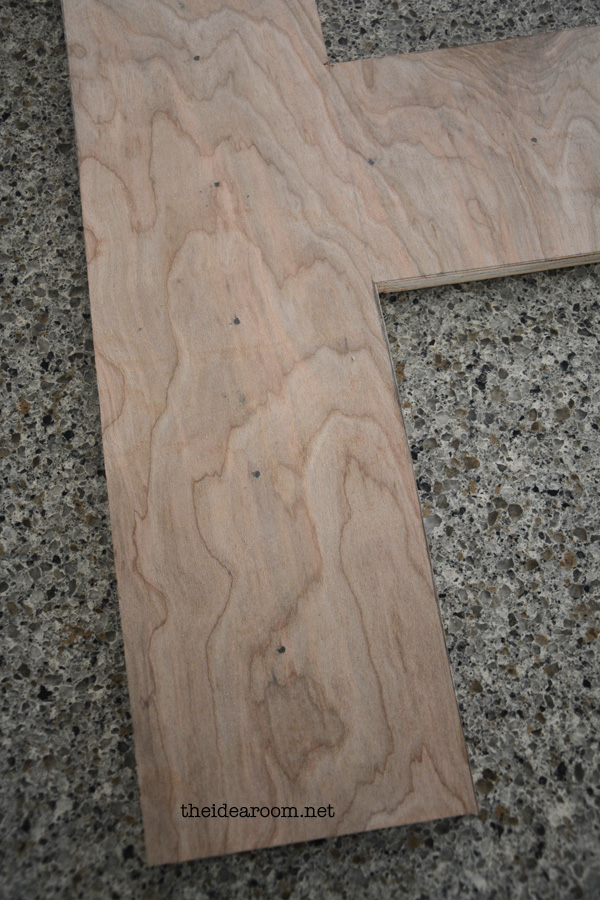
1. Draw out your letter and be sure to give ample room for your lights according to their size. Cut out the letter. Ours was 24 inches tall and 18 inches wide with the width of the letter itself was just over 5.25 inches.
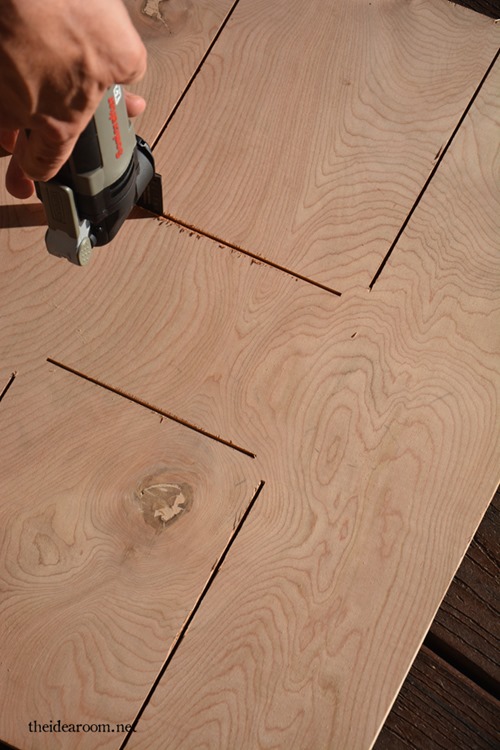
We used a mitre (miter) box saw to cut the H out of the wood. We stopped right before running into the corner of the 90 degree angles and then used our Rockwell Sonicrafter X2 (stay tuned for more details and a fun surprise…hint hint!) to cut the corners of the 90 degree angles.

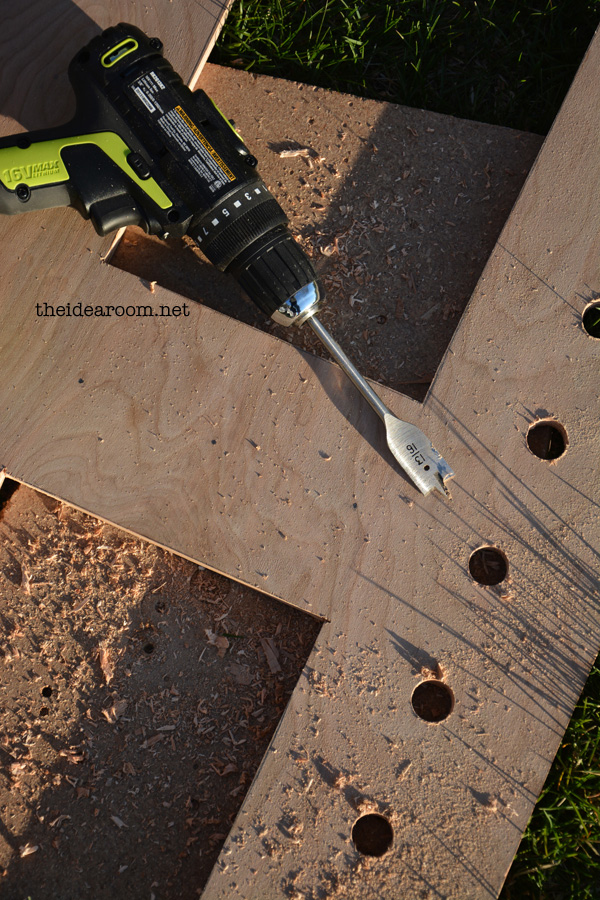
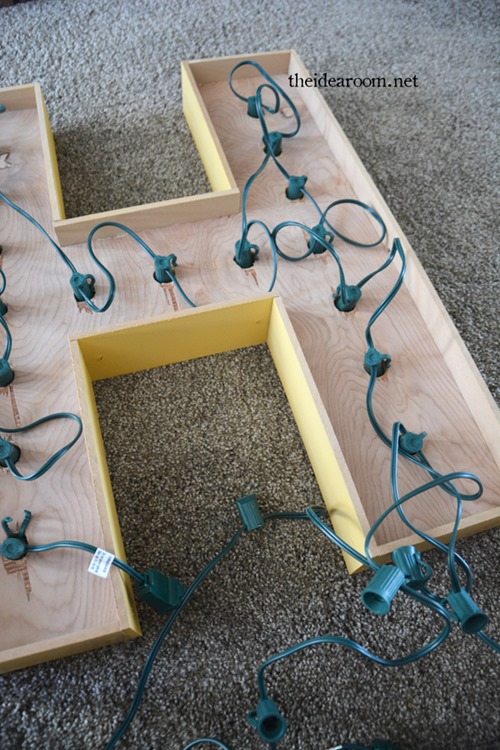
2. We measured out where we wanted the lights to be and lined them up equal distances and marked the spot where we wanted to drill a hole with a penciled dot.
3. Use your drill and a 13/16th drill bit and drill a hole at each pencil mark. Be sure to go all the way through wood. The lights base should fit all the way into the hole without a lot of wiggle room.
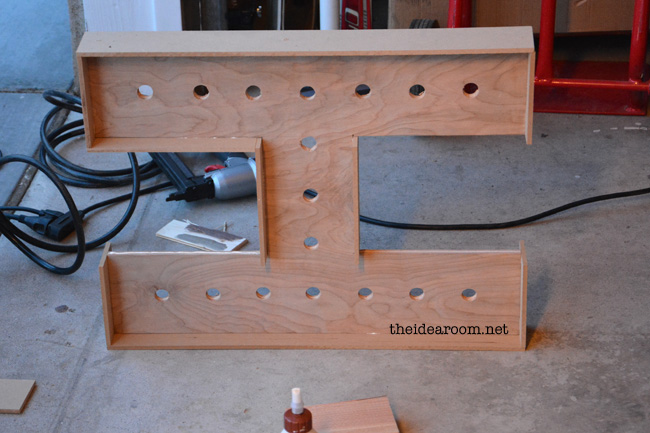
4. Measure and cut your side strips and glue them into place with overlap in front and in back. This will help hide the cords from the side. We just eyeballed this until we liked the placement of it. We used a piece of wood (that placed the strip in the right position) to be our guide so that we spaced it the same all the way around the letter.
5. Glue and staple each strip into place and let the glue dry completely before gluing another section since you will be turning and rotating it. Wipe off any excess drips of glue.
6. You can caulk any spaces or nail holes, if you would like, but we did not do this this time. The edges were pretty smooth and I wanted a little rougher, vintage look to it.
7. Spray paint or stain your letter. We used Valspar’s Golden Maize in a Satin finish. We just picked it up from our local Lowes.
8. Take your lights and break off the small little clips. They should break really easily with some pliers and a slight twist of your hand.
9. Then put each light into a hole. You can do this by unscrewing the light bulbs and putting the base underneath and up through the hole and screwing in the light bulb from above the hole.

10. Twist up all the cord and tie back with twist ties or some wire to keep the wires all contained and from getting all tangled or showing from the side of your letter.
We are displaying the Lighter Letter H on top of our TV Cabinet so we don’t have to worry about hiding the electrical cord. I am just happy we have a pretty easy straight lined last initial! I am not sure how I would do a G….

I LOVE how festive it makes the room feel…like it is a holiday without all the fuss and work of one! Want to know what other projects make up some of my top ten? Check these out:
Frankincense & Myrrh Christmas Gift


JOIN OUR NEWSLETTER
Would you like more Recipes, DIY, Printables and Organization Ideas?
Subscribing to the newsletter will enable us to periodically send you creative content exclusively for Idea Room subscribers.
*View our Privacy Policy here.


I have this BIG letter “I” that I could do with this !! Awesome !! Thx
Yes! And if you already have the letter, half the work is already done for you!!
You figure out a G bugger…’cause I want one. This is fabulous! I love it, and you!
I will…just for you! I miss you!
So cute as always! Where did you find the white and yellow orbs?
Thank you! The yellow and blue orbs were at home goods. The white was from target, it was silver. I spray painted it white ;)
The whole time that I was reading this, I was wondering how I could do a G…:) I really want one!
ha! That is a tough one. Just buy a pre-cut wood one and then make one without the side pieces on it :)
Such a fun statement piece! Thorough instructions too. I love it! I love your couch too, talk about tufting!
Love it!
That looks pretty amazing! I love that bright yellow, too. Pinning…
I love this idea! Thanks! This will be perfect for my daughter’s room. We’ve been talking about doing something with a large letter and this is just what we were looking for.
What did you do with what looks like you had extra light sockets on your light strand? Really love this project…
They are just taped behind the photo so that they stay in place but are not showing from the front!