
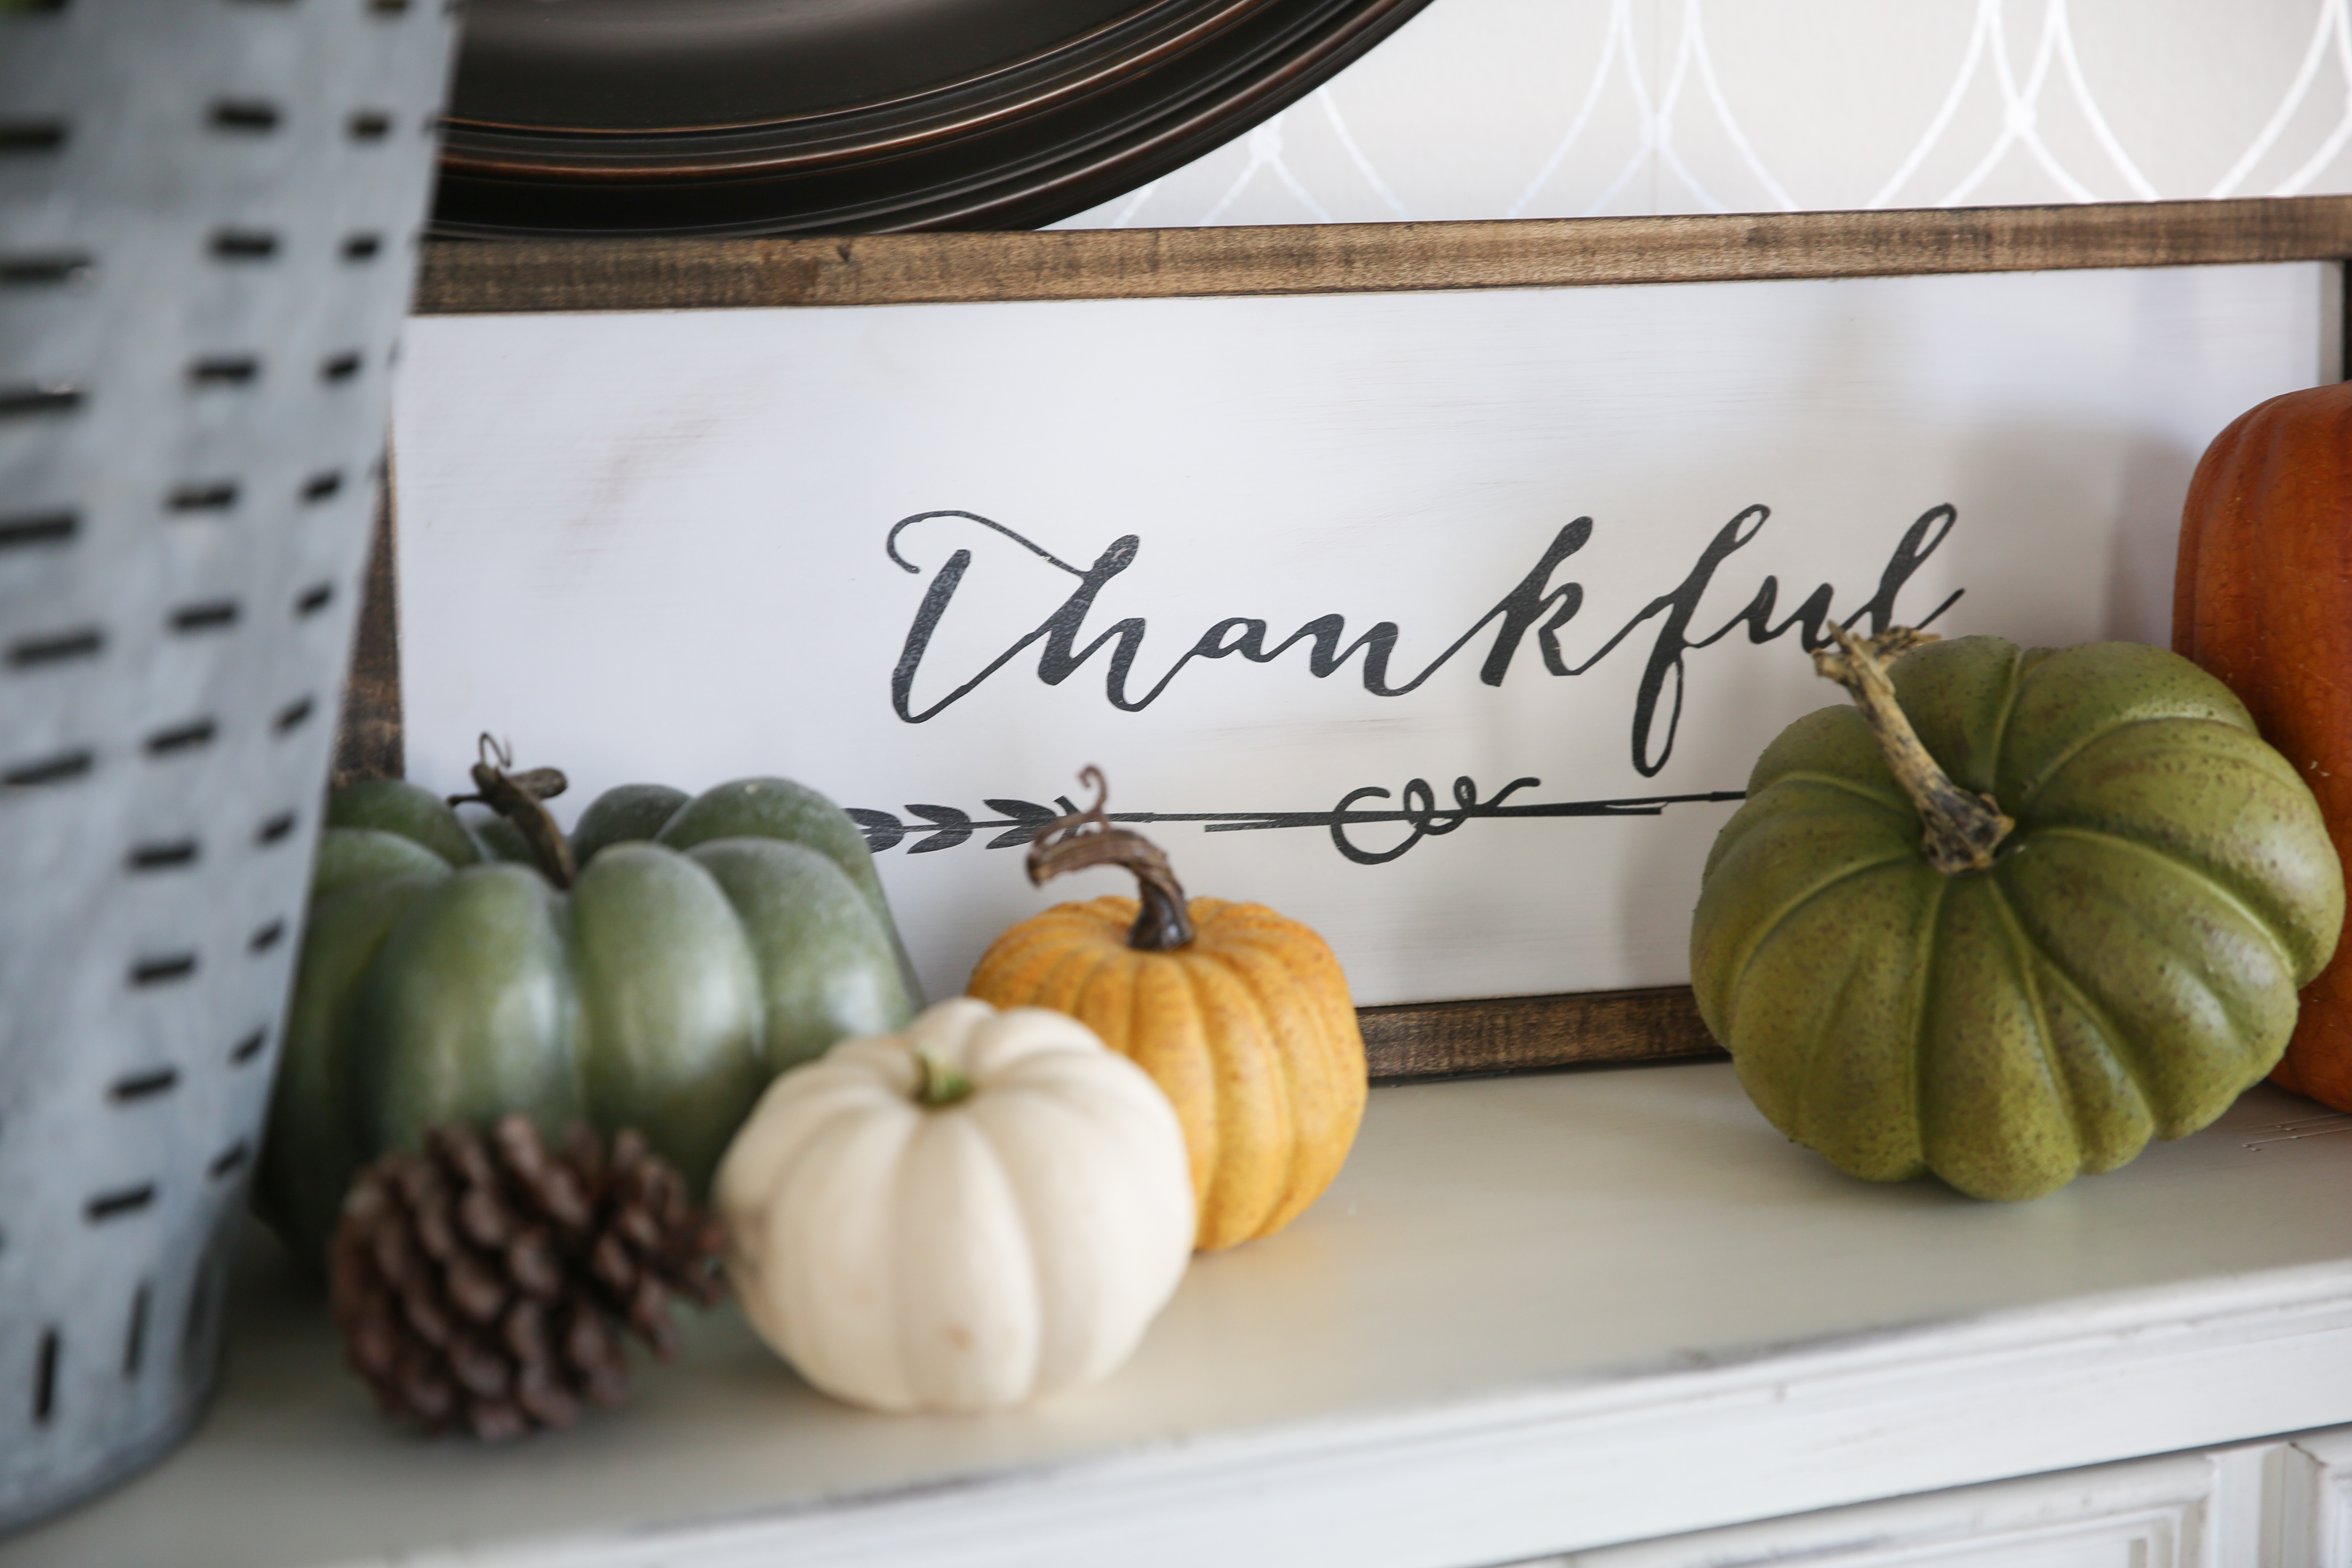
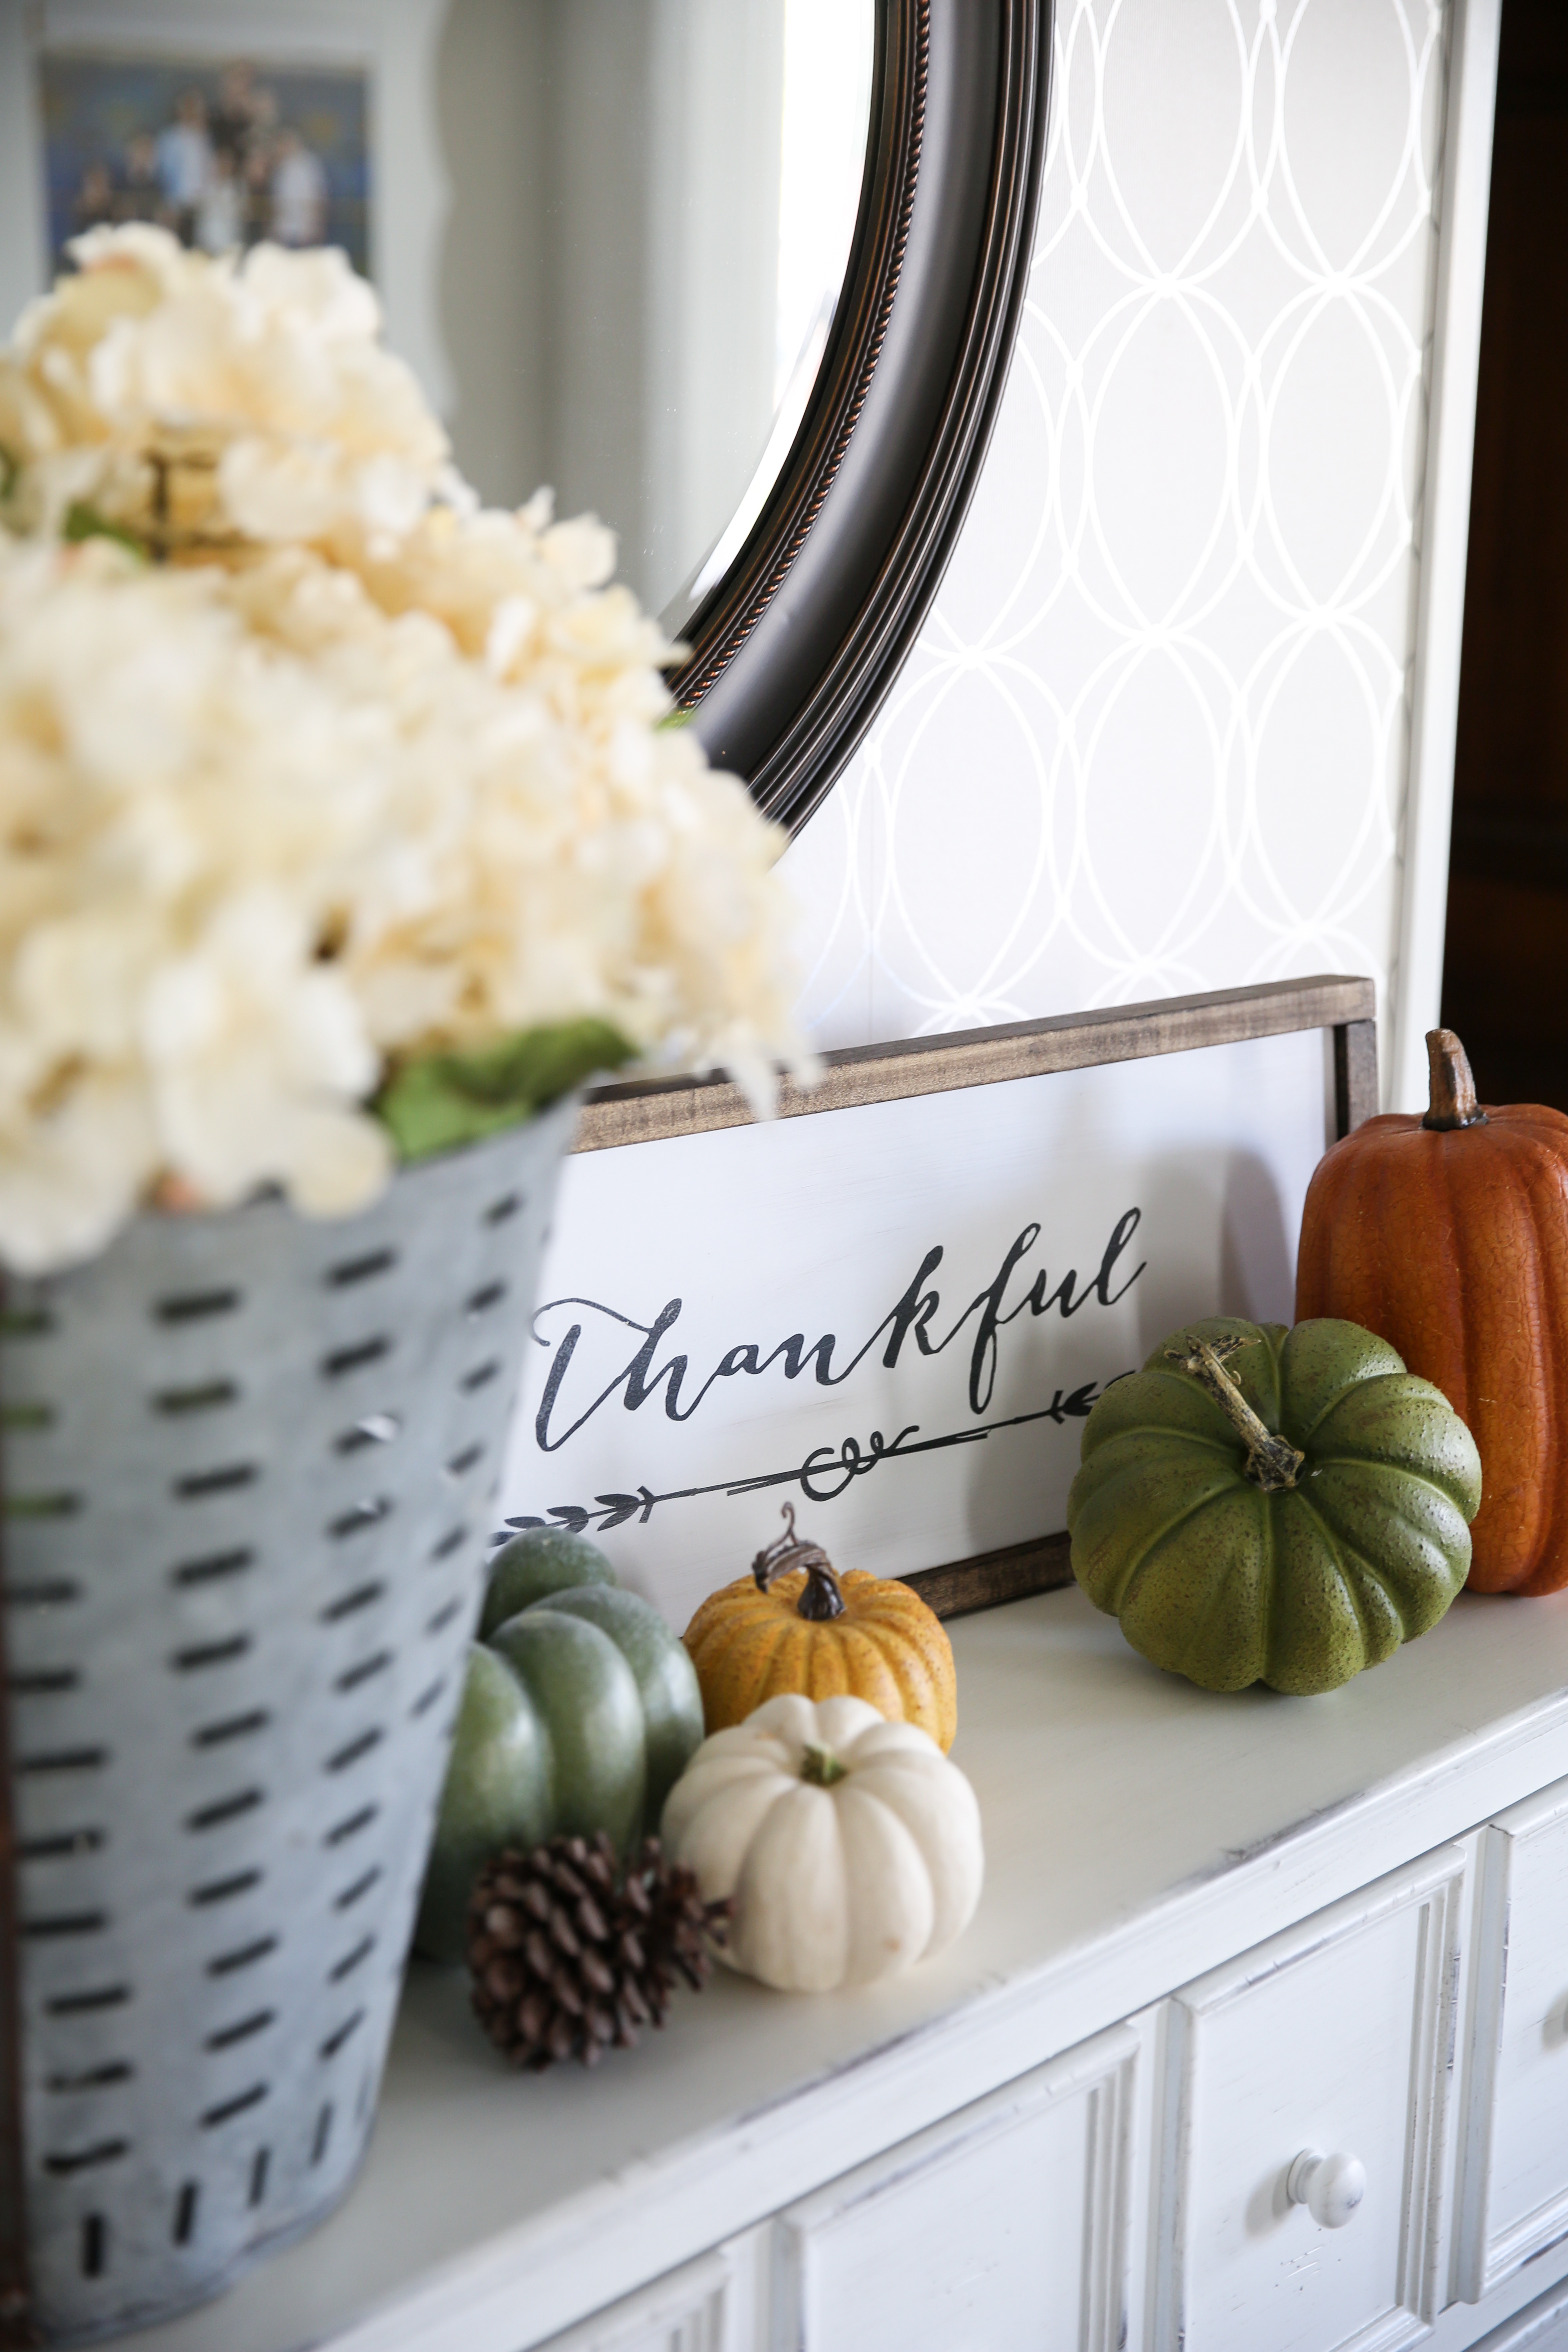
Make this sweet DIY Thanksgiving Thankful Sign is the perfect addition to your Thanksgiving Decor this Thanksgiving Holiday!
THANKSGIVING SIGNS
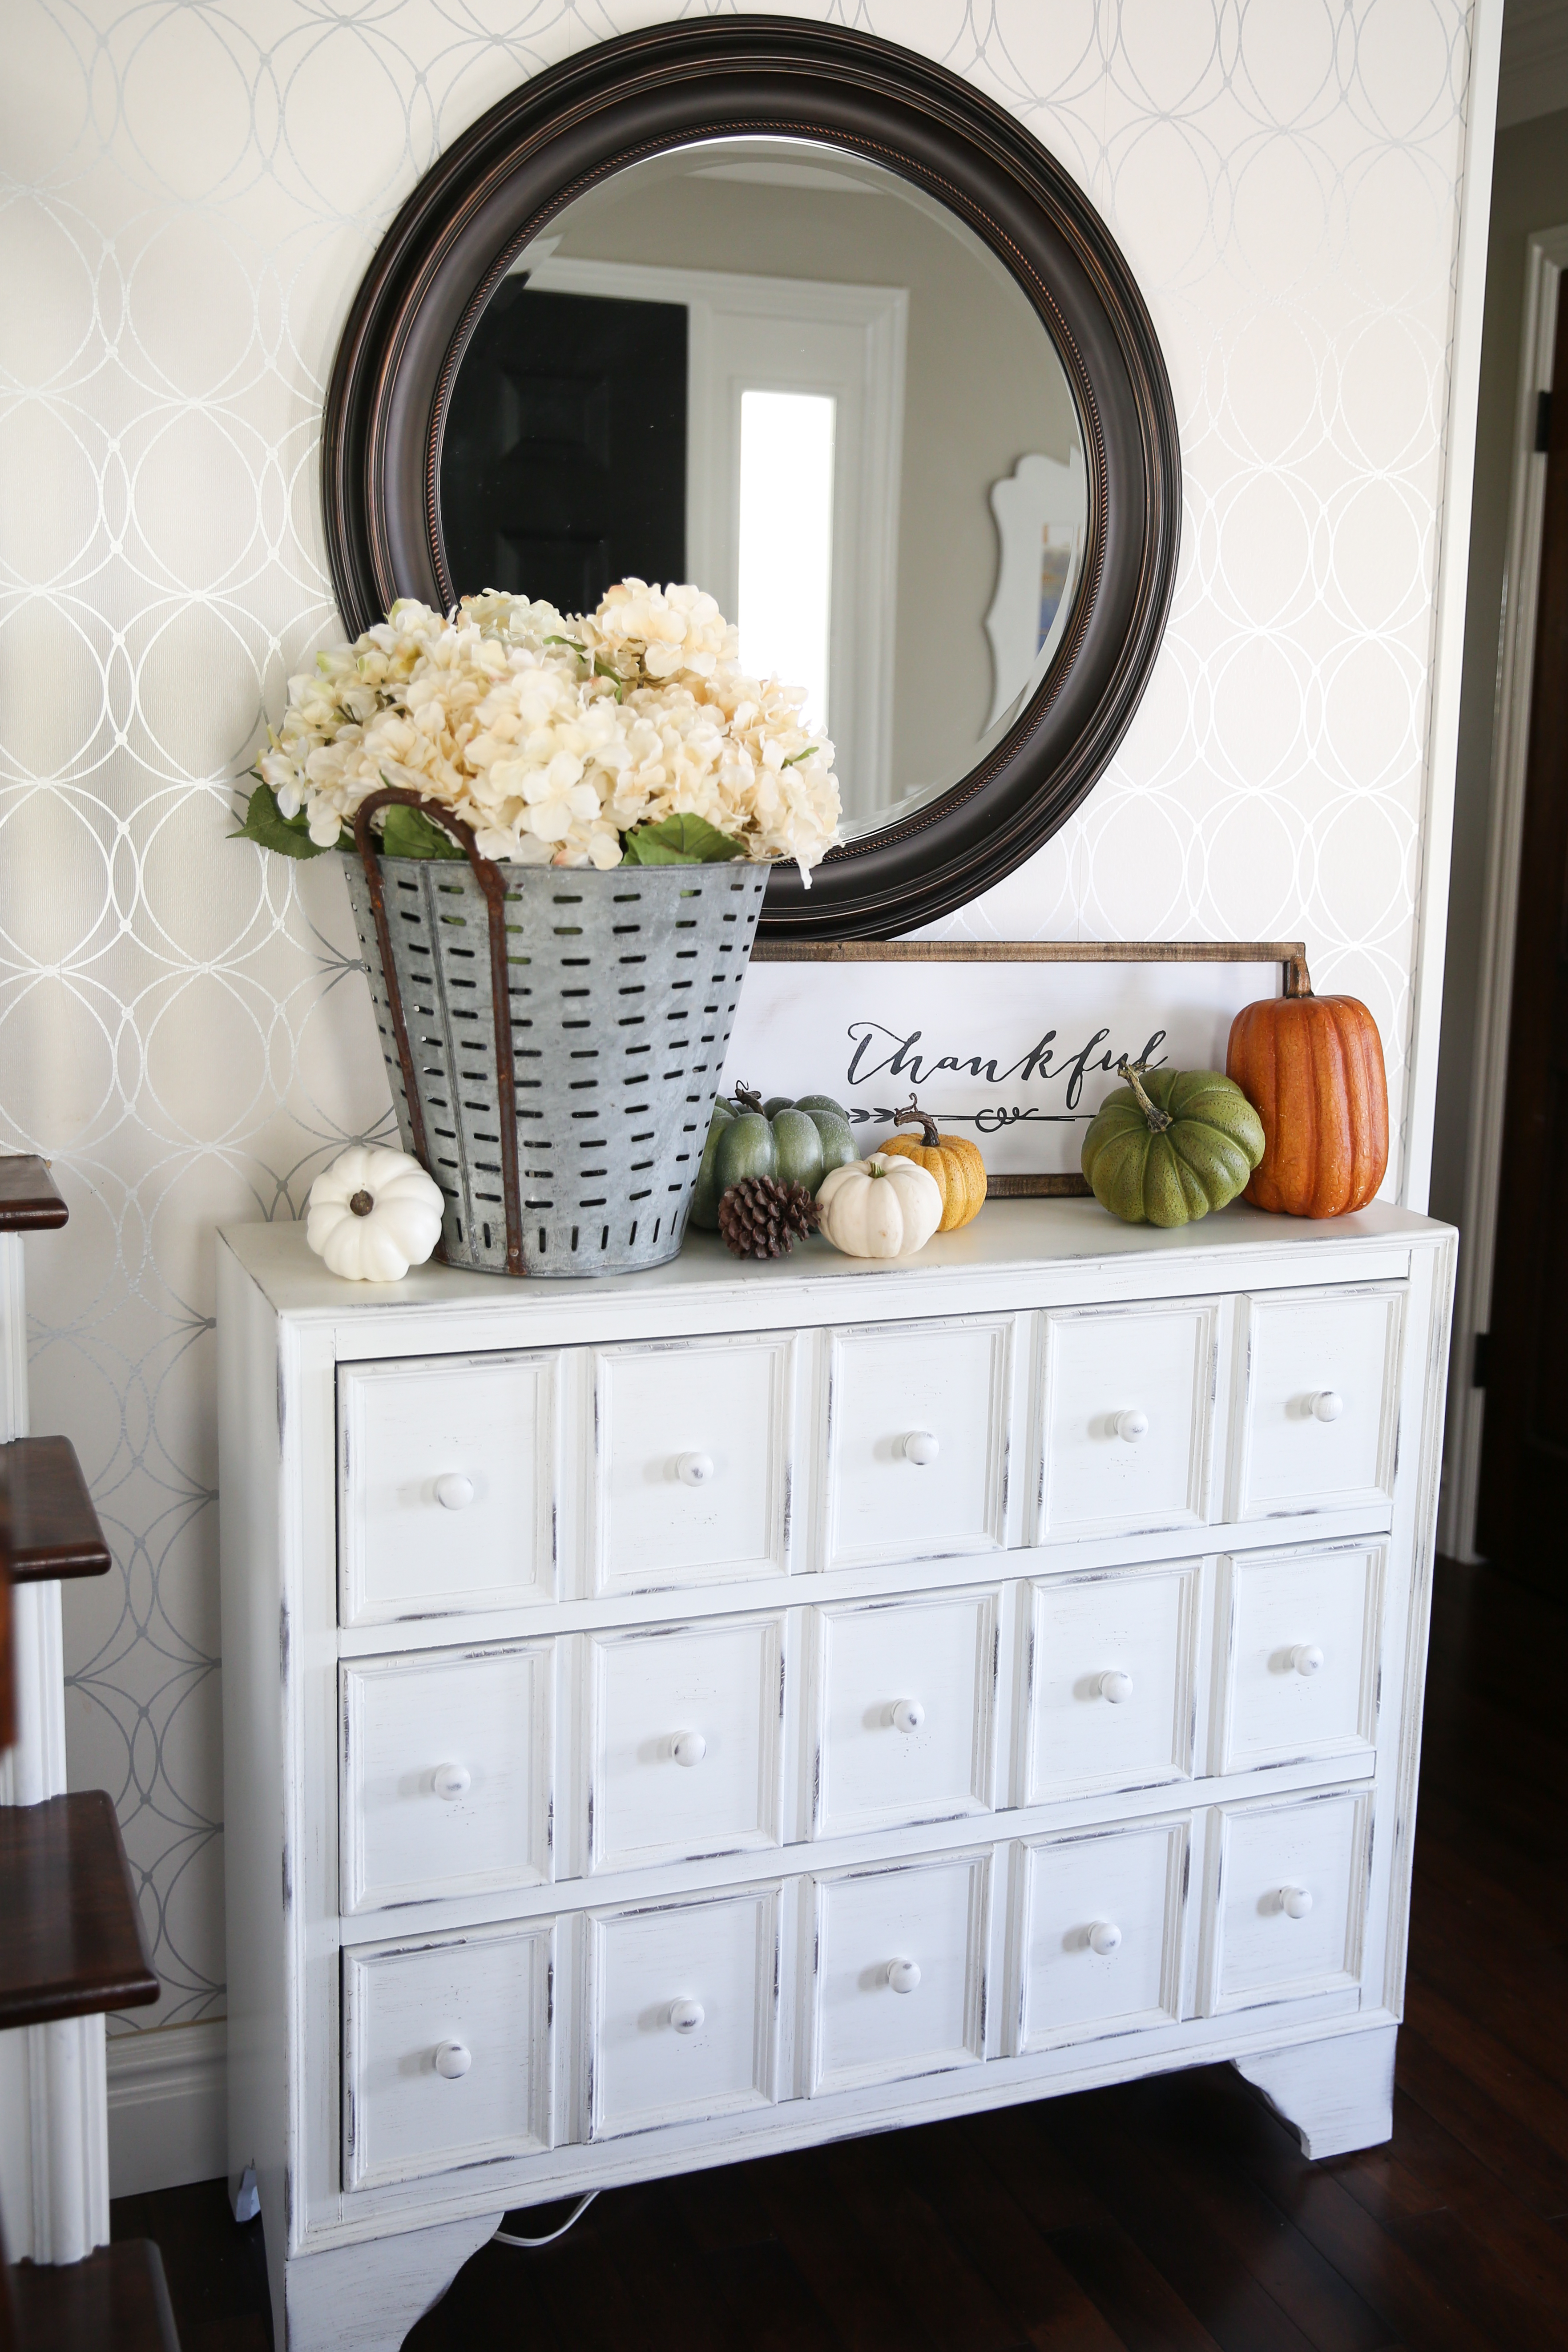
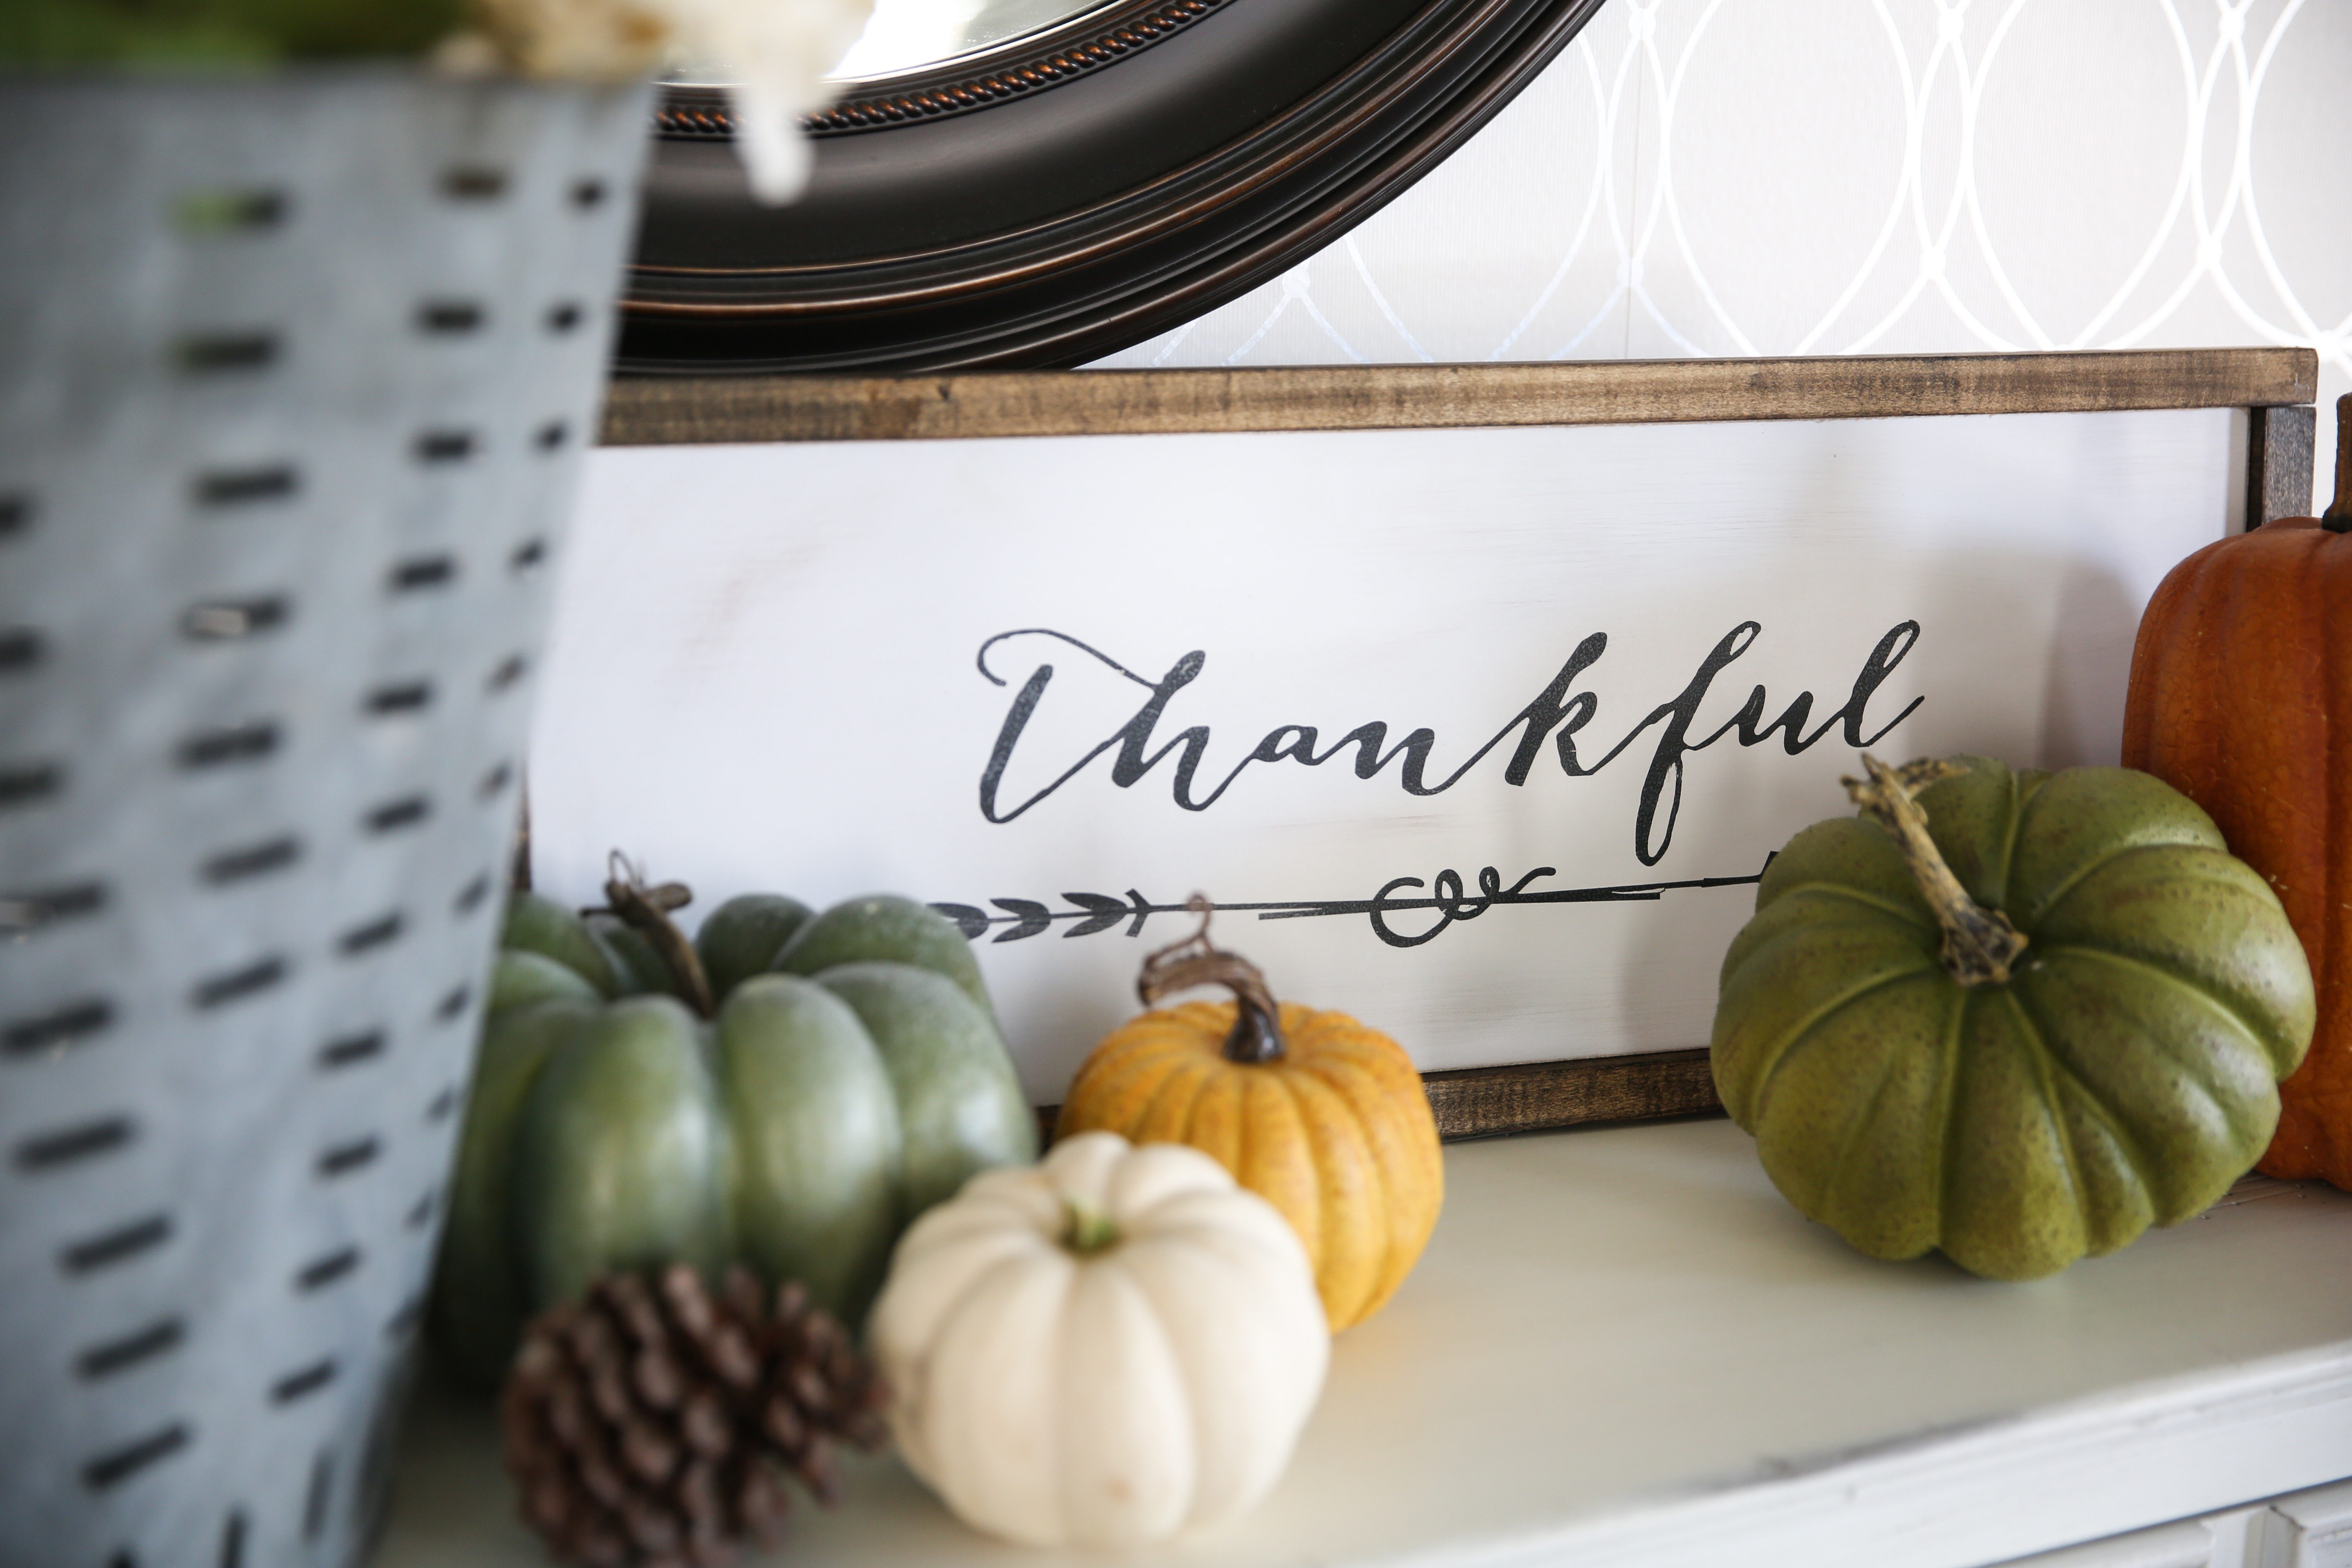
I am a teensy bit obsessed with making these signs you guys! It would be fun to have one for every season. I shared with you this Fall Pumpkin Sign I made earlier with my Cricut. I love it in my Family Room…but I also wanted one that was a little more related to Thanksgiving. So I made this DIY Thanksgiving Thankful Sign…and I absolutely love it!
These signs are so simple to make and can be made in just a couple of hours. You can also make this sign all by yourself. No need to wait for your husband or significant other to find the time to help you…you can do this one without any help at all…no really! If you don’t have anything to cut wood, have your local wood supply store make the cuts for you! They are usually really happy to help you out!
If you don’t have a Cricut machine, you can still make this pretty easily. Just trace the word thankful from a word print out onto your wood and then paint it in. It takes a bit longer but is a tried and true old school way of making signs!!
DIY Thanksgiving Sign
Easy/Beginner
1 hour project
Materials needed:
- Cricut Explore machine or Cricut Explore Air machine
- Light Grip Cricut Cutting Mat
- vinyl
- transfer tape
- vinyl tools
- wood board (mine was 22 inches by 13 inches)
- 2 wood frame trim pieces (23.5 inches)
- 2 wood frame trim pieces (13 inches)
- paint (white and black)
- paint brush or stencil brush
- wood stain
- sand paper
- air compressor staple gun or small nails
Project Directions:
- Cut your wood board so that it measures 22 by 13 inches (or your own preferred size).
- Cut your wood frame so that you have two long pieces on the top and the bottom of the sign with the short wood frame pieces on the side. The top and bottom frames will overlap on the top so you don’t have to cut angled corners.
- Sand board so that it is smooth. Wipe dust off the board with a damp cloth.
- Paint your board white and let it dry.
- Stain your wood frame pieces and let them dry.
- Click on the Make It Now button below.
- Pull project up in your Cricut Design Space.
- Load vinyl onto your Cricut Cutting Mat.
- Select “GO”.
- Cut your vinyl.
- Pull out the insides of the letters so the outline remains with your vinyl tool.
- Use the transfer paper to apply the vinyl to the painted wood board.
- Stencil the letter with black paint and let dry completely.
- Sand and rough up the sign if you want a weathered look.
- Staple or nail the wood frame onto the wood sign.
![]()
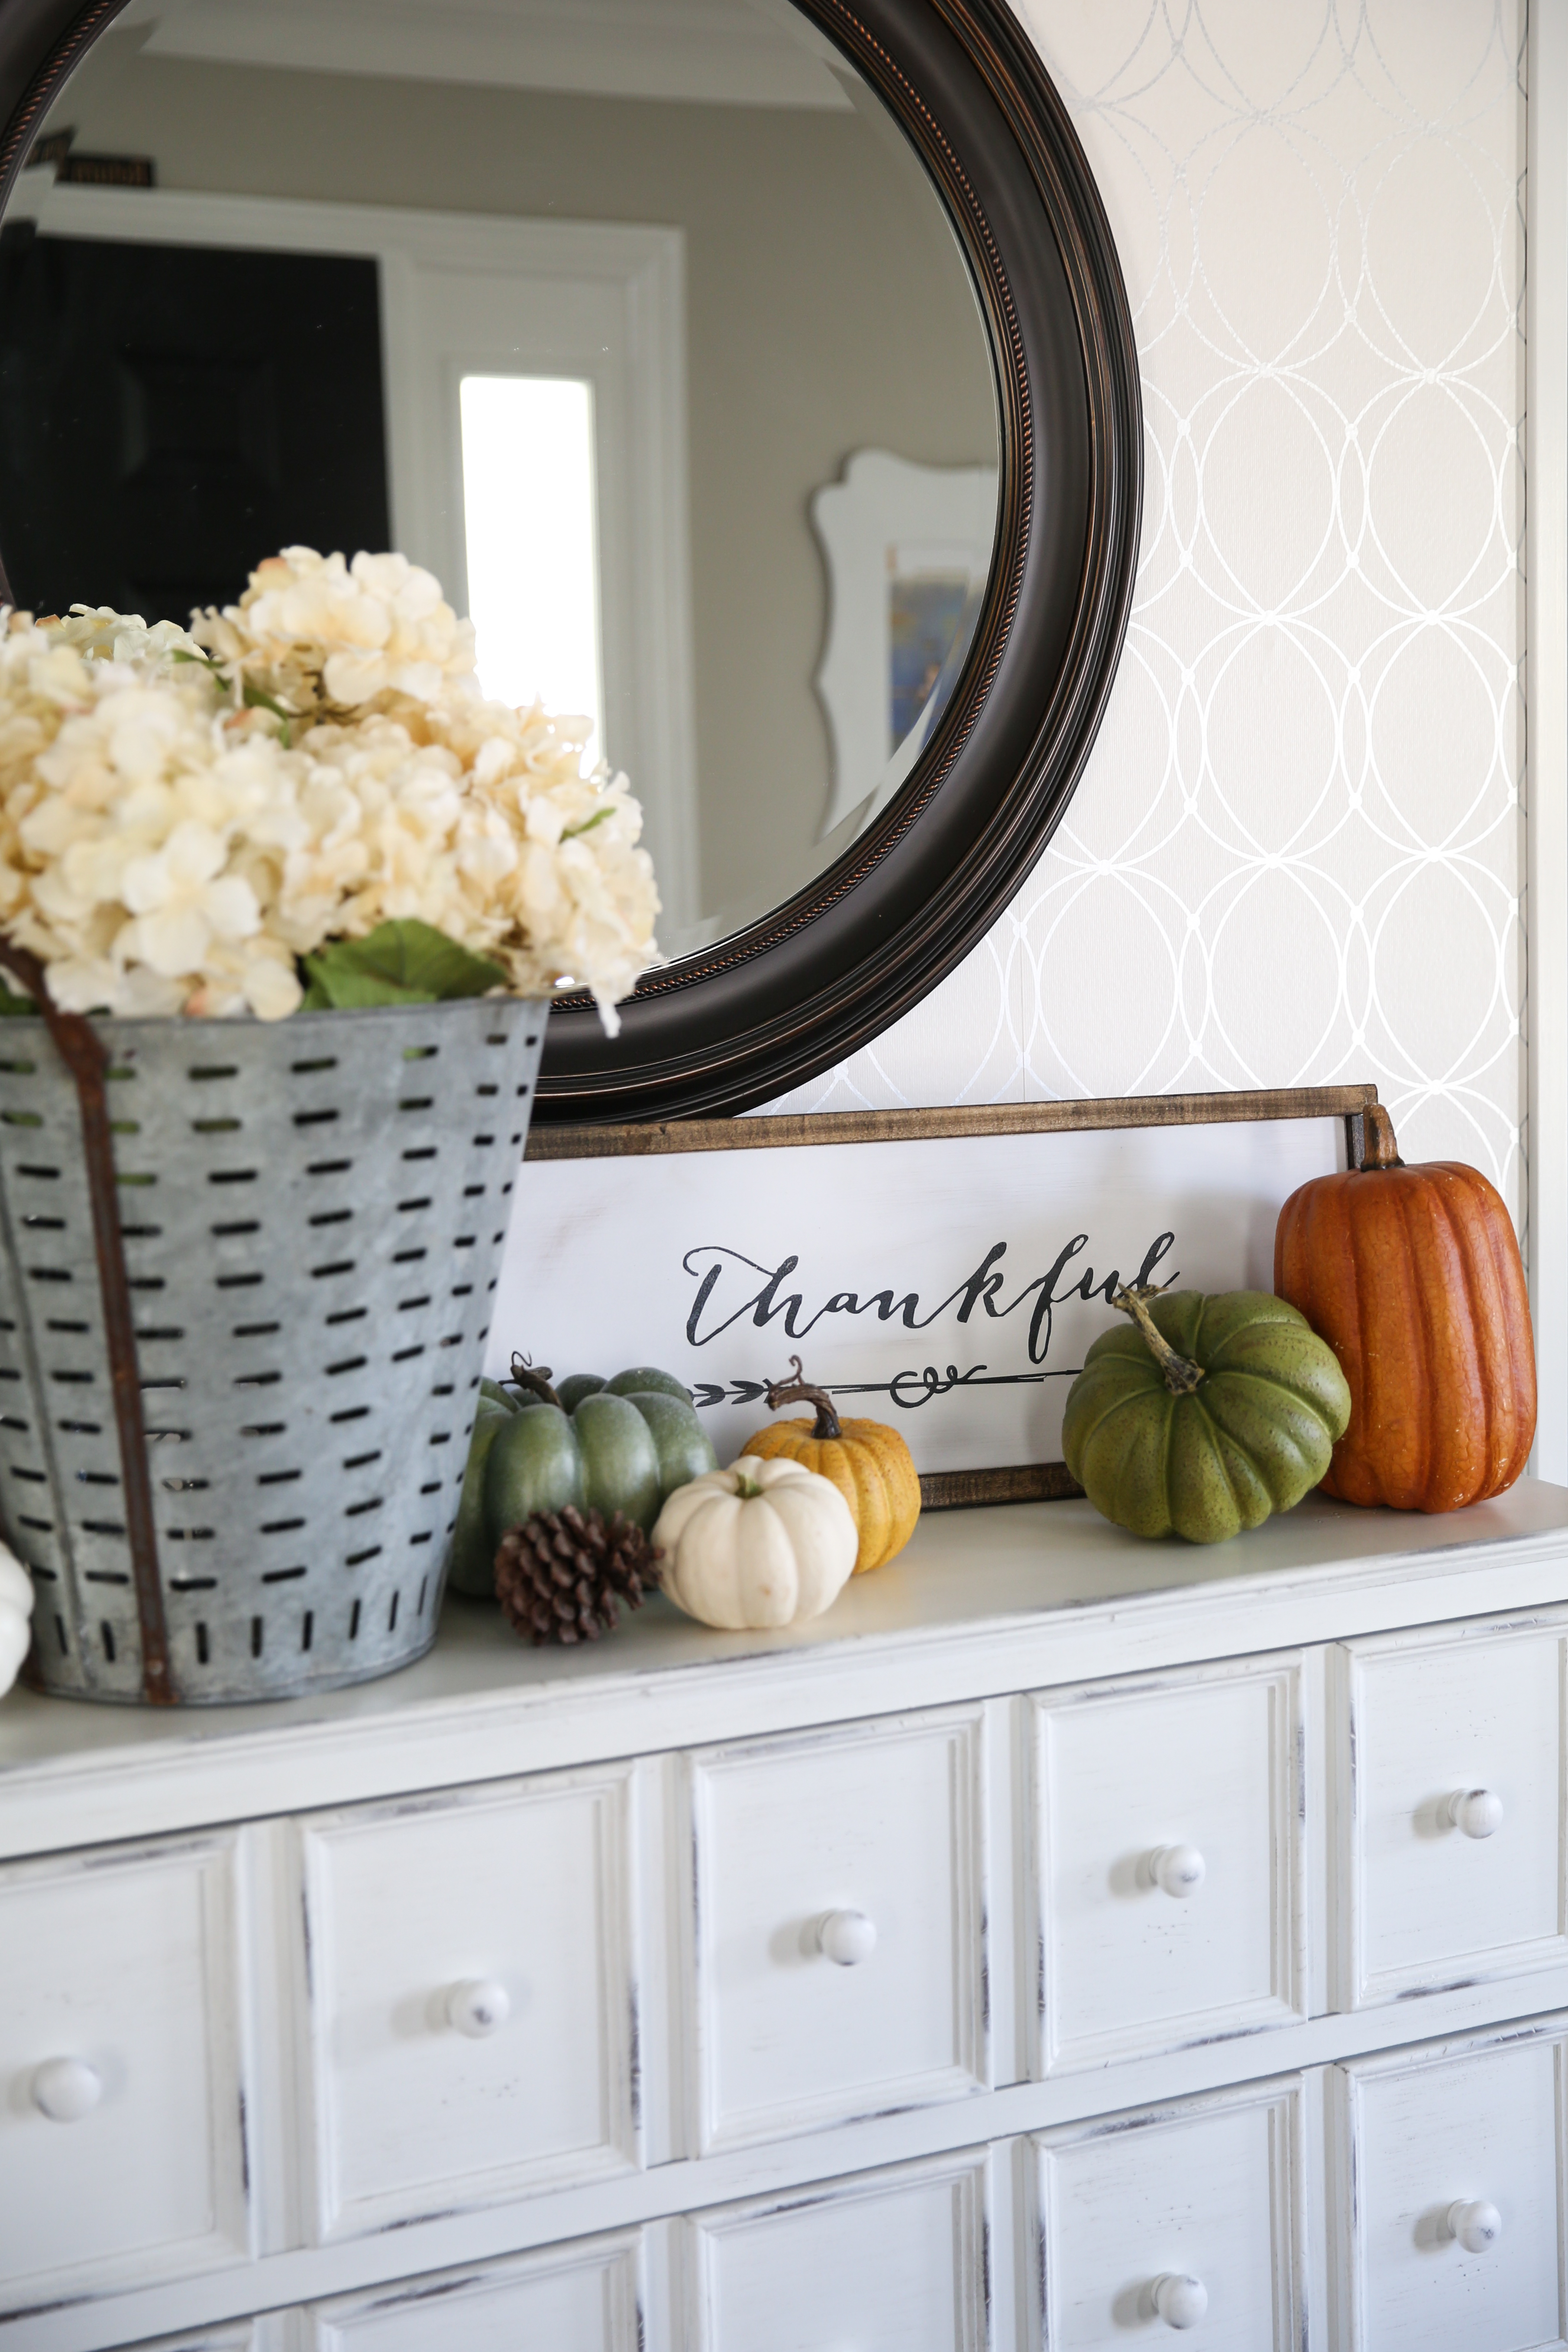
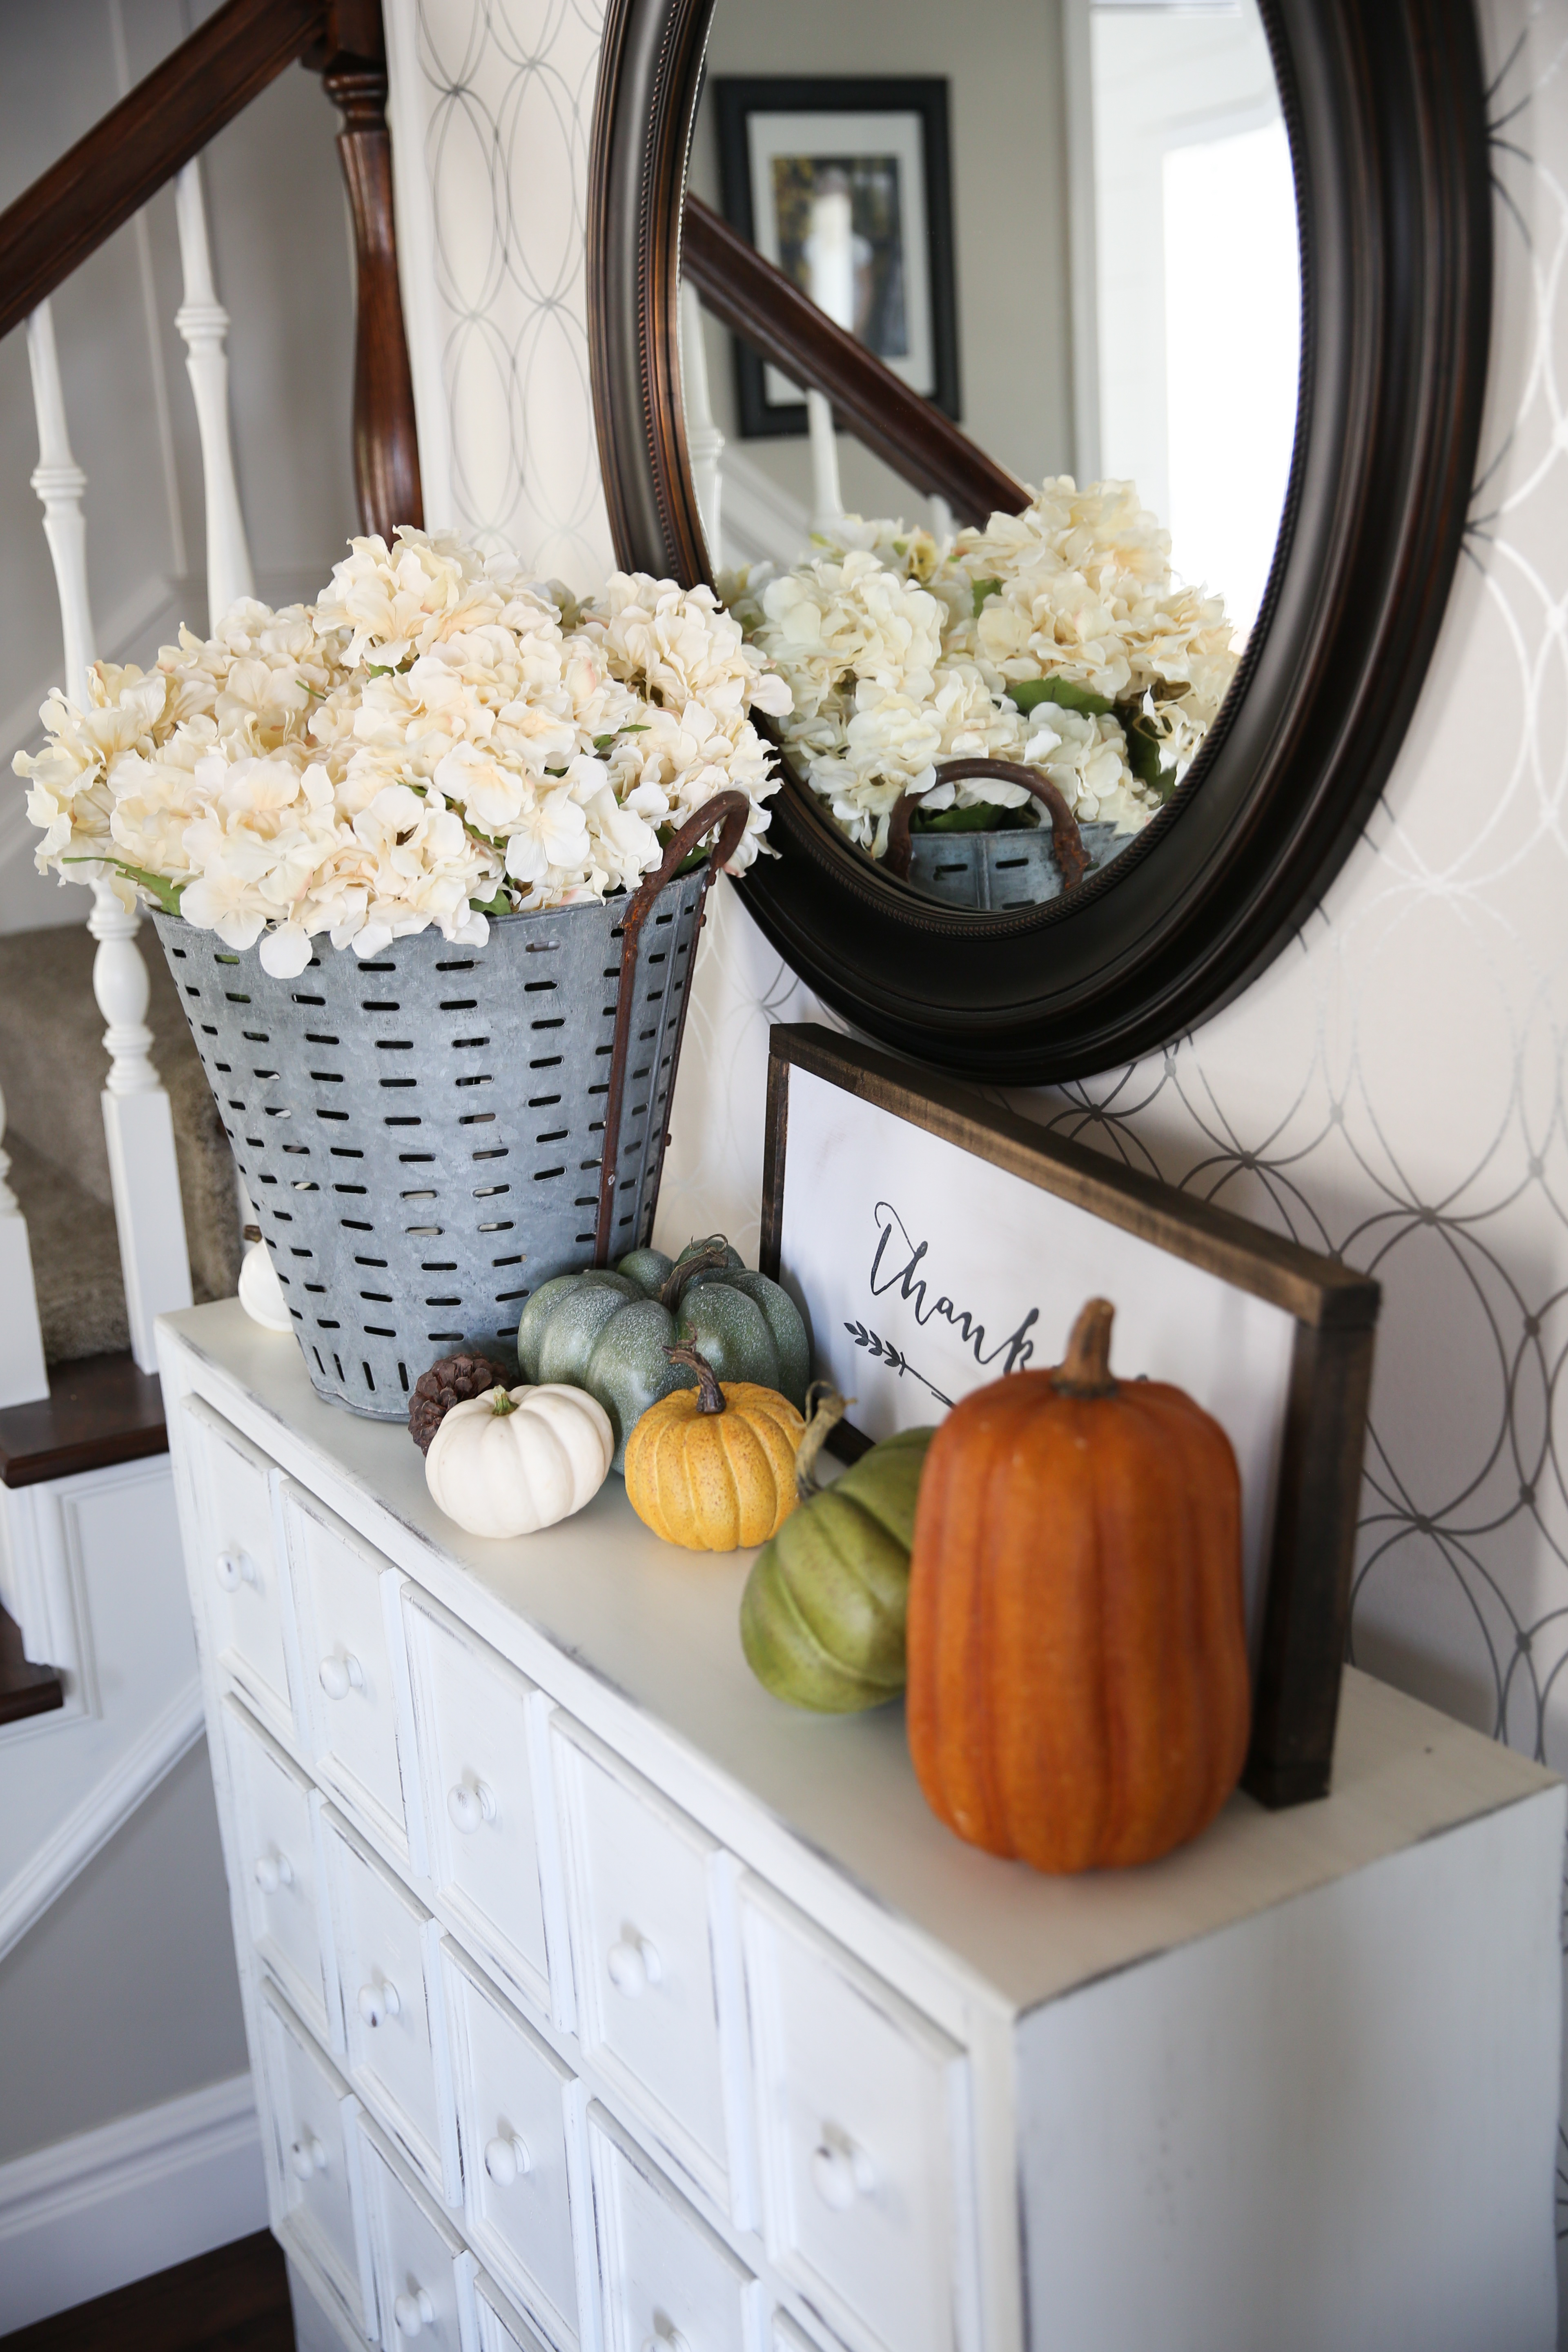
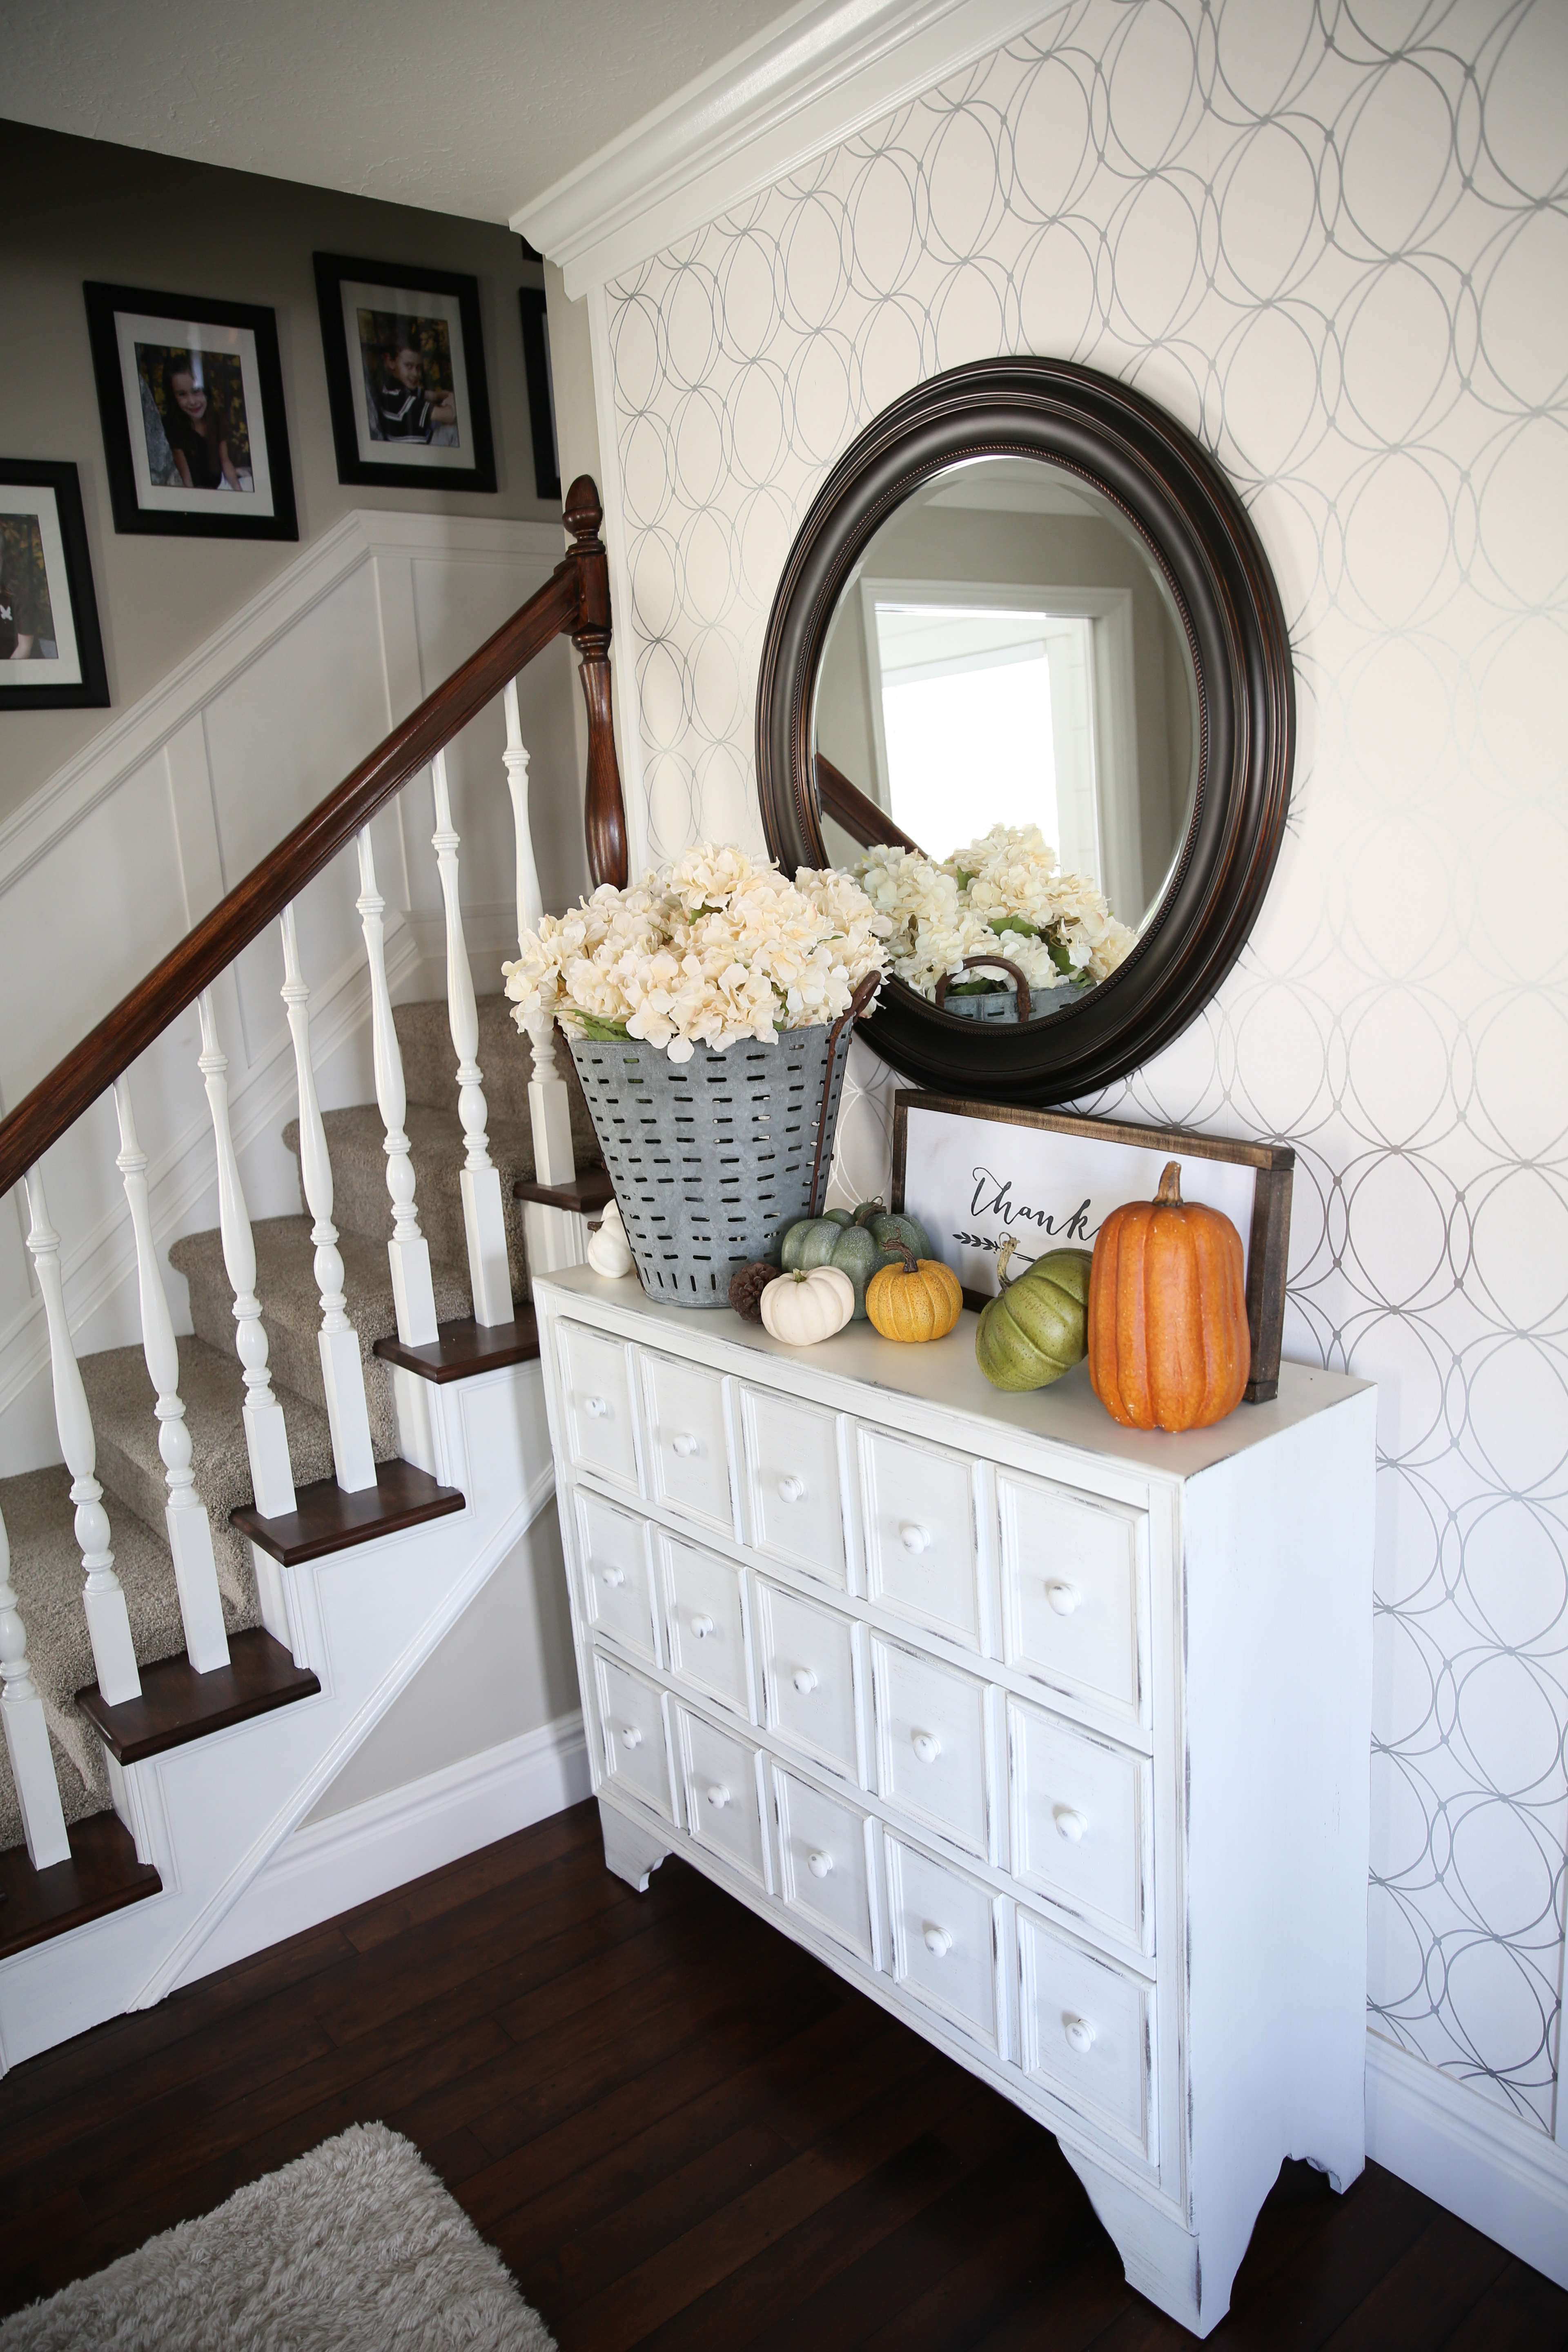
THANKSGIVING DECOR
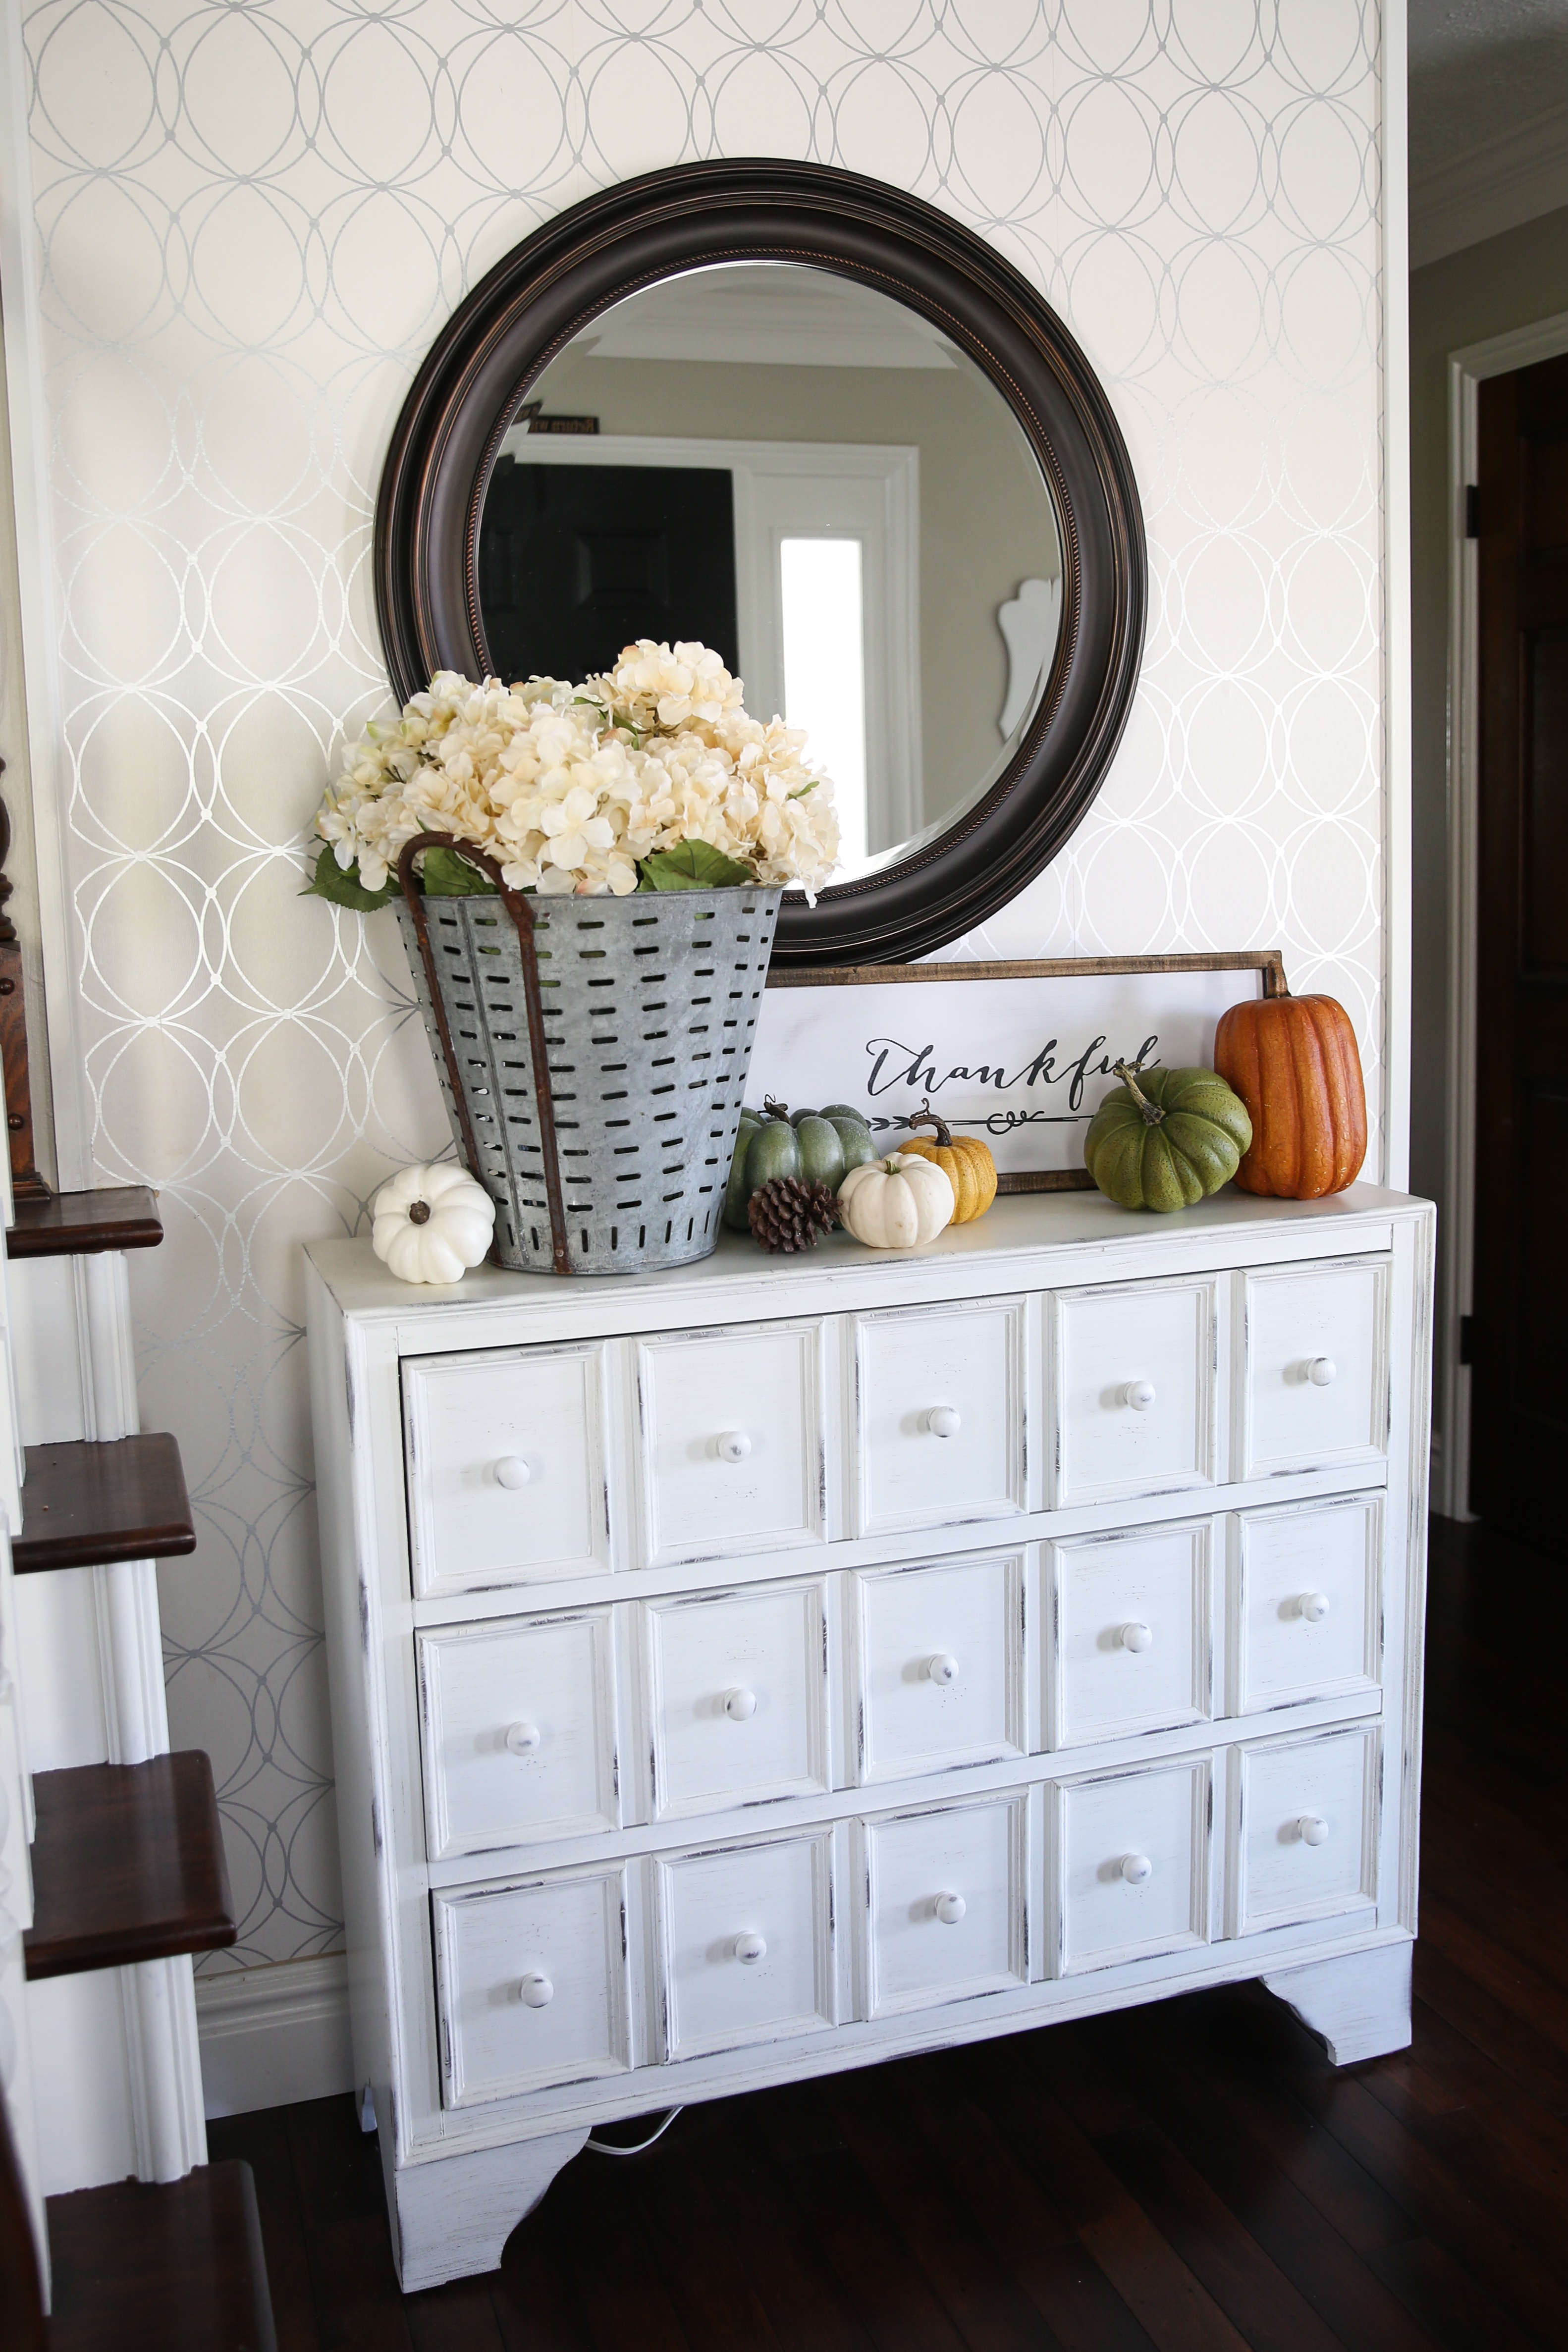
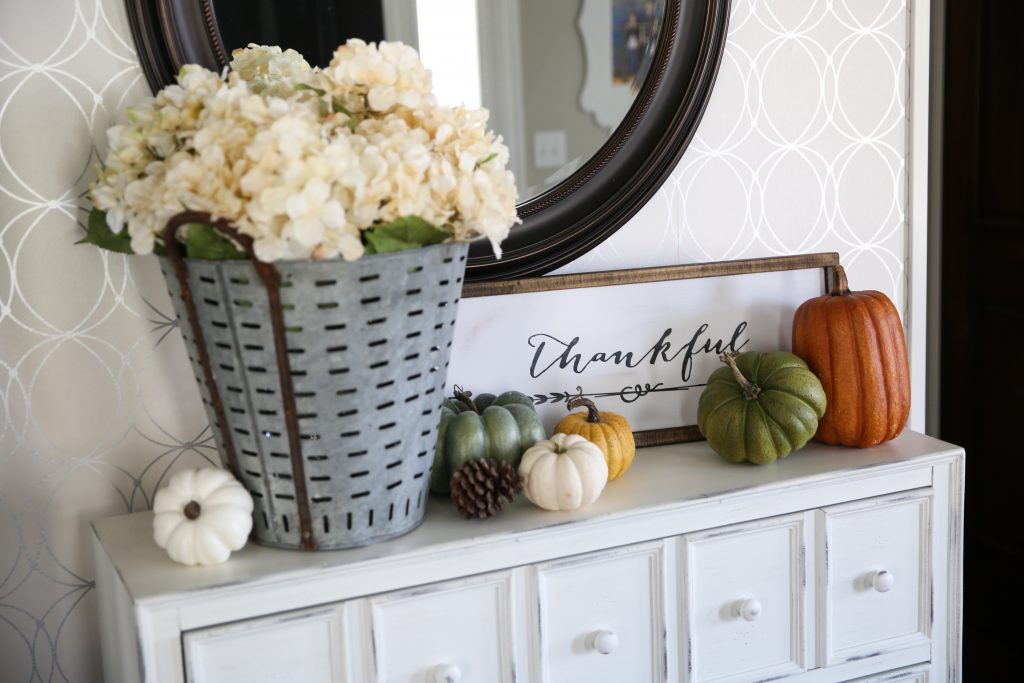
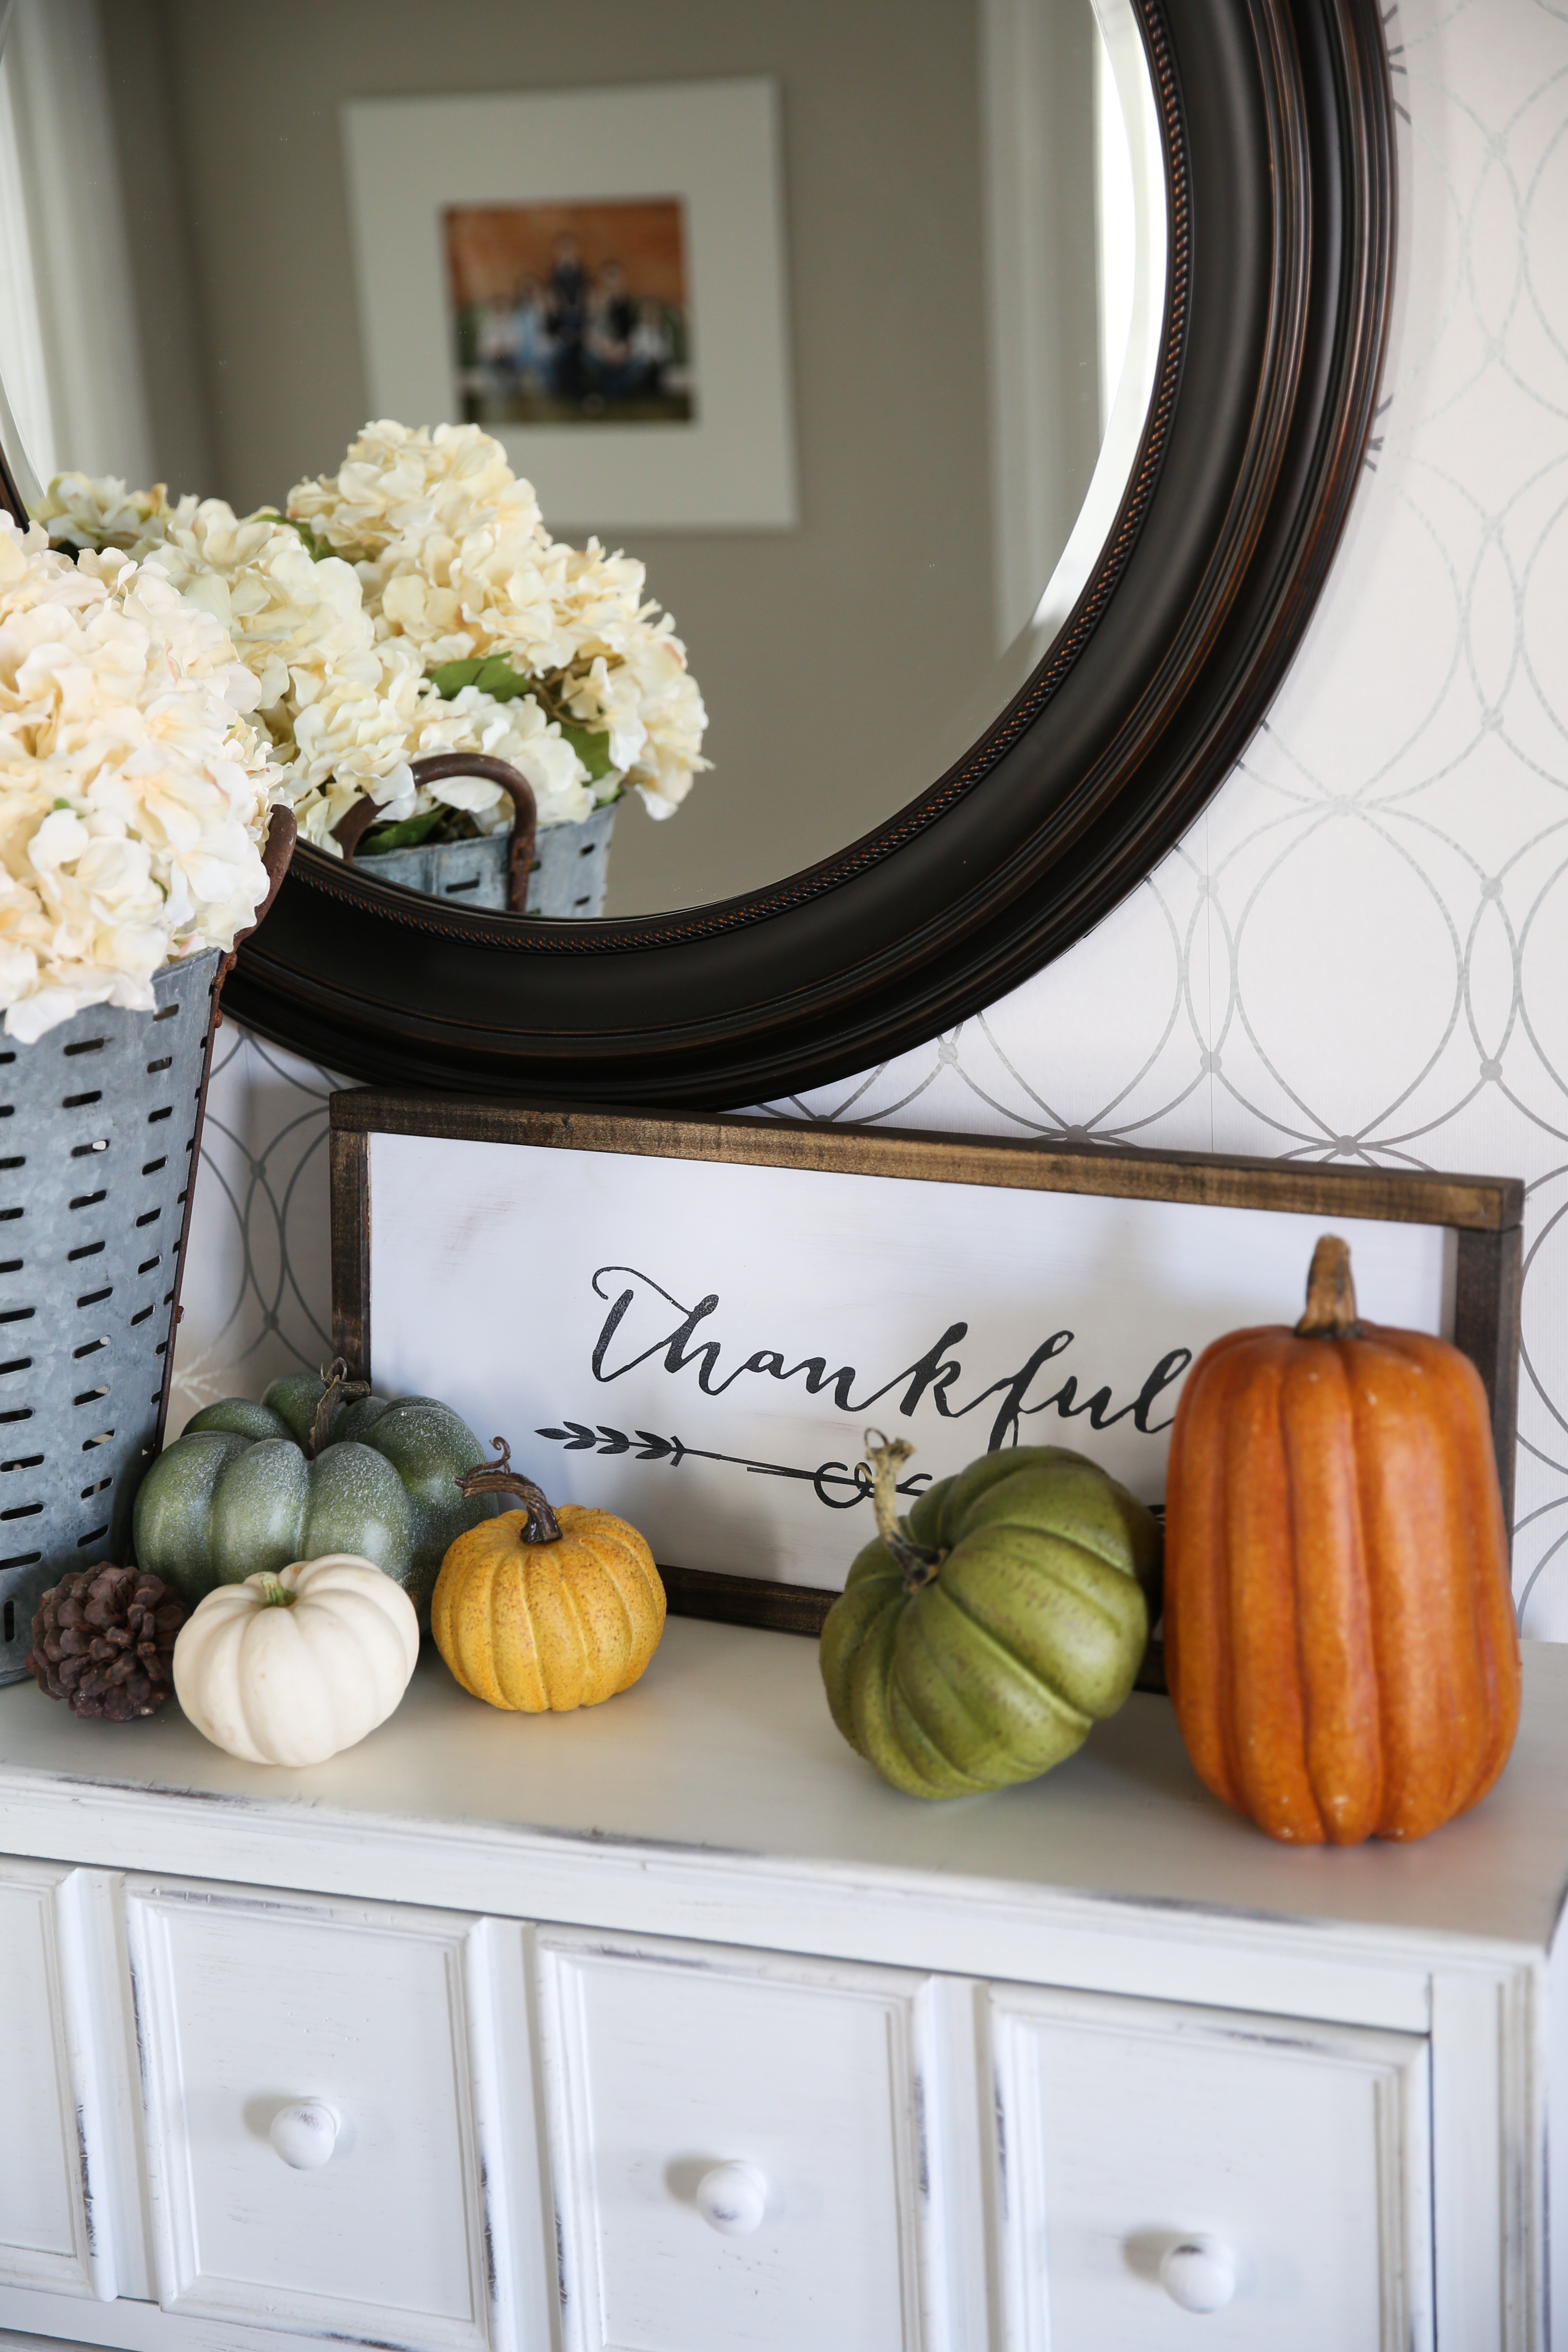
So simple and easy right?! I also love the sign next to these fun mini pumpkins! These are not real (most of them) and are a great way to add some fun fall color to your Thanksgiving Decor. Why is everything extra cute when it is in a miniature size?
My house is feeling all sorts of confused. I just put away the Halloween decor…yes…a week late. In the room right next to this one, I have a Christmas tree that I set up for this post. And in the rest of the house I have my Fall and Thanksgiving Decor. My kids don’t even know what to think anymore. But I am kinda loving it!
Now go and make one! Or make one with a different saying for your favorite Holiday! I know I am already in the planning stages for making me a Christmas version!
JOIN OUR NEWSLETTER
Would you like more Recipes, DIY, Printables and Organization Ideas?
Subscribing to the newsletter will enable us to periodically send you creative content exclusively for Idea Room subscribers.
*View our Privacy Policy here.


I had discovered the secret of having the guys at the home depot makes the wood cuts for me, but have yet to try the Cricut machine. Sounds so much easier than the ‘old school’ method of handpainting. Will have to take the plunge and get one.
I’m same here with the half christmas/half thanksgiving. I just can’t wait for christmas!! :)
Isn’t it great to let them make the wood cuts for you? Yes! I love my Cricut machine! We are ready for the Holidays here too! Thanks for the fun comment!
Love this!!! What font is this?! I’d love to make coordinating signs!
Hi Amy. What an effective and stylish sign for Thanksgiving. Thanks for sharing :) We’ve included it in our latest Thanksgiving inspiration roundup. https://craftylikegranny.com/thanksgiving-crafts/ Cheers Jodie :)
Jody- Thank you so much!