
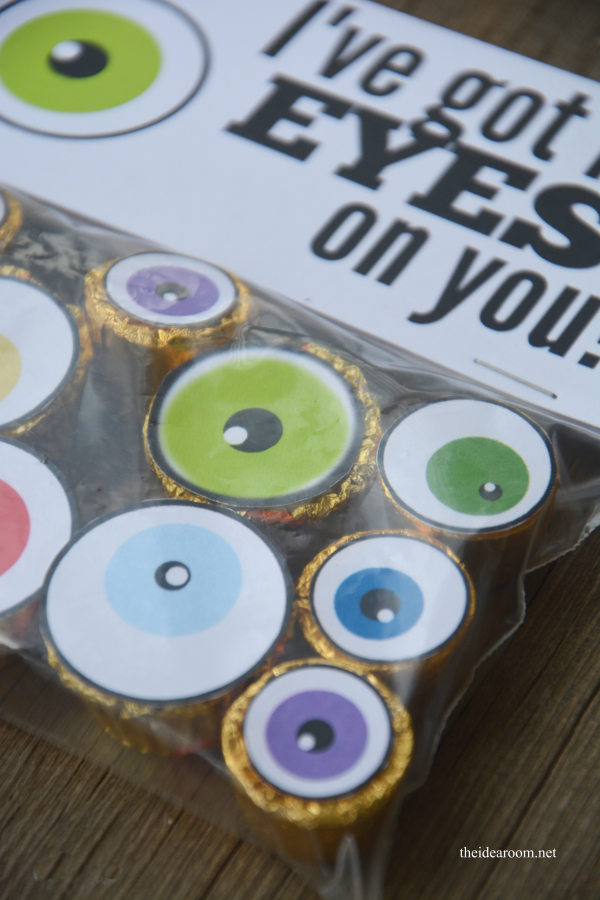
If you have been following along with me for a while, you have probably figured out that I like to create fun little gift ideas for the Holidays that you can give to your friends and family. Today I am sharing with you a fun Halloween Treat. Make some of these Halloween Eyeball Treat bags and fill them with some chocolate “Eyeballs.”
I made these with Cricut’s new Print and Cut feature. I have to tell you that I have been waiting anxiously for a long time to be able to make some Print and Cut projects. I couldn’t have been happier with the results. If you don’t have a Cricut Explore, you can still make these the old fashioned way.
You will need the following to re-create this project at home.
Materials:
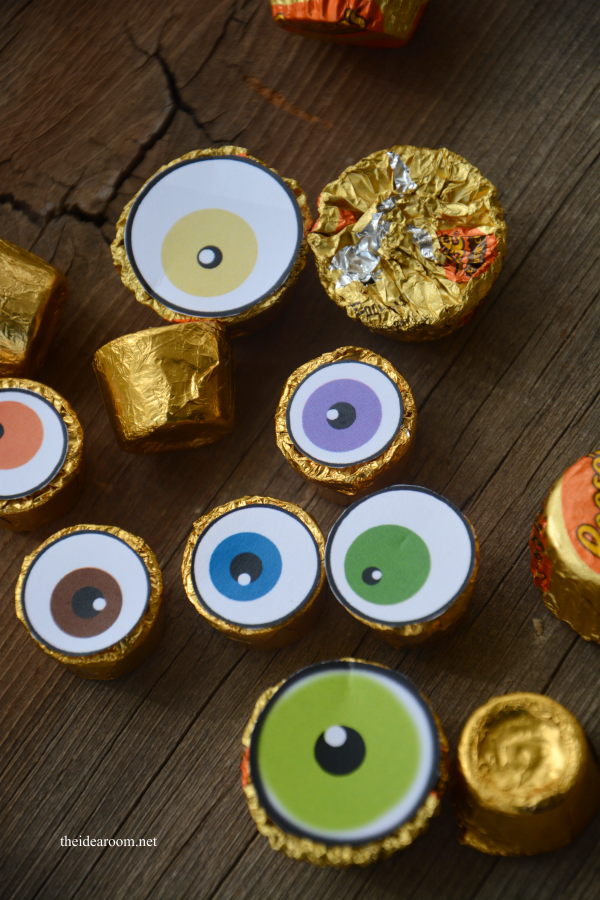
Rolo and/or Reeses Peanut Butter Cup Chocolate Candies
White Cardstock and/or Printable Sticker Paper
Stapler
Glue Dots or Glue Sticks if not using Sticker Paper

Instructions:
1. If using the Cricut | Explore, simply pull up the project in Cricut Design Space which you can get by going here:
![]()
*Update: If you don’t have the Cricut Explore, you can still make this by downloading the printable PDF by clicking the link below:
*As always, these labels are provided FREE for your own personal use. Please do not sale them on your sites, etsy stores, etc. or share them with friends and family. Send friends and family here to download their own labels. Thank you!
2. If you are using the same baggies I have pictured, the bag topper should fit and will not need to be re-sized. If you are using different ones, you may need to click on the bag topper and resize it (without changing the scale). The eyeballs are sized so that they fit the Rolos and the Reeses Peanut Butter cups on either the TOP or the BOTTOM of both candies. Change it up so that you get some fun variety of sizes.
3. Print the project onto Sticker Paper for the Eyeballs and then White Cardstock for the Bag Topper (or use White Cardstock for both).
4. Place the printed paper onto the Cricut Mat according to the directions given on Design Space. Set the dial for the proper material you are cutting. Cut each sheet according to the directions provided.
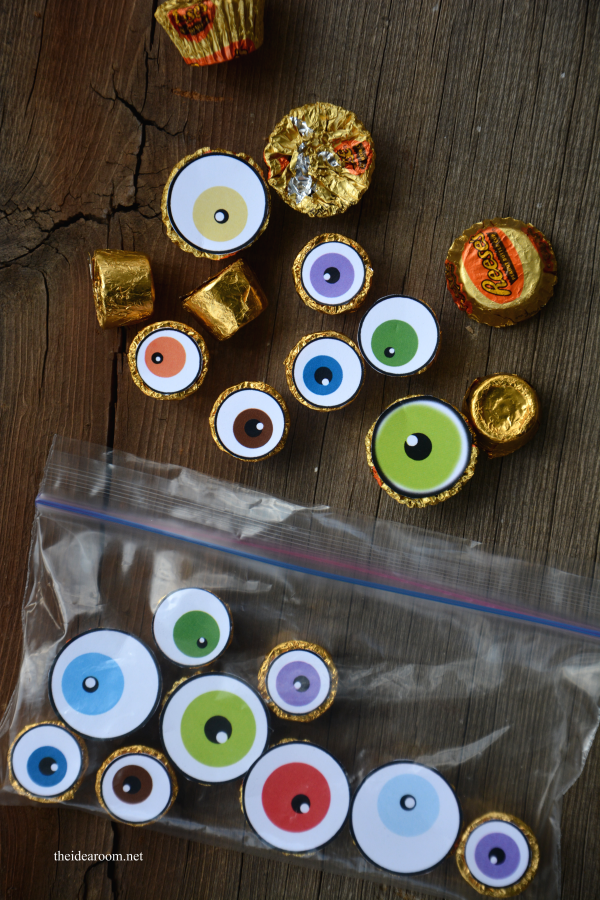
5. Glue or stick each eyeball onto the candy.
6. Place into the snack baggie so that the eyeballs are all facing the same way.
7. Take your bag topper and cut down if necessary to fit well. Staple it onto the bag.
Give them to some of your favorite people for a fun and unique Halloween Treat. I think it would also be fun to have a bowl full of these fun candies at your Halloween party or to hand out to the Trick or Treater…or make some for the kids classroom party. There are a lot of different ways that you could use these!
How will you use them?

*This is a sponsored post on behalf of Cricut.com. However, all opinions and statements are mine. I was given a Cricut Machine and/or compensation for this post.
JOIN OUR NEWSLETTER
Would you like more Recipes, DIY, Printables and Organization Ideas?
Subscribing to the newsletter will enable us to periodically send you creative content exclusively for Idea Room subscribers.
*View our Privacy Policy here.


Such a cute idea!!!
xoxo
This is too fun- thanks!
Super fun idea! I pinned it on Pinterest earlier today! Thanks for sharing.
So cute! Thank you. Oh – that feature is actually called “Print THEN Cut”, I think. Thanks for the idea.