
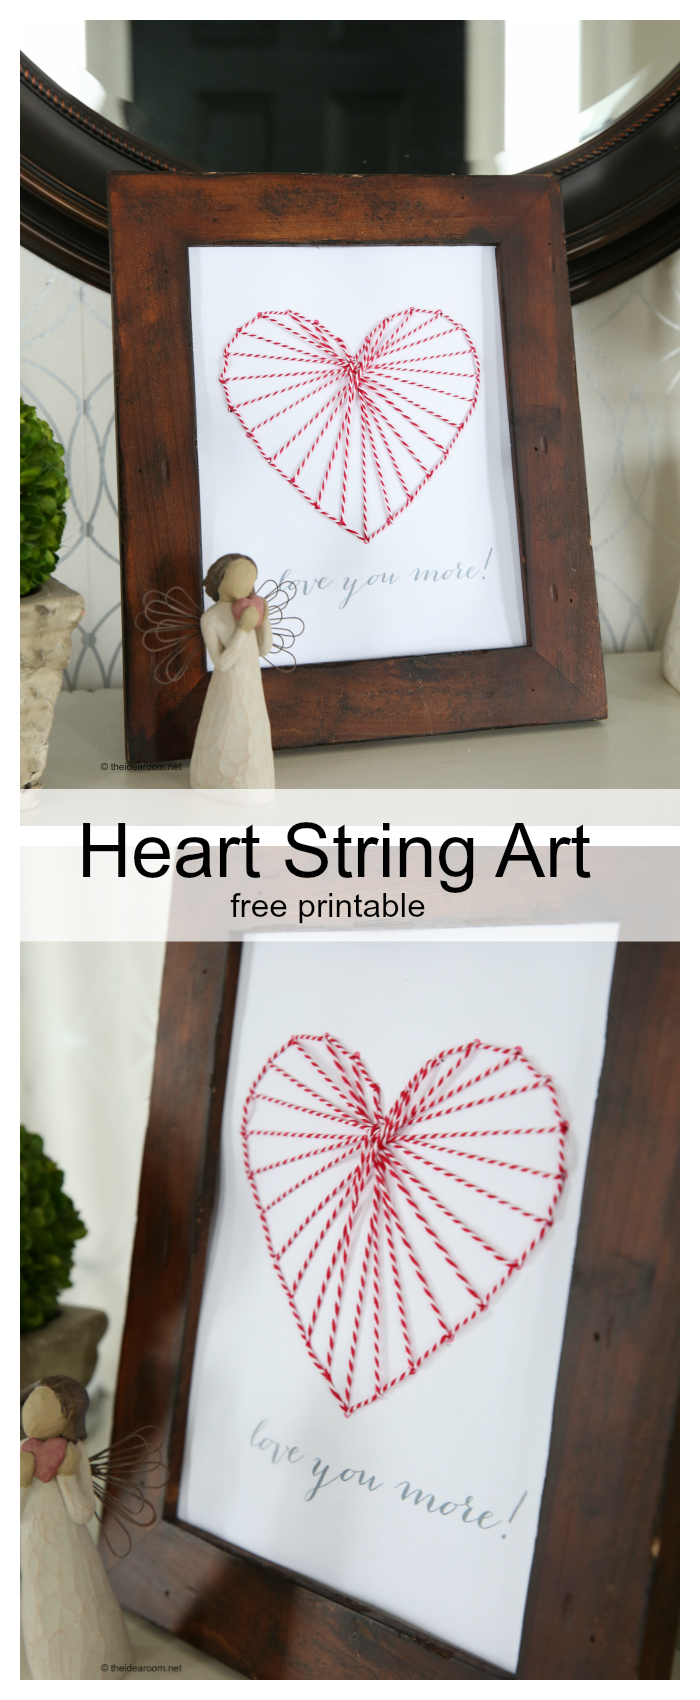
Sharing a fun Valentine’s Day Decoration idea for you! Simply print this FREE Heart String Art Template and you can turn it into some String Art Decor.
VALENTINE’S DAY DECOR
The fun thing about this is that there are so many different ways you can change this up. Make it into a Valentine’s Day Card for someone special! Or just print it out for the kids to practice their fine motor skills while also doing some Valentine’s Day Crafting!
HEART ART
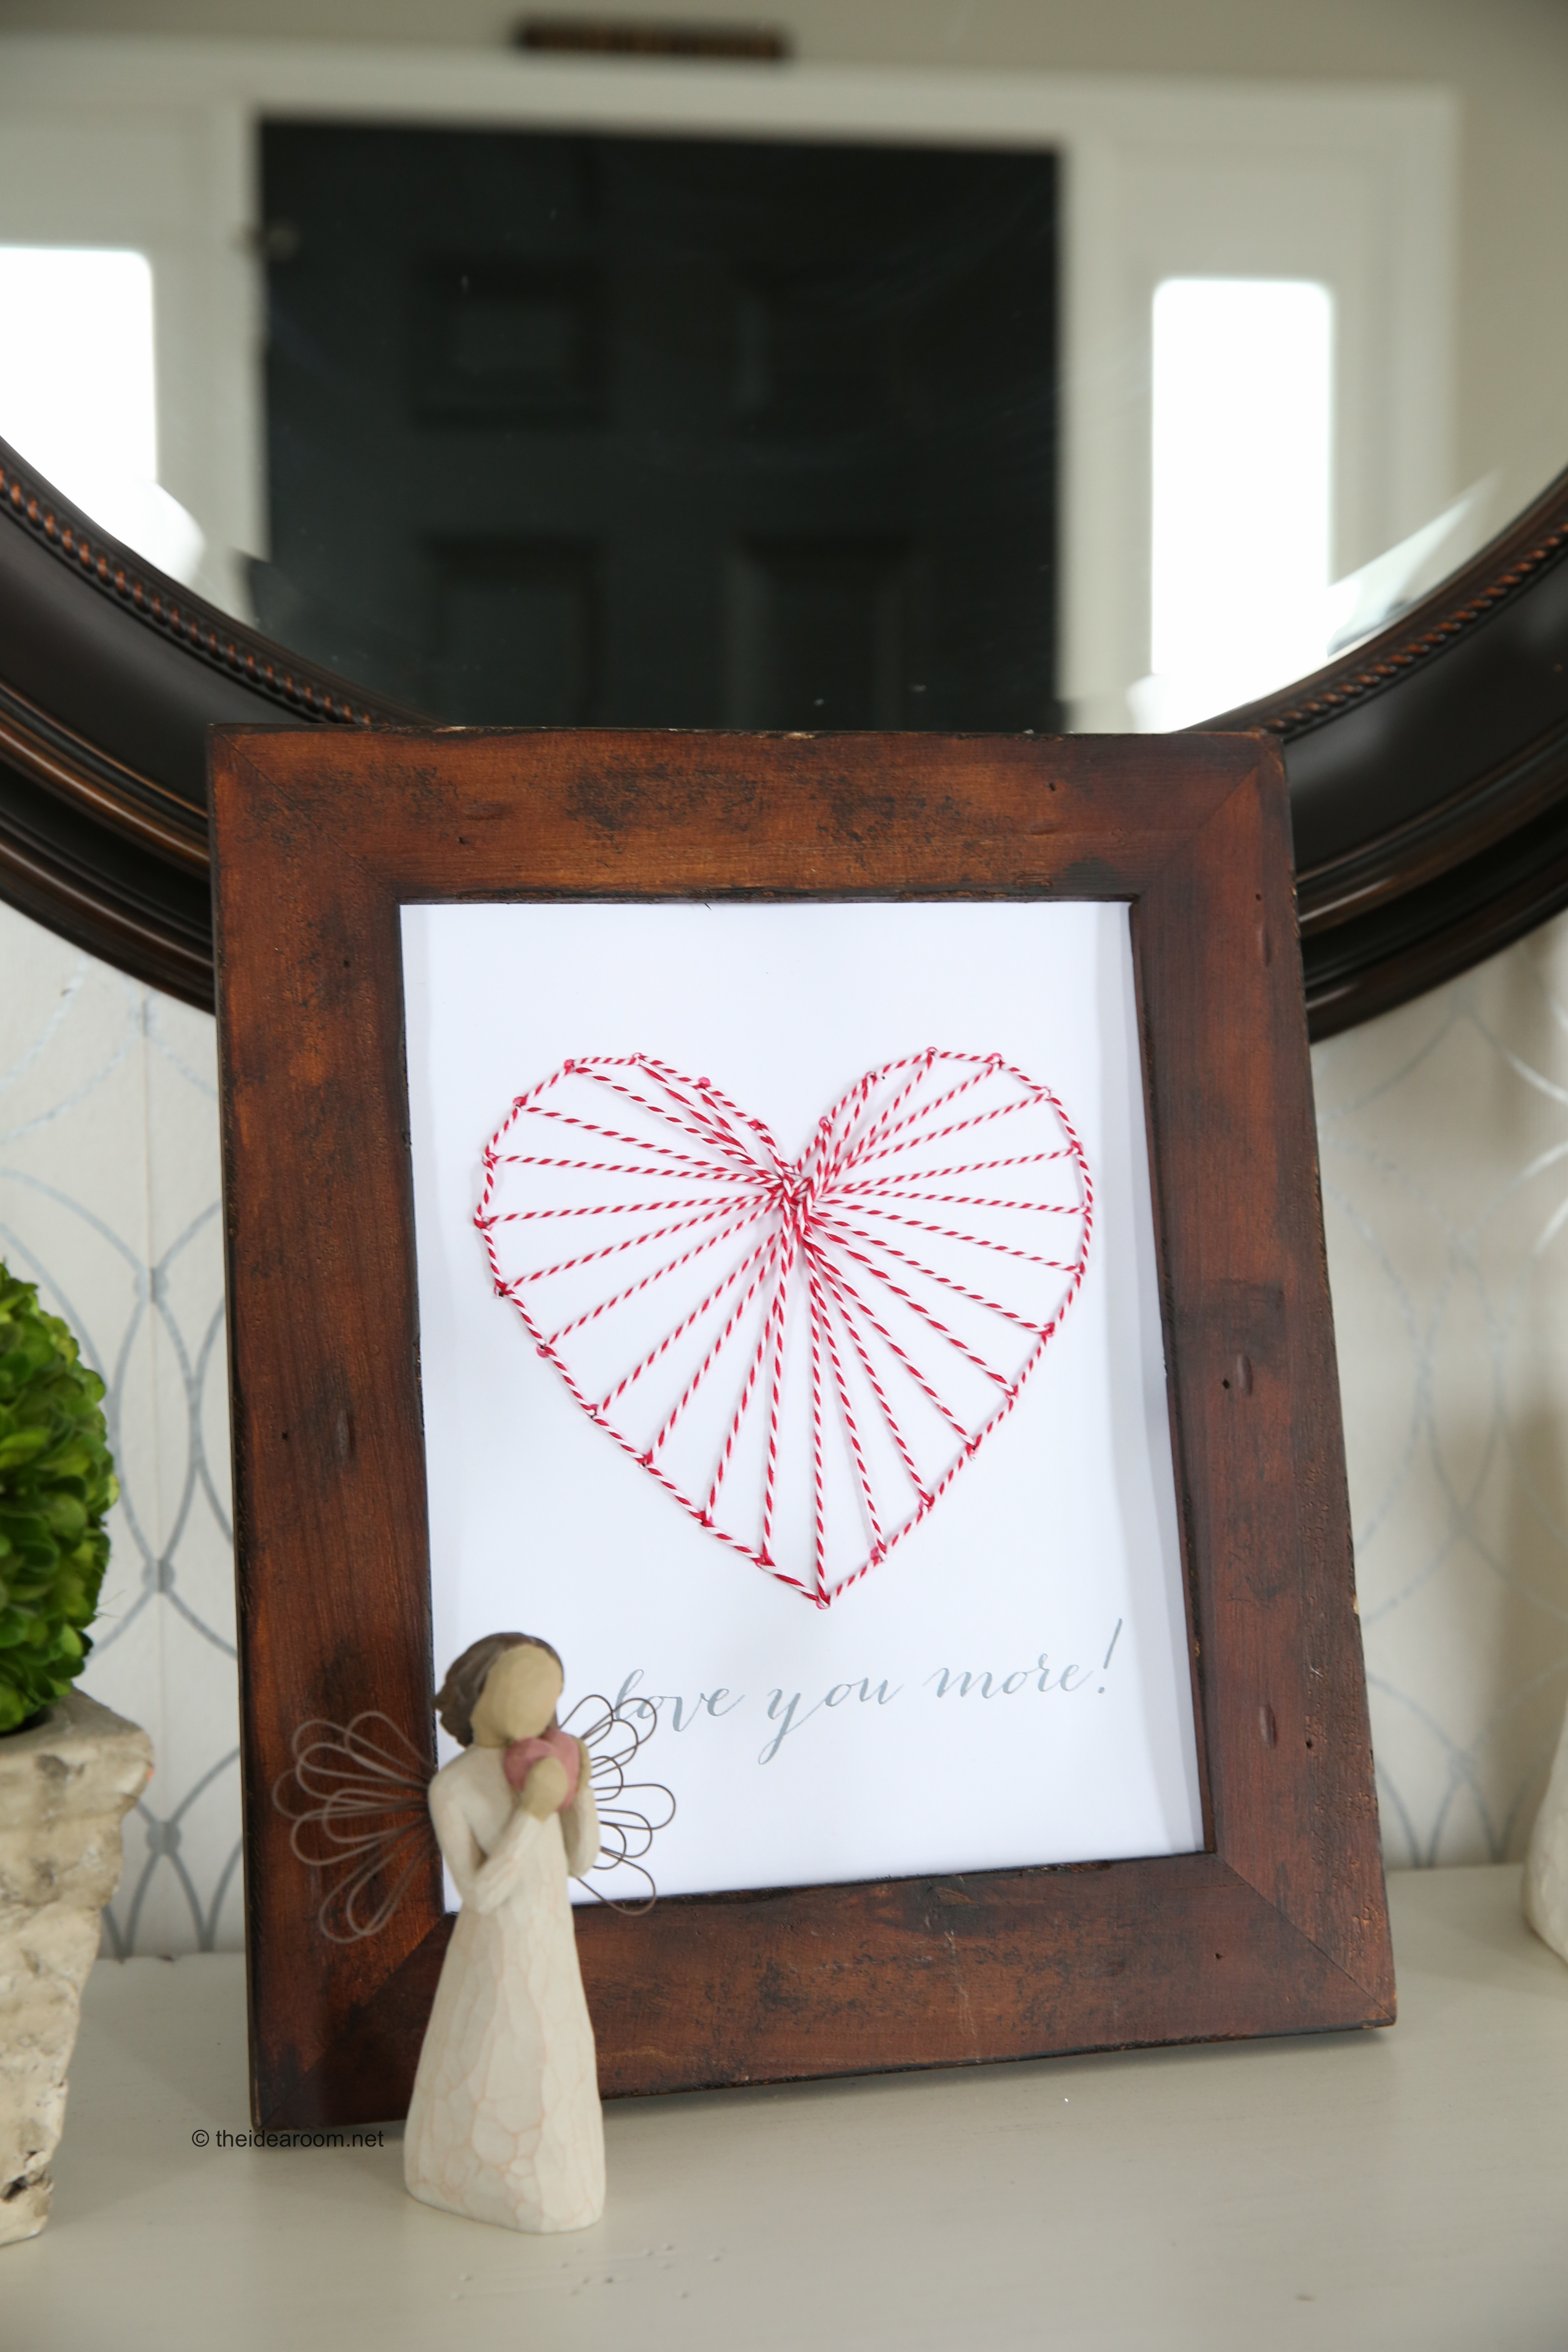
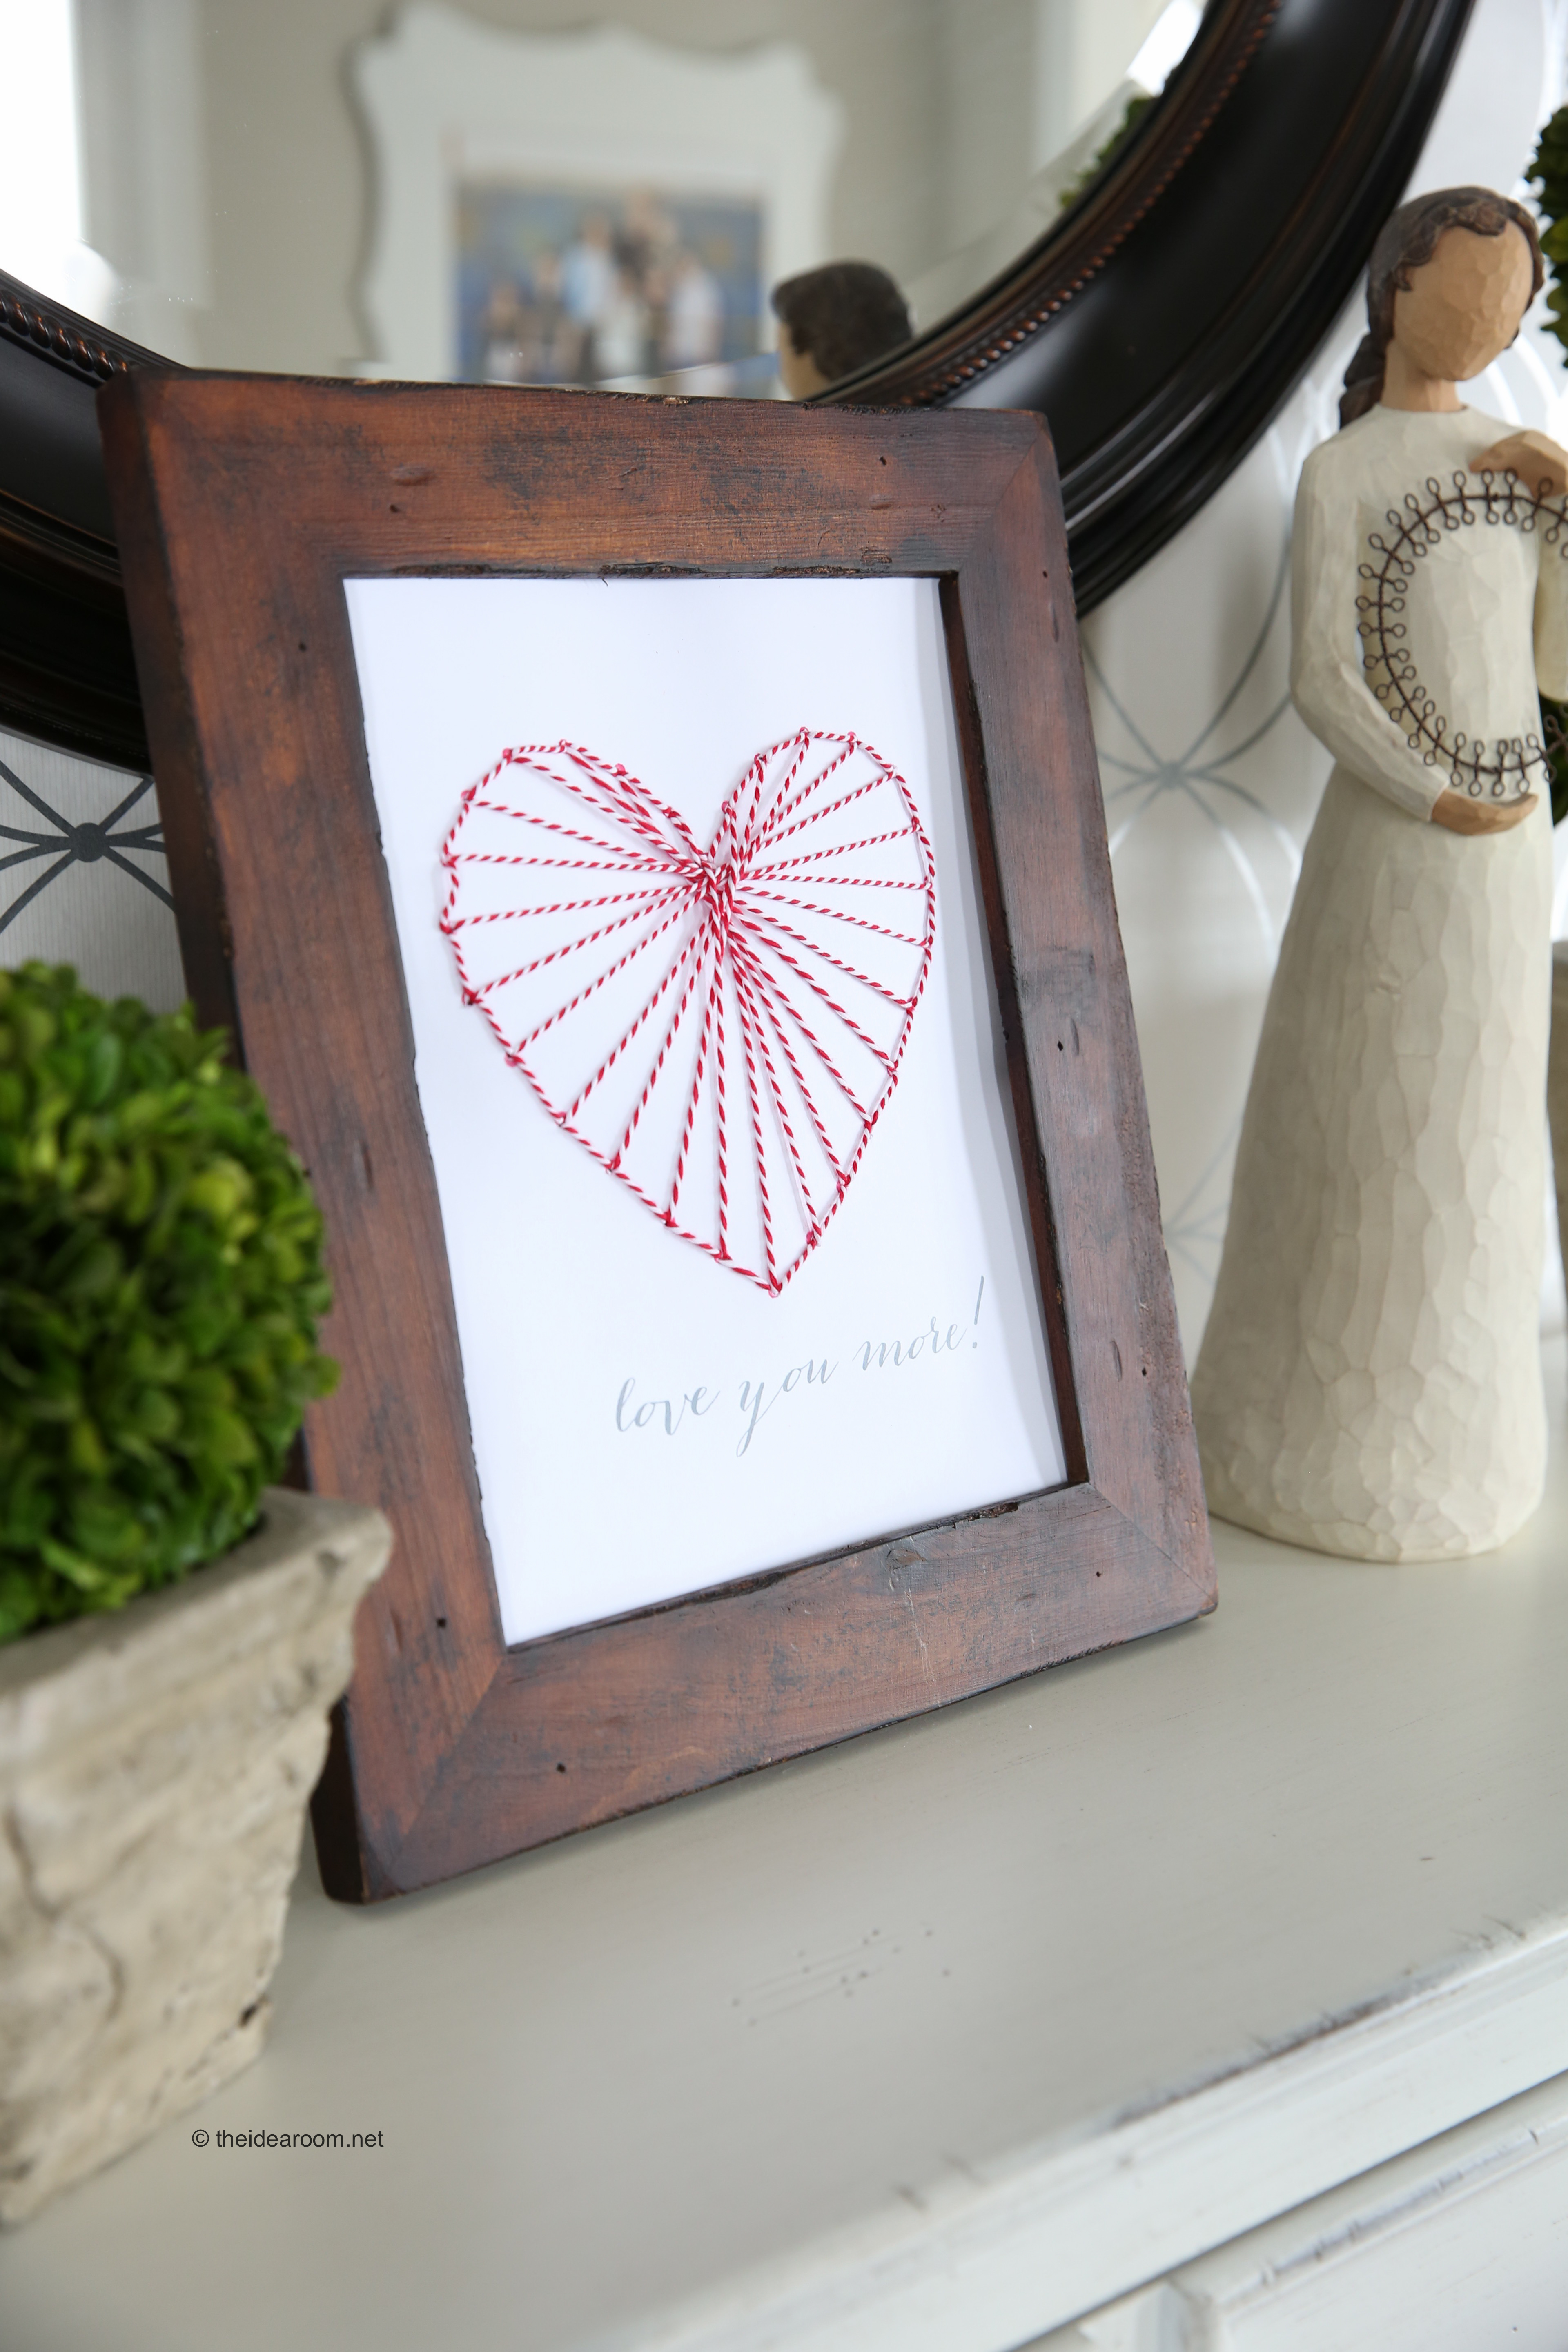
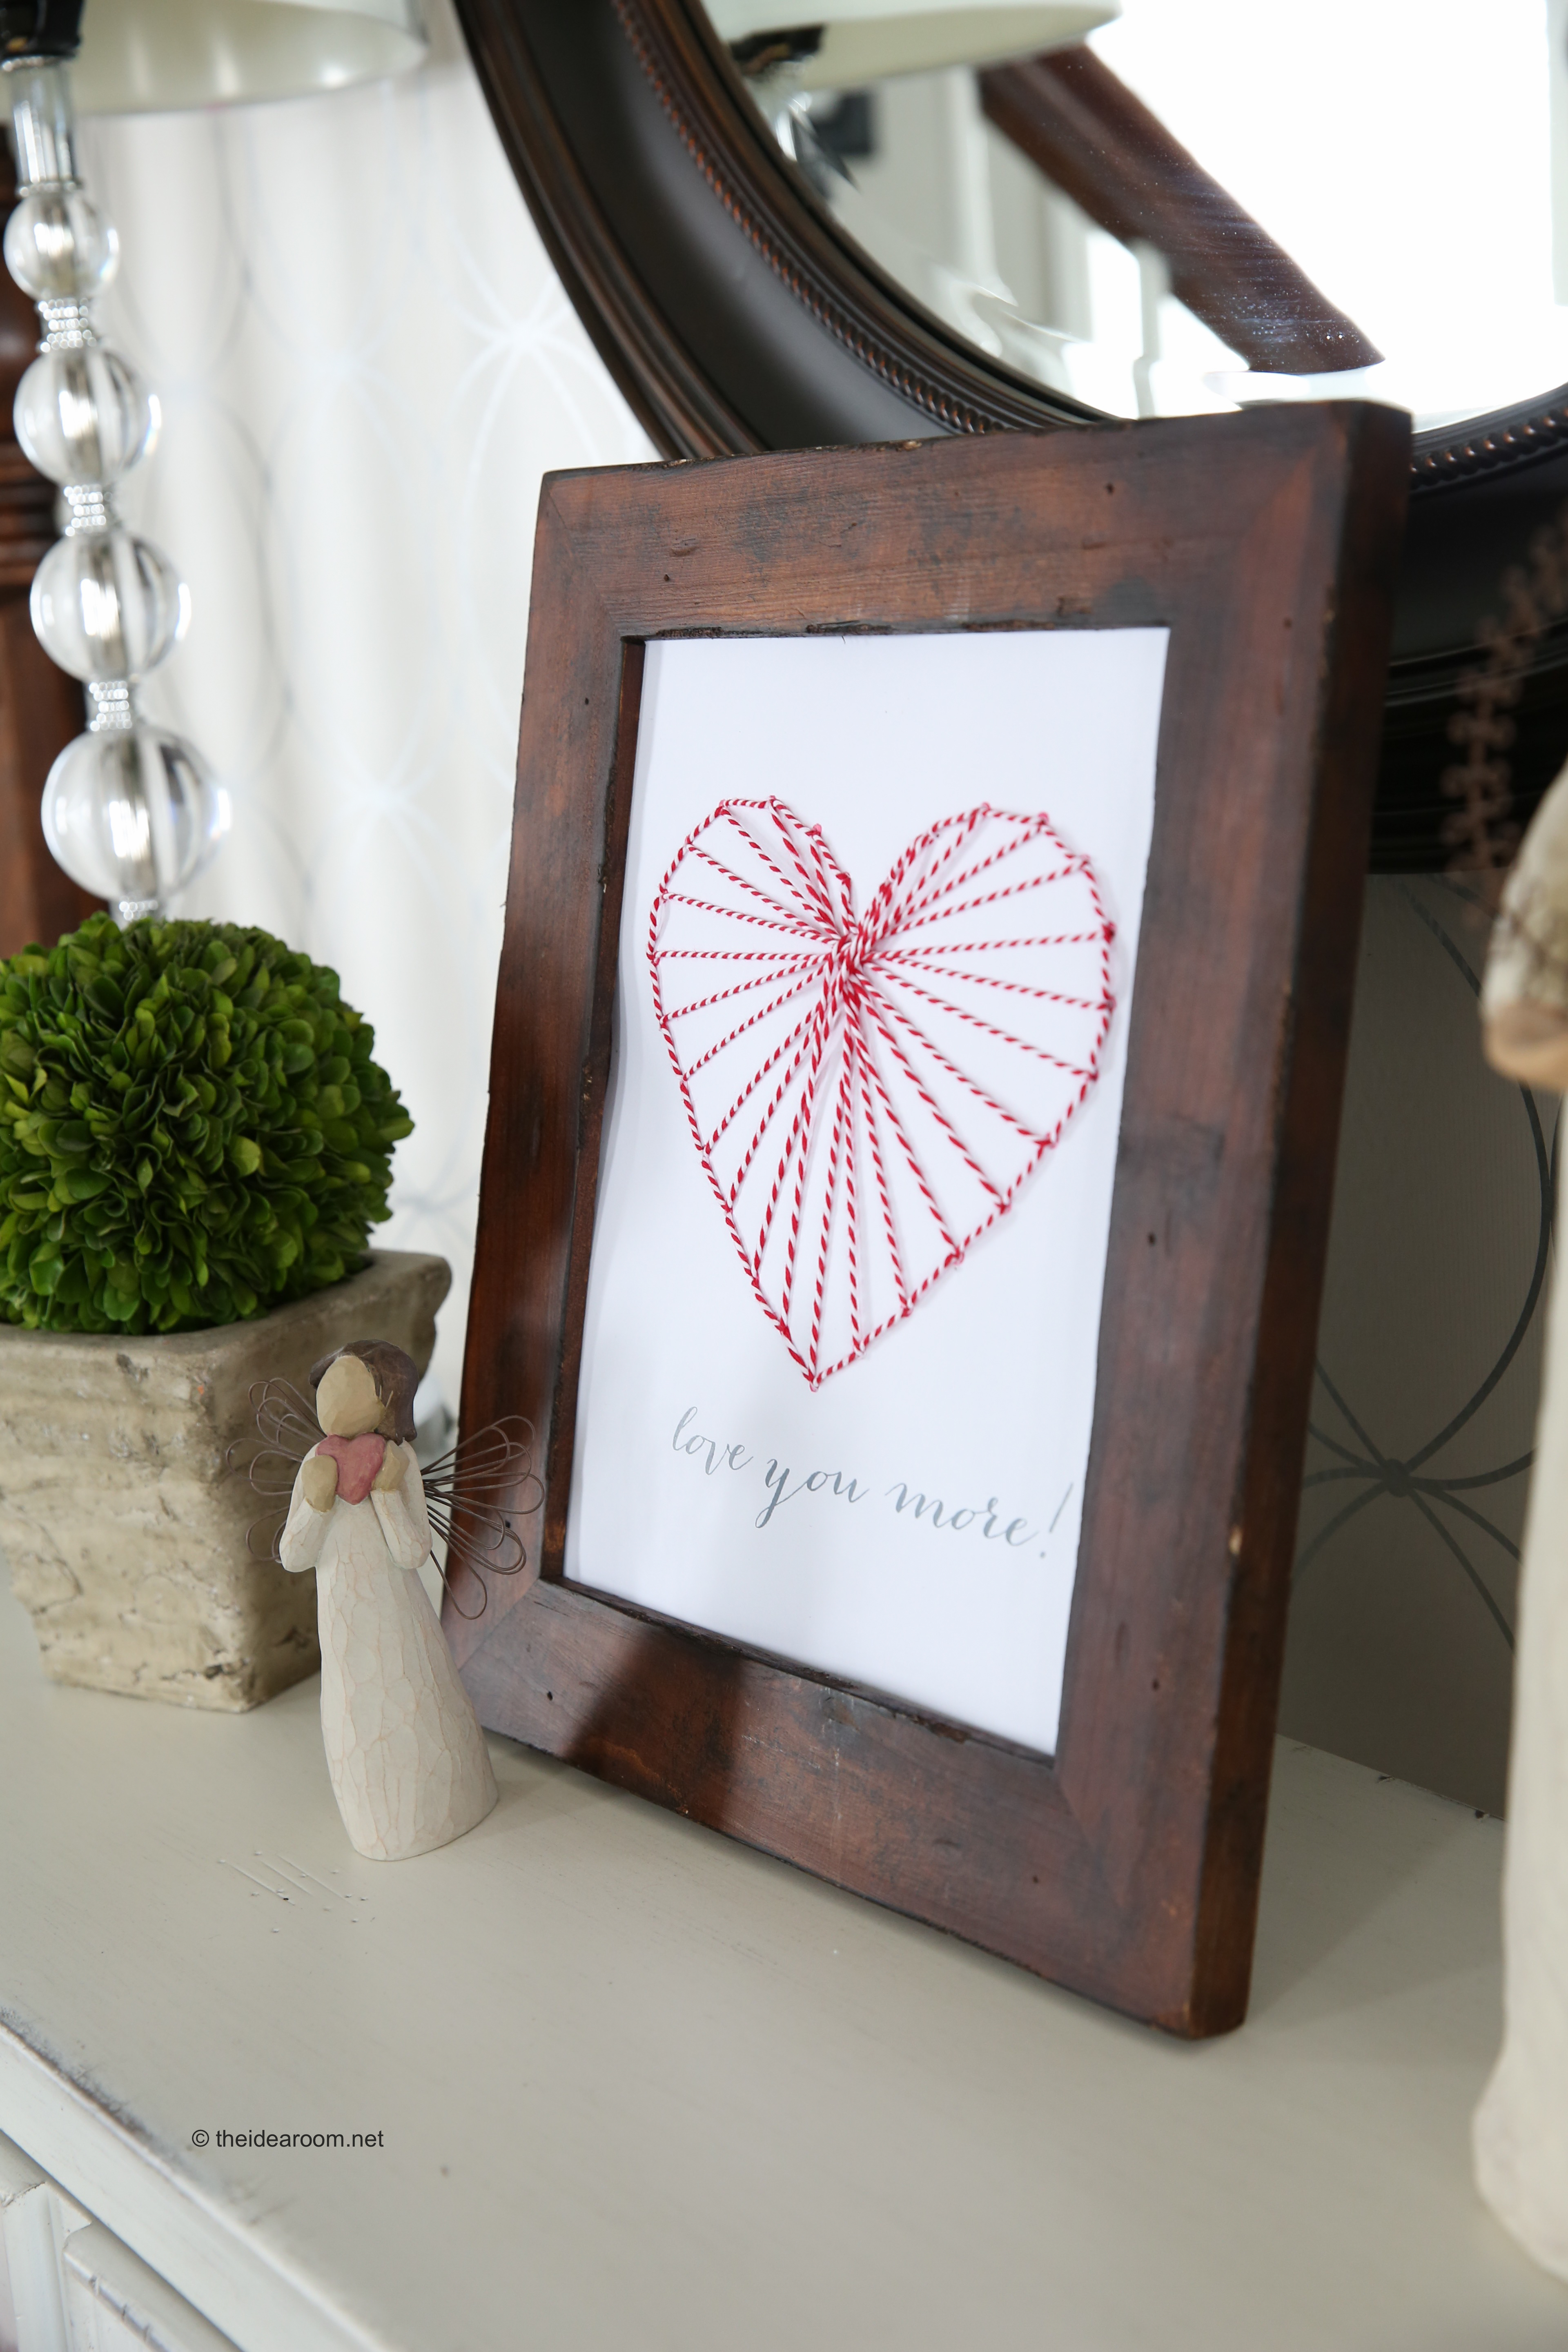
This Heart String Art Template prints out to fit an 8 x 10 inch photo frame, so you can easily cut it out and put it into a frame for easy display. There really is not wrong way to string your heart. I will share with you how I completed this one, but this is where you can experiment to come up with your own design if you want.
I created one that has the statement “love you more!” and also a heart with no words just in case someone wanted just a blank heart template to use for other creative ideas.
HEART STRING ART
Heart String Materials:
- Download the Heart String Art Template with text (here)
- Download the Blank Heart String Template (here)
- Printer
- White (or Colored) Card Stock
- Scissors
- String (or yarn)
- Needle
- Tape
How to Make Heart String Art:
- Download the Heart String Art Template with words here and the blank one here.
- Print it on your card stock.
- Poke through each dot with the needle before beginning.
- String about 20 inches of string though the eye of the needle leaving a small piece folded over near the top of the needle.
- Put the string and the needle up through the bottom of the heart so the end of the string is on the back of the paper.
- Tape off the end to hold the end of the string on the back of the card.
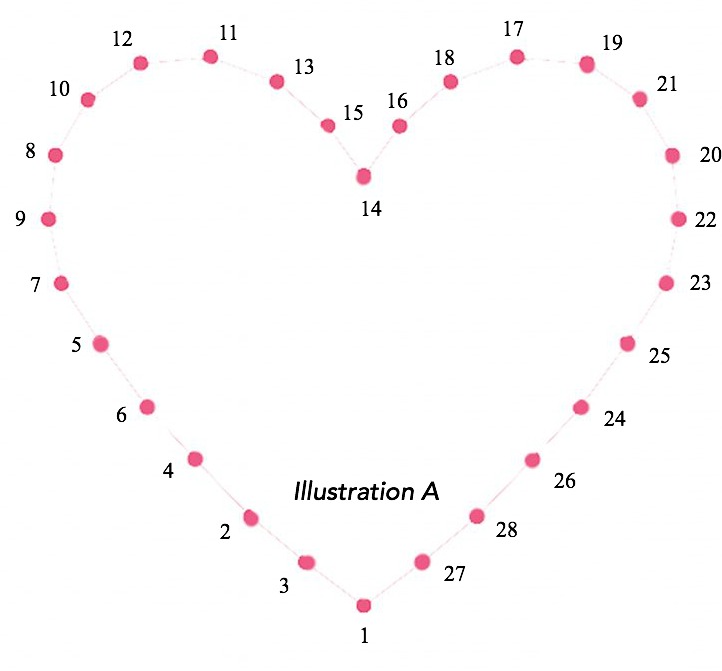
- Sew around the edge of the card following Illustration A below. You will go ahead two stitches and then back track one…hopefully that makes sense. This will allow your string to be a complete and connected line all around the heart.
- Continue sewing until the entire heart has been sewn around.
- Tie off loose and and tape it on the back of the card.
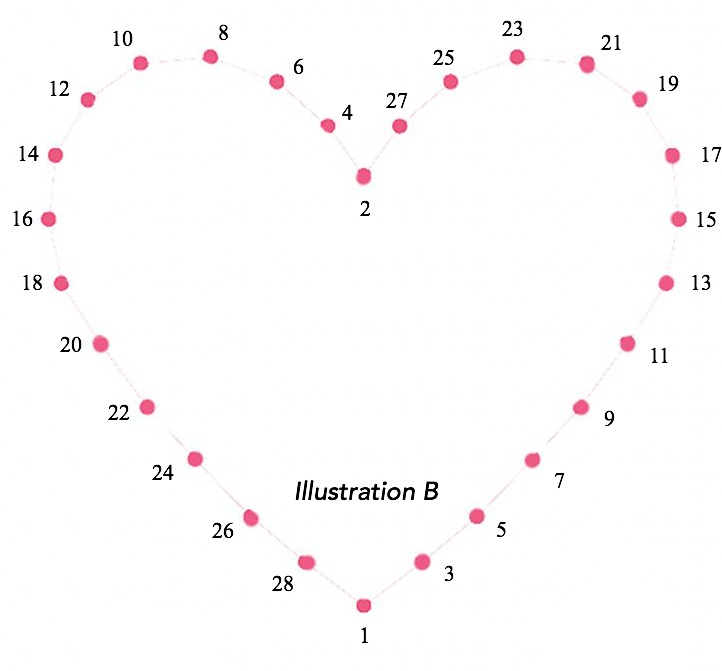
- Start a new string and come up through back of the card to the front. Starting at the bottom hole and sew through the middle of the dot at the bottom of the “v”.
- Continue sewing the heart using Illustration B for guidance. You will start by sewing up through 1 and down through 2. Up through 3 and down through 4 and so on.
- Finish off by taping the end of the string onto the back.
- Cut around the thin gray line so that it fits in your 8 x 10 photo frame.
_______________________________________________

VALENTINE’S DAY DINNER PRINTABLES
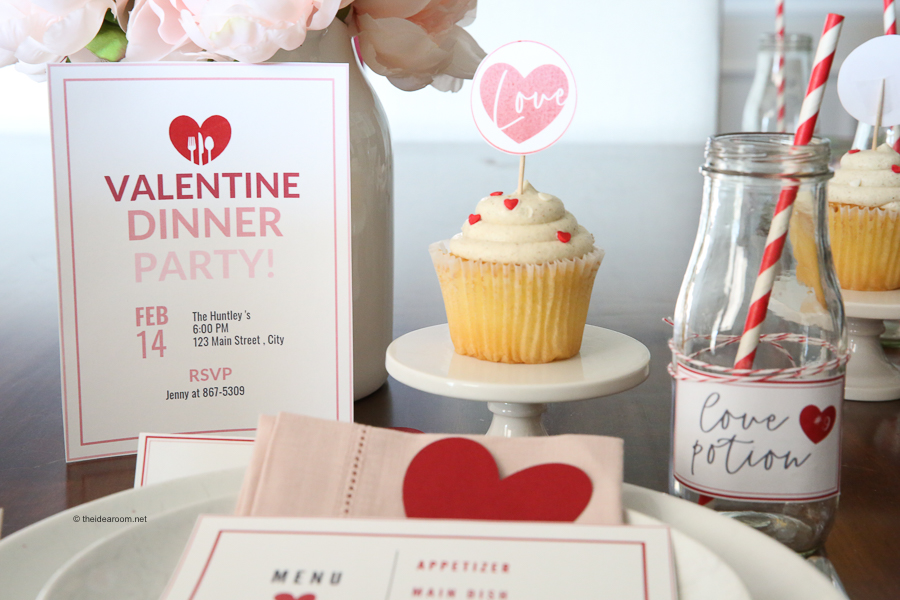
Interested in grabbing the Valentine Party Labels? I am offering them for a great deal at only $3.99! Simply click on the button below!

MORE VALENTINE’S DAY CRAFTS
I came up with some other Valentine Crafts and Activities. Sharing them below:
- Valentine Hearts Yahtzee Game
- Valentines Day Table Decorations
- Handprint Activity for Kids
- Valentines Day Sugar Cookie Bars
- Heart Hand Warmers
- Valentines Day Classroom Parties
- Valentines Day Classroom Boxes
- Paper Heart Garland
- Valentines Day Sign
- Valentine’s Day Topiary
- Valentines Day Crafts
- TIssue Paper Kissing Balls
- Sealed with a Kiss
- Candy Cane Heart Suckers
- Love Potion no. 9
- Just a Little Crush
- Tic Tac Valentines
- Heart Bottles and Cookies
- I Chews You Valentine
- Three Valentine Printables
- Chalk Board Mug
- Framed Heart Decor
- Be Mine Décor
- Sugar Cookie Recipe
- Cookie Pops
- Valentine’s Candy Bark
- Heart Shape Pancakes
This kept my youngest daughter entertained for a couple of hours the other night! She made some to hand out to her teacher and her soccer coach!
JOIN OUR NEWSLETTER
Would you like more Recipes, DIY, Printables and Organization Ideas?
Subscribing to the newsletter will enable us to periodically send you creative content exclusively for Idea Room subscribers.
*View our Privacy Policy here.


I love this! So simple, but so pretty. I know just the place where I need to put one. I’d better get busy!
LOVE the idea of using these as teacher gifts for Valentine’s Day. My girls would have a blast making them.
This is simple & so cute!! I love it in the frame! I need more heart decor!
Simple & so cute!! This would make a great gift, too!!
This would be darling framed in my daughters’ room!
This is so adorable and perfect for valentine’s day! Super easy too :)
I have the perfect spot for this in my house! I love it!
Kristyn- Yay! It was a fun project to make!
This is the cutest! I love the simplicity! I want to keep it up all year long!
Natalie- Thank you! Glad you like it!
I have made this & did a couple other colors as well! Love it!
Kristyn- It would be fun to make it in different colors!
Love this idea. It’s a fun & easy craft to do!
Kristyn- It really is a fun one to make.
So adorable I would love my daughter and her friends who homeschool together to do this. Have you made a tutorial video to this?
Mitzi- Thank you. It was a fun project for sure!
Where did you get your frame for this? I love it with this finished project.
Michelle- I honestly cant remember. I had a picture in it at one time and just reused it for this project. I am think Hobby Lobby or Michaels Craft Store.
I just finished this Heart String Art. Quick & simple. I love it! I need to buy more frames so I can give some out as gifts.
Lana- So happy that you loved this project!
That’s really nice post. I appreciate your skills, Thanks for sharing.
Thank you!
Hey there,
I have tried to complete the project with the Illustrations but following the numbers in illustration A looks nothing like the pictures you have here. Did the numbers get mixed up somehow?
Did you use Illustrations A and B? You will need to use both to finish the project.
Beautiful and fun to make. This a win-win. Thank you for sharing
Thank you Ivory!