

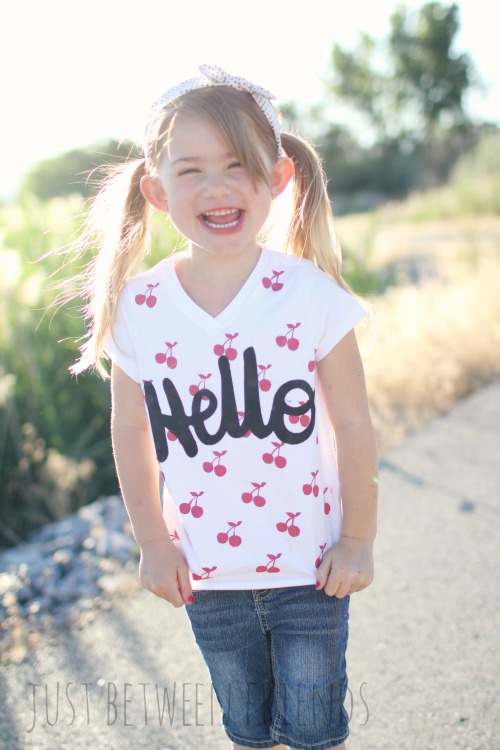
Hi! I am Jonie from Just Between Friends, and I am so excited to be here sharing an easy and fun summer project idea with you today! When I think of summer, I immediately think of all of the fresh fruits and veggies, especially the fruit stands selling peaches, cherries, and apricots. My daughter LOVES eating cherries, and would eat an entire bag of them in one sitting if I would let her. It was only natural, then, that I would need to make her a cherry shirt to wear.
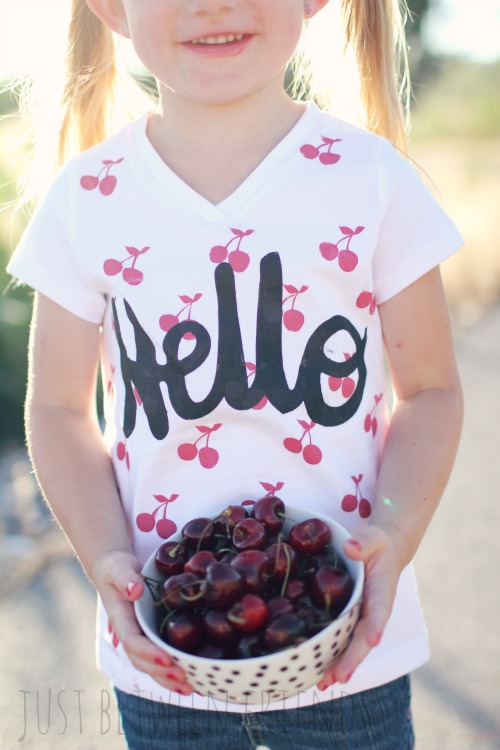
Using vinyl as a stencil for t-shirts has always been a favorite of mine. The vinyl sticks well to the shirt and I can make a bunch of different designs using my Silhouette machine. I thought it would be fun to try out little red cherries on the whole shirt, and then I wanted big black lettering over the top. I gotta say I love the way it turned out! The best part is that it only cost me about $5 to make since I picked up the t-shirt from Walmart for $3, and then only used $2 worth of vinyl and paint.
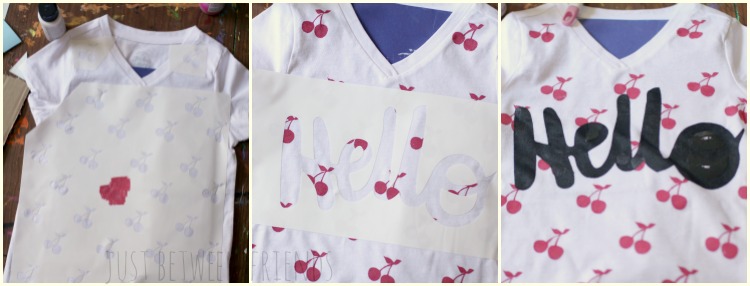
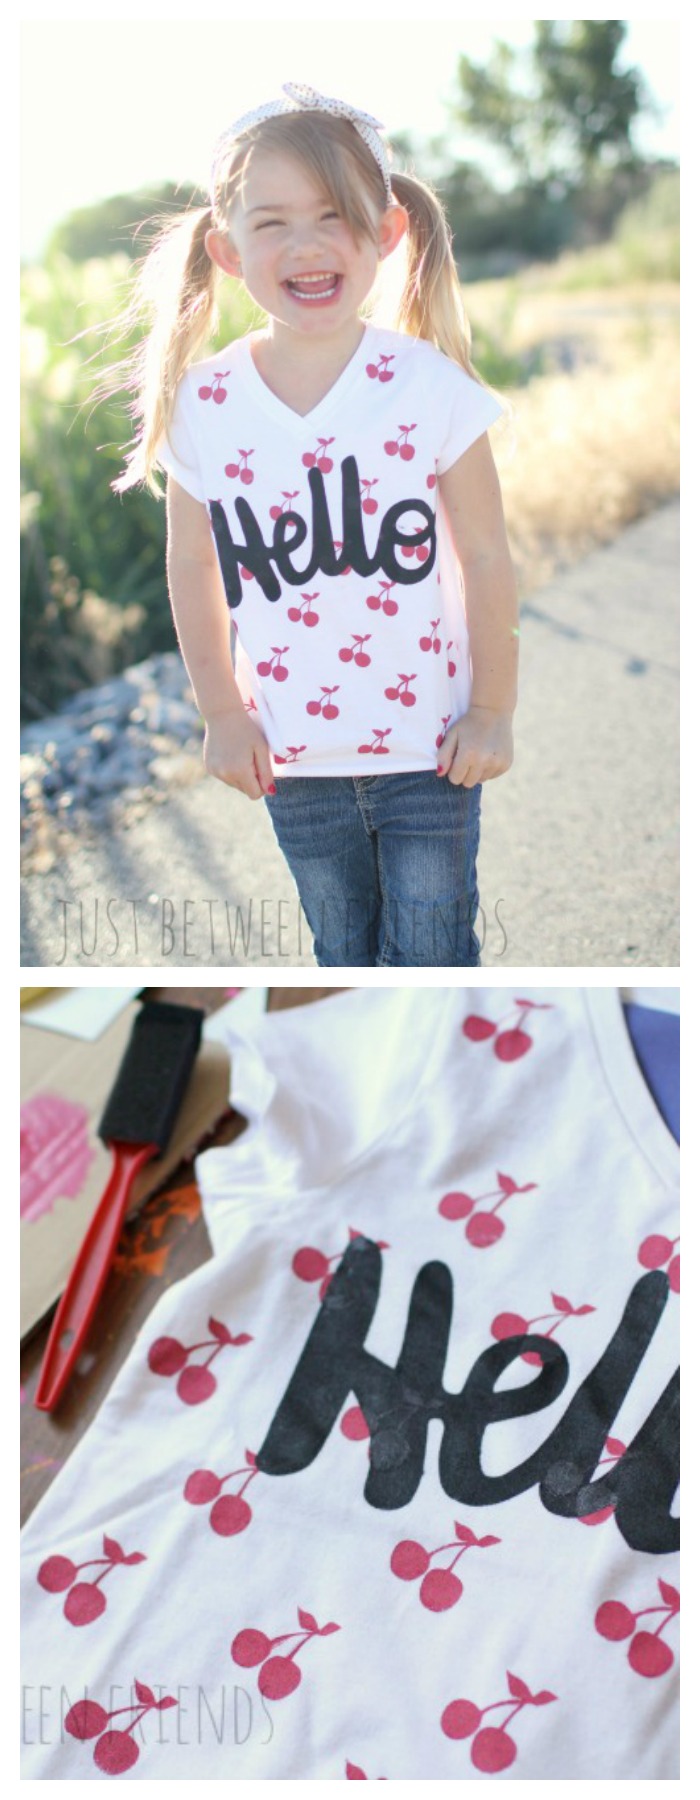
To make one of your own, start with cutting out your cherry pattern using a Silhouette or Cricut machine. Either one will do the trick. The cherries on the shirt are about 1.5 inches tall, but you can make them bigger or smaller if you’d like. Put a piece of cardboard or cardstock into the middle of the shirt to prevent bleeding through. Use a transfer tape to put the vinyl on the shirt, and then use your fabric paint to stencil the cherries on. Once your cherries are dry, you’ll want to add the “hello” over the top using a black fabric paint.
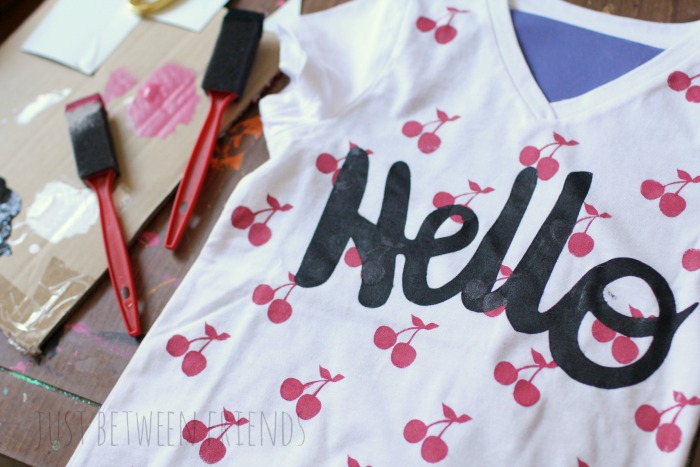
One tip I will give you about the paint is that you should use a sponge brush and tap the paint into your vinyl stencil. If there is too much paint in your brush, it will bleed under the vinyl, and if you try to brush the paint on, it could pull up the vinyl and paint underneath.
Let it dry for a little bit, and then pull the vinyl off. Follow the directions on your fabric paint to ensure that you set the paint on the shirt so it won’t wash off, and then you are done! You have a seriously cute shirt!
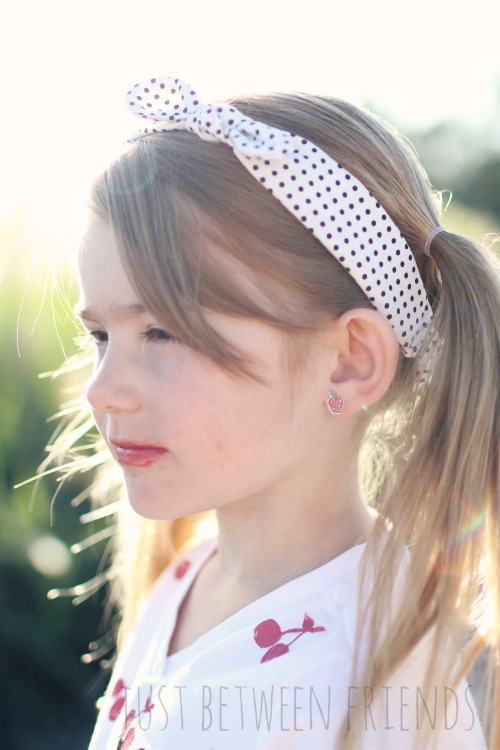
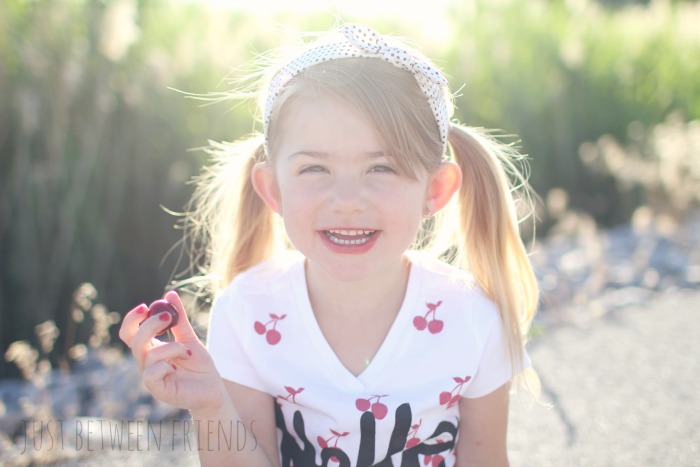
Now that I showed you the shirt, did you notice the cute polka dotted head wrap my daughter is wearing? I’m sharing the full head wrap tutorial for how to make your own over on my blog. It just takes a little bit of sewing and it’s so simple and cute! Also, if you liked these two ideas, you can find all kind of other fun tutorials over on my site and I would love to have you stop by! You can find hair styles for little girls, kids crafts, recipes, and home decoration ideas.

JOIN OUR NEWSLETTER
Would you like more Recipes, DIY, Printables and Organization Ideas?
Subscribing to the newsletter will enable us to periodically send you creative content exclusively for Idea Room subscribers.
*View our Privacy Policy here.


love this! What font did you use?
Not sure, you may need to email http://www.just-between-friends.com/ to find out. Sorry.
This is so cute! Can’t wait to try it at home! Thanks for sharing
Thanks.
Simple and cute design!
Thank You!