
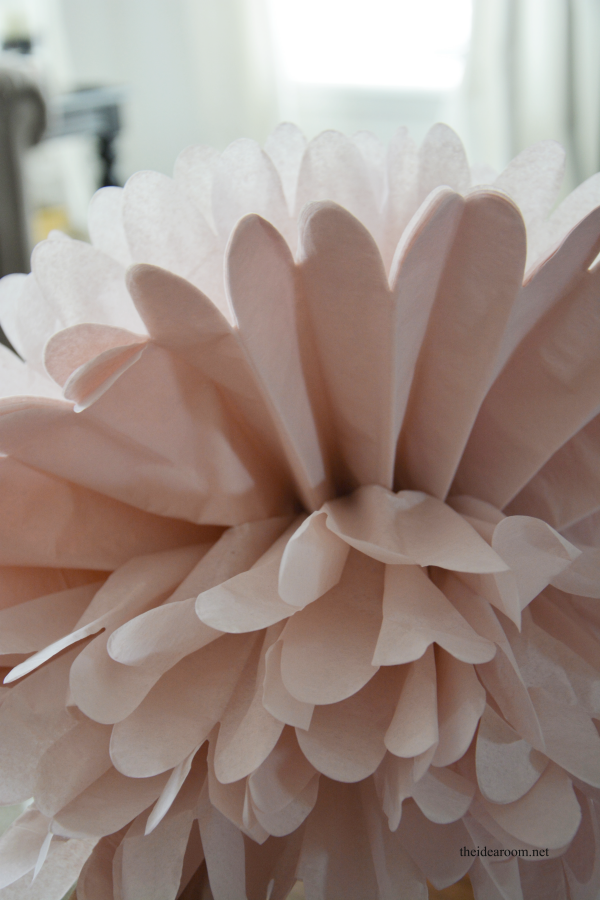
A few months ago I shared with you the reveal of my youngest daughter’s bedroom. I had just one more project that I wanted to do in her room before it was completely finished but I just hadn’t had a chance to get around to making them. This summer, with the help of my three girls, we finally were able to find the time to make some Tissue Paper Pom Poms.

The room needed some more color and I was having a hard time initially deciding on how to decorate her room to fit her sweet personality. She LOVES the color pink, so I knew I would try to find ways to incorporate that into her room. I had a blank space above her headboard that I felt empty, but I wasn’t sure what to put there. These tissue pom poms fill the space nicely and add some needed color and whimsy to her room.

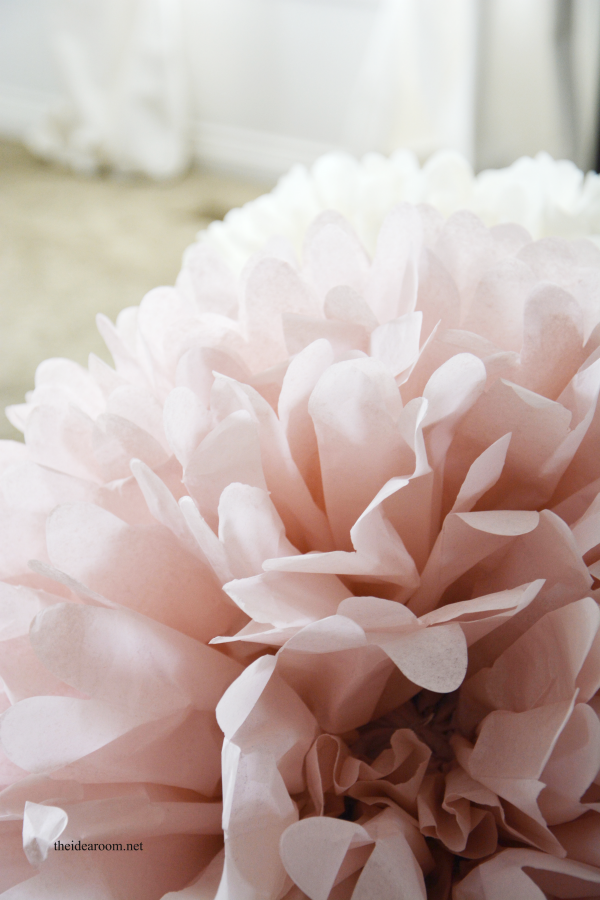
You will not believe how easy these are to make! These are all over the internet, but I will share with you how I made mine.
Materials needed for one Tissue Pom Pom:
15 Sheets of Tissue Paper ( larger sheets make a larger pom pom)
thin piece of wire of twist tie
scissors
fishing line
command strip hook (or small nail or tack)
- Place all 15 sheets of tissue paper together.
- Fold into an accordian with the folds so they are evenly spaced measuring from 1 to 2 inches in width. This will vary depending on how large your tissue paper is to begin with.
- Cut the tips of the folds so that they are rounded at each end. You can also cut them into a point if you prefer a pointy look pom pom. Mine were rounded.
- Fold the accordian in half and then wrap the wire or twist tie around the middle of the accordian. The fold will show you were to put the wire.
- At the end of the top of the wire be sure to make a loop. This is where you will attach the fishing line to hang the pom pom from the ceiling.
- Spread out one half of the accordian and pull apart one sheet at a time from the bottom (so you don’t tear the sheets…as I learned from experience).
- Continue this for each sheet so that you form a ball shape.
- Turn over to the other half and repeat for the other half.Fluff out the tissue paper so that it is full all around the pom pom.
- Tie the fishing line to the loop. I used a double knot to secure it firmly. I didn’t want them to fall on my daughter when she was in her bed…although they would be super soft. Leave the fishing line long.
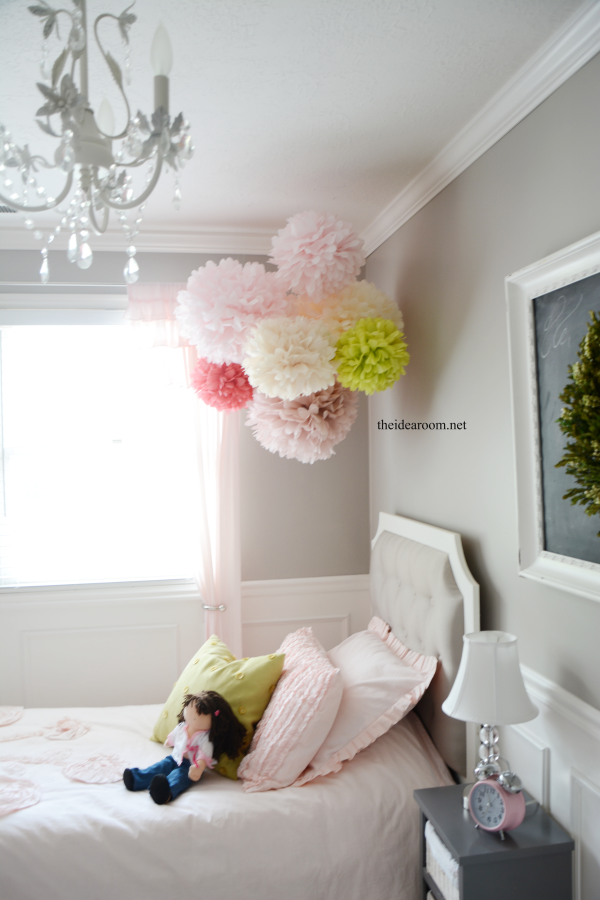
- Determine where you want the tissue pom poms hanging from the ceiling and then tie the fishing line to your nail so it reaches the right length.
- Nail into place (or use your tacks or command strips).
These are really pretty easy and quick to put together compared to these Tissue Rosette Kissing Balls that I have in my middle daughter’s room now. I found my tissue paper at a local party supply store and was able to find several colors I liked. I really love how they finish off the room. These would be fun in a nursery too wouldn’t they?

I have seen them used for shower and wedding decor as well. Such a fun a versatile little craft that you can whip up while catching up on your favorite movie or television show! I don’t always take a lot of time to sit down and watch tv, so sometimes I enjoy crafts that give me an excuse to catch up on a show!

I am now getting requests from my other girls to add a couple of these Tissue Pom Poms to their rooms! I might even want some for my room…not sure the husband would go for that though (haha!)

If you missed the other details of her room and are interested, you can find more details and photos in this past post…Girls Room Reveal.


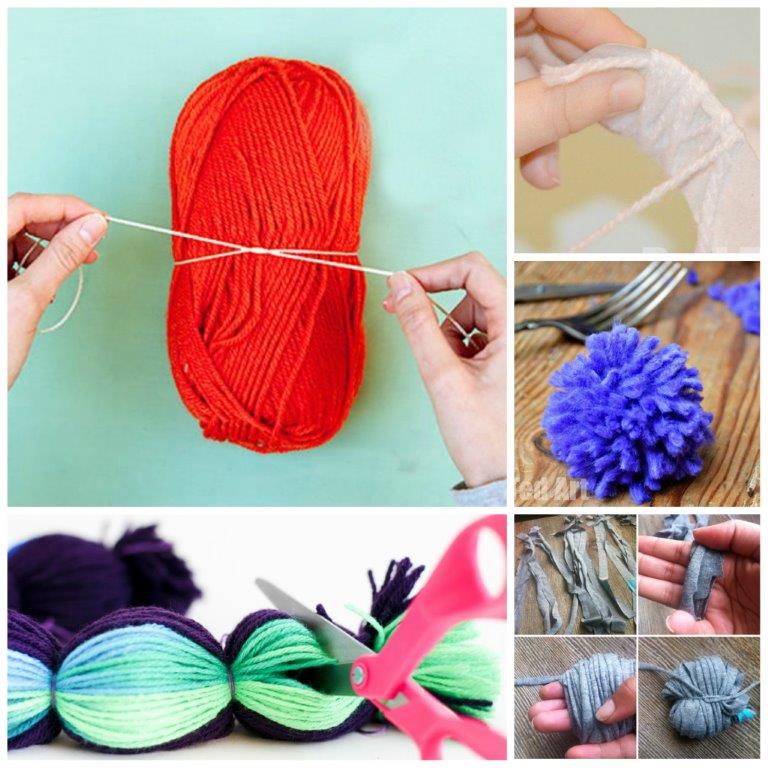
You may also be interested in How to make a Pom Pom (7 techniques) from Red Ted Art

JOIN OUR NEWSLETTER
Would you like more Recipes, DIY, Printables and Organization Ideas?
Subscribing to the newsletter will enable us to periodically send you creative content exclusively for Idea Room subscribers.
*View our Privacy Policy here.


So pretty. What color are the walls painted? Such a lovely grey
Thank you Lesley! The wall color is Benjamin Moore’s Rockport Gray reduced by 50%.
I was going to ask this same question. So pretty!
Glad you like them. Thanks.
Love this!!! I thinking about my daughter’s college dorm room.
How fun! What a fun way to use them!
I love this pom pom idea and thinking of using it in my daughter’s room. However, I am terribly un-crafty so would purchased the pom poms. Do you know about the range of sizes? Also, are there seven in the bunch?
Thanks so much!
Shoot! I have no idea about the sizes. I can measure them at the size they are now if you think that would help. I just cut down some of the tissue paper before I folded them and didn’t even think about measuring them.
So pretty! The pom poms are the perfect addition to the room. Love it :)
Thank you Crystal! xo
made a number f these but have trouble making folds the same and cutting through all those layers for a round look or pointed one. what are the secrets
LOVE these!! They definitely add the perfect touch to the bedroom. :)
Thank you so much Kristyn!
Where did you find the large tissue paper for the larger pom poms?
They have big sheets of it at party supply stores!
Aloha Amy!!!
Absolutely love your pom poms!
I want to make about six of them in various sizes. Sounds like you used one package of tissue paper for one pom pom, is that correct? ??
Thanks!!!
yes…I bought the largest size and then cut smaller squares for different sized pom poms.
gorgeous!! can i ask how they are attached to the ceiling?
Great question. Can’t believe I forgot to share that. They are attached by a piece of fishing line and then stuck in the ceiling with a small finishing nail. I wanted them secure enough so they don’t fall on her while she is sleeping…although they would be soft if they did fall.
The pom piece is exactly what I’m trying to do in my daughter’s room! Did you hang each pom individually from a fishing line?
Yes. I strung each on a piece of fishing line and then used white flat thumbtacks to stick into the ceiling. They have been holding up great!
Does each Pom Pom get nailed in individually to the ceiling or is the fishing wire gathered up and all attached from one place in the ceiling? I hope that makes sense! ?
Each are put up individually. Great question. Thanks.
This is soooo cute! I’m totally making these for our upcoming Summer wedding! Thanks so much for the inspiration and instructions :-)
Can you please post a photo of how you cut the edges to make the round shape,I can’t seem to get that bit right.Thanks.
I am hosting a baby shower soon for my daughter. Your tutorial is very helpful. The pompoms will go straight from the party to the nursery! Thank you so much! BTW, your daughters room is beautiful!!!!
Thank you so much Melinda! Congrats for the new baby and grand baby…(I am assuming)!
Any chance you can make a video reading it is a little hard to understand
I love your daughters room! I am planning on making these pom poms and putting them in my soon to be daughters nursery. I was wondering if you could tell me where you found the curtains in the above pictures.
Thanks!!
HELP!!! Most of mine are coming out beautiful, but on some of them, I have a “gap” on both sides-where the two “accordians” halves come together. When I pull the layers apart, I have gaps on both sides of the pom. Would you know what I’m doing wrong that I have these gaps? It doesn’t happen on all of them, so I don’t know what I’m doing differently sometimes. Im making the to decorate for a baby shower next weekend. Thanks!
How did you get them to look like balls? Mine are decidedly wheel-like. O_o
These are adorable! I would love to do something like this in my upcoming twins nursery! Do you mind me asking what are the range of sizes you used? Thanks!
Shoot! I have no idea about the sizes. I just cut down some of the tissue paper before I folded them and didn’t even think about measuring them.
What a beautiful room. May I ask where you got the doll that’s on the bed?
I am struggling to attach my paper Pom pims to the ceiling. I am using tape but they keep falling down. Please could you advise on how you attached yours.
Many thanks