
Make your own classy and stylish front porch planter pots. Perfect for outdoor or indoor use. Easy step by step tutorial so you can make your own too!

DIY PLANTER BOX
One of my favorite parts of being a Lowe’s Creative Blogger is the push that it gives to me get some of the diy projects that are floating around in my head, finished! You know…those things you would love to have but just don’t find the time or the motivation to tackle?
I have wanted some tall porch planters for a long time to spice up my front porch patio. I, of course, never want to pay the prices that porch planters like these cost, especially when we can make them for much cheaper!

OUTDOOR PLANTERS
And perhaps my favorite part of this post is the fact that I am then “forced” to plant flowers in March. Those flowers have made me happier than they should every time I see them. They make me feel like winter is over…even when it’s snowing outside!

FLOWER BOXES
Want to make some Porch Planter for your porch or backyard? The planters bring such curb appeal. Here is how we made our wooden planter box. Sharing our free plan to make these diy planter box plan.
Materials needed for ONE Porch Box Planter:
- Non-pine wood lumber (pine will shrink)
- 2 side panels 10 inches (width) x 24 inches (height)
- 2 (front & back panel) 11 inches width at top tapering down to 9 inches in width at the bottom x 24 inches (height)
- decorative molding for the top
- 2 scrap pieces for the inside to hold the bottom
- bottom panel
- decorative drawer handle or pull (we used old ones we had pulled off a dresser & spray painted black)
- Dremel Saw Max or table saw
- nails (nail gun) or wood screws
- wood glue
- painter’s caulk
- drill (1/2 inch drill bit)
- Stain paint or wood stain (we used Olympic Maximum stain paint in the Pewter color)
- river rock (gravel)
- potting soil
- boxwood plant (or plant of your choice)
INSTRUCTIONS
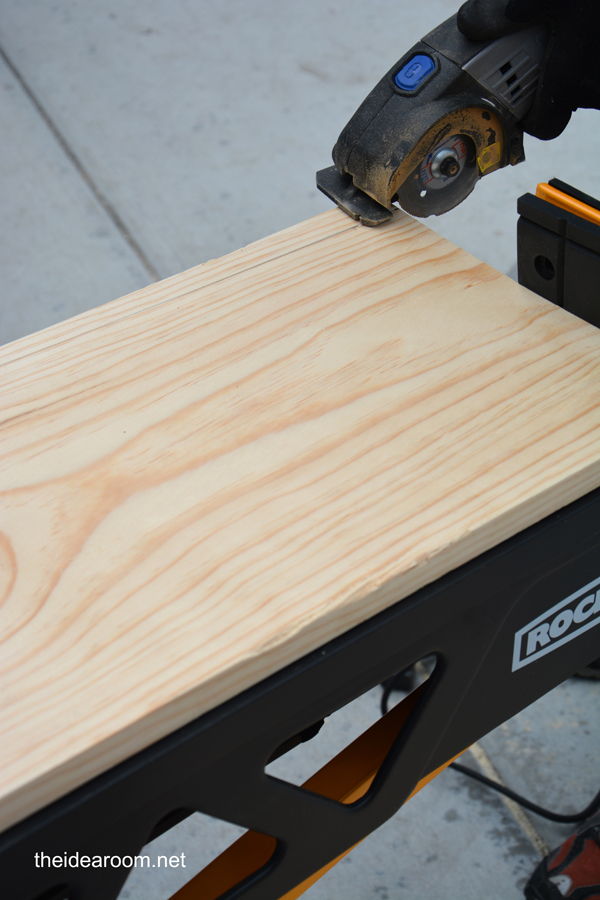
1. Cut your 2 side panels. We cut ours 10 x 24 inches.
2. Cut your front and back panels. We cut them so that they were wider on top and smaller on the bottom so that the diy wooden planters had a bit of an angle to it instead of a straight rectangle. The top was 11 inches and the bottom of the panel measured 9 inches. We just drew a straight line from the 11 to the 9 inches with a ruler and cut on the line to taper the angle. (Pictured above with the saw cutting from the bottom up).
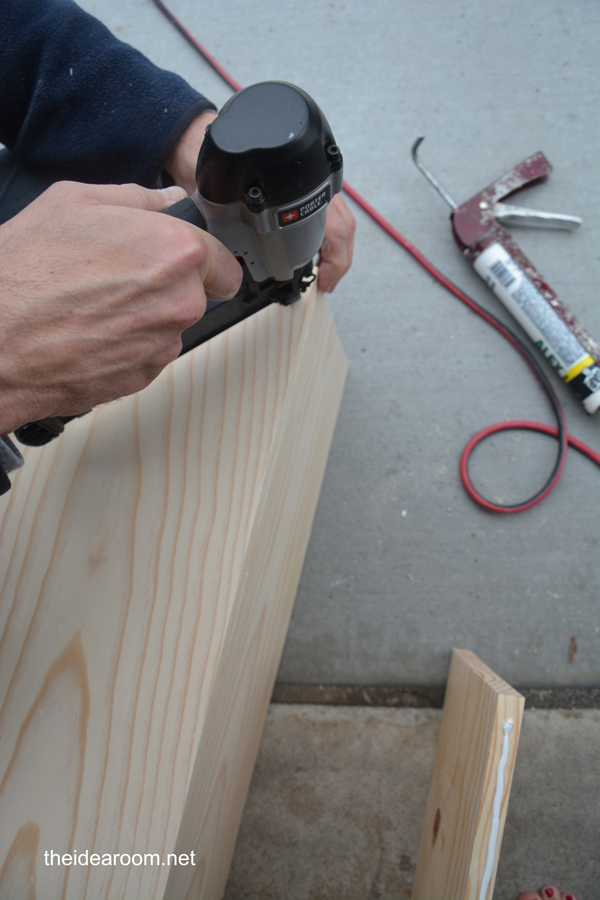
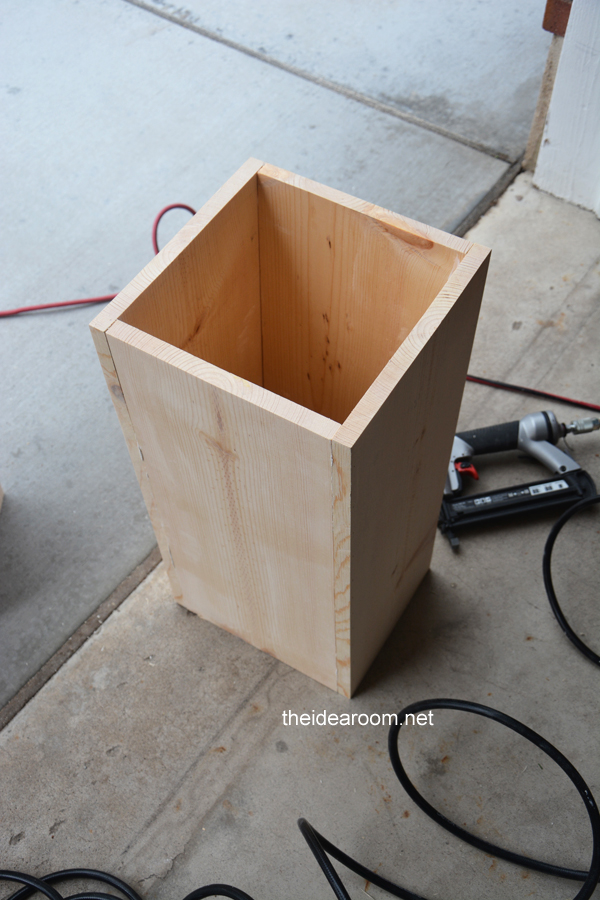
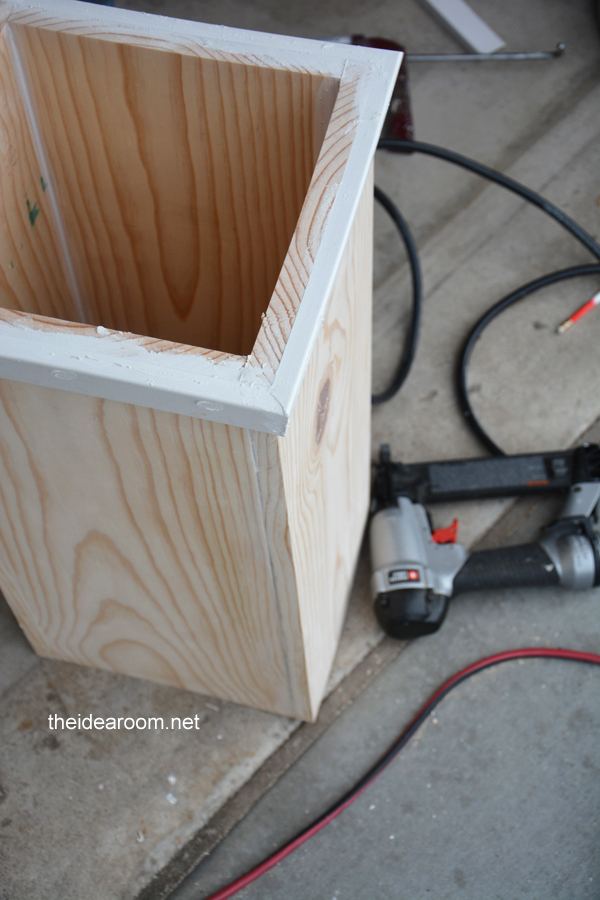
3. Add glue to the ends of the side panels and glue the box together. The front panels went on first with the side panels behind them so the seam is not visible from the front.
4. Add some nails along the sides to hold the wood together firmly. You will want the extra support for the weight of the wet soil.
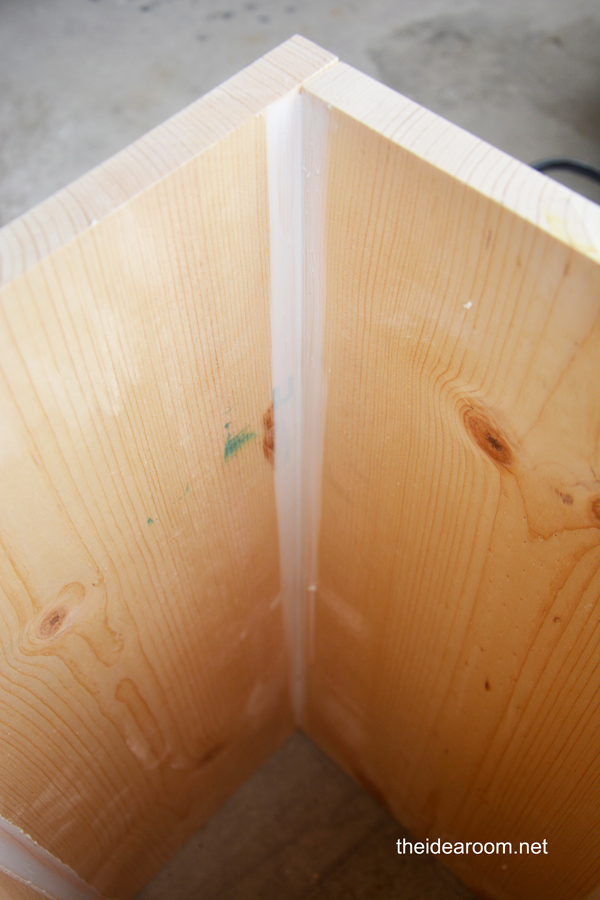
5. After the wood glue has dried, you can caulk the seams inside and out so you have a nice clean edge and finish. Use the proper caulk depending on if you will be staining or painting the planters.
6. Take some decorative molding and measure the top of your porch planter and cut it according to the size and style you chose to make a nice finishing edge around the planter. Cut and nail and glue into place and then caulk the seams.
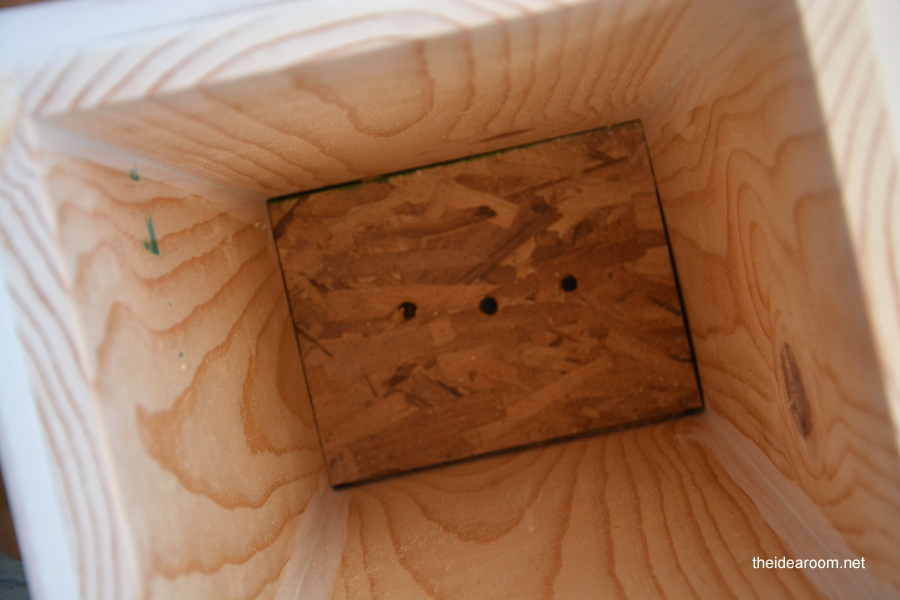
7. Take some wood scraps (just a strip of wood) and nail them into the base of the planter on the side or front panels. This will be the base and support for the base of your planter.
8. Measure a square piece of wood that will fit into the bottom of your planter and will rest of your side supports. We drilled three drainage holes into the base so that the water can drain out properly.
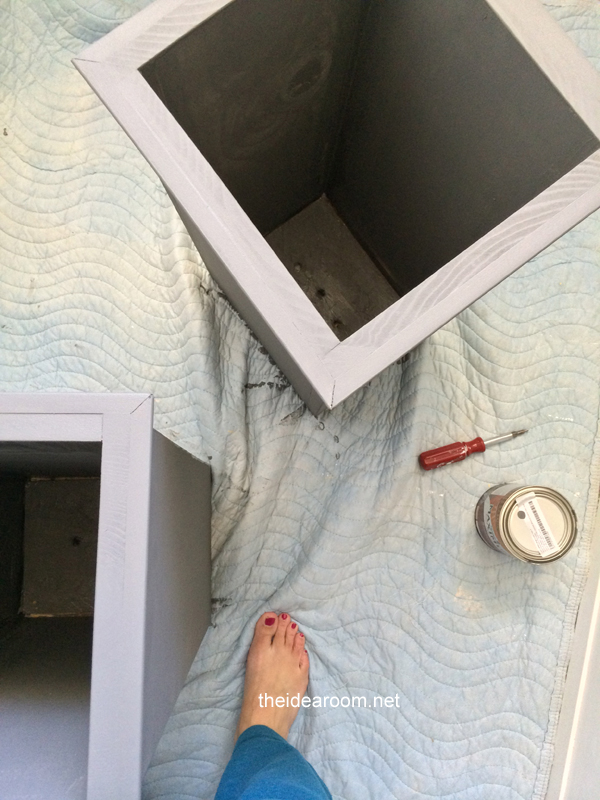
9. Sand the edges so you have a nice, smooth finish. Paint the inside and the outside to give you protection from the moisture and the outside elements. We chose a paint stain to give us a long lasting protection from the weather. Let dry.

10. Fill with gravel or rock in the bottom…about 2 inches. Fill the rest with potting soil and then add your plant.
DIY WOOD PLANTER BOX
This is a really quick project and I LOVE the way they updated my front porch. I also picked up a couple of fun, green and white, SPRINGY pillows from Lowes. I also threw together a monogrammed pillow to personalize things as well. You can simply made a pillow cover out of a canvas paint drop cloth (one that I have used for several projects here) and stenciled the letter H on it.

I am still loving my black front door and if you are interested in how to paint your front door, be sure to refer to my tutorial in the link. You might also be interested in how we made our raised planter box plan. We also have this fun herbs planter box that you might be interested in.

Have you had a chance to sign up for Lowe’s Creative Ideas Magazine. It’s FREE and offers a bunch of DIY inspiration. Go ahead and connect with Lowes Creative Ideas to find a lot more fun and creative ideas.
![]()

*Disclosure–In accordance with the FTC Guidelines, I am disclosing that I received compensation from Lowe’s for my time and participation in the Lowe’s Creative Ideas Influencer Network. However, all opinions and statements are mine and mine alone.

JOIN OUR NEWSLETTER
Would you like more Recipes, DIY, Printables and Organization Ideas?
Subscribing to the newsletter will enable us to periodically send you creative content exclusively for Idea Room subscribers.
*View our Privacy Policy here.


They turned out great!! Love the handles (I think that’s what they are) on the front of the planters. Porch looks amazing!!
They look great! I’m going to have to try my hand at building some. Thanks for sharing :)
Simple and beautiful – thanks for the tutorial!
Love them…..I’m going to try also. Can’t wait to freshen up my porch after all this horrible pollen from the oak trees is gone. The handle on the front really makes it fancy.
Thanks Samantha! Darn pollen. My bane is the cotton from all the cotton trees in May…
The planers look great but can you please share where you found those great chairs?
The chairs are from Lowes!
They came out lovely Amy! I love them and I love the boxwoods you put in them. Nice job! I’m working on a desk this weekend.
What was your total cost?
Not really sure. I should of added it up. Sorry.
Your approach for the porch is good. I will try to implement it here at my home.
Thank You!
I love these homemade planter boxes, they look great and add a lovely accent to your front porch. Now that you’ve had them a few seasons, anything you would do differently? I’m curious how the wood you sealed handles the water from the plants.
You may need to reseal the wood occasionally but they are holding up great!
If you put the bottom 12″ down from the top of the planter (which is gorgeous, by the way) you can put a plant in a plastic nursery pot in the planter. This is an easy way to switch out plants for seasonal interest.
Great tip! Thanks!