

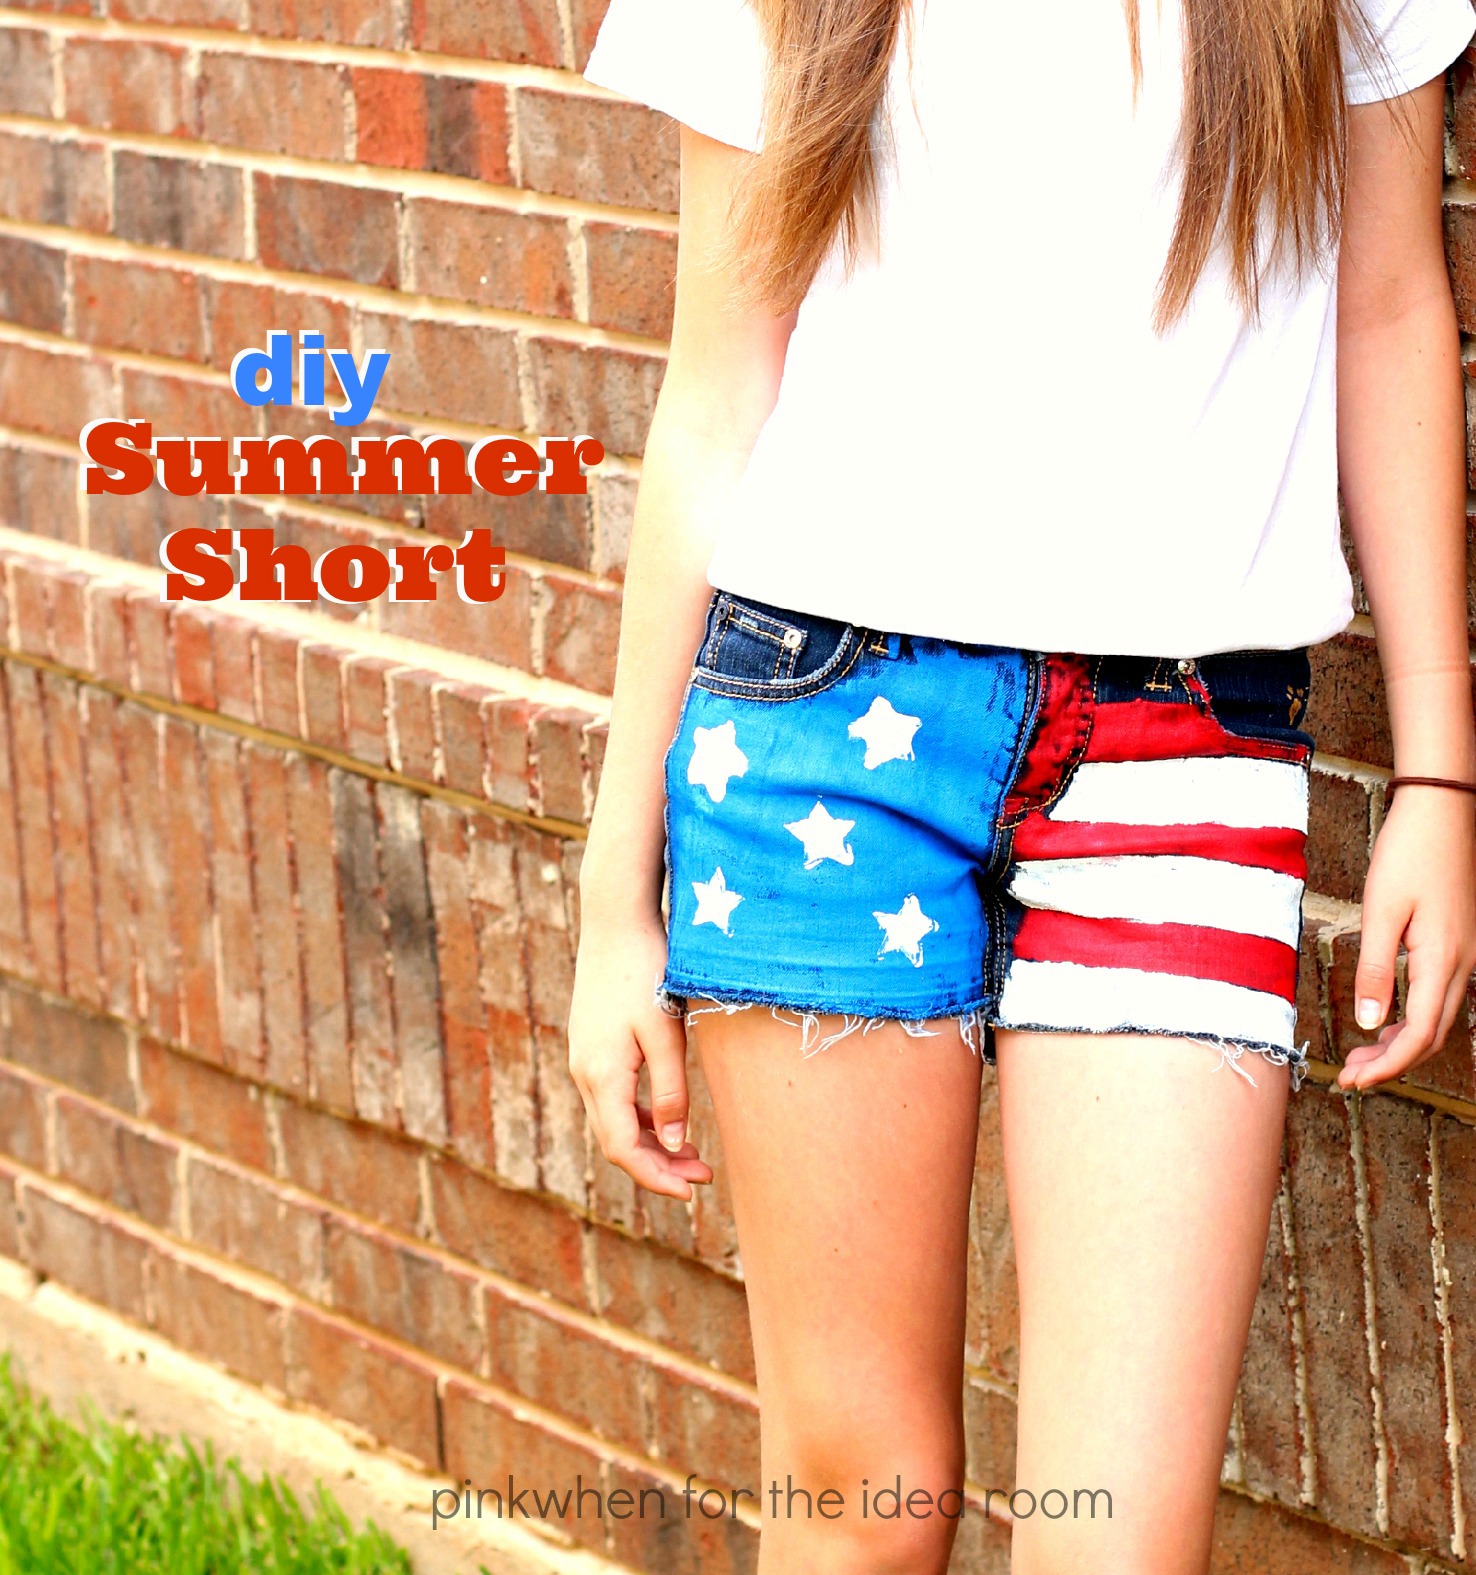
Hello fans of The Idea Room, this is Jen from PinkWhen, and I am SUPER excited to be visiting with you all here today. I am here to share with you a quick and easy DIY Summer Shorts Tutorial, and I even made a video for you. These are truly so easy, and I love the patriotic feel that they give. There is no need to be “perfect” when making these shorts because it’s all about the fun.
To say I am excited to be here today is an understatement. I have admired Amy and all of her awesome DIY’s for years. She is one of the very first bloggers I ever started following, and I can’t gush enough about how fun she is to work with. Needles to say, this is like a little “blogging dream” come true. Now let’s get started with making these Summer shorts!
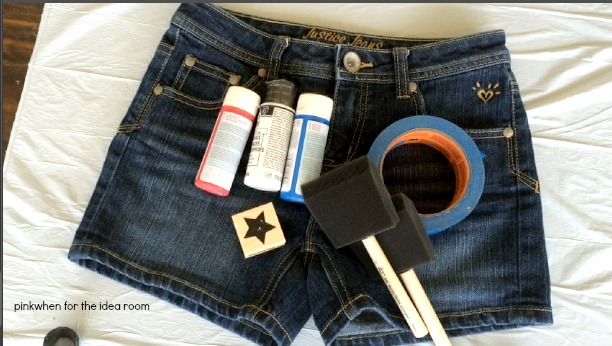
You will need to have a few items on hand:
Old pair of jean shorts
Fabric paint (red, white, and blue)
Foam brushes
Painter’s tape
Star shaped stamp
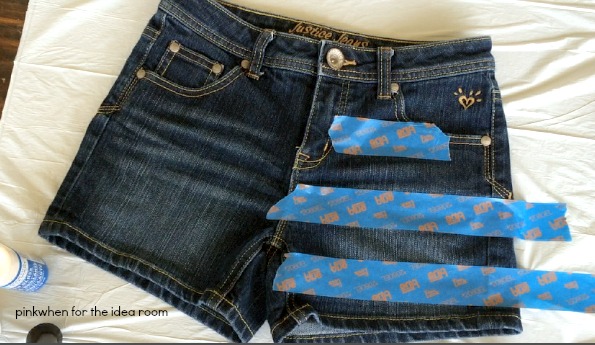
Step 1: Take your jean shorts and place them on a covered surface. (You don’t want any of this fabric paint to get on any surface other than your shorts.)
Step 2: Take your painter’s tape and start placing strips across the right leg.
Step 3: Now the fun begins! Take your red paint and start painting around the painter’s tape. There is no need to feel like you have to be super “neat”. We were going for the distressed look, so having a few imperfections is what we were looking for.

Step 4: Paint the left side of the shorts with the blue fabric paint. I just found it easy to squeeze blue paint onto the shorts and then take my foam brush to get the side fully covered.

Step 5: Once you are finished with the left side, go back to the right and remove the painter’s tape. Then you will carefully start painting in between the red lines.
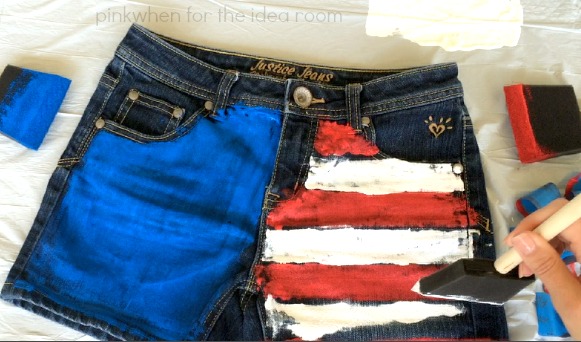
Again, there is no need for perfection.
Step 6: Take the star shaped stamp and begin to place stars on the left blue leg. Once you have finished with the stars, allow time for the shorts to dry before wearing or washing.

This is such a fun and easy Summer short tutorial, I even made a quick video for you to reference. (I sped it up so it only takes a minute to watch!)

I hope you enjoyed the DIY Summer Short Tutorial, and thank you again to Amy for allowing me to come and visit everyone here at The Idea Room! If you want to see more projects from PinkWhen, you can find me on Facebook, Pinterest, Instagram, and YouTube!


Leave a Reply