

Terracotta Pot Craft Ideas
Plastic Easter Egg Crafts and Activities
Rainbow Crafts and Treats

Heart Crafts and Treats

Santa Crafts and Treats
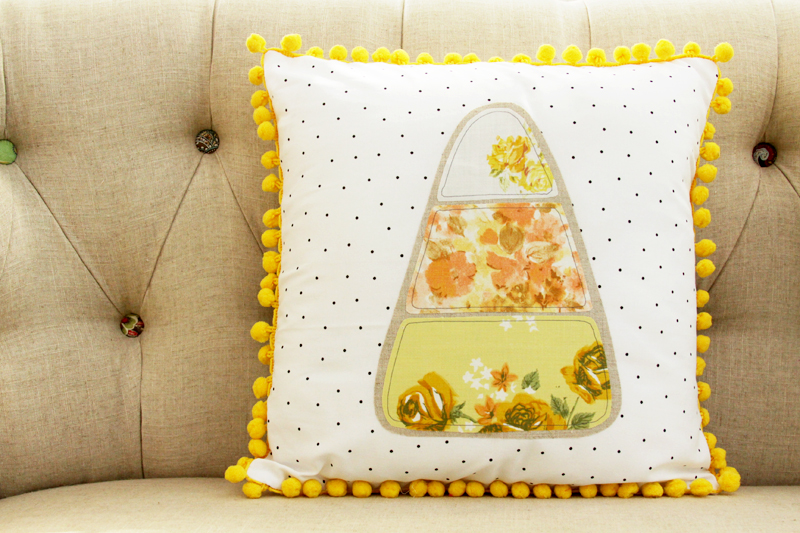
DIY Halloween Candy Corn Pillow
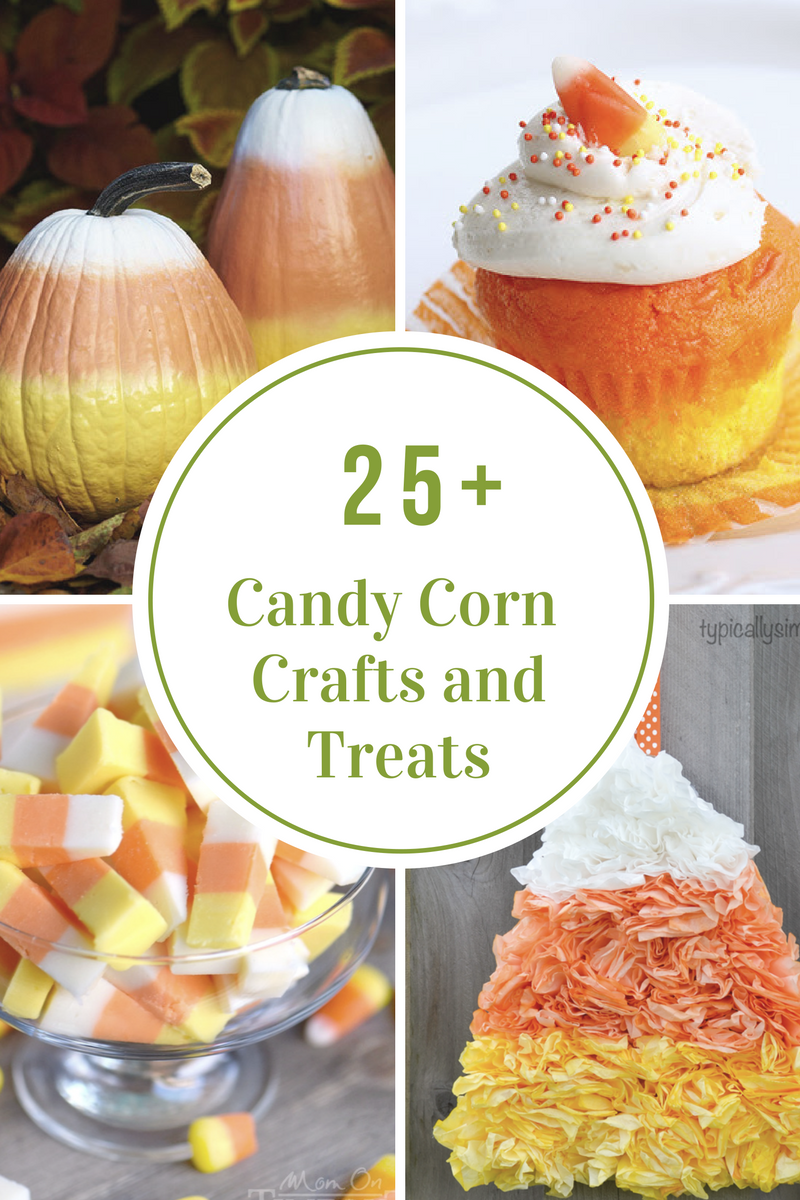
Candy Corn Crafts and Treats
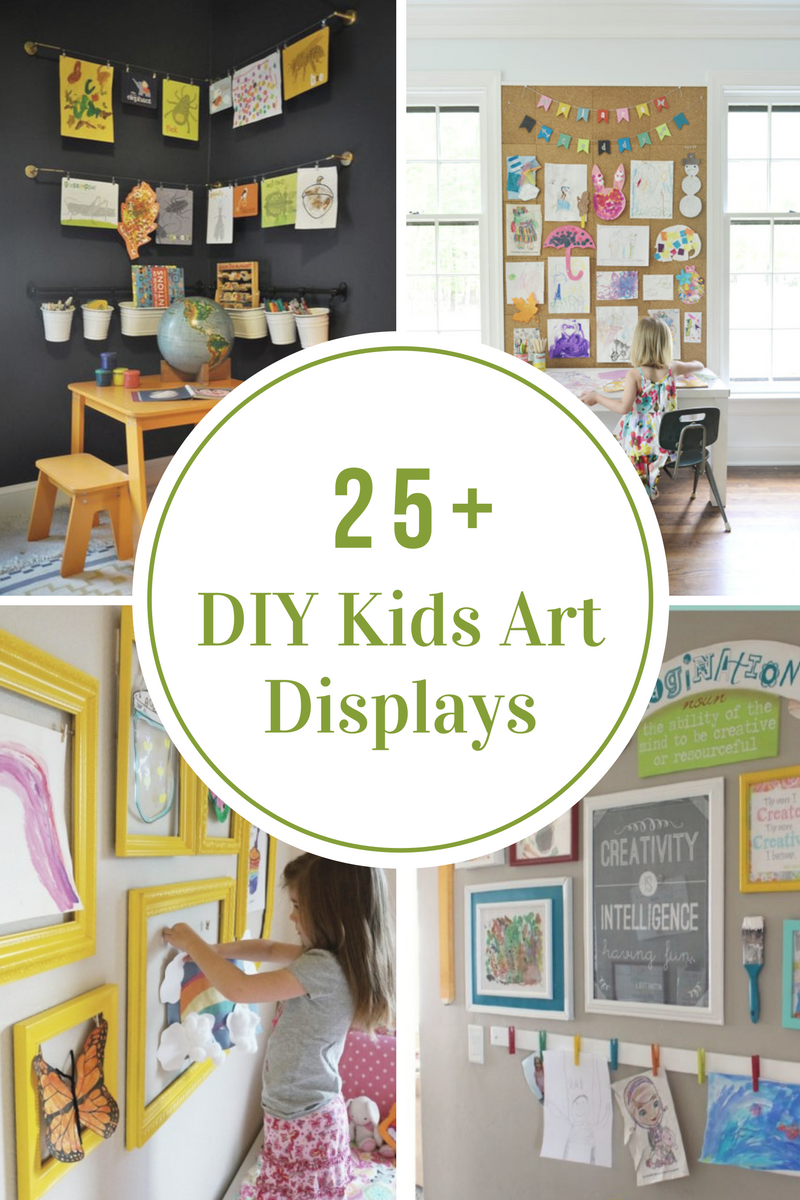
DIY Kids Art Displays

Fruit Crafts and Treats
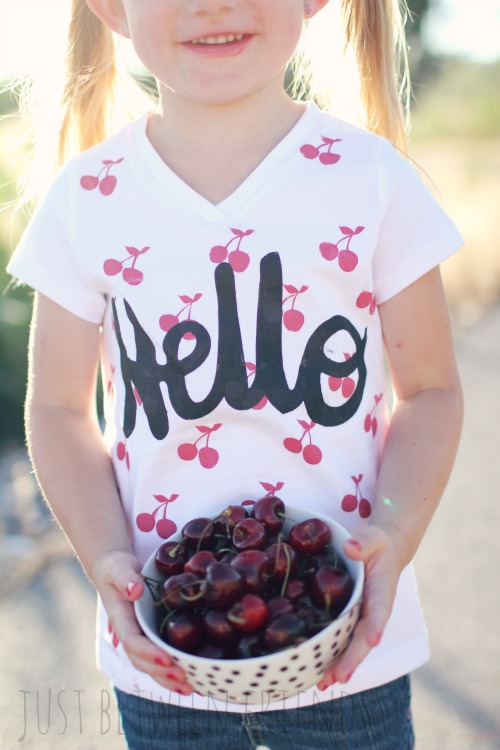
Summer Craft: Stenciled T-Shirt
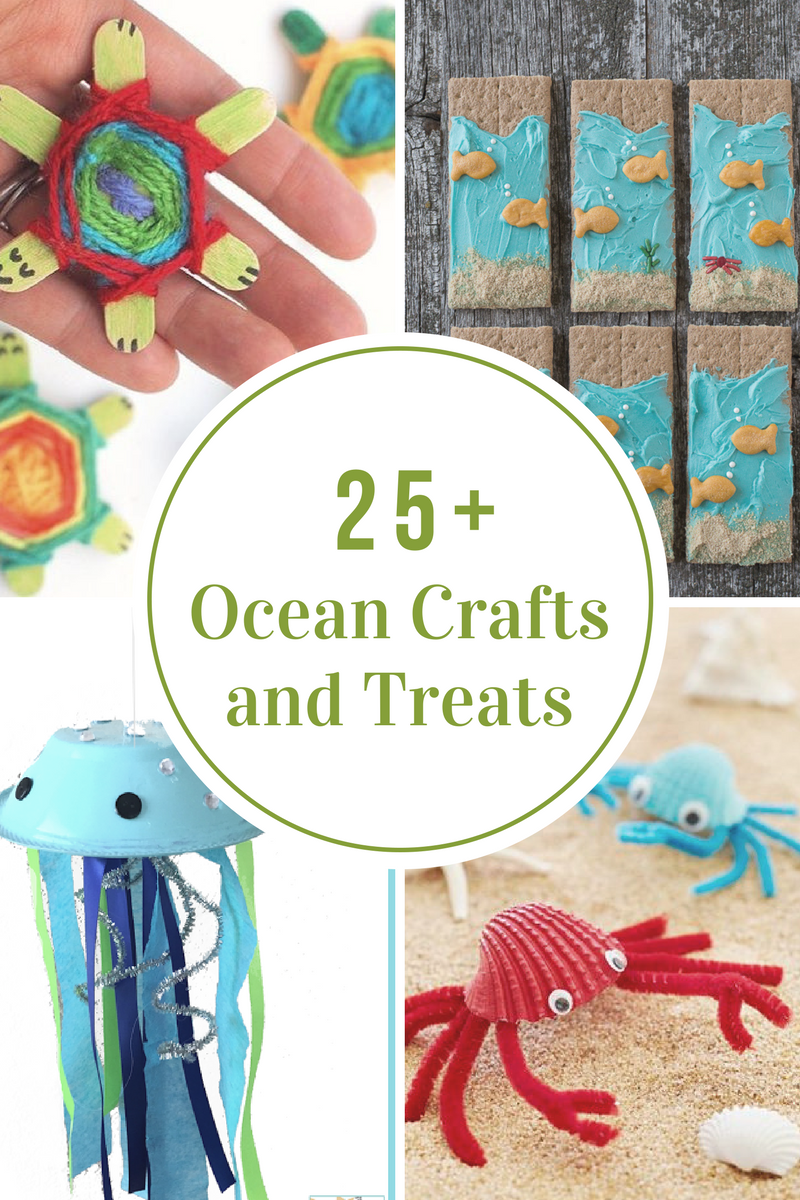
Ocean Crafts and Treats
- « Previous Page
- 1
- …
- 4
- 5
- 6
- 7
- 8
- …
- 18
- Next Page »


