
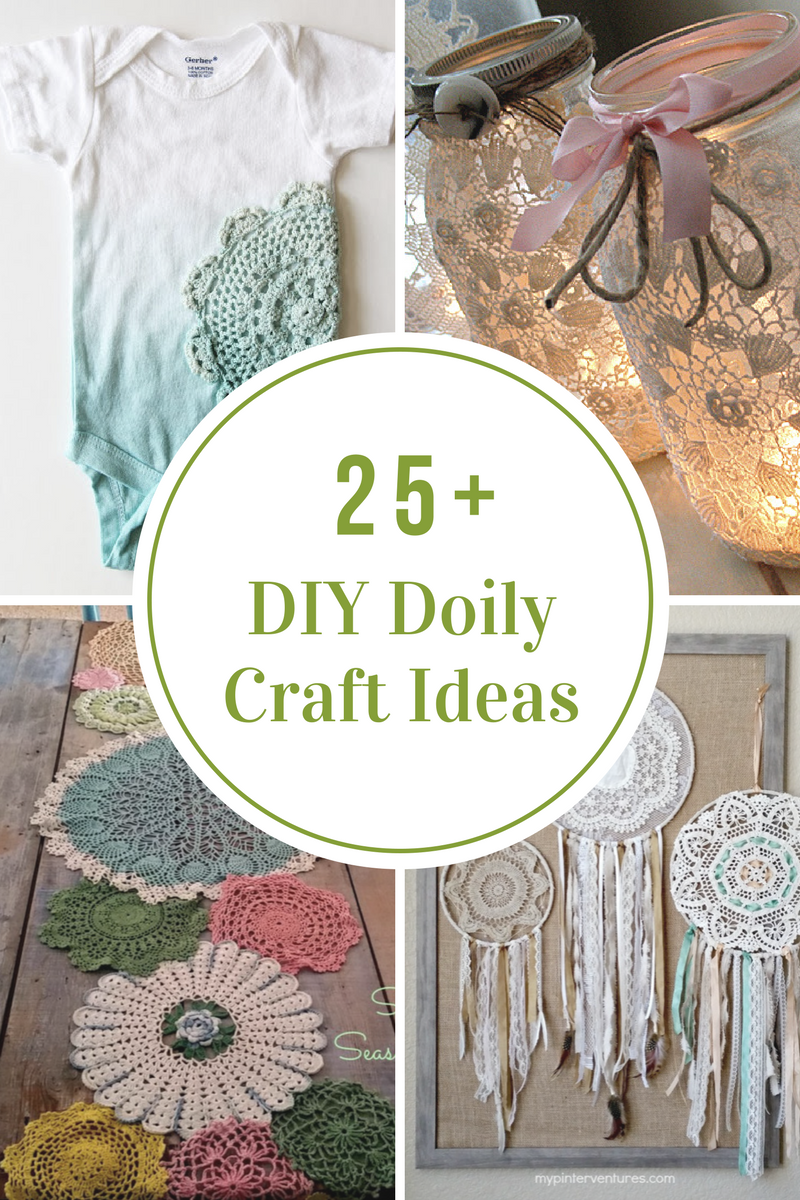
SHARING CREATIVE IDEAS FOR USING THOSE VINTAGE AND PAPER DOILIES
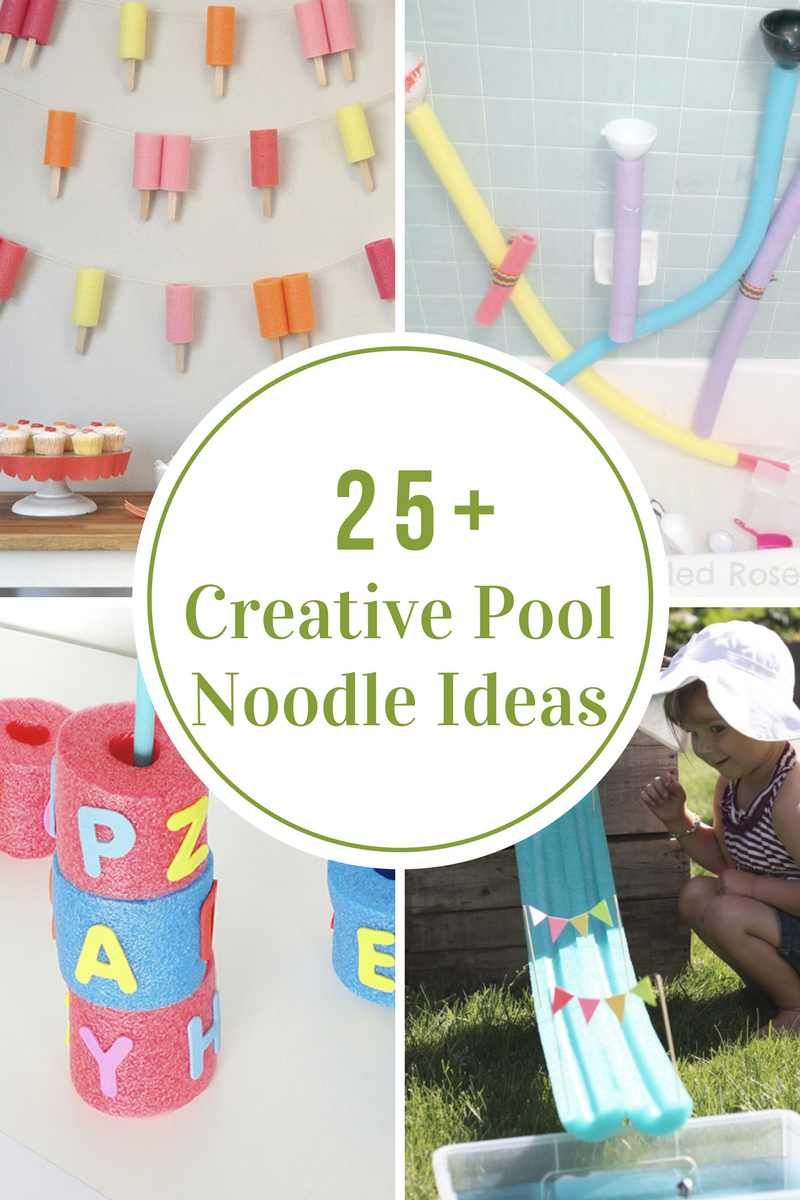
Creative Pool Noodle Ideas
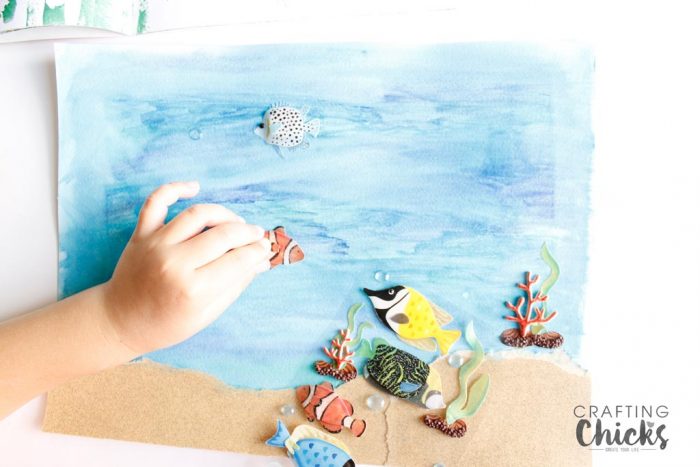
Kids Craft: Water Color Ocean Art
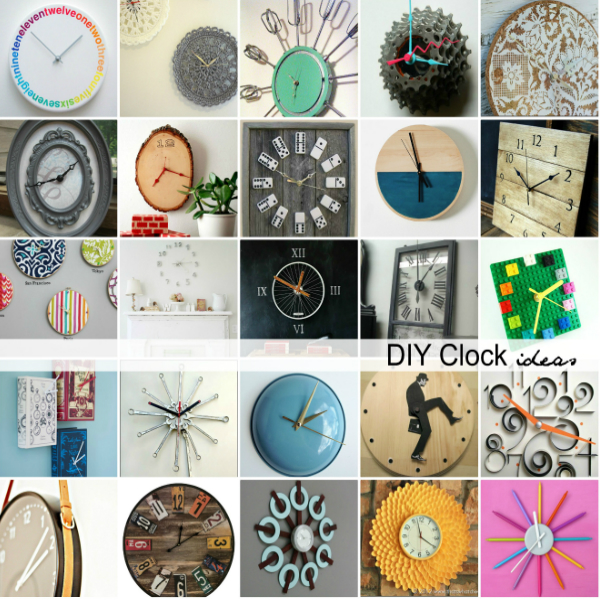
DIY Clock Ideas

Free Crochet and Knitting Patterns
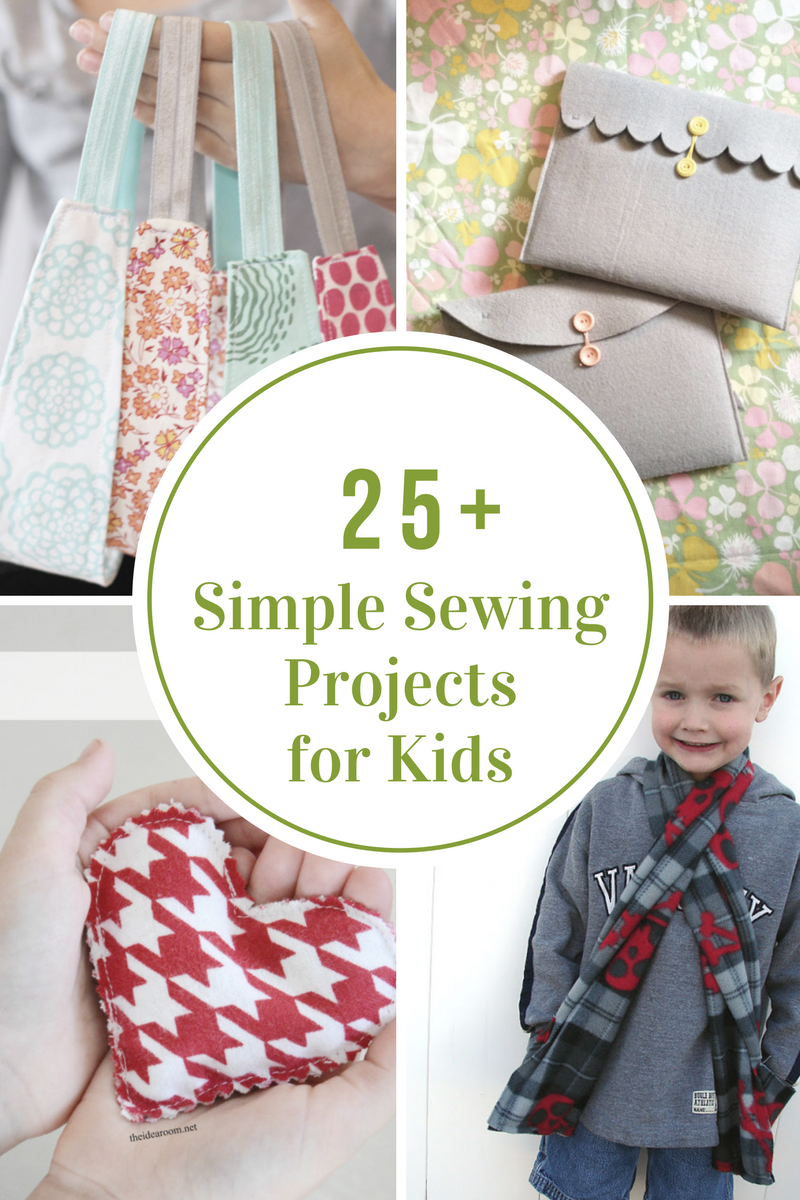
Simple Sewing Projects for Kids

Easter Craft Egg Carton
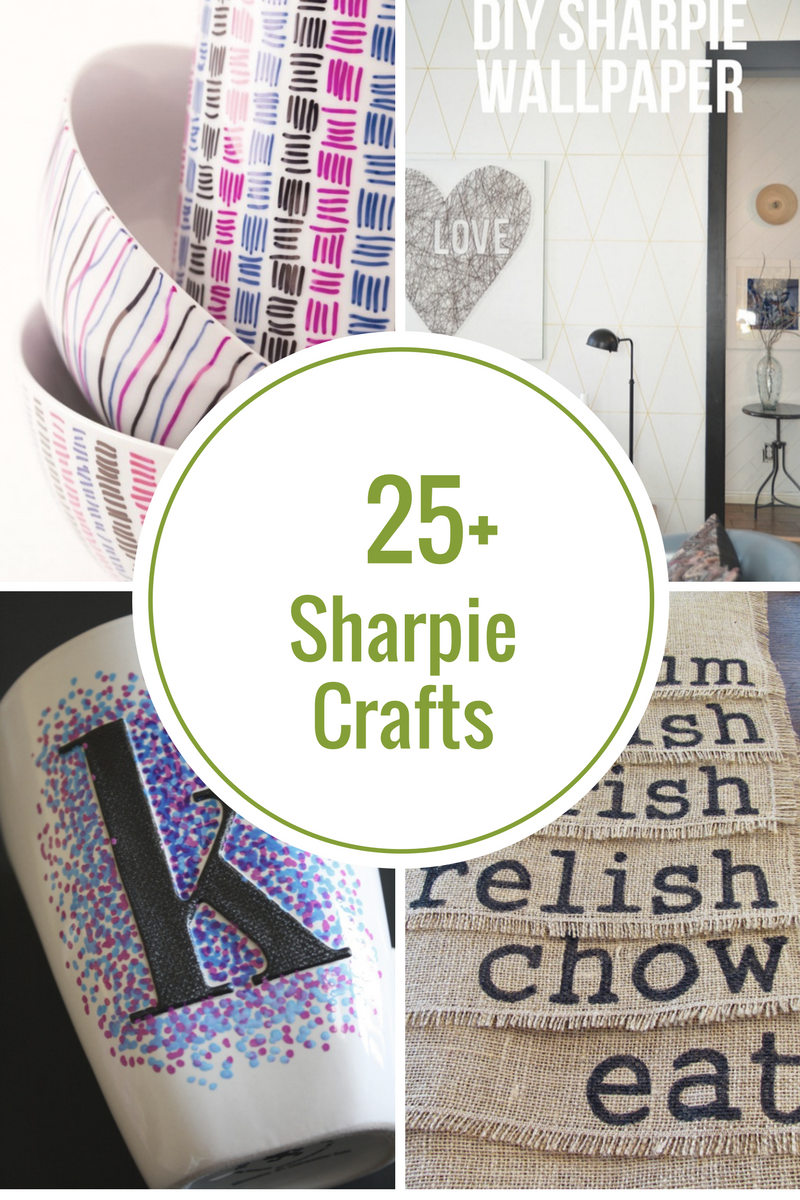
DIY Sharpie Craft Ideas
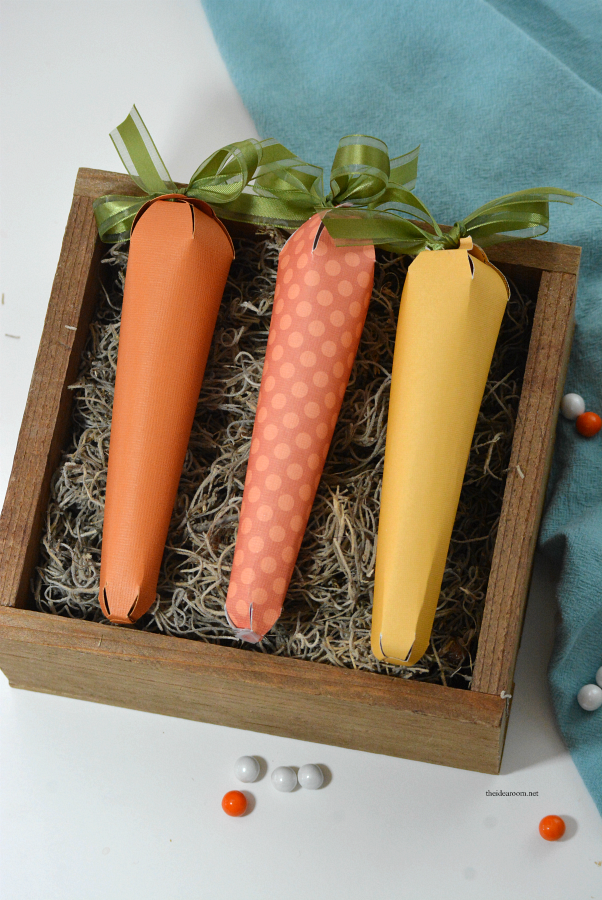
Easter Paper Carrots
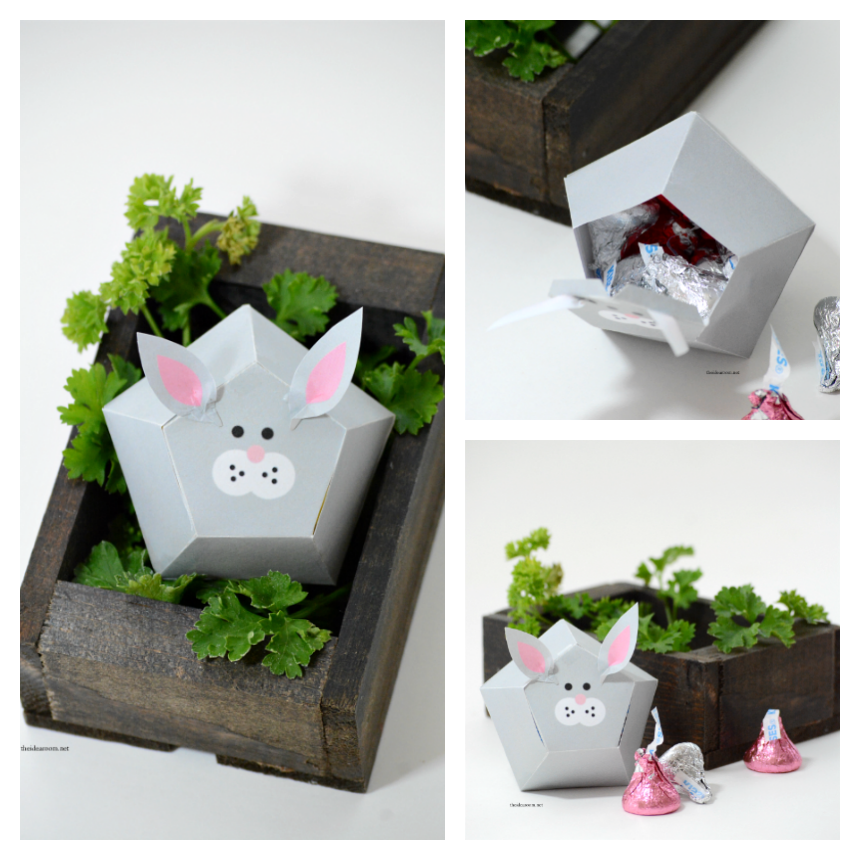
Easter Bunny Treat Box
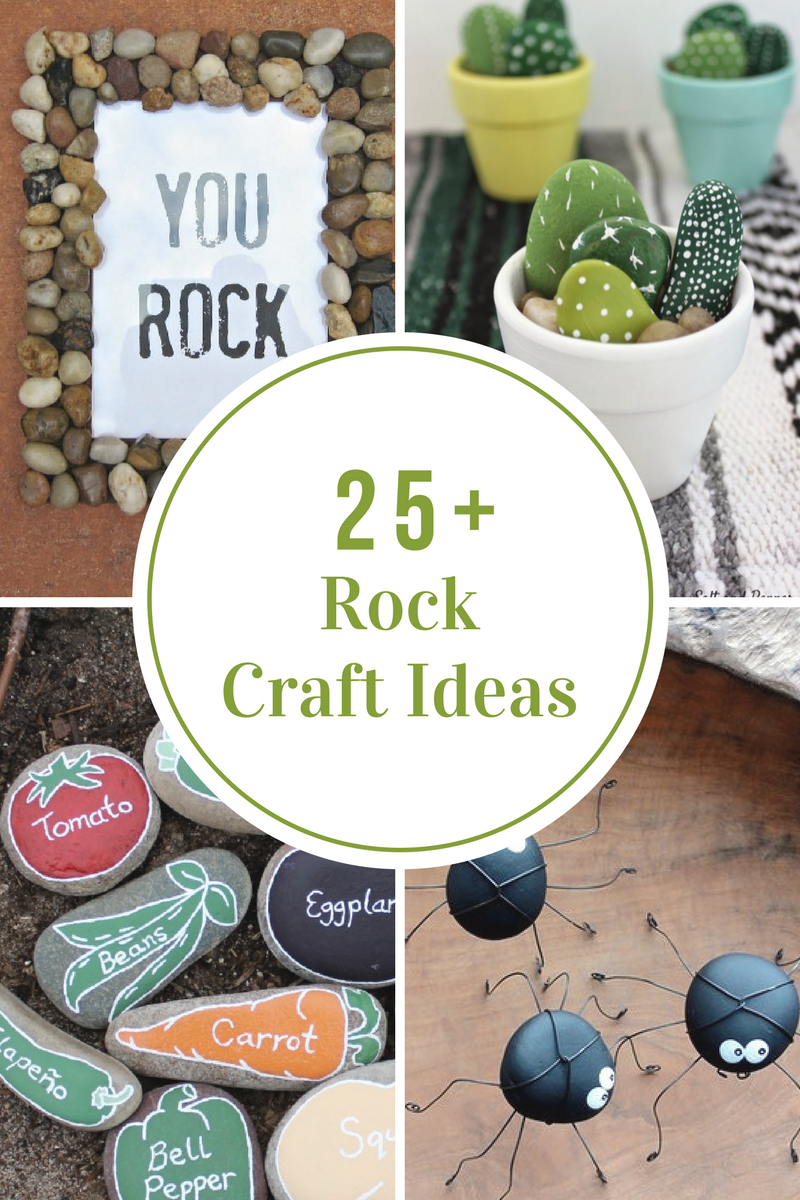
Rock Craft Ideas
- « Previous Page
- 1
- …
- 5
- 6
- 7
- 8
- 9
- …
- 18
- Next Page »


