
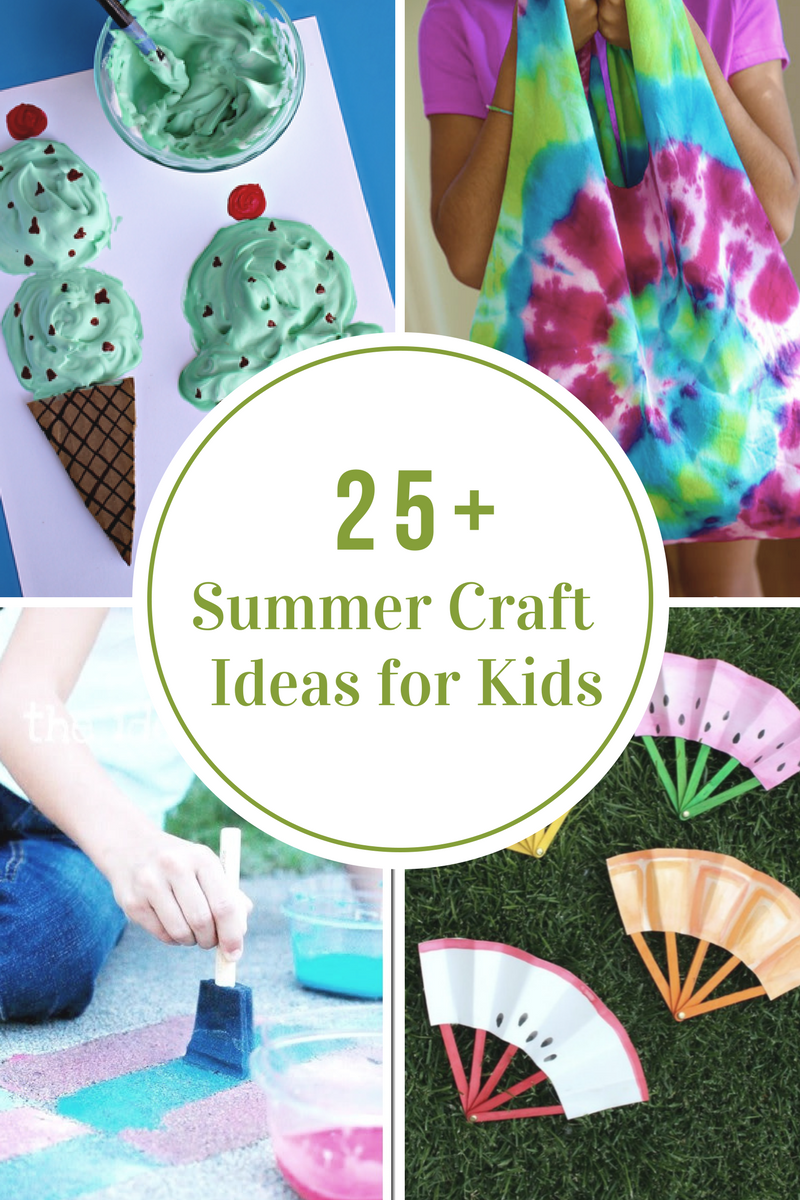
Summer Craft Ideas for Kids

Outdoor Furniture
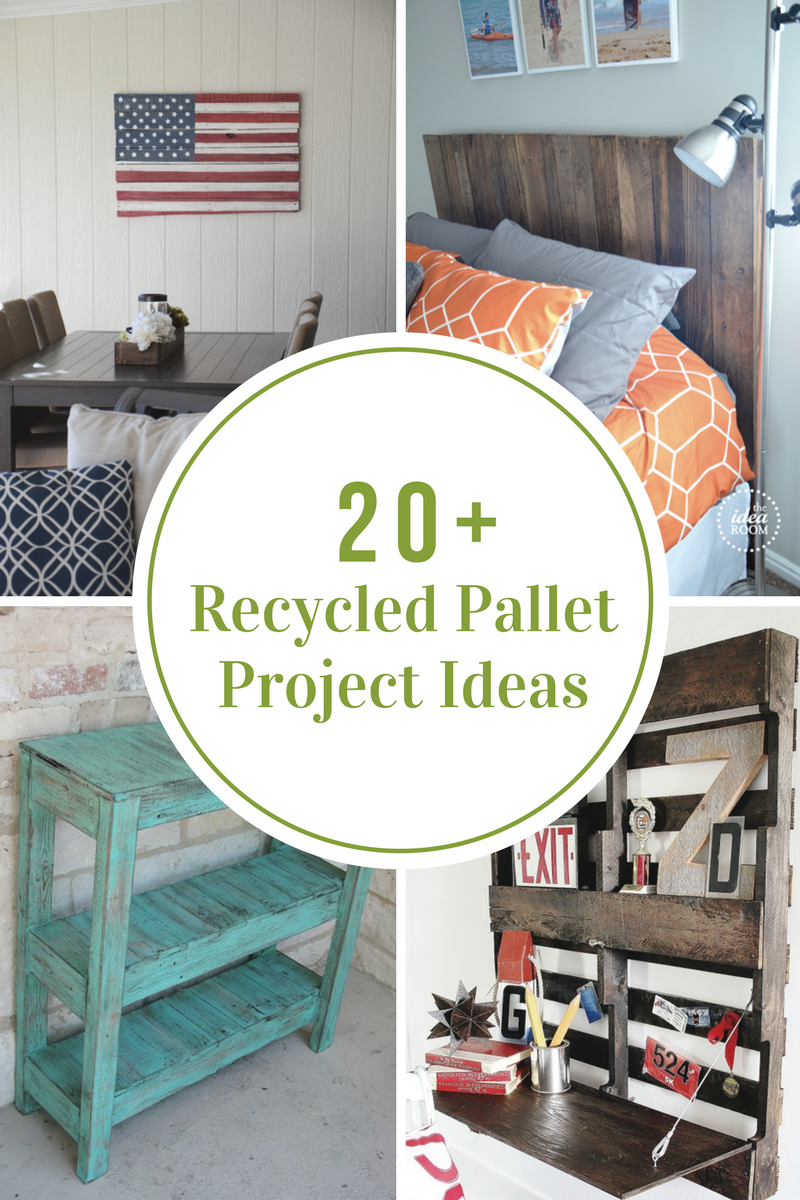
Recycled Pallet Project Ideas
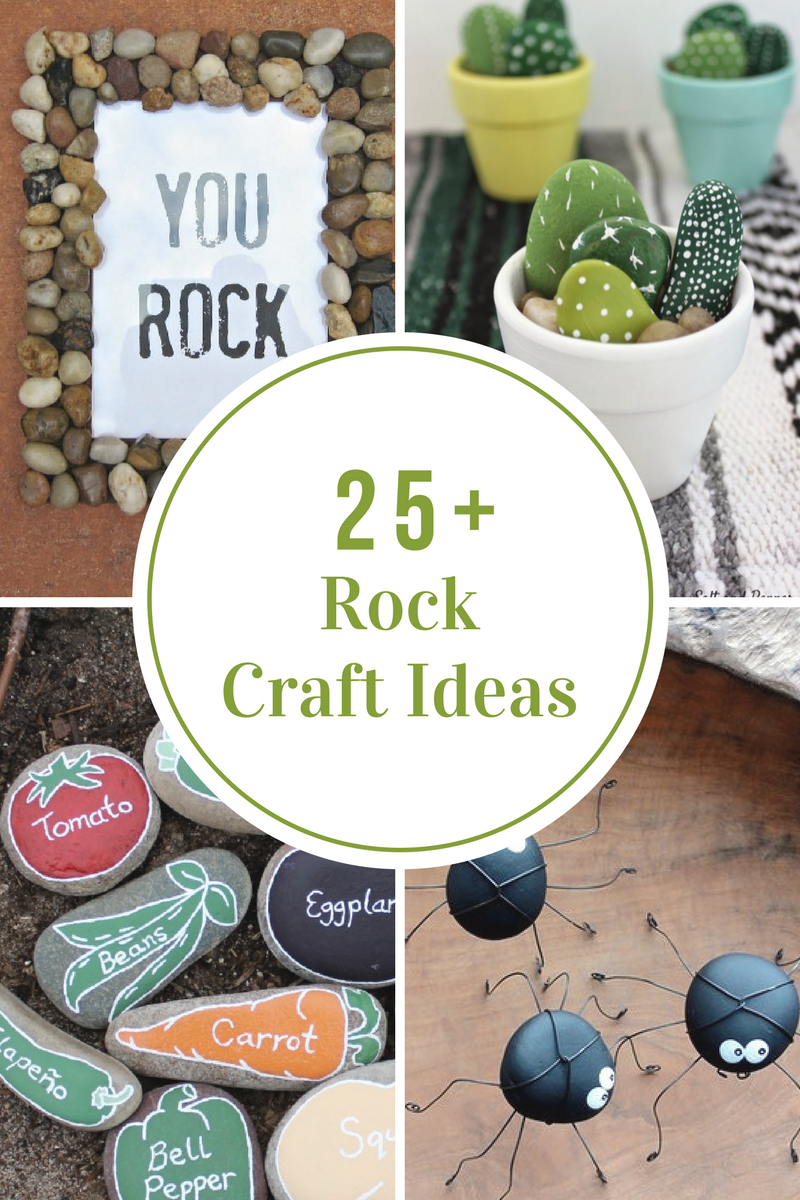
Rock Craft Ideas
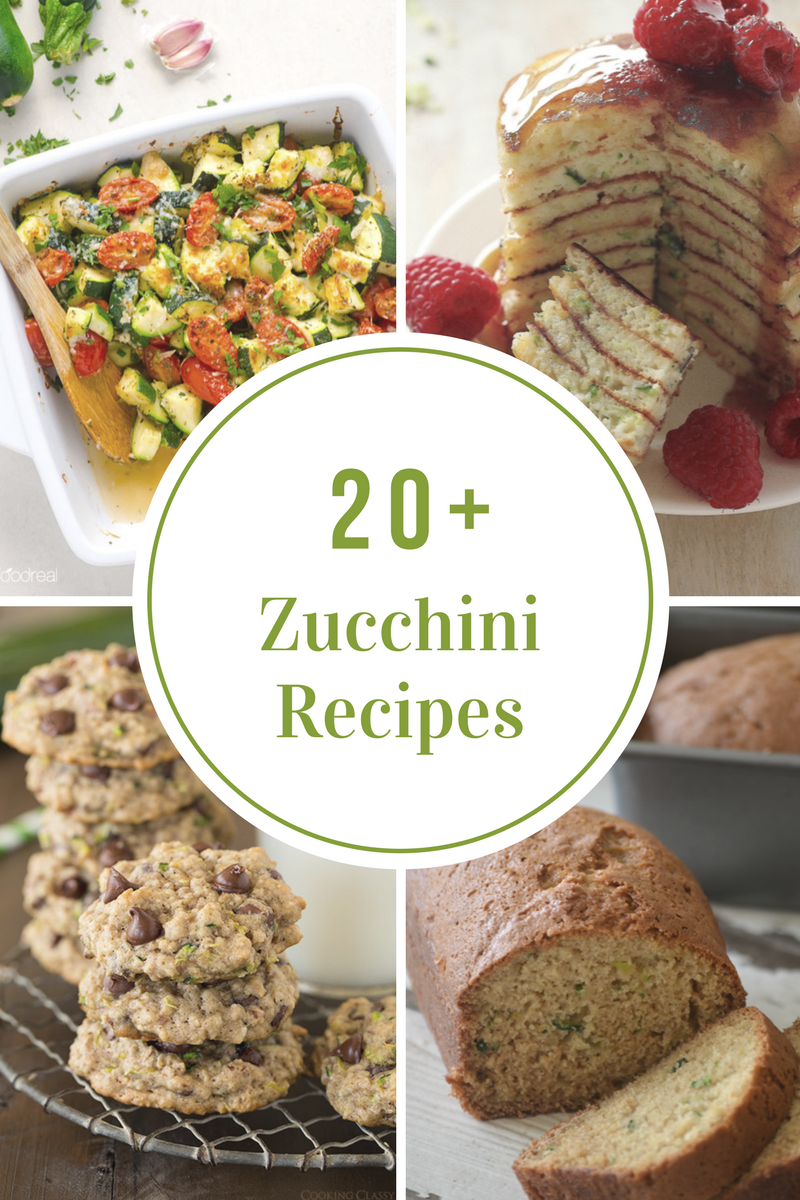
Zucchini Recipes
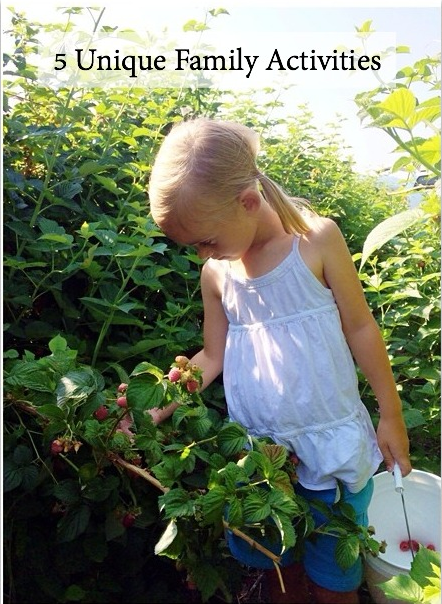
5 Unique Family Activities

Road Trip Games
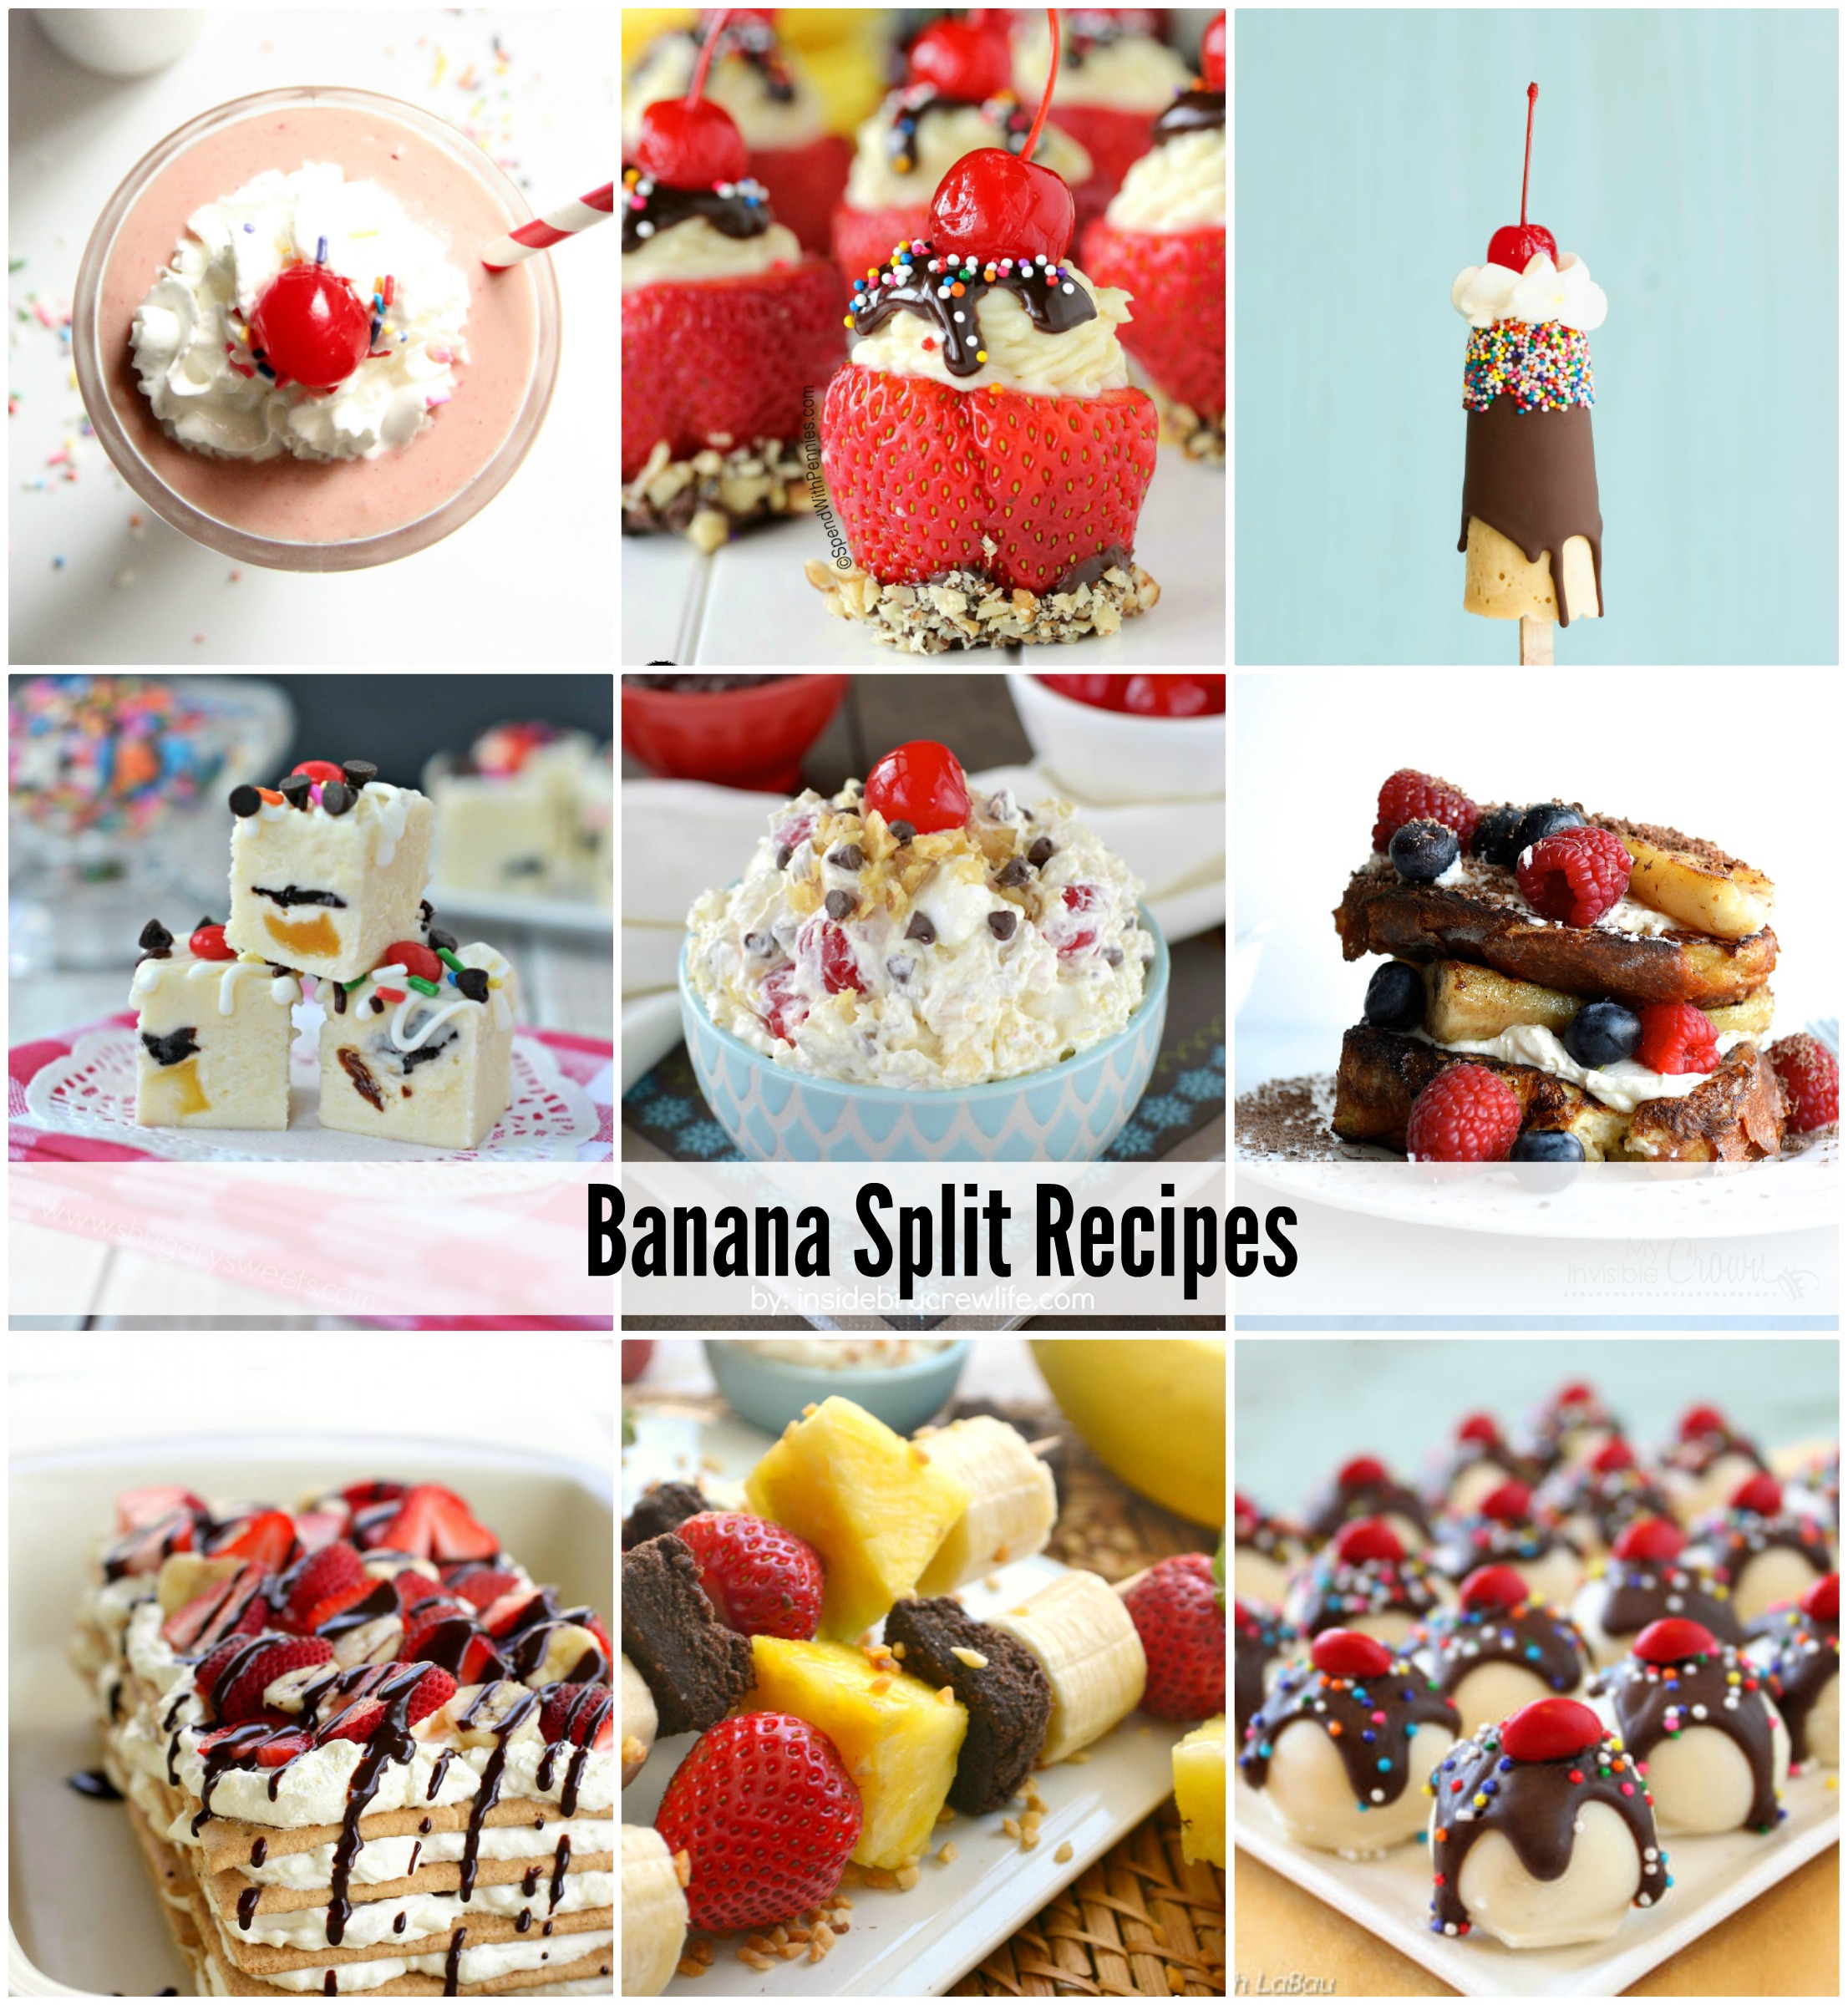
Banana Split Recipes
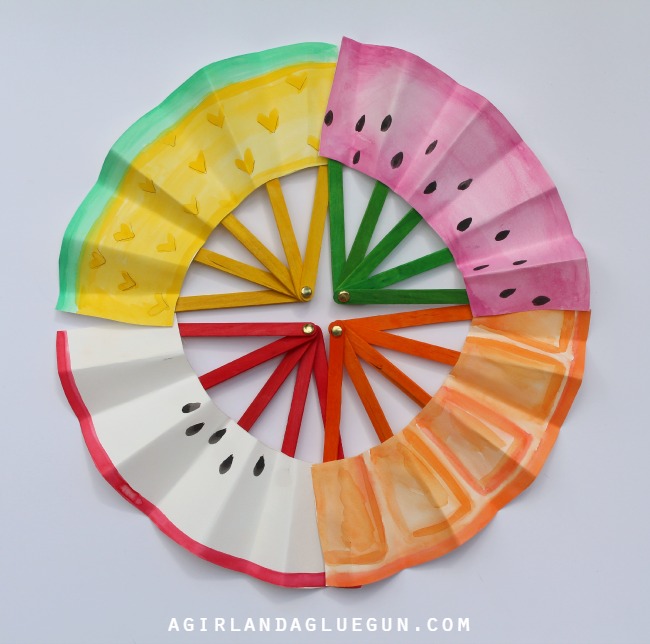
DIY Fruit Fans: Kids Craft
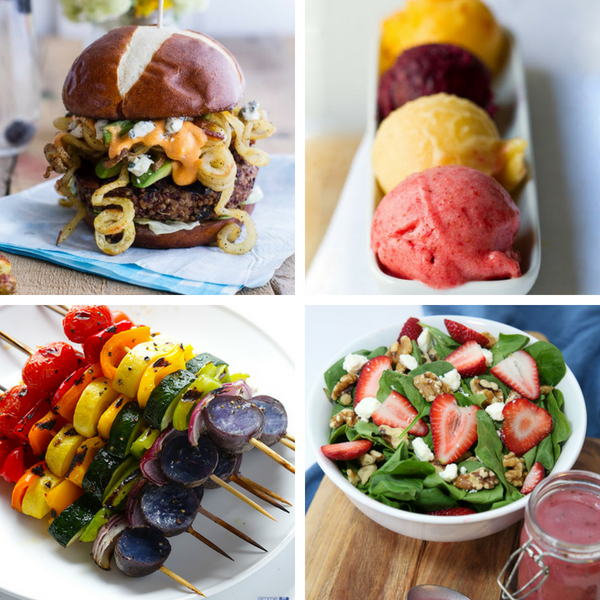
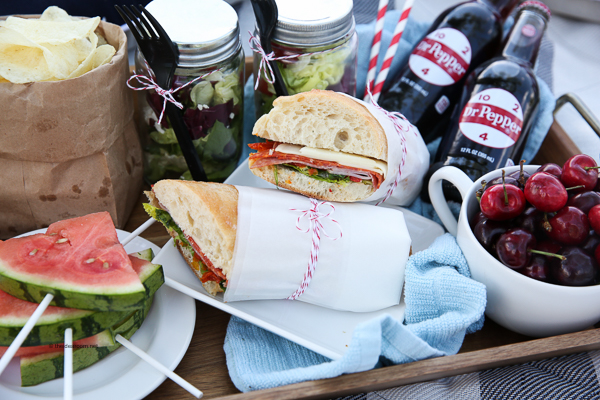
Summer Recipes
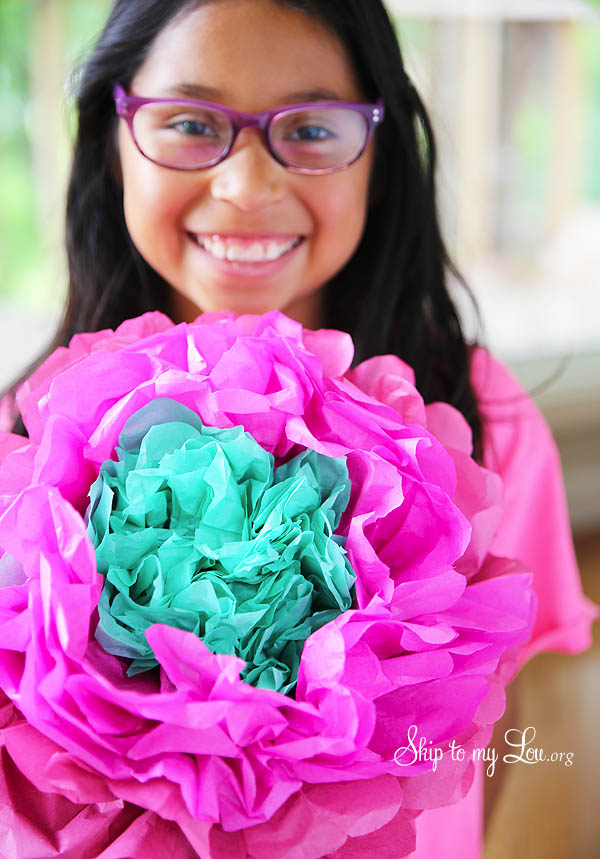
DIY Tissue Paper Flowers
- « Previous Page
- 1
- …
- 5
- 6
- 7
- 8
- 9
- …
- 12
- Next Page »


