

Hi there Idea Room readers! My name is Melissa Mortenson and I’m the girl behind the Polka Dot Chair Blog. Since 2008 I’ve been sharing fun craft, DIY, and sewing projects on my blog. I would love to have you stop by sometime! Today I’m excited to be sharing with you a tutorial for a Covered Button Necklace.

These little necklaces are so fun to make! You can customize them with so many different colors and fabrics. They are also a great summer craft project for kids! If you do have your kids help you with this one just know that this project does involve the use of a hot glue gun. So be sure to supervise smaller children well while they are crafting.

Are you ready to start?
You’re going to need:

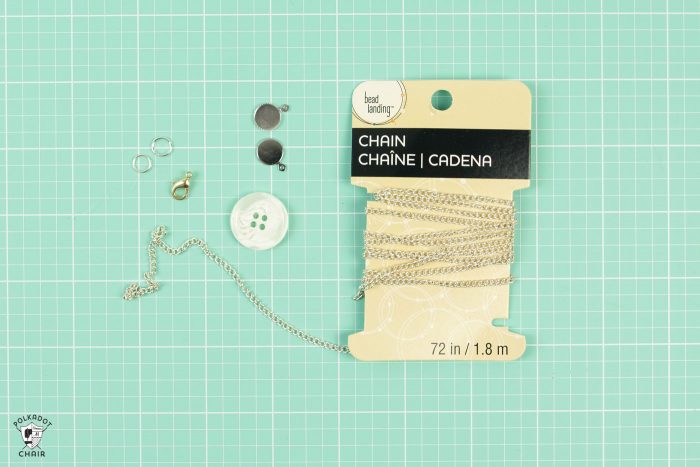
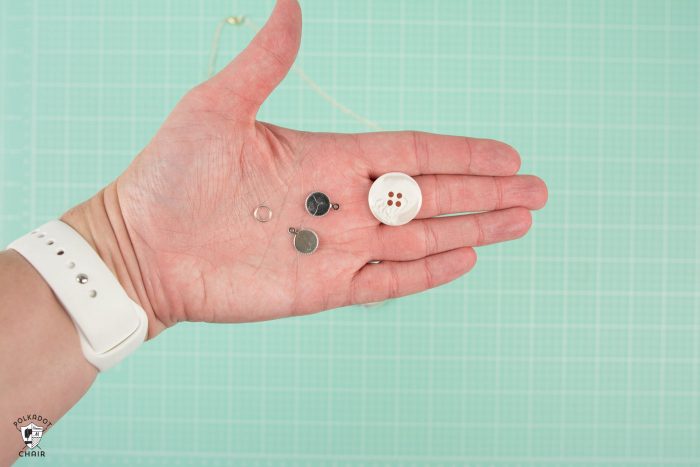
- Covered Buttons in 3 sizes. Mine are 1 1/2″, 1″ and 3/4″ in diameter – buy the buttons that come in a kit with the clear guide.
- Jewelry Bails
- Scraps of Fabric
- Jewelry Chain
- Plastic buttons that fit inside the covered buttons
- Lobster Clasp
- Jump Rings
- Jewelry Pliers
- Hot Glue Gun
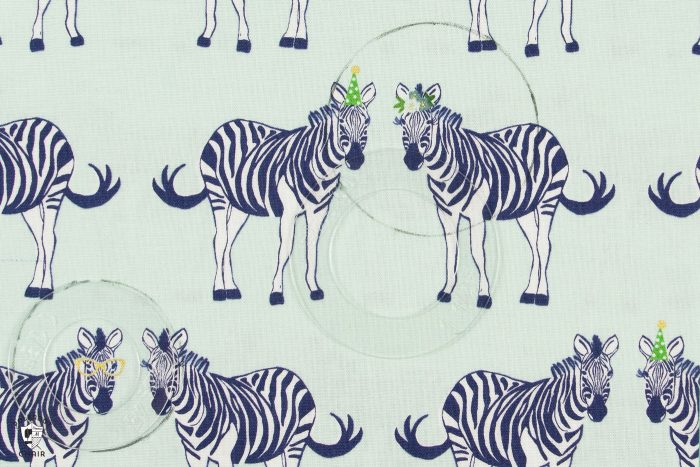
Begin by covering your buttons. Most covered button kits come with a plastic guide to help you when you are cutting out your fabric. Choose the part of the fabric that you’d like to highlight then trace the outside of the plastic guide. The inner circle is what will show when your button is finished.
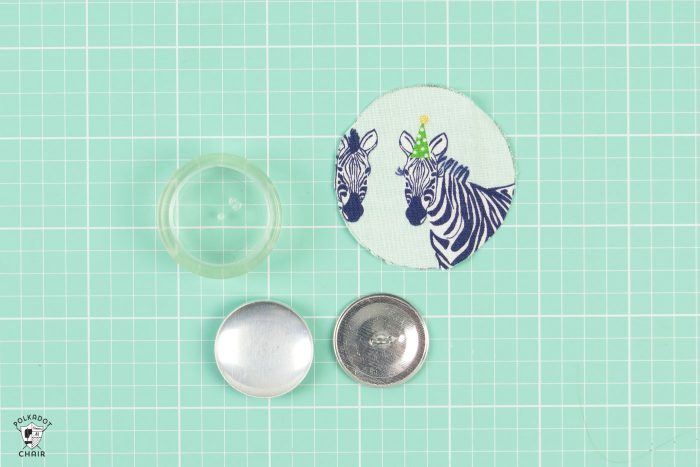
Cut out the circles of fabric. Wrap the fabric around the covered button outside and press it into the plastic guide that came with the button kit.
Make sure that your image is where you want it.
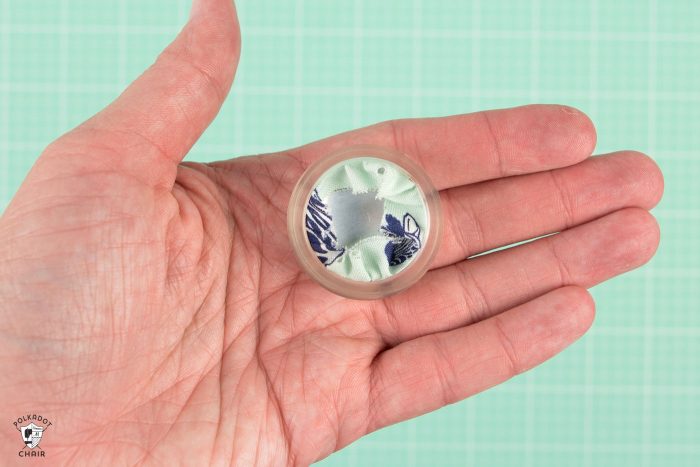
Gather the fabric on the back of the button so that it lays flat.
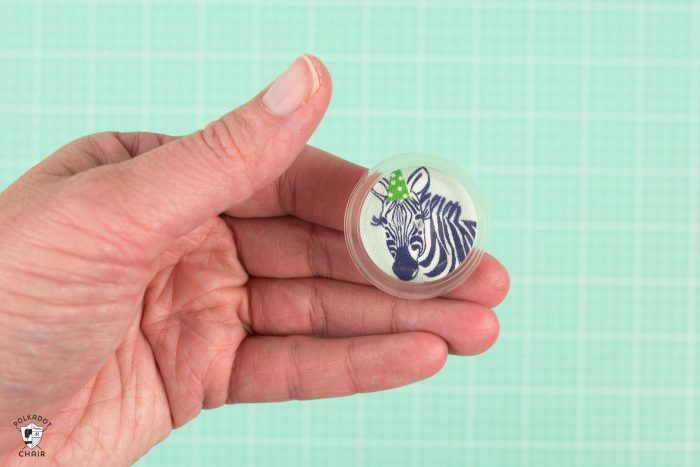
Press the back of the button on top of the gathered fabric and push down until the back clicks into place.

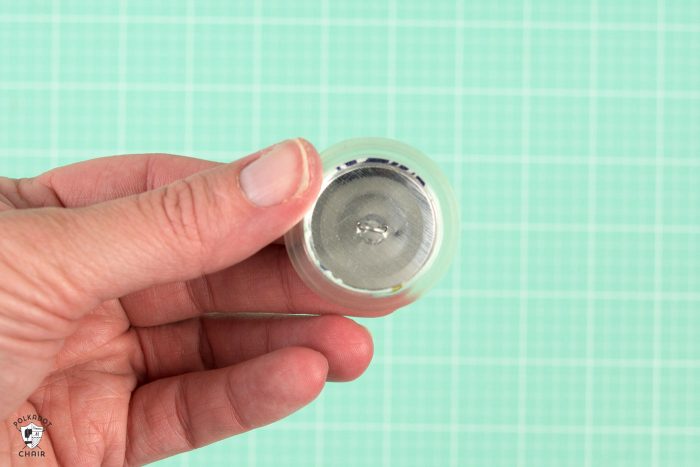
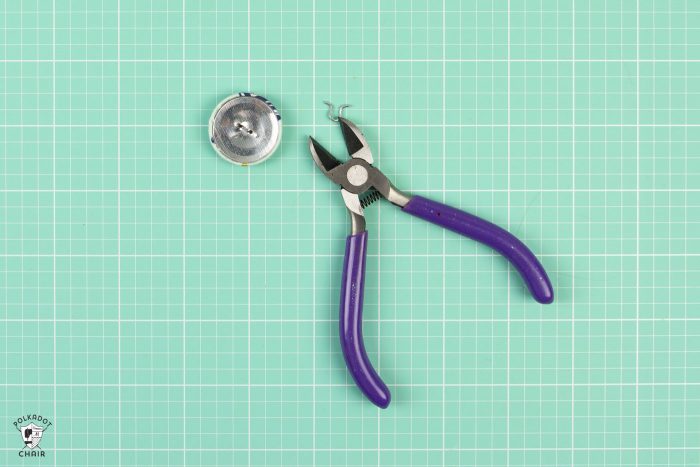
Remove it from the plastic guide. Then using jewelry pliers pull the button shank off of the back of the button.
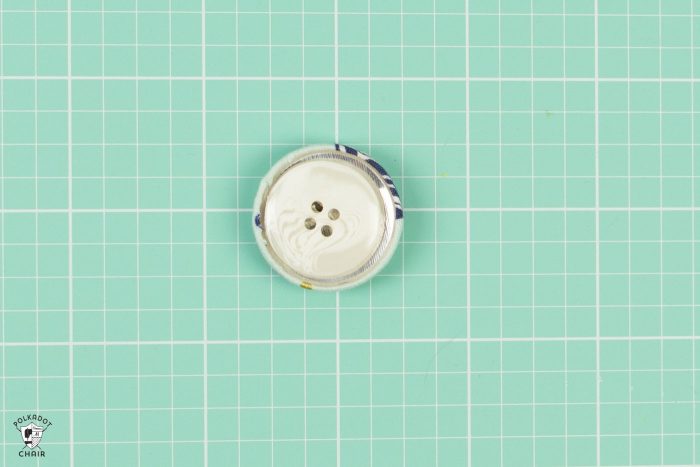
Hot glue a plastic button into the space on the back of the covered button. This will help give your necklace some weight and give you something to attach the jewelry bails to.
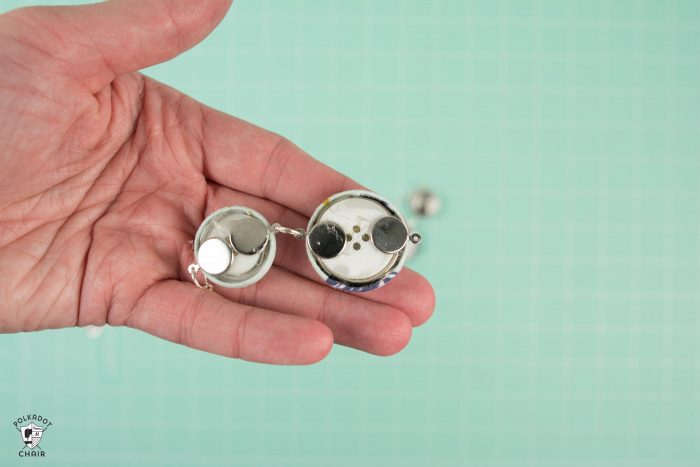
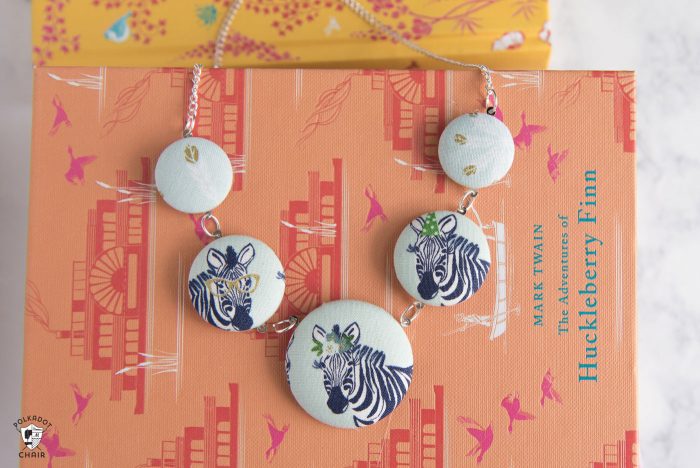
Attach the jewelry bails to the back of the buttons using hot glue. Make sure you lay out your necklace first so you know where to attach the bails. You don’t want an upside down zebra!

After you have attached the bails to the back of all of the buttons use jump rings to link the buttons together.
Next attach 2 pieces of chain to the necklace. One to each end. You will also use jump rings to do this. Lastly attach a jump ring to one end of the necklace chain and a lobster clasp to the other end.That’s it! You’re done!
You may be interested in making these Rose Ring and Rose Necklace too!

JOIN OUR NEWSLETTER
Would you like more Recipes, DIY, Printables and Organization Ideas?
Subscribing to the newsletter will enable us to periodically send you creative content exclusively for Idea Room subscribers.
*View our Privacy Policy here.


I love the covered button necklace. But, my local craft store does not have jewelry balls. And, I can’t find them online. Can you tell me how to get them?