
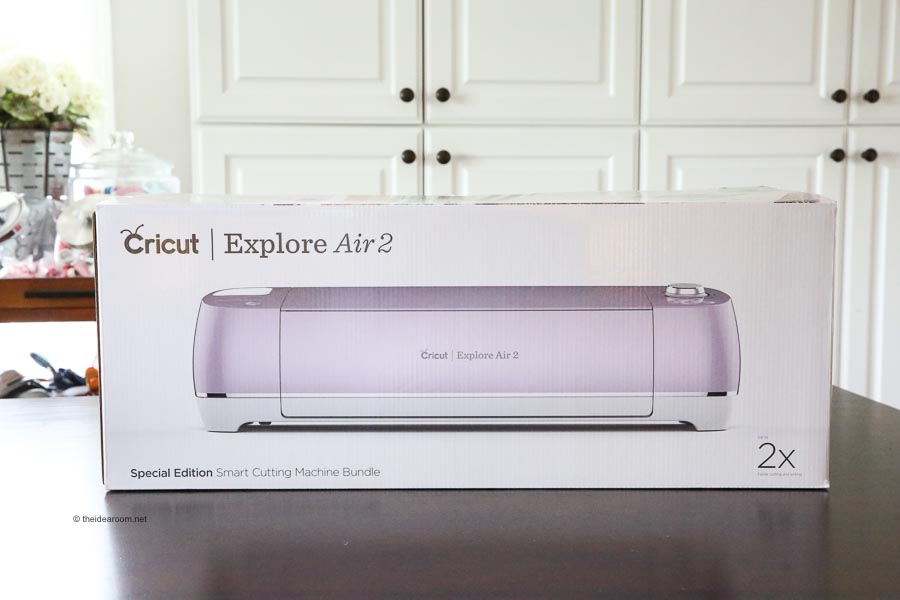
Today we are sharing the new Cricut Machine, the Cricut Explore Air II Special Edition Wisteria Bundle! Make this fun DIY Iron On Pillow with our easy to follow tutorial with some flashy holographic iron on material!
CRICUT MACHINE
You guys know how much I love using my Cricut Machine! I love how easy the Cricut Machines are to created fun and unique home decor, gifts and crafts for my friends and family! The ideas are endless and I feel like I am always thinking of new ways to use and create with their different machines!
CRICUT EXPLORE AIR II
Well, today I get to share with you a new Cricut Machine that is now available…the Cricut Explore Air II Special Edition Wisteria Machine! This machine is exclusively sold at your local JOANN stores or online.
WISTERIA EXPLORE AIR 2 MACHINE
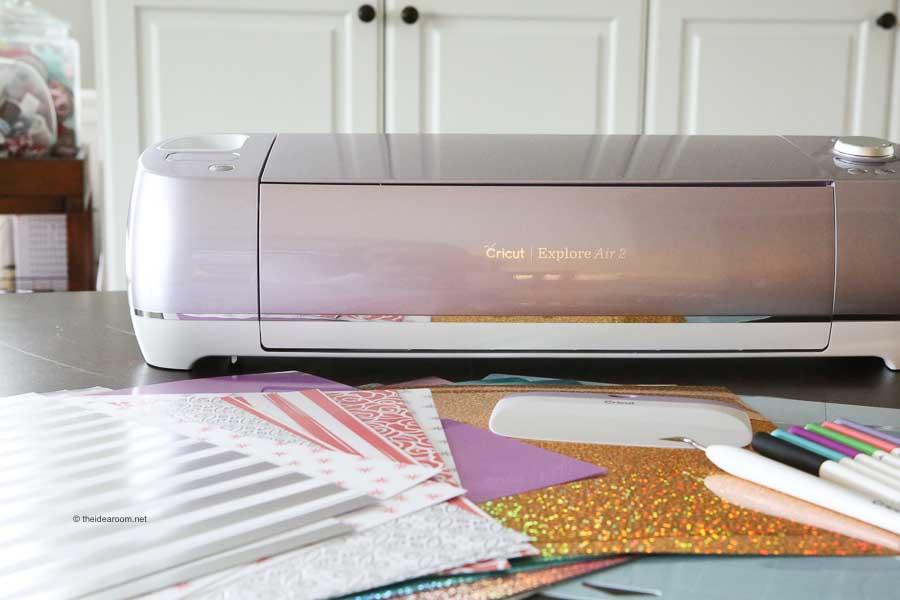
The Cricut Wisteria Explore Air 2 is the first of its kind with a beautiful purple metallic shimmer. It’s right in line with the Pantone Color of the year, Ultra Violet. Not only is it beautiful on the outside, it has some amazing features like the original Cricut Explore Air 2 machines.

The Wisteria Machine can cut, write and score in 1-step. It features an easy to use Smart Set Dial that has pre-defined settings to get you the best results on paper, vinyl, iron-on, cardstock, fabric, poster board, and more. There is no need to manually adjust the blade because the machine has smart settings to figure all that out for you! The Wisteria Explore Air 2 can cut up to 100+ materials ranging from cardstock and vinyl to foil and faux leather. The possibilities for creating are endless and only limited by your own imagination!
WISTERIA EXPLORE AIR 2 BUNDLE
The Wisteria Explore Air 2 Bundle comes with the following:
- Wisteria Explore Air 2
- Wisteria XL Scraper and Weeder
- Holographic Sparkle Vinyl
- Iron On in pink, teal, purple, gold and silver
- New Foil Embossed Paper in pink and silver (for all your paper crafts)
- SportFlex Iron-On

CRICUT IRON ON PROJECT
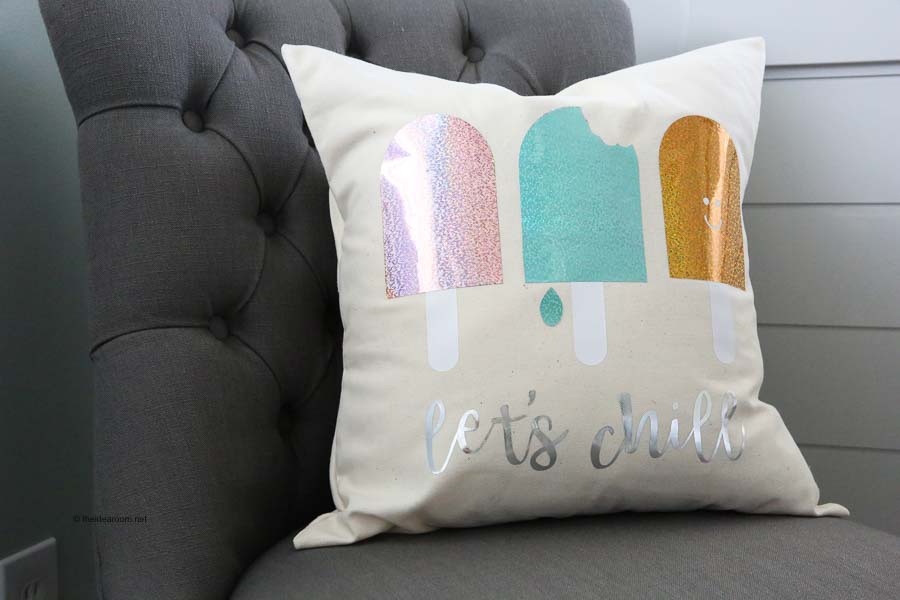
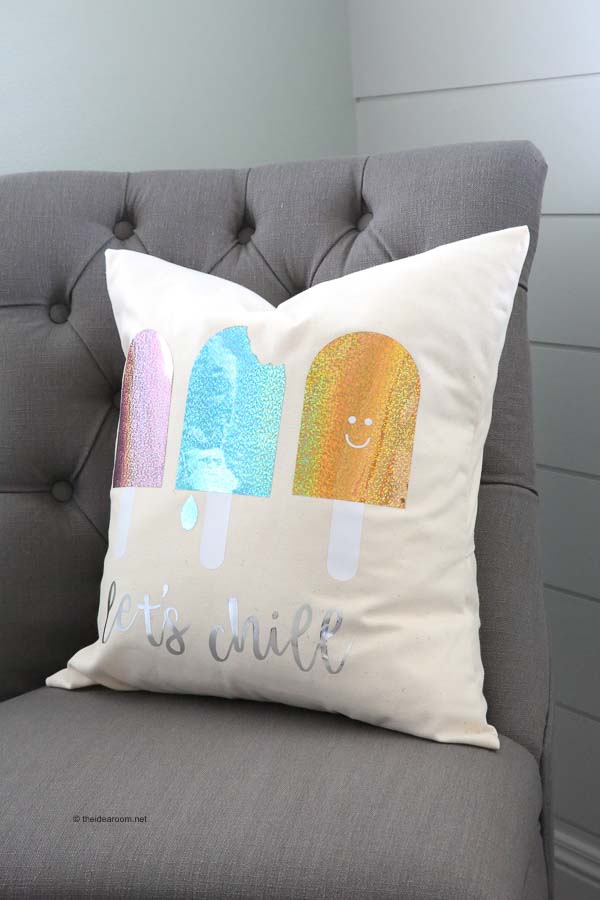
DIY IRON ON PILLOW
Want to make this DIY Popsicle Pillow? Simply use our easy to follow directions.
- Create a pillow cover using this DIY pillow cover tutorial (if needed) or use a pre-made pillow cover like this one from JOANN.
- Grab this fun popsicle pillow project I created for you to use in Cricut’s Design Space. You can find the project by clicking on this link: DIY Iron On Popsicle Pillow
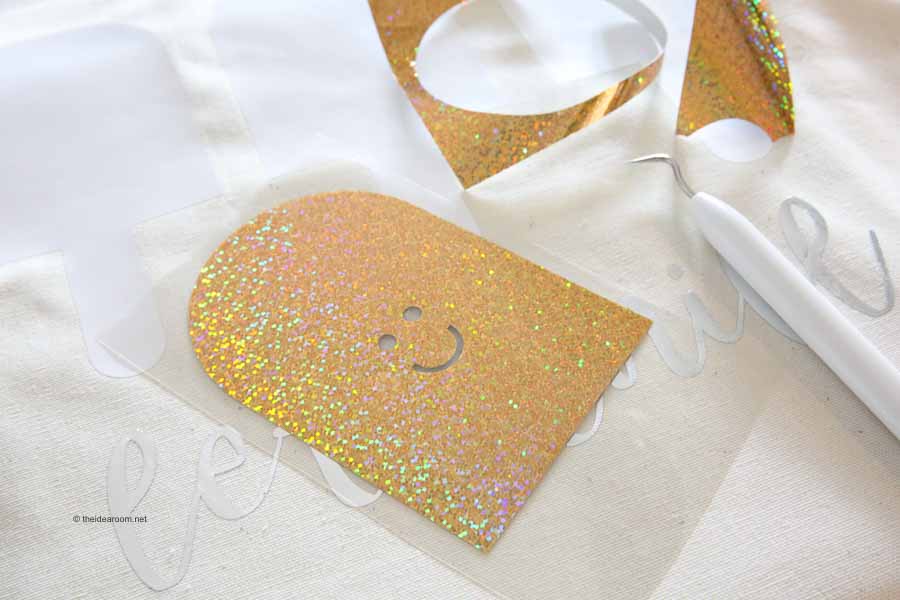
- Cut out your Iron On Vinyl. I used this fun and sparkly Holograph Iron On Material that comes in the Cricut Wisteria Machine Bundle! Isn’t it so pretty? I can think of so many fun projects to create with it!
- Be sure to set the machine to cut a kiss cut by choosing the Iron On option in Cricut Design Space. You will also need to check the mirror image option before cutting the Iron On so that the material will lay on the pillow facing the right direction.
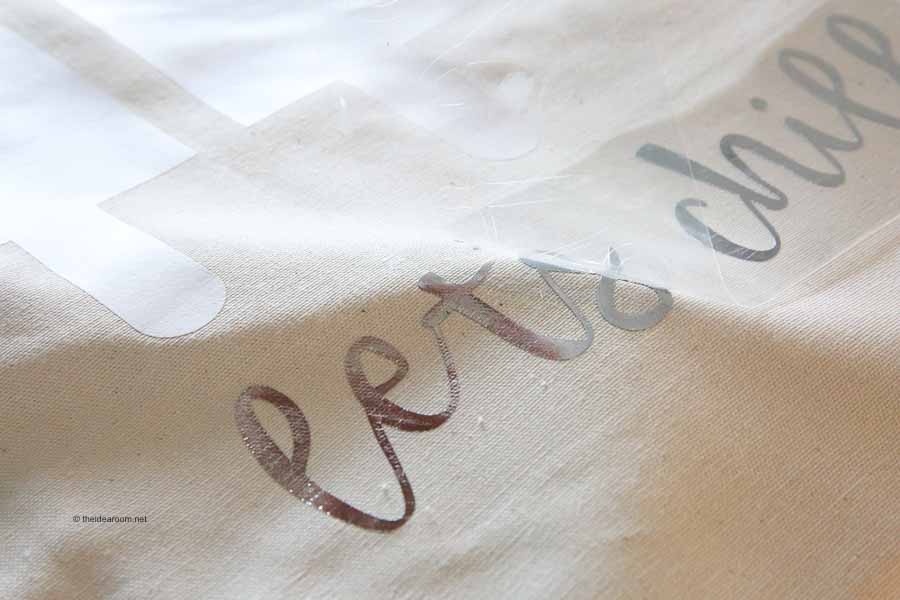
- I used three different Holographic Iron On Colors to create each popsicle in the pink, teal and gold colors. I also used some Silver Foil Iron On for the words. Cut them each out on separate cutting mats.

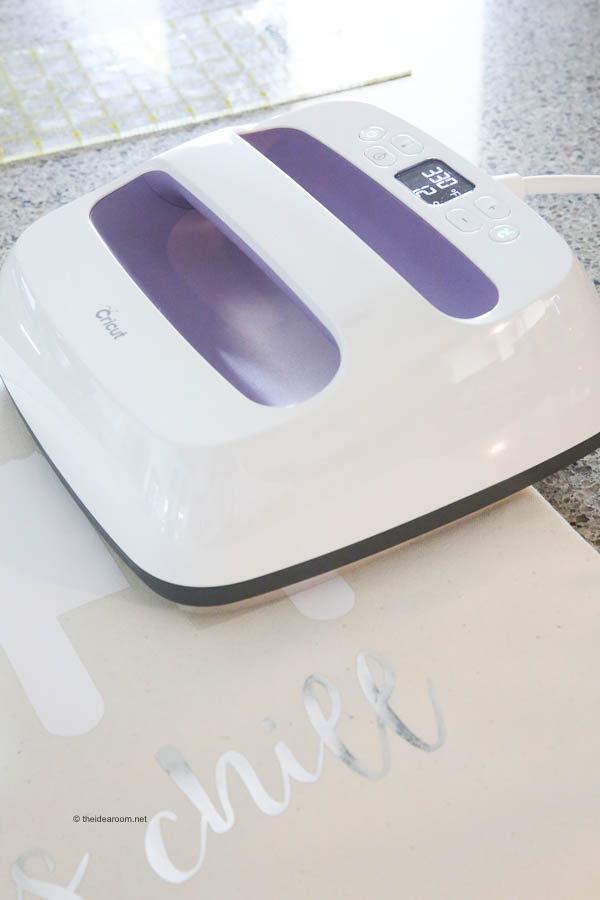
- Use your Cricut EasyPress to Iron on each piece according to the Cricut EasyPress Recommended Settings chart. According to that, you will need to heat the EasyPress to 330 degrees F.
- Then pre-press the front of the pillow where you are placing the design for 5 seconds.
- Add the Iron On to where you want it on the material you are attaching it to and hold it on the design for 30 seconds with a medium pressure.
- Flip the material over and press on the back of the material for 15 seconds.
- When you can touch the Iron On material and while it is still warm, warm peel the plastic backing carefully off of the iron on material.
- *Note: We didn’t pull out all the faces on the popsicles due to our own preferences. And we didn’t add all the popsicle drips. You can if you want. Or you can leave them and they will iron on just fine without noticing they aren’t pulled out!
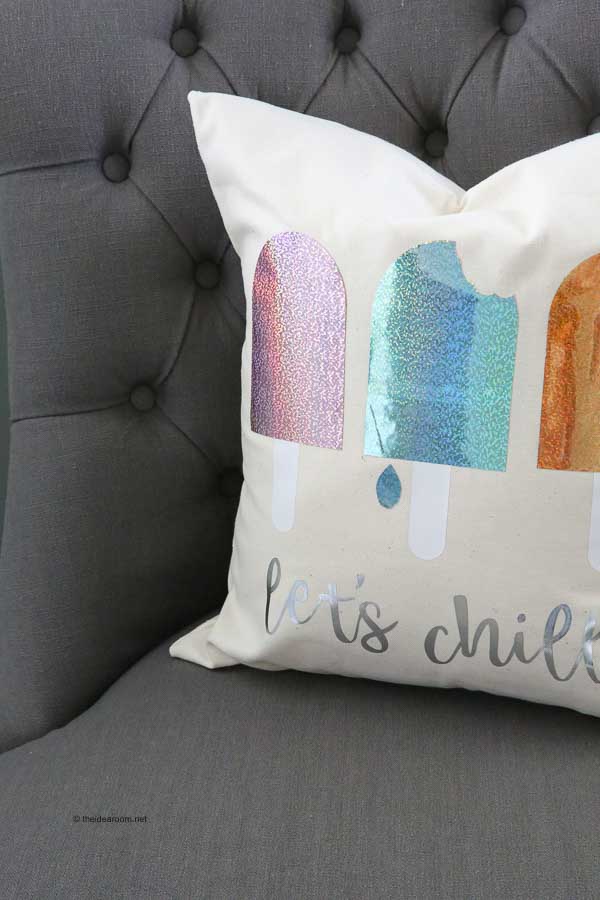
Look at how pretty and sparkly this pillow is! It is the perfect addition to a nursery, couch or girls room! I love the fun color it adds to this space…don’t you? The color is so much more bright and sparkly in person!! A fun pop of color in this girls bedroom!
This is a sponsored conversation written by me on behalf of Cricut. The opinions and text are all mine.
JOIN OUR NEWSLETTER
Would you like more Recipes, DIY, Printables and Organization Ideas?
Subscribing to the newsletter will enable us to periodically send you creative content exclusively for Idea Room subscribers.
*View our Privacy Policy here.


Leave a Reply