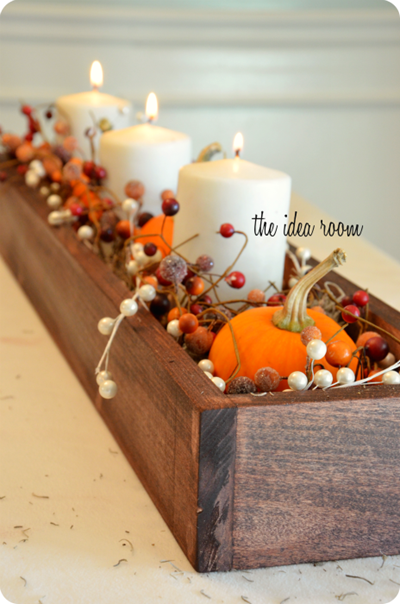
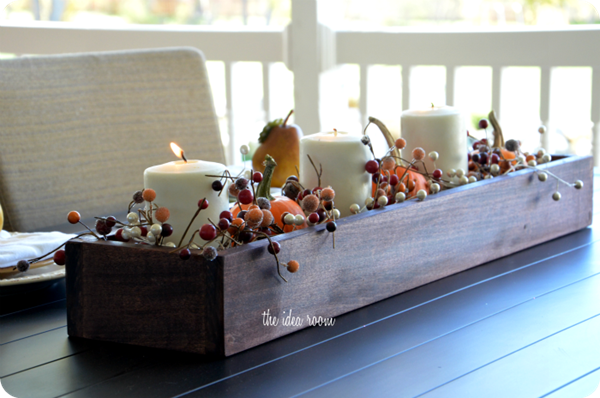
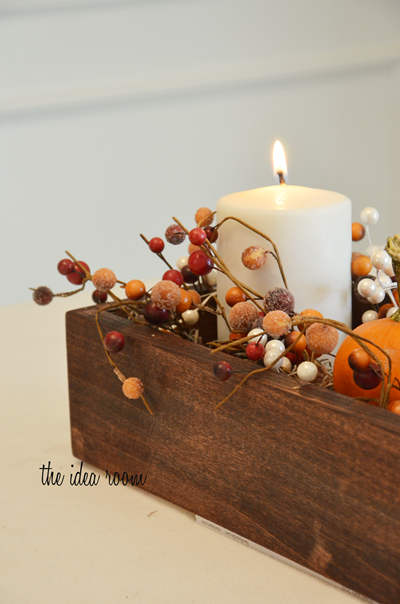
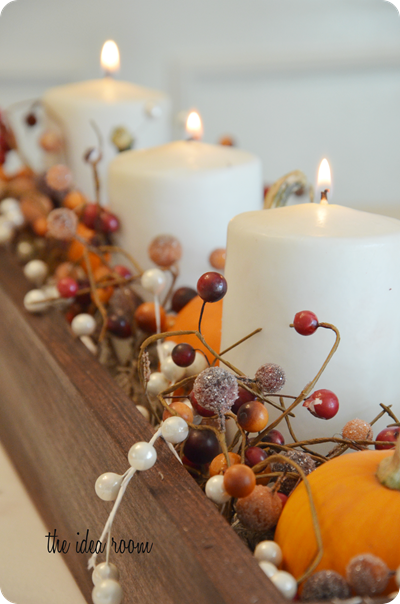
I shared with you earlier in the week this simple Thanksgiving Centerpiece I made for our Thanksgiving Table this year. Today I want to give you some simple instructions so you can make this DIY Wood Box. The great part about this is that it is a super easy project that can be whipped up in just a couple of hours. And if you have never built anything this DIY Wood Box is a perfect beginner project. You can do it…I promise!
Materials you will need:
Two 5.5 inch pieces of 1 x 4 poplar wood boards (ends)
Two 31.5 inch pieces of 1 x 4 poplar wood boards (sides)
*(we used poplar wood because it takes stain better than pine, if you are painting it, pine should be fine…but remember pine can tend to shrink and may split easier when putting nails into)
30 inches of 1 x 6 a pine wood boards (base)
hammer
nails
wood glue
wood putty
clamps
sand paper
stain or paint
Polyurethane
Directions:
The overall dimensions of our finished box is 31.5 inches long x 7 inches wide x 3.5 inches tall. Depending on your needs, you may want to adjust your measurements accordingly.
1. Cut your wood base 30 inches in length. We used a 1 x 6 pine board.
2. Cut TWO end pieces of a 1 x 4 poplar wood board. We cut them so that they were 5.5 inches to match the actual width of the pine board.
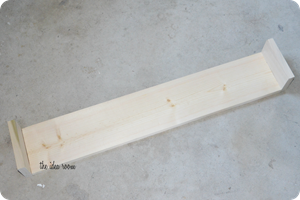
3. Attach the end pieces to the ends of the base. Be sure that they sit evenly with the base. Add some wood glue and then throw a couple of nails on each end of the 5.5 inch pieces. Let glue dry according to your glue’s drying time.
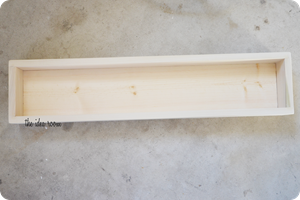
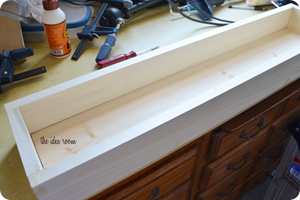
4. Cut TWO side pieces of a 1 x 4 poplar wood board so that they measure 31.5 inches (which should fit flush with the ends of the box). Attach to the sides of the base and the end pieces with some glue first and then some nails to secure the hold. Use clamps if needed and allow your glue to dry.
5. Fill nail holes with wood putty and let it dry. Sand down any excess wood putty and your box to smooth out any rough edges or spots.
6. Wipe your box down with a damp cloth to remove all dust.
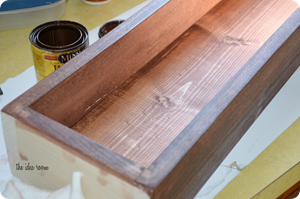
6. Now you are ready to paint or stain your box. I decided to stain mine a darker color to go with my dark wood floors. I used a Minwax stain called Red Mahogany. I used a couple of coats to get the color I wanted. Then I added a couple of coats of a satin finish Polyurethane.
These boxes are great because it can be used for so many other projects or home décor items. You can also build one to fit perfectly in your own space by adjusting the measurements of the wood you use and cut.
As always, I would love to see if any of you end up making one for your home! Wouldn’t these also make a great Hostess or Christmas gift? And if you have any wood scraps lying around like we did, this is a VERY inexpensive project!
JOIN OUR NEWSLETTER
Would you like more Recipes, DIY, Printables and Organization Ideas?
Subscribing to the newsletter will enable us to periodically send you creative content exclusively for Idea Room subscribers.
*View our Privacy Policy here.




Thank you for posting your directions. I’m going to make a few for Christmas gifts! I appreciate and love your blog!
Love this cute idea! Thanks for posting the tutorial. Pinned it!
Thanks for the tutorial! I’m so glad you didn’t say I needed a nail gun because I have yet to convince my husband that I really need one! The miter/chop saw is mine though, so I did a good job of convincing him I needed that one :)
Thanks for this tutorial. I have ideas floating in my head on how I can use the same box for various holidays.
This is a neat project, I hope I can tackle it next week. I like that you don’t have to have a miter box for the corners– the flat corners look just as nice as the mitered ones and appear to be something I could manage. Thanks!
Thanks for sharing the how-to! I’ve been wanting to make a similar box for my table for months! After I finish my mirror project…I may have to tackle one of these :)
Ashley
http://www.simplydesigning.blogspot.com
Love this, Pinned this! TFS :)
I absolutely love this idea and look, but too much of a fire hazard for me.
Right! You could opt for flameless candles or just not light them!
I made my first one using your exact directions but thought that the sides of the box were too high to see the items I put in it so I made another with a 1×3 board for the sides and I really like it. It made a beautiful centerpiece for Thanksgiving and now it looks great with pinecones, evergreens and berries for Christmas!
What color stain did you use, very nice piece
I used Minwax’s Red Mahagony Stain!
Love your website! My husband made me one of these boxes this weekend. Can’t wait to decorate it!! Where did you get your pearl garland and berry garland??
Julie
Do you have to have a wood saw or will they cut it for you where you buy the wood?
We cut the wood with our saw. If you ask nicely, sometimes they will cut the wood for you at the big hardware stores.
If you have recommendations on the “small” ingredients– is that small pieces or garland like material? Thanks!
— sorry. “Do” you have recommendations?
Love it! My husband made me one with left over oak that he had and it is beautiful on the table! Thank you.
Oh yay! I am so glad to hear that and hear that you are loving it! Thanks for sharing that with me! xo
What am I doing wrong here but 5 1/2 inches for the side is way to long?
I was enjoying reading the article, but then your stupid popups started “please sign up for the mailiing list…” blah blah blah.
You know people HATE popups, right?
These are some really good information about building a wooden box. It would be nice to have wood boxes for storage uses. However, I don’t think I have the skill to build a box myself. Do you know if you could order some from other places?
I am sure you could find some online or your local home depot may have something similar.
You do know that glue doesn’t really hold on the end grain of a wooden board, do you? In this case, the nails will hold it, but for anyone trying this for a serious wooden box: don’t try gluing wood on the end grain, it won’t hold.
(Sorry for my English)
Thanks for the suggestion.
I just had to leave a comment on this. This is exactly what I was looking for! Thank you for posting such detailed instructions and measurements this looks to be the perfect size I was looking for! I will be making this soon and will post how it turned out as this is my first time!
Erin, I would love to see pictures of the finished product!
Thank you so much for the tutorial! I love it! And I made it. I’m so happy with how it turned out :)
I wanted to post a picture so you could see it I can’t figure out how to do that.
Camaron- I would love to see a picture. Maybe send it to me through email or on facebook message. I am so happy that you made one!