
Looking for some simple Halloween Decor? Today I am sharing with you this fun and simple Halloween Spider Sign. I LOVE simple and clean holiday decor. I also like to change things up and move things around every year. So its fun to add some new pieces to my decor each year and rearrange it. Weird? Probably…but oh well!

I made this sign with my Cricut Explore Machine. I used the Print Then Cut feature, which makes it so easy to complete a project! This sign is as simple as they come and is from one of my favorite Nursery Rhymes when I was a kid. Want to make one too? Simply follow the directions below!
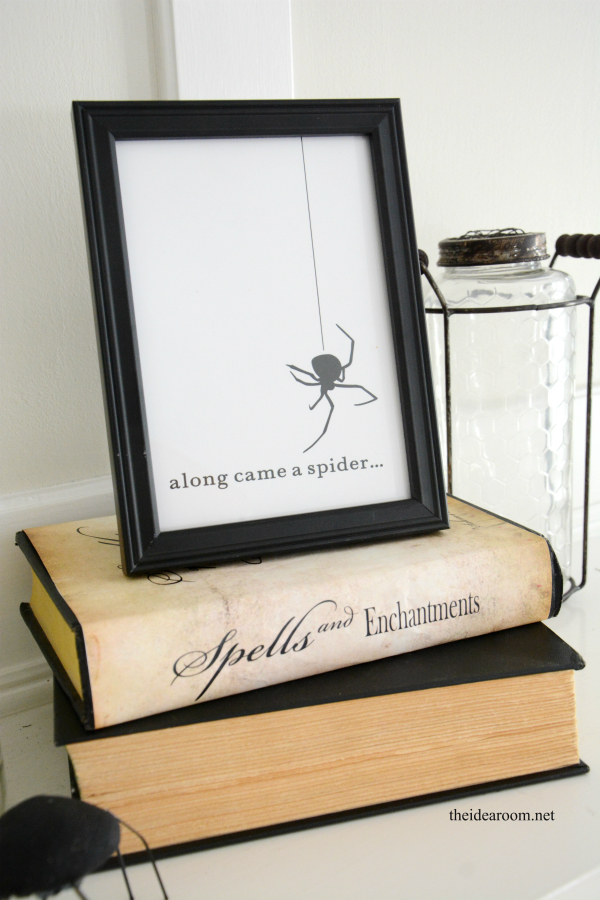
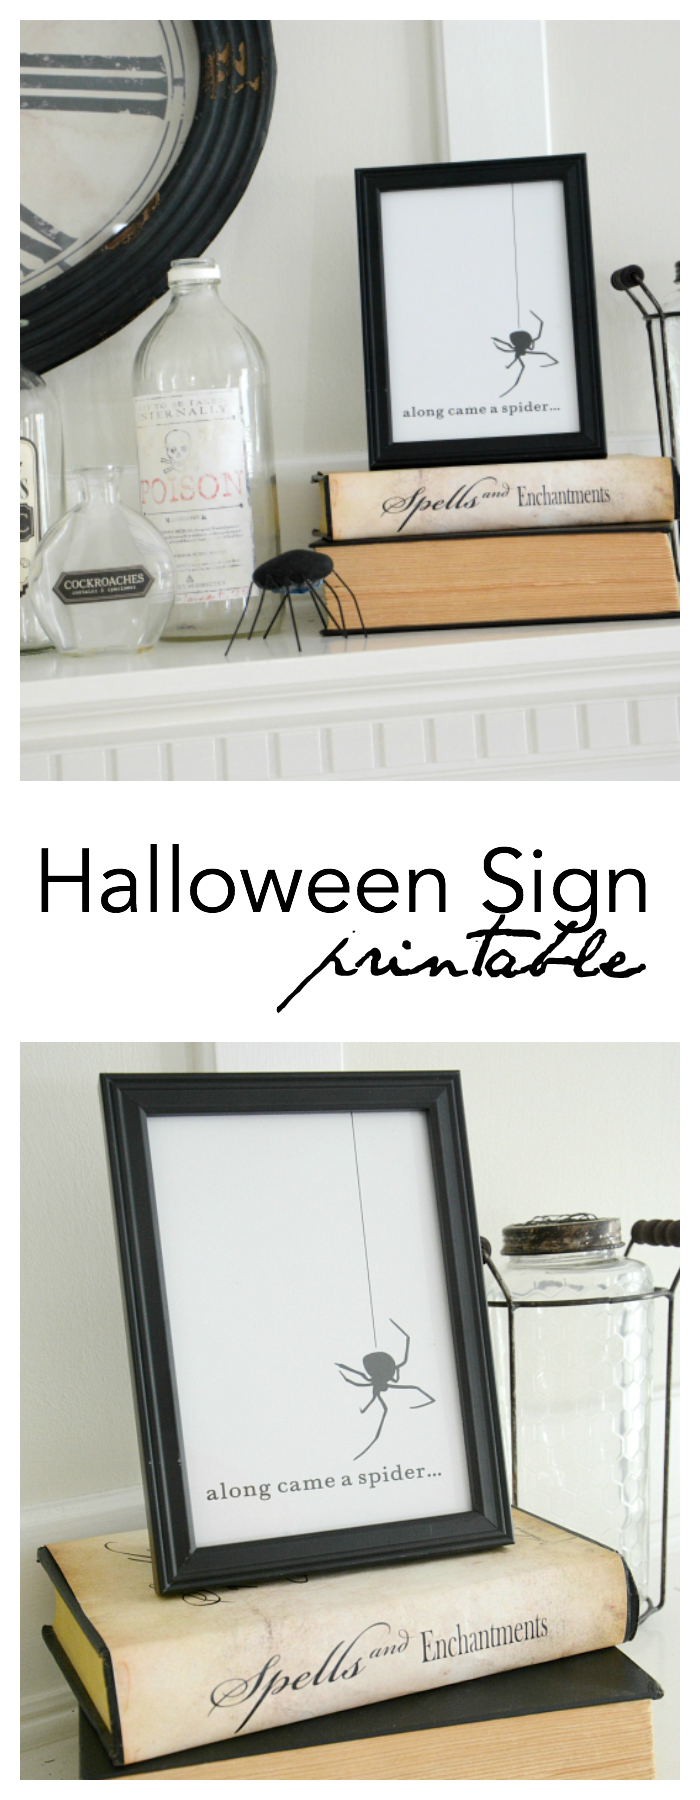
Halloween Spider Sign
Easy/Beginner
15 minute project
Materials needed:
Cricut Explore machine or Cricut Explore Air machine
5×7 picture frame
Project Directions:
1. Click on the Make It Now button below.
2. Pull project up in your Cricut Design Space.
3. Load 1 sheet of white card stock into your printer.
4. Select “GO”.
5. Print out the Halloween Spider Sign.
6. Load the printed paper onto a light grip Cricut Mat.
7. Cut the sign. Then remove from the mat.
8. Place the sign in your frame and display it as part of your Halloween Decor.
![]()
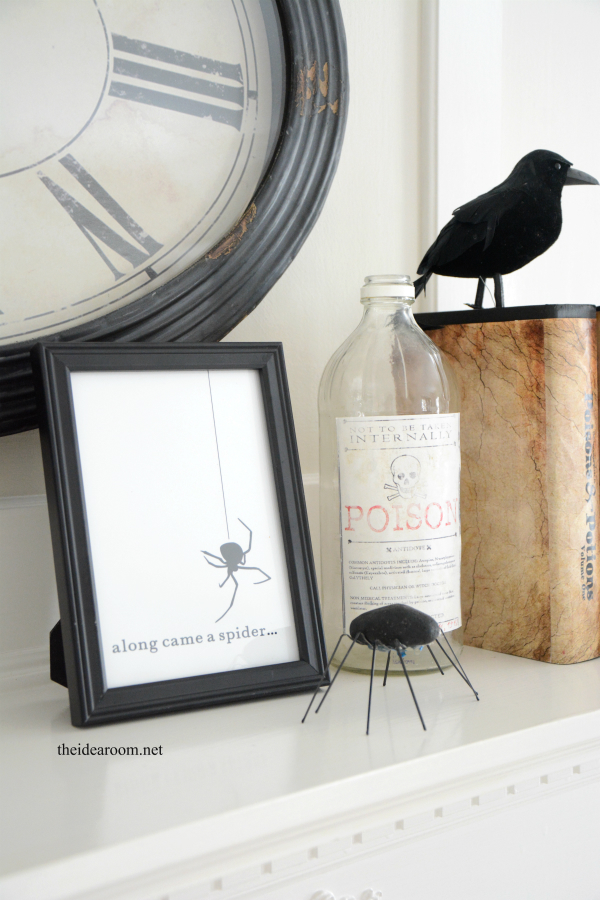
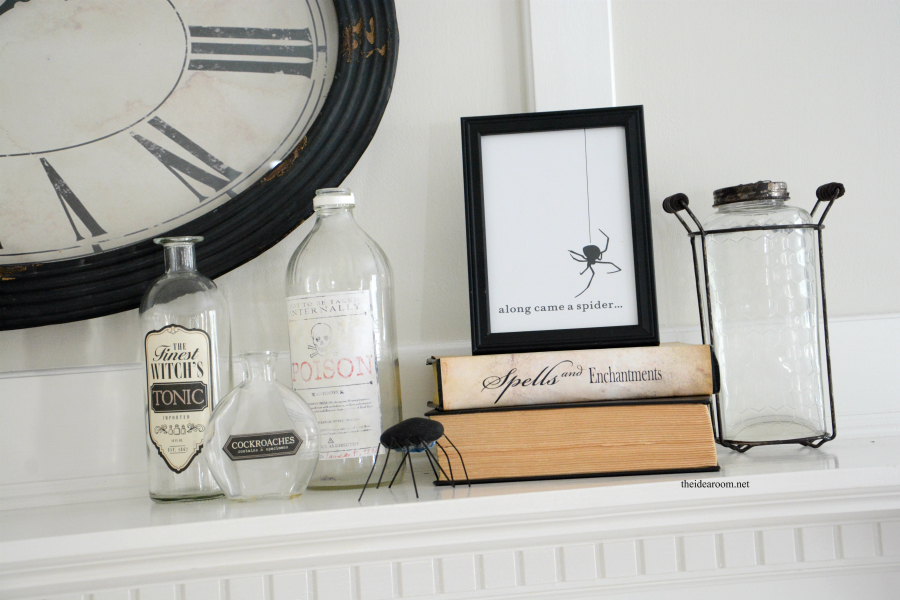
I made the spider pictured below by simply painting a flat round rock black. Then I took some black Bobby Pins and bent them so that they look like spider legs. Then I hot glued them to the bottom of the rock. Simply bend the legs so that they look like a spider. So easy!
Want to download the Spells and Enchantments AND Poisons and Potions Book Covers I created and shared with you last Halloween? Simply click on the links below.
Halloween Poisons & Potions Book Cover Printable
Spells and Enchantments Book Covers Printable
JOIN OUR NEWSLETTER
Would you like more Recipes, DIY, Printables and Organization Ideas?
Subscribing to the newsletter will enable us to periodically send you creative content exclusively for Idea Room subscribers.
*View our Privacy Policy here.


Where did you get your clock?
It is from Lowe’s :)