
This is a sponsored conversation written by me on behalf of Cricut. The opinions and text are all mine.
Today we are sharing a simple tutorial to teach you how to layer vinyl with your Cricut machine and Cricut Easy Press. Layering vinyl is so easy and a fun way to make some creative items you are going to love.
NEW CRICUT PRODUCT LINES
The new Cricut Explore Air 2 Wild Rose machine was just released. It is found exclusively at JOANN stores.
Throughout the coming year, Cricut will be launching 3 exclusive product lines from some talented and amazing creators and designers. Each of them will be sharing their own unique and #fearless stories and styles. All of them will be launching exclusively from Cricut and sold in JOANN stores. Three incredible ladies with amazing #fearless stories and unique designer styles will be part of new exclusive designer series launching at JOANN stores nationwide.JOANN.
Be on the lookout to connect with them throughout the year teaching you how to craft with new projects, see them in store events, on design space with inspirational projects free for everyone. The first designer I want to introduce you to is Natalie Malan.
NATALIE MALAN
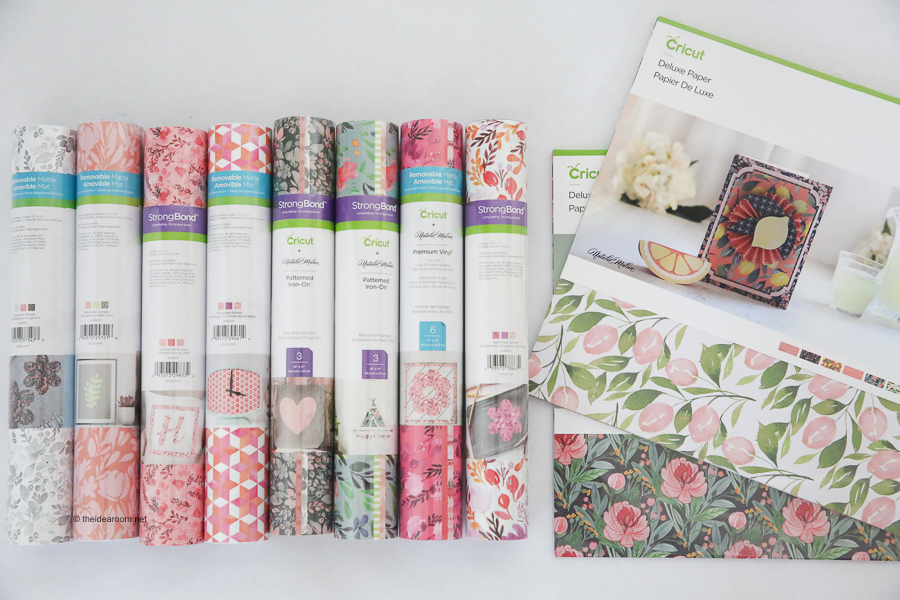
I want to share with you a new collection of designs and materials from Natalie Malan. Natalie sees the world in watercolor…. She dreams in watercolors and florals and is inspired by the art all around her. Her designs are meant for you to take risks and to bravely be boss of your own art. New exclusive vinyl, iron-on and paper have launched in her unique style. She has 6 inspirational projects in Design Space that you can create right now.
HOW TO LAYER VINYL CRICUT
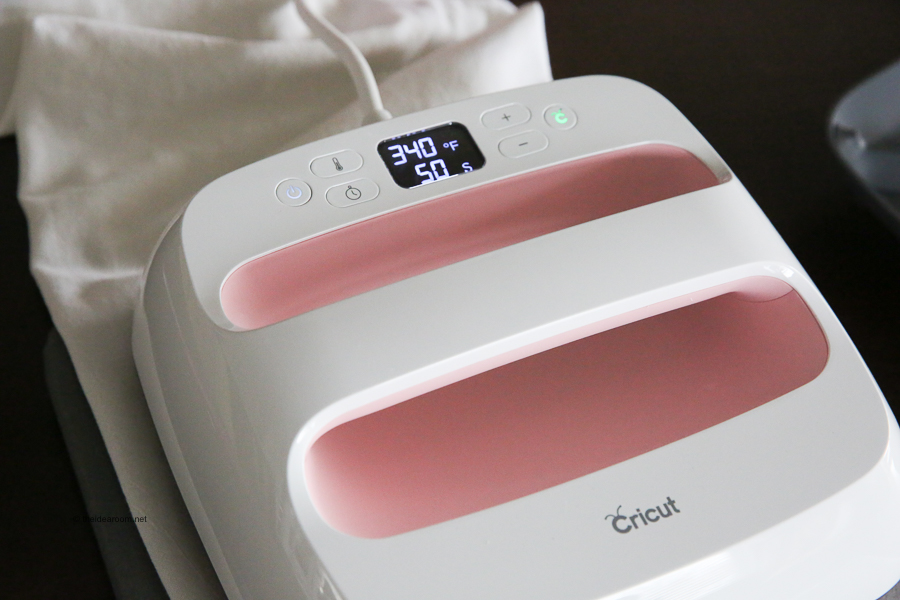
- First thing first, set the temperature and timer recommended for your base material. Use this Interactive Quick Reference Guide to find the right settings.
- Subsequently, preheat your base material with Cricut EasyPress for the recommended time in the Reference Guide.
- Place the bottom layer of your image on to the base material, then cover with Cricut EasyPress and apply firm pressure for 1-3 seconds. Firm pressure means using two hands and substantial body weight. It’s best to use a table at waist height for ease in applying firm pressure.
- At this time, place Cricut EasyPress in its Safety Base.
- Remove the liner from the applied layer when it has cooled enough to be warm to the touch. Its called a warm peel. The Adhesive will not be completely “set” at this time. As you apply more heat with each additional layer, the adhesive for all layers will properly set.
- Following, repeat steps 5 and 6 for all the remaining layering vinyl layers except for the top layer.
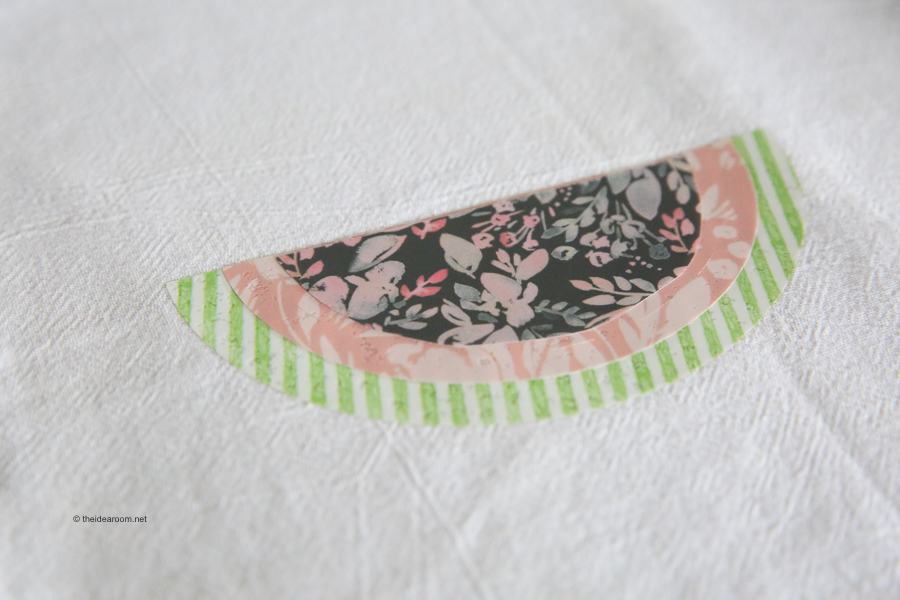
- Before applying heat to each new layer, be sure that the exposed iron-on film from each previous layer is completely covered by a liner or other protective barrier to shield it from direct contact with the heat plate. “Exposed iron-on film” refers to the iron-on areas that will not be covered by the new layer of iron-on film.
- When adding the top layer of your image, apply firm pressure with the Cricut EasyPress for 15 seconds.
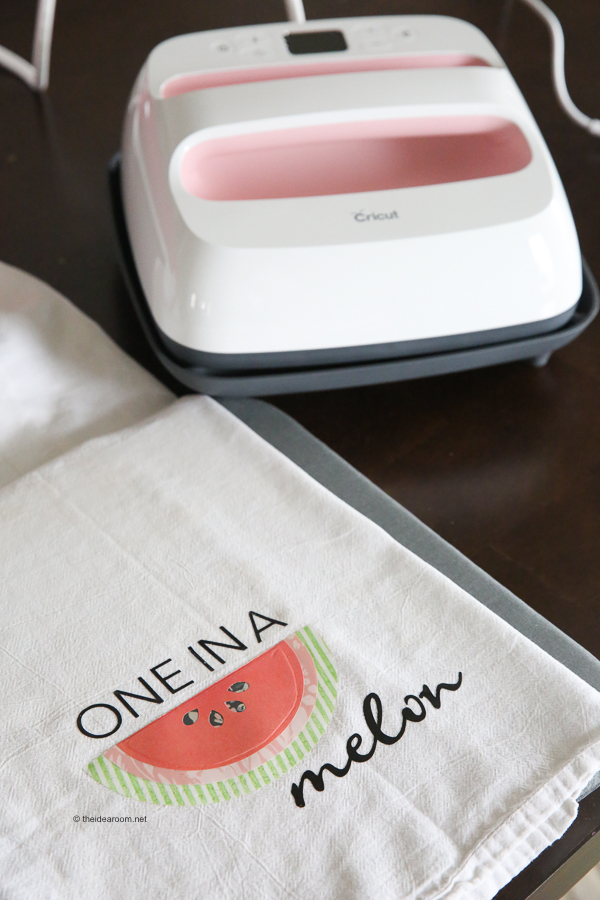
- Lastly, Flip your base material over and apply heat and firm pressure for 10-15 seconds.
LAYERING VINYL CRICUT SUPPLIES
- Cricut Maker or Cricut Explore Air 2 Wild Rose
- EasyPress
- Cricut EasyPress Mat Iron On
- Cricut Tools
- Natalie Malan products
LAYERING VINYL
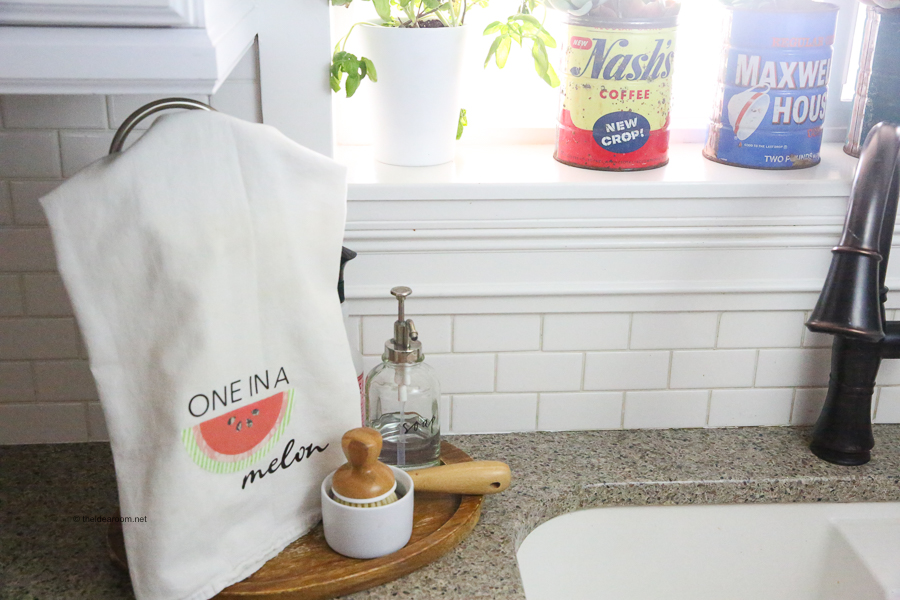
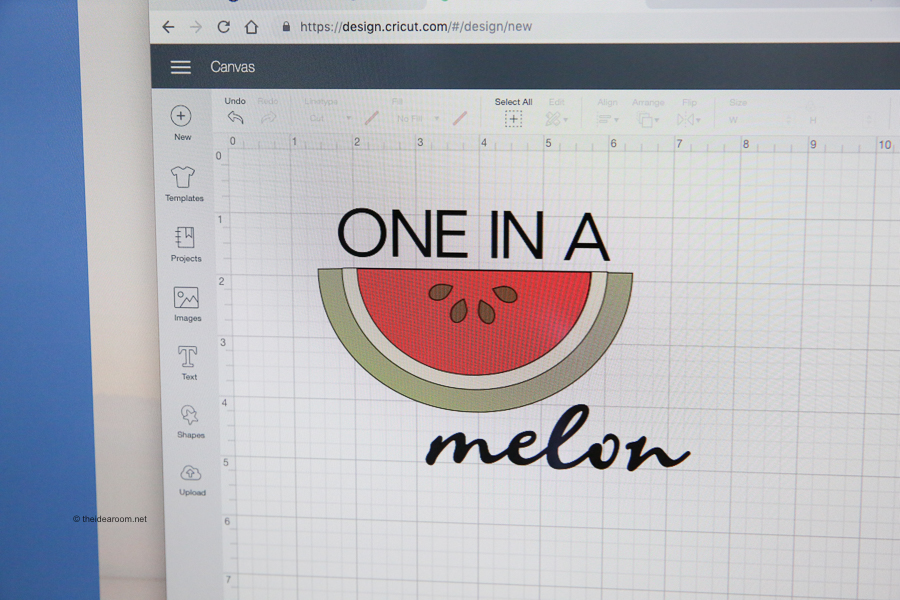
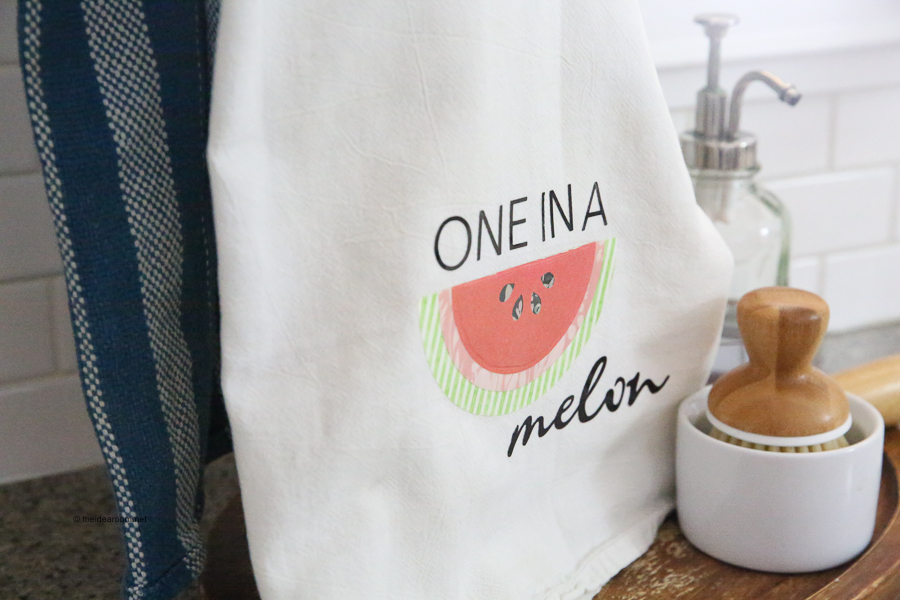
Want to make this layering vinyl DIY Kitchen Hand Towel? Simply, click on the button below to access my project in Cricut Design Space.

JOIN OUR NEWSLETTER
Would you like more Recipes, DIY, Printables and Organization Ideas?
Subscribing to the newsletter will enable us to periodically send you creative content exclusively for Idea Room subscribers.
*View our Privacy Policy here.


This is SUCH a fun project- I love it! I need to get my Cricut out.
Becca- Thank you!
This is the cutest print!! Thanks for sharing this!! It is so helpful!
Kristyn- Thank you!
Oh my gosh, this is so cute! It would be fun on an apron as well!
Kara- an apron would be darling! Great idea!