

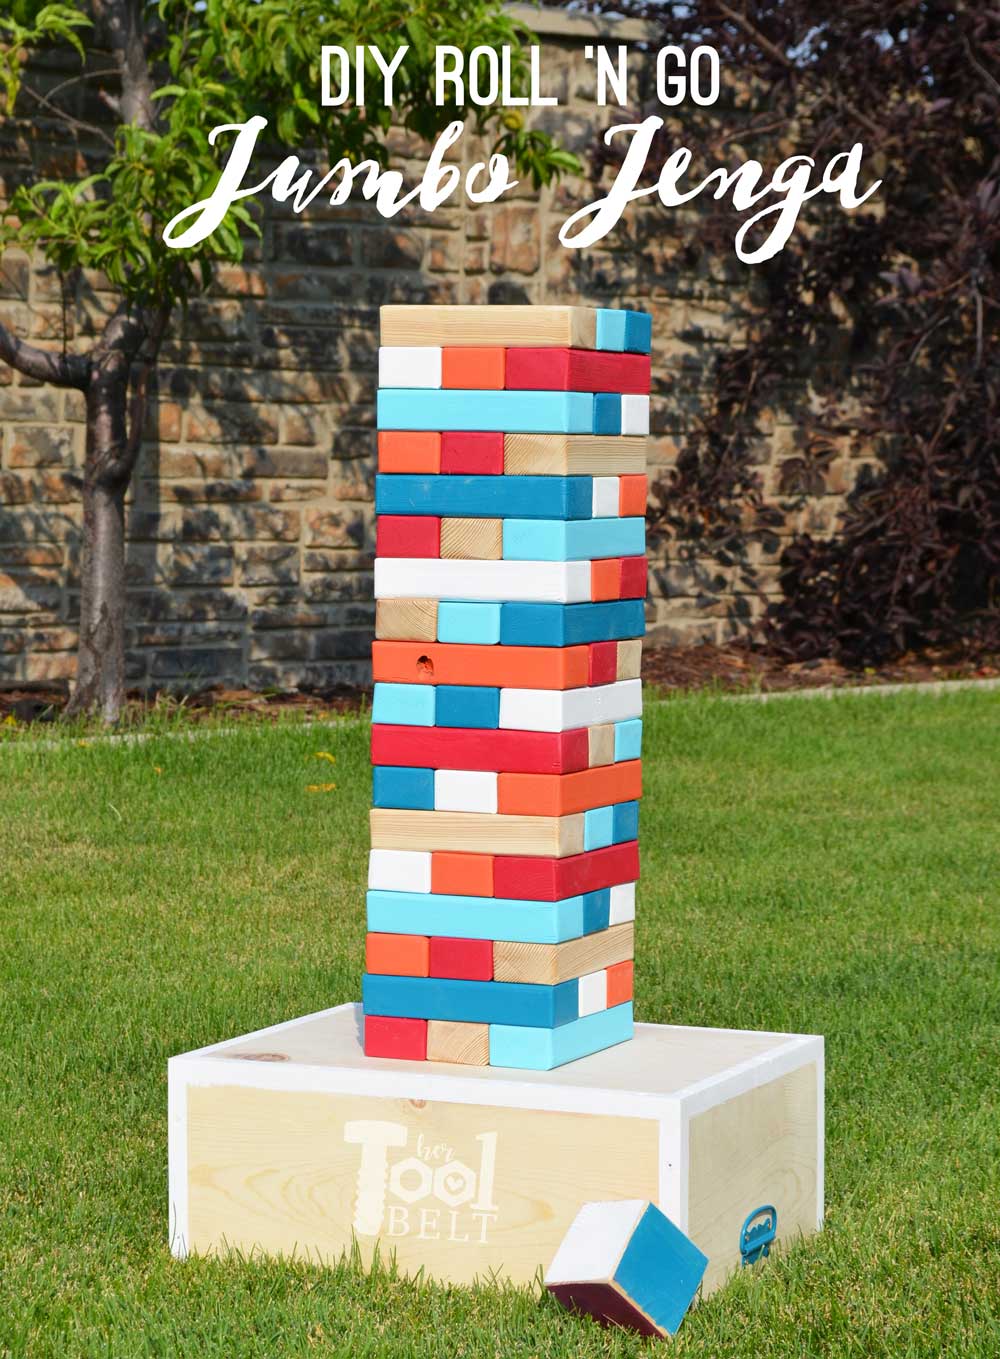
Hi, I’m Amy and I love to build things and share plans at Hertoolbelt! My kids love to play the traditional Jenga. I thought it would be fun to make a giant sized version for the yard with a ‘throw ‘n go’ option (I’m calling it Roll ‘n Go). The roll ‘n go version puts a fun twist on the game, and I kept it simple for my young kids. Each side of the dice (die) is a different color and there is a corresponding set of blocks in each color. They will roll and whatever color it lands on, they have to move a block of that color. You can totally play the traditional way too.
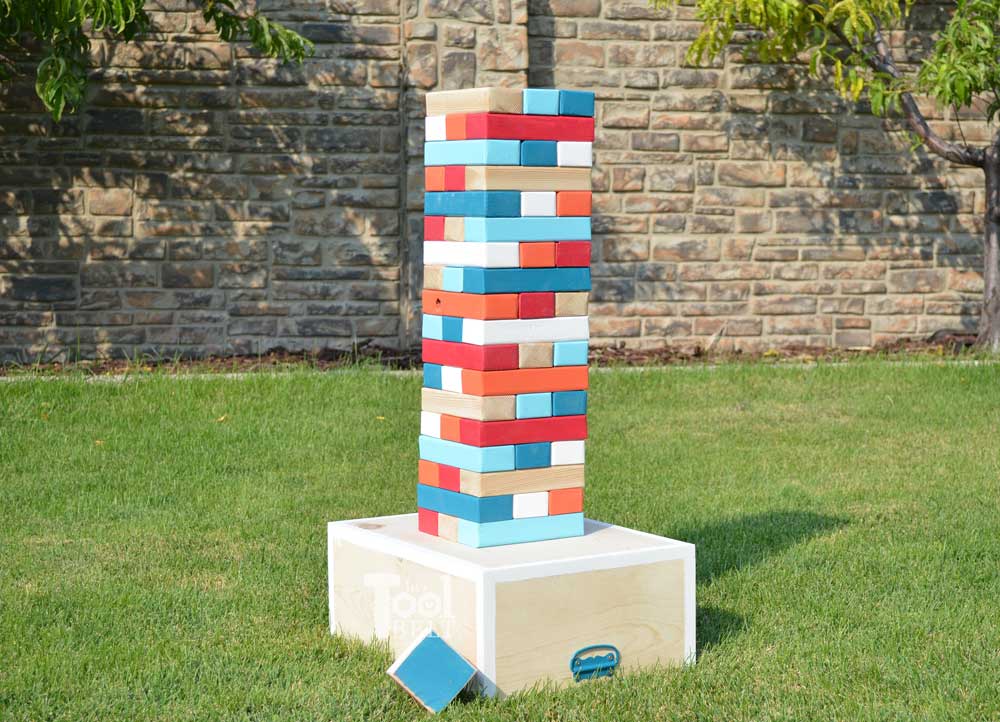
The traditional Jenga pieces are 1.5 cm thick, 2.5 cm wide and 7.5 cm long, making the jumbo jenga pieces couldn’t be simpler using 2×3 boards. A ‘2×3’ board that you buy is actually 1.5 inches thick, 2.5 inches wide and we can cut them 7.5 inches long…perfect!
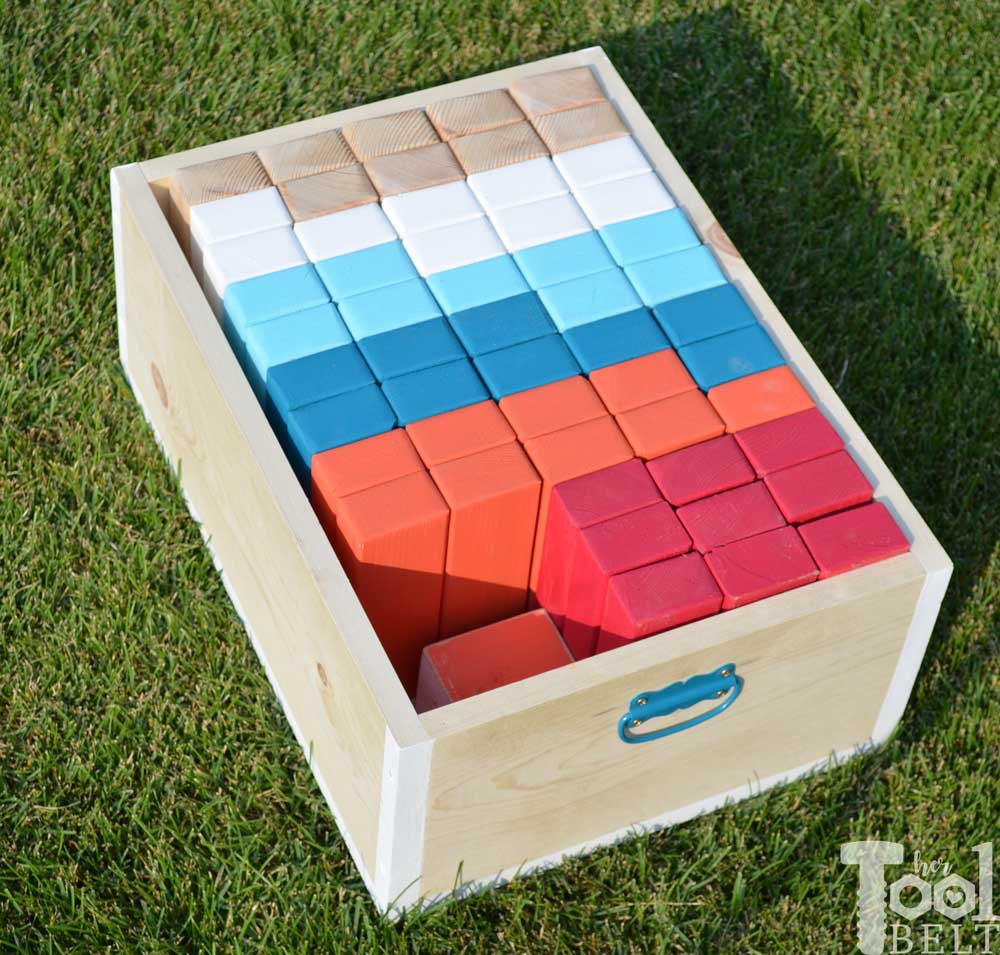
I also made a carrying crate that doubles as the Jumbo Jenga stand, it has enough room for the 54 jumbo jenga pieces and dice. This is totally optional to make.
How to Make a DIY Jumbo Jenga Yard Game
Materials
- 5 – 2″ x 3″ x 8′ boards (actually measure 1 1/2″ x 2 1/2″ x 8′)
- 1 – 1″ x 8″ x 10′ board – optional carrying crate (actually measure 3/4″ x 7 1/4″ x 10′)
- scrap piece of 4″ x 4″ post – optional dice (actually measure 3 1/2″ x 3 1/2″)
- sandpaper
- 26 – 1 1/4″ wood screws – optional for carrying crate
- wood glue – optional for carrying crate
- 2 – drawer handles – optional for carrying crate
- paint/stain – optional
- paint brush – optional
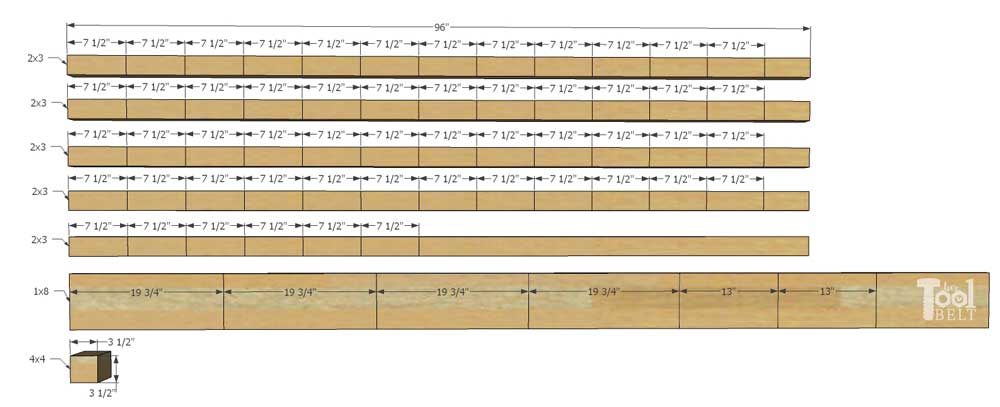
Cut List
- 54 – 1 1/2″ x 2 1/2″ x 7 1/2″ jenga block pieces cut from the 2×3 boards
- Optional carrying crate
- 4 – 3/4″ x 7 1/4″ x 19 3/4″
- 2 – 3/4″ x 7 1/4″ x 13″
- Optional dice
- 1 – 3 1/2″ x 3 1/2″ x 3 1/2″ from a 4×4 post
Cut Diagram
Making the Jumbo Jenga pieces
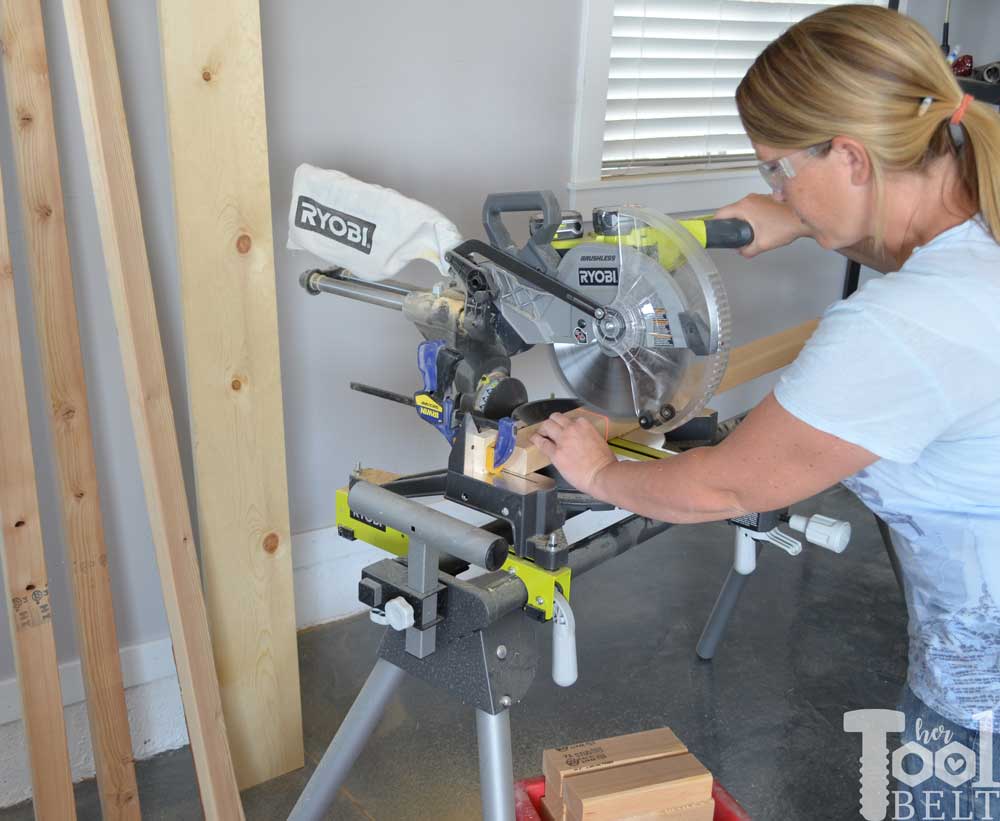
Cut the 2×3 boards into 7 1/2″ long pieces, you should be able to get 12 – 7 1/2″ pieces from each 2×3 board. I used a miter saw and set up a stop block on the left side so I didn’t have to measure every piece.
Cut 54 jumbo jenga pieces. (Sometimes those kids toys can be useful :-) ).
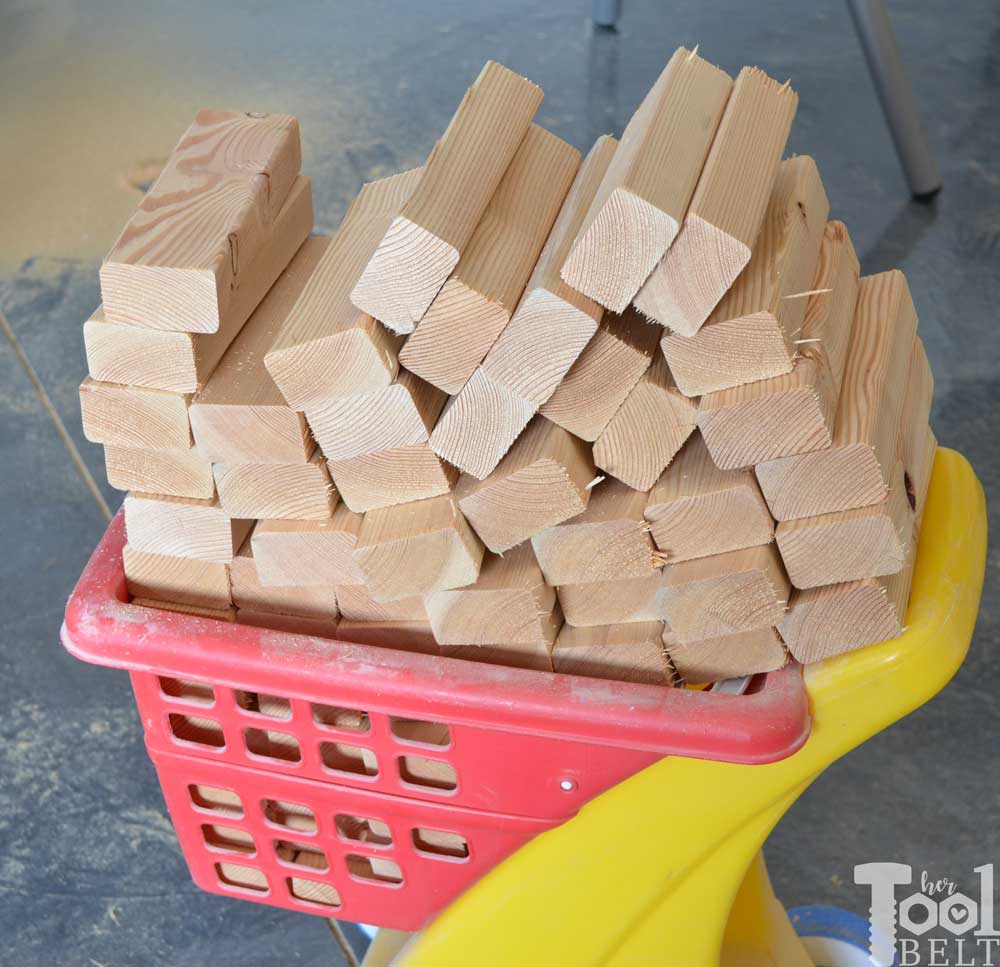
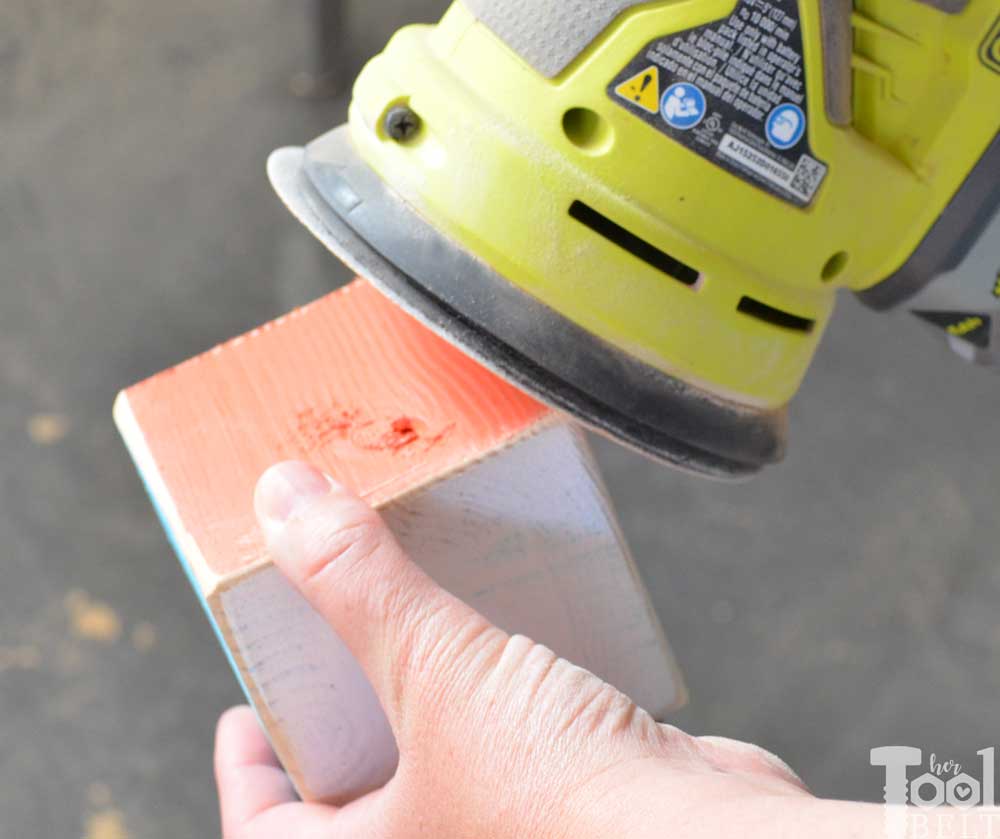
Sand each block smooth. I used a belt sander for this part to make it faster, a regular hand sander will work too.

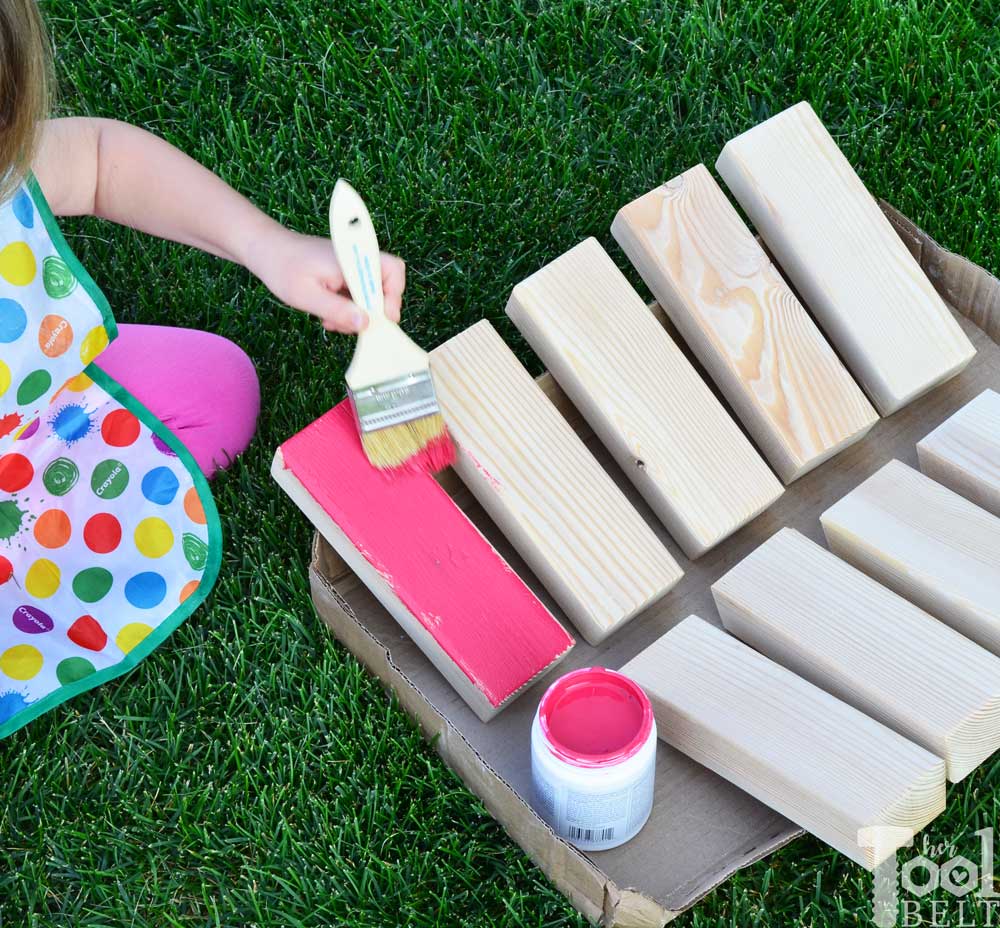
Paint or stain the jumbo jenga blocks if desired.
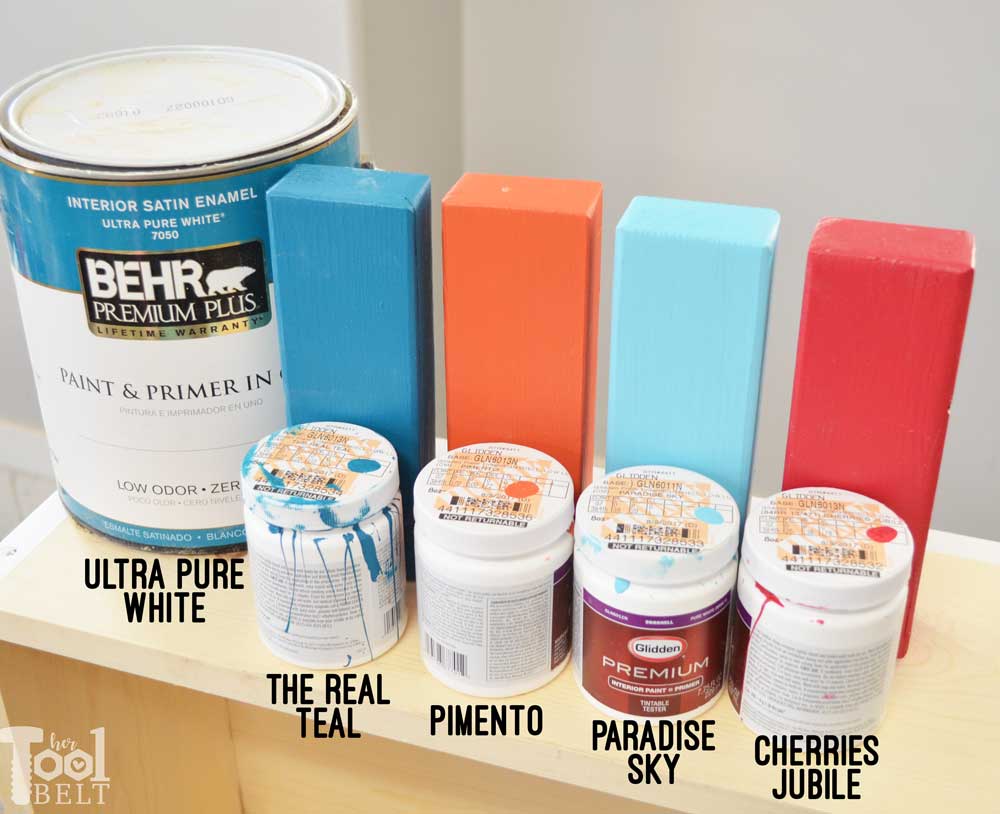
I used latex paint (ultra pure white, the real teal, pimento, paradise sky and cherries jubile). One issue with latex is that it dries in a day, but doesn’t cure for a few weeks. So the blocks want to stick to each other. You can coat them with a clear coat or wait until the paint has fully cured. (If you leave them natural wood you won’t have this issue.)
I had my helpers paint 9 jumbo jenga blocks in each color. One set of 9 blocks I left natural wood.
Making the Carrying Crate
Cut the 4 pieces of 1×8 to be 19 3/4″ long. Use a countersink bit (or a regular drill bit about the size of the screw shank) and drill holes for the screws as shown in the sketch. The holes should be about 3/8″ away from the side and evenly spaced.
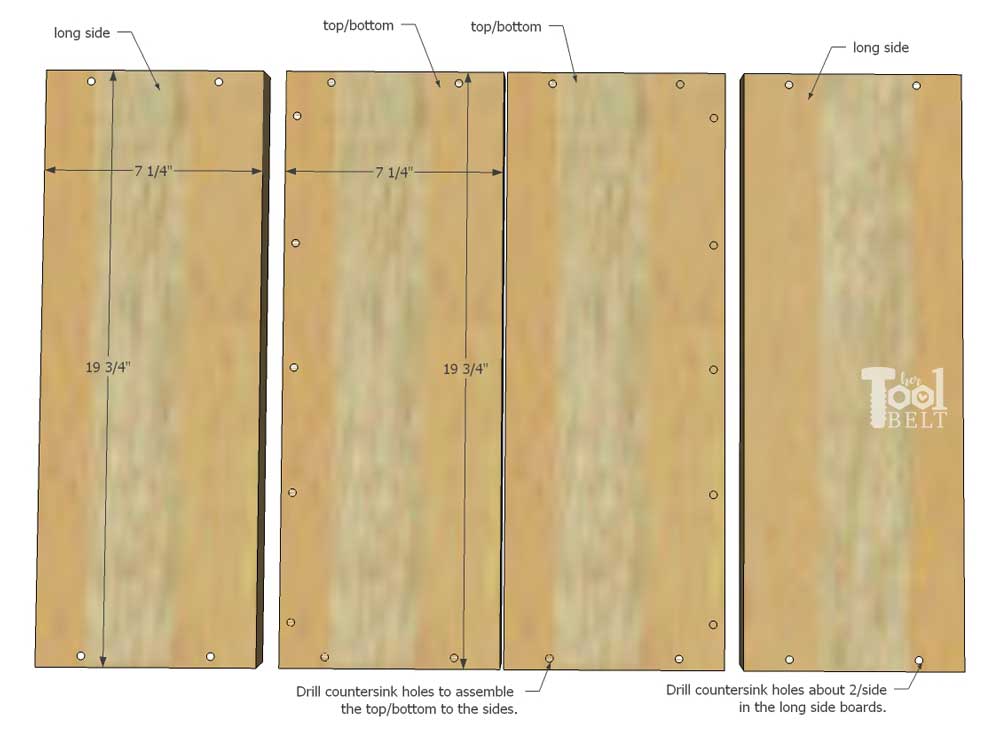
Add a bead of wood glue along one of the sides of a ‘long side’ board. Use 1 1/4″ minimum to secure a ‘top/bottom’ board to the ‘long side’ board as shown.

Add a bead of wood glue to 2 sides of the ‘short side’ boards and attach it to the ‘long side’ and ‘top/bottom’ boards with 1 1/4″ screws. Attach another ‘top/bottom’ board right by the other ‘top/bottom’ board and secure it to the ‘short side’ board with 1 1/4″ screws.
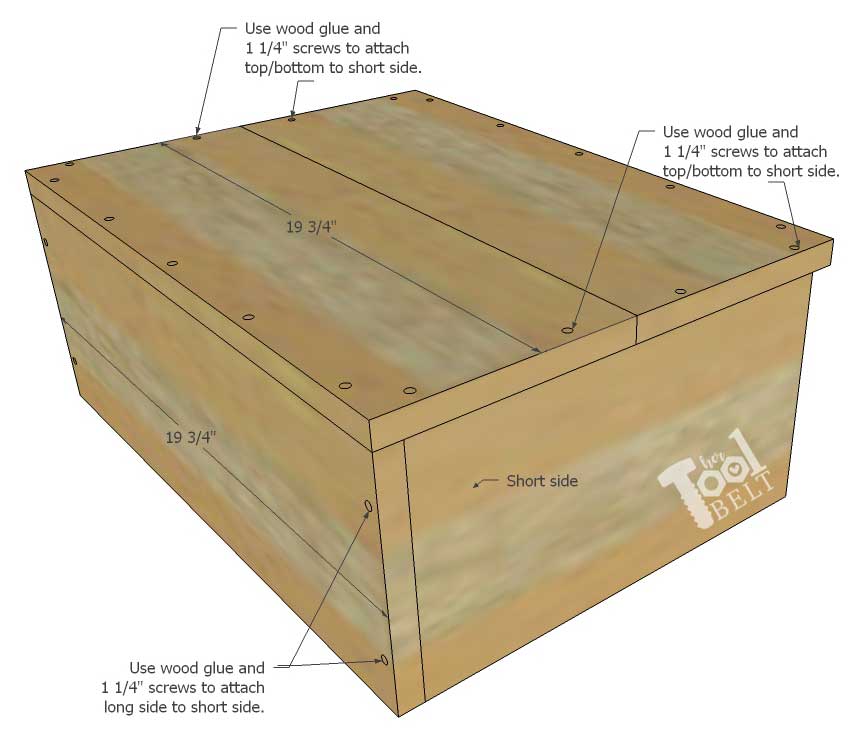
Attach the last ‘long side’ board with wood glue and 1 1/4″ screws to the ‘short side’ and ‘top/bottom’ boards. If you want to add handles, add one to each side. I painted my handles teal.

Remove any excess squeeze out glue. After the glue has dried, sand the carrying crate smooth, especially the top/bottom where the jumbo jenga will be stacked to play the game.
Making the Dice
Cut a piece of 4×4 to a cube, 3 1/2″ x 3 1/2″ x 3 1/2″. Paint each of the 6 sides a different color (one side will stay natural wood.) After the paint has dried, lightly sand the edges to distress as desired.
Now you’re ready to roll ‘n go and play jumbo jenga for hours of fun!
Make sure to check out this Summer Bucket List for Kids and how to make DIY Kubb Yard Game and DIY Molkky Yard Game too.

JOIN OUR NEWSLETTER
Would you like more Recipes, DIY, Printables and Organization Ideas?
Subscribing to the newsletter will enable us to periodically send you creative content exclusively for Idea Room subscribers.
*View our Privacy Policy here.


I sanded mine but they are hard to move in the game
Peggy- Sorry that they are difficult to move! Hopefully, it will get easier to move as they wear down.
Peggy- I use a wax that you can purchase at Lowes or Home Depot for this problem. It doesnt take much for it to help the pieces (especially if you stain them) move better! It is called Minwax Polishing Wax and it is a yellow can which cost between $6-$8
Deanna- Thank you.
How would I make a hole in some of the Jenga pieces to place a 2 oz cup with lid in the hole? I have looked for DIY instruction online for Giant Jello Shot Jenga and have had no luck!
Deanna- You can use a drill bit called a spade bit to make a hole in the wood. Hope this helps. Thank you.
2 5/8″ Forster bit. I just done one.
David- Thank you!
Approximately how long does this take to make?
Sophie- Not exactly sure on the time. Cutting goes fairly quickly. Sanding and painting can take a little more time depending on if you want a second coat of paint or not. So, I would think you could get it done in a day but as far as time, I am not totally sure. Hope you make one. It is so fun!
Thank you for the detailed tutorial. I thought You’re colors popped better then any of the other giant Jenga sets on Pinterest. I followed your tutorial to make one of these for my daughters class art project to auction off. The kids drew on the top with sharpies and wrote their names on the bottom of the blocks. I don’t know how to add a pic to the comments but I added one to the Pin on Pinterest. It’s the pic with the lake in the background.
Emily- It turned out amazing! So happy you enjoyed the tutorial.
How much do you think it would cost to make without the dice?
Autumn- Around $30.00
Thanks for the tutorial! I think this is the only one I can fine that details the wood process and painting. I am planning to paint half the blocks white and the other half black. Do you have any recommendations for a nice durable gloss finish that wont stick?
Danielle- I think a nice satin gloss would work great.
How did you attach the handles?
Chad- These are optional. You can add some drawer pulls that are simply screwed into the wood. Hope this helps.
Is there dimensions to create the box for 2×4 size blocks instead of 2×3? Thanks
John- I don’t have them. You could ask http://www.hertoolbelt.com/ if they do. So sorry. Hope you end up making it!
Approximately how tall is after it’s stacked up?
Zay- I am not sure how tall it is. This is a guest post on my blog. You could ask that question here: https://www.hertoolbelt.com/
27″ – (18 X 1.5″)
Jeff- Thank you!
Where did you purchase the drawer handles? I’ve looked at Lowe’s and amazon and can’t seem find the one you use, and I really like that style.
Karen- This was actually a guest post. You can email or comment on their site here: https://www.hertoolbelt.com/yard-games-giant-block-tower-builder/
Thanks for the measurements. Just a quick heads up, the boards you buy at the store are 2x”4”x8. Your above shows “3”.
Greg- Thank you for letting us know about this, I will pass it on to Amy at https://www.hertoolbelt.com/
You can buy 2″ X 3″ at most home improvement stores.
Thank you.
Hi, how much do you sell it if you will?
I made one and people want it to buy it.
Edwin- I have never sold one. So sorry.
What type of wood should a person use for this project?
Dayna- You can make them out of any type of wood.
Could I please have a printable copy of the instructions?
Sherry- This is a guest post. Meaning it is not mine. Not sure if there is a printable version of this. You may just have to copy and past it into a word document. Sorry.
Where exactly did you get your 2 X 3 boards? I can’t seem to find any. Thanks.
You can get them at Lowes or Home Depot.
Be sure to measure three of the 2×3’s side by side. I made almost all the cuts only to realize that they measured 7 7/8” not 7 1/2”. So three pieces cut to 7 1/2” don’t make a perfect square side by side.
Jason- Great tip!