
Looking to preserve the beauty of flowers? Learn how to press flowers with my step-by-step guide. After pressing some flowers, I was able to take them and make this beautiful Pressed Flower Frame. Learn how to make it with my tutorial which is also below!

WHAT FLOWERS WORK BEST TO PRESS?
There are several types of flowers and plants that are the best flowers for pressing. Here are some of my favorites that press well.
- daisies
- pansies
- violets
- violas
- larkspur
- cosmo
- fern leaves
- clovers
- baby’s breath
FOUR WAYS TO PRESS FLOWERS

HOW TO PRESS FLOWERS IN A BOOK
Step 1: Prepare flowers
Before you begin, separate any petals if needed. Then, arrange your flowers on one sheet of parchment paper (or wax paper) with space in between in a single layer of petals or flowers. Try to press flowers of similar varieties or thicknesses together.
Step 2: Cover flowers and close the book
Place the second piece of parchment paper (or paper towels) on top of the pre-arranged flowers. Be sure to flatten the flower face in the shape you would like it to be when pressed. Then carefully sandwich the flowers in between the pages of the book.
Close the book and set a weight on top. You can also pile on some more heavy items, heavy books or a brick, so there is a heavy pressure to press down on the flowers.
Step 3: Wait 2-4 weeks for flowers to dry
The drying time will depend on the thickness of the petals. It took a couple of weeks for my flowers to dry and for the moisture to be gone. They came out paper-thin and had great color retention! For thicker flowers, you may choose to wait a little longer for the desired results for your dry flowers.

PRESS FLOWERS IN A WOODEN PRESS
Supplies:
- Two 12 x 12-inch pieces of plywood or MDF
- Cardboard sheets
- Two sheets of paper (blotting or parchment paper)
- Four bolts and wing nuts
Step 1: Drill holes in boards
Drill a hole in each corner of your pieces of wood, about 1 inch from the edge. Make sure you match the size of your bolts and line up the holes on both boards.
Step 2: Arrange flowers in between cardboard and paper
Cut the cardboard to fit inside the plywood or MDF, working around the four holes where you will insert the bolts. Lay a piece of blotting paper on top of the cardboard, and arrange the flowers on top as desired.
Place the flower between the two pieces of blotting paper or coffee filters. Then place a piece of cardboard on either side, followed by the wood or MDF. So you have layers of each that are sandwiching your flowers.
Step 3: Screw in the bolts, and wait 2-4 weeks for flowers to dry
Insert the bolts, and tighten the wingnuts until secure. Drying times will again depend on the thickness of the flowers used.
You may need to open your presses every few days to replace the blotting paper or move the flowers to dry quicker.
WHERE CAN I FIND WOOD FLOWER PRESS?
You can buy flower presses if you don’t want to make your own diy flower press. Here are my favorites.

HOW TO PRESS FLOWERS IN MICROWAVE
Supplies:
- Microwave flower press
- Tweezers
Step 1: Place flowers on inner lining
You’ll want to arrange your flowers on the fabric liner in the shape you want to achieve in the end. Always try to group similar flowers together.
Step 2: Microwave flowers for an initial burst
With most microwave presses, you’ll want to heat the flowers with one longer microwave session. I typically start with 25 seconds.
Step 3: Continue microwaving in short bursts
Continue to microwave your flowers in 10-second intervals until the flowers feel paper-thin. Always air out the plates in between bursts to prevent browning or scorching.
Take care when you remove flowers, as petals might stick to the inner liner. You can carefully stretch the fabric liner in opposite directions or use tweezers to help release the flower.
HOW TO PRESS FLOWERS WITH AN IRON
Supplies Needed:
- Iron
- Parchment paper or other absorbent paper like blotter paper
Step 1: Arrange flowers between two layers of paper
I used parchment paper to sandwich the flowers and position them into place before ironing them. A good hard surface with a thin towel underneath also helps.
Step 2: Iron on low heat
Turn off any steam settings, and iron the flowers for about 15-30 seconds at a time on low heat. Let the flowers cool briefly before attempting to press again.
Once the petals have partially dried out, you can choose to finish drying using the book or wooden press method above.

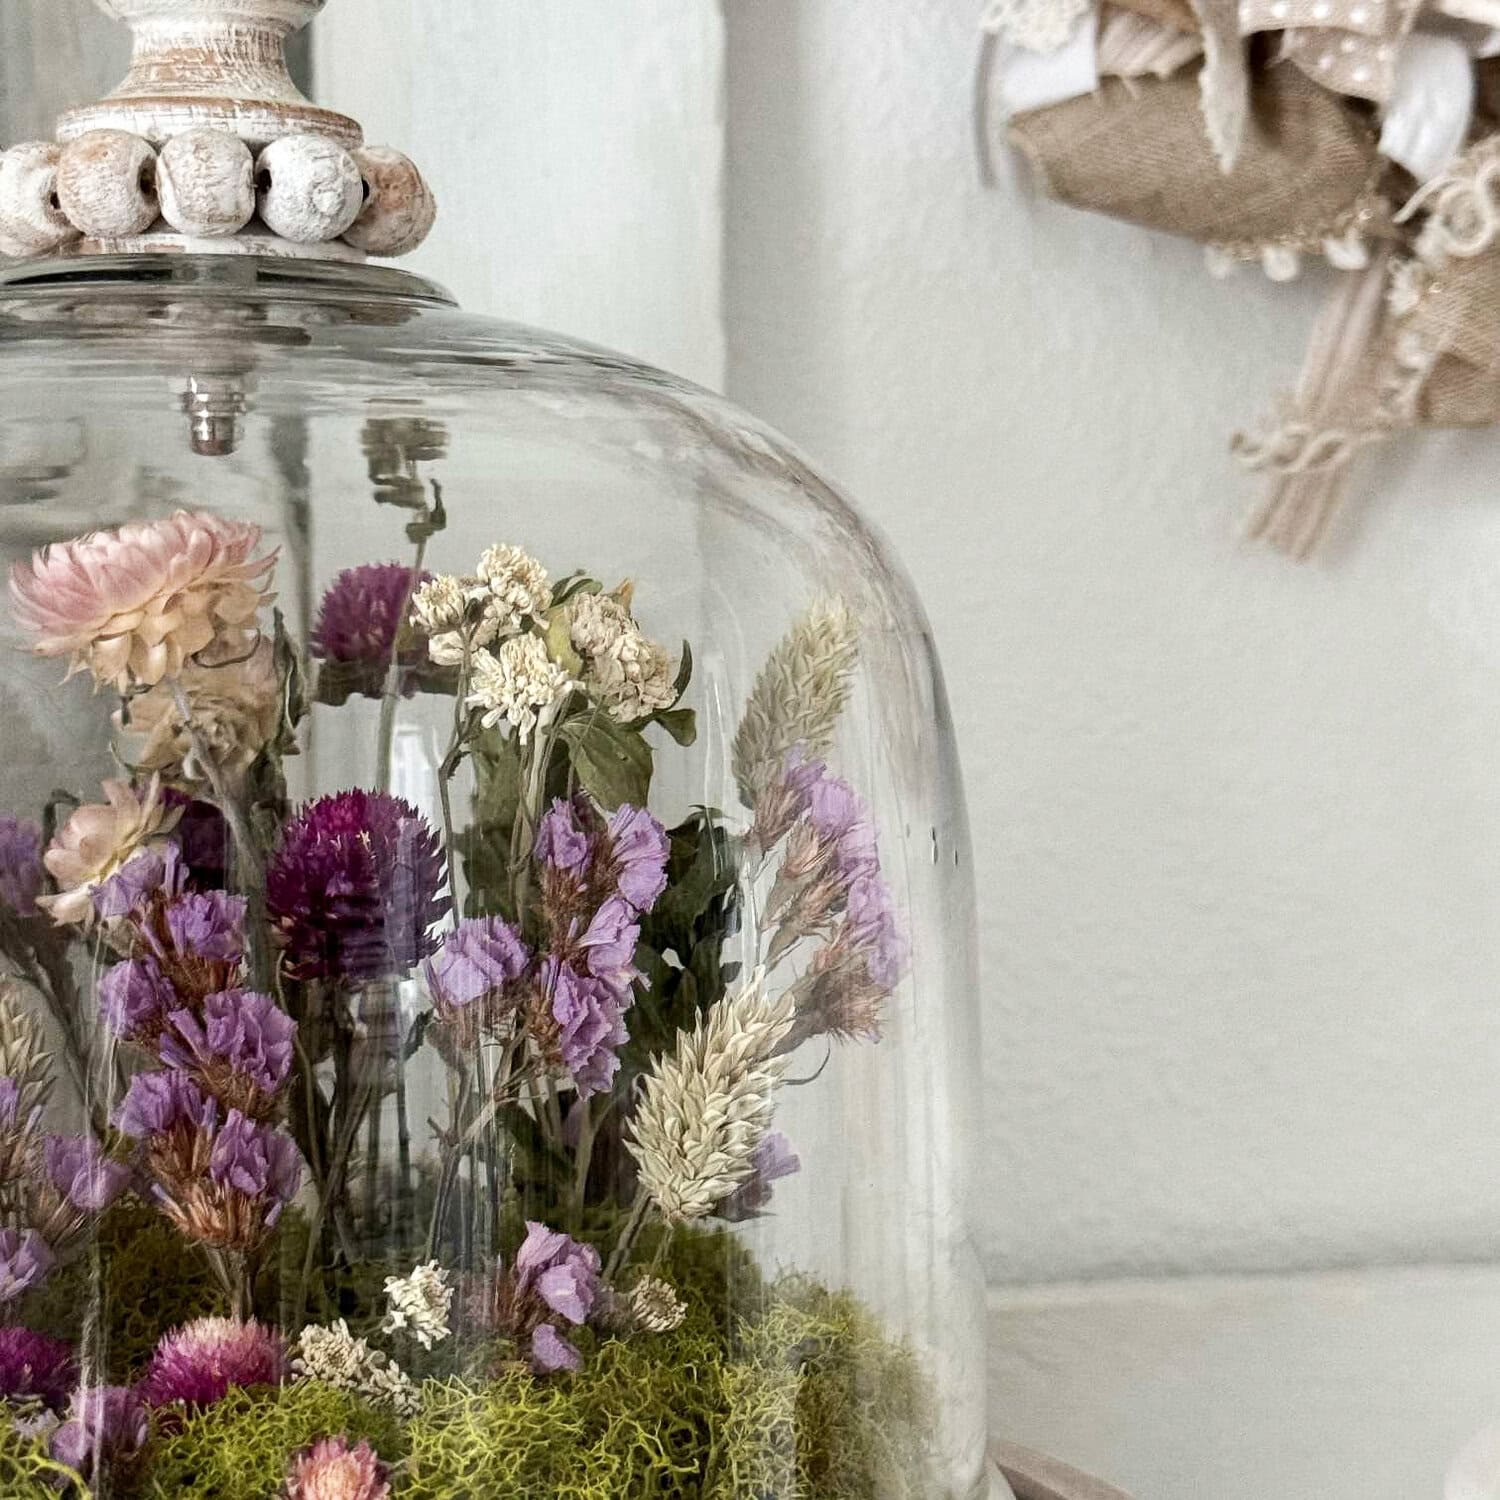
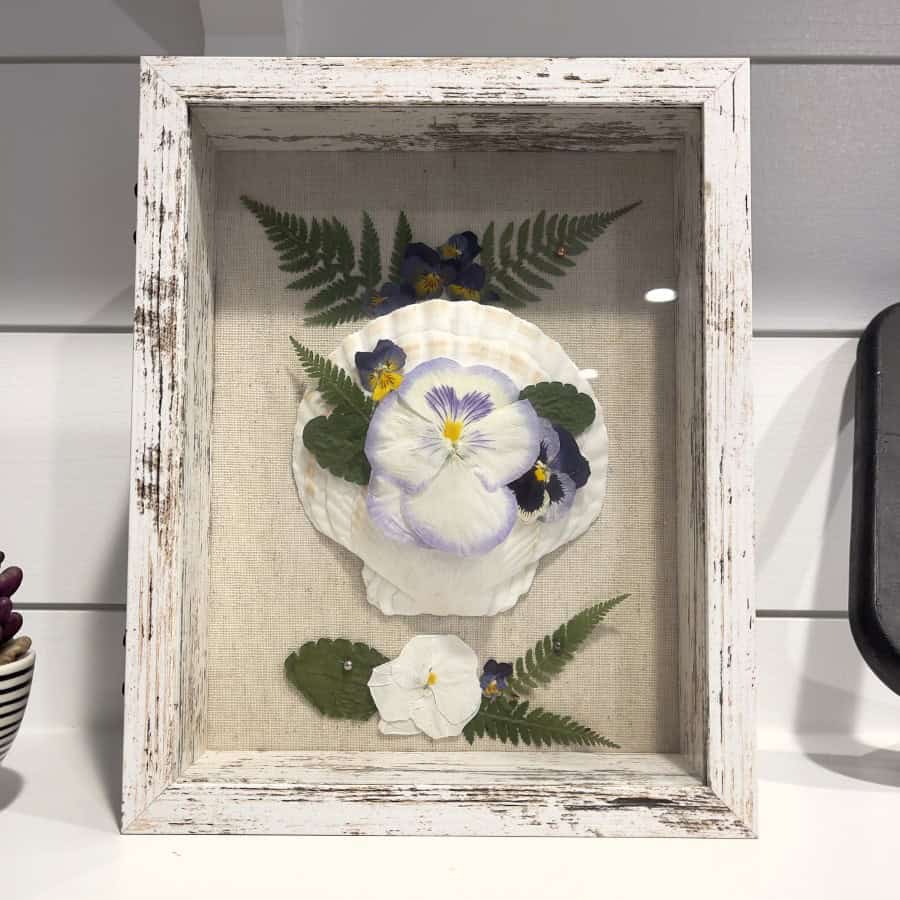
PROJECTS WITH PRESSED FLOWERS
There are so many fun projects and or craft project you can create using your pressed flowers. Here are some fun ideas to make:
- flower art
- bookmarks
- greeting cards
- jewelry
- glued on candles
- framed flowers
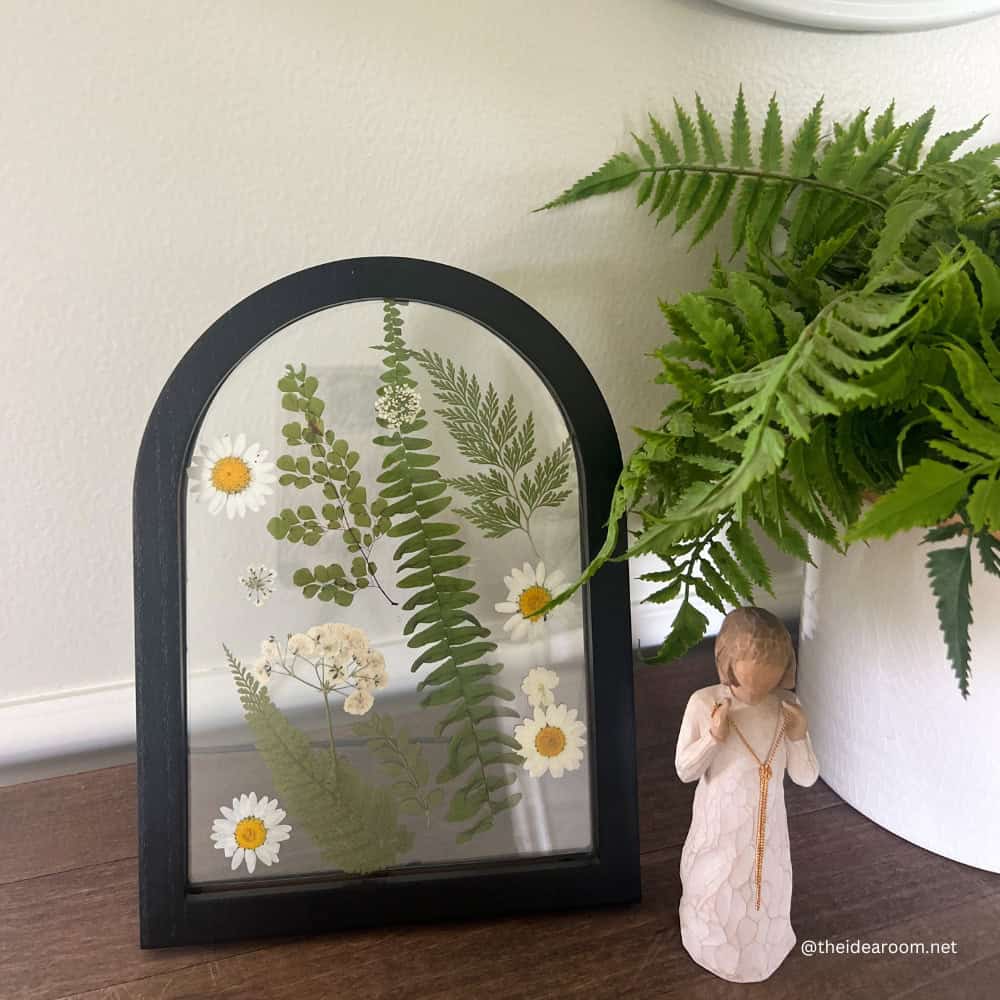
HOW TO MAKE PRESSED FLOWER FRAMES
For today’s project I made a frame with pressed flowers. I love how it turned out! And it’s pretty easy to do! You can make one too. Here is how I did it!

Materials needed:
- frame (I used this one) but here is another great frame option
- mod pdoge
- transparency paper sheet
- scissors
- flowers for pressing
- parchment paper
- tweezers

Pressed Flower Frame Instructions:
- Take your flowers and press them in one of the four ways mentioned above. I pressed mine in my dictionary and layered some more books on top.
- Open your picture frame and clean both sides of the glass with glass cleaner and a microfiber cloth so there are no finger prints.
- Take your transparency paper sheet and cut it to match the frame glass of your picture frame and place it directly onto the top of the glass on the opened picture frame that has the back removed. Make sure your frame is face down.
- Take a small paint brush and carefully brush a dot of glue on the back of a pressed flower.
- Gently pick up the flower with your tweezers and place it onto the transparency paper where you want it. Remember you are placing them with the side of the flower you want showing in your flower frame face down. Carefully press it into place so the glue keeps it where you want it.
- Do this with each flower until they are arranged how you want them.
- Take the back of your frame and secure it into place. If your flowers on the transparency paper move a bit you can tape it into place.

Check out the other amazing projects this month from my friends in the Handcrafted Society! I am always blown away by just how fun and creative their projects are! Prepare to be inspired…be sure to check them out!


JOIN OUR NEWSLETTER
Would you like more Recipes, DIY, Printables and Organization Ideas?
Subscribing to the newsletter will enable us to periodically send you creative content exclusively for Idea Room subscribers.
*View our Privacy Policy here.


I love the frame you found. It’s a perfect way to showcase pressed flowers. Beautiful!
Isn’t the rounded frame so charming? I knew as soon as I saw it, I had to use it!
I’ve never tried drying flowers in the microwave! So much good information in your post. I love the photo of the book with the cuttings laid out. That by itself would be beautiful on a coffee table! Thanks for the inspiration!
Oh what a fun idea for the book and the pressed flowers! It would look so fun on a shelf! What a fun idea!
The simple color pallet of green, yellow and white is so striking, and I love the shape of your frame. Such a pretty addition to your table decor Amy! Excellent tutorial too!
Thank you! I love a simple color palette in this room!
Hi Amy – I had no idea there were so many ways to press flowers. Including in the microwave! I love that you pressed some flowers in a dictionary. It’s so charming. Pansies and daisies are some of my favorite pressed flowers too.
Thank you Anna! Yes! My daughter in law and son own a flower business! So they have taught me so much! :)
What a pretty piece of art, Amy! Thanks so much for sharing all of the helpful tips and ways to dry flowers. Great post!
Thank you so much! It was such a fun project to create!
Microwave!!!? Brilliant. I love learning so many cool new tricks. And your arched frame is simply beautiful. I could see that in so many places.
Isn’t that frame so fun? Thank you!
Hi Amy! I have never dried flowers before so I appreciate all the info you shared about the different ways to do it! The daisies and fern fronds look precious together, and that frame is perfect! Pinning now!
Thank you so much Donna! I really appreciate your kind words!
I love this, Amy! My mom has a beautifully framed display of pressed flowers in her bedroom, and I’ve always adored it. Finding a charming frame adds to the lovely display, too. Thanks for the inspiration.
I love that! Thanks for sharing!