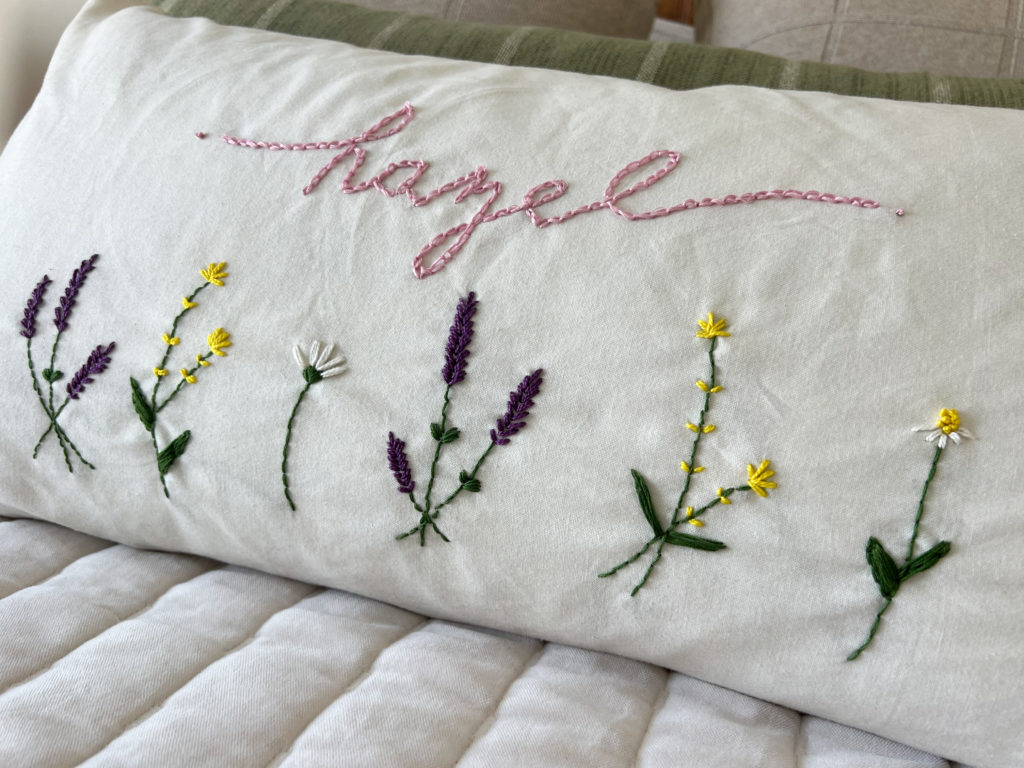
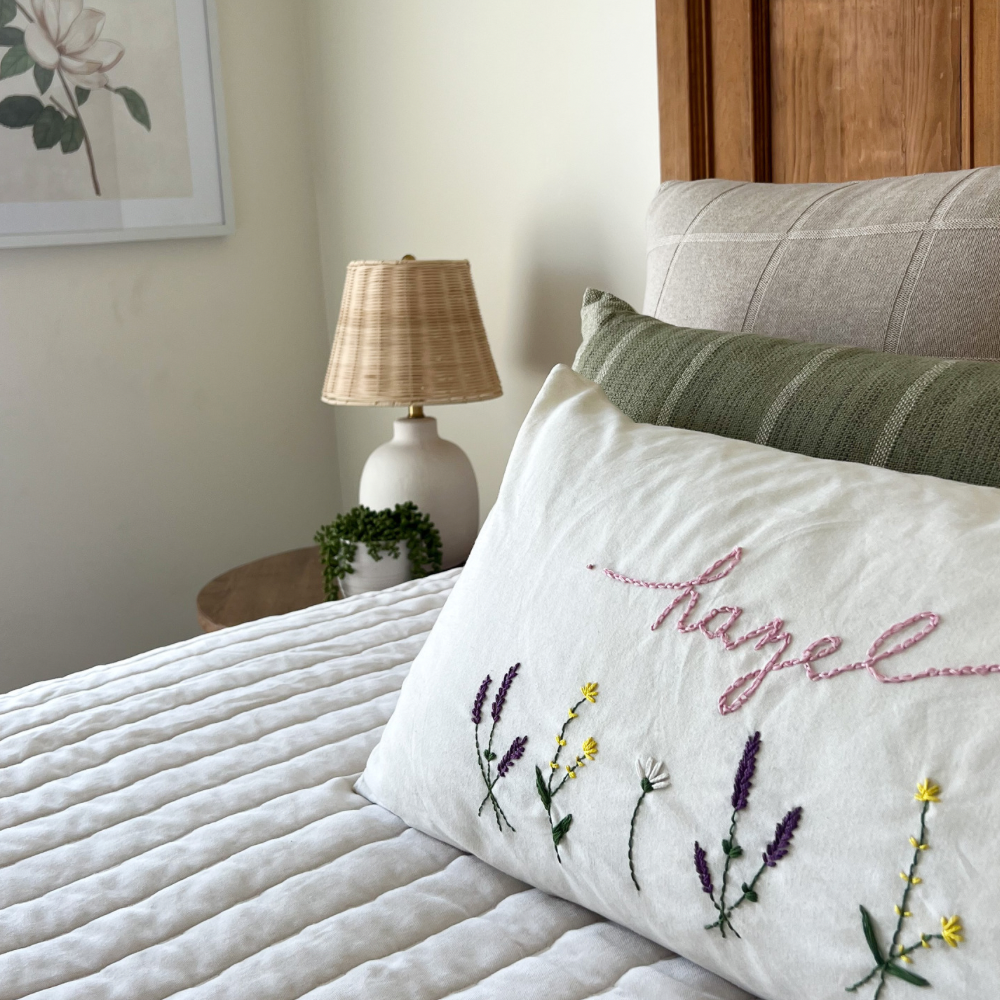
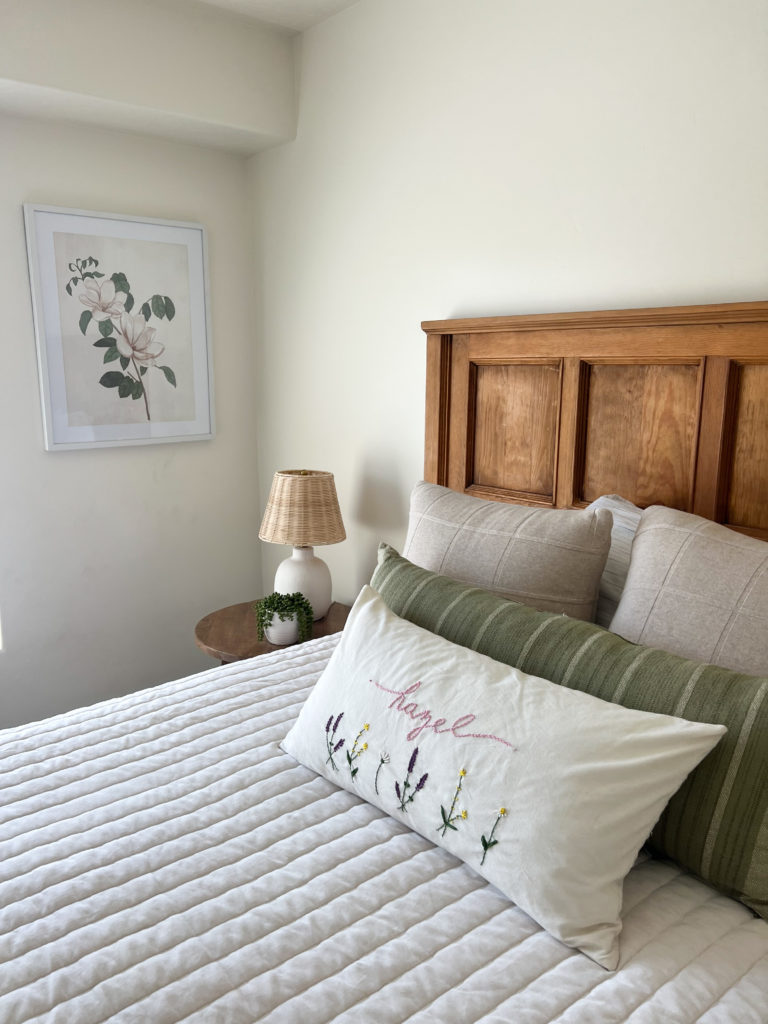
Today I am sharing how to hand embroider a pillow. I chose to make a cute pillow for my granddaughters new big girl bed! This is a sweet and simple project that can easily be done by experienced and beginners alike!
The challenge this month for the Handcrafted Society was to create something with yarn or embroidery floss! I hope you enjoy all the fun and creative ideas that have been shared. You can find them all at the bottom of my embroidery tutorial here.
Introduction To Embroidery
Embroidery is a beautiful and versatile craft that anyone can learn. Follow our step by step guide with pictures to learn how to create your own embroidered masterpieces.
Materials And Tools Needed
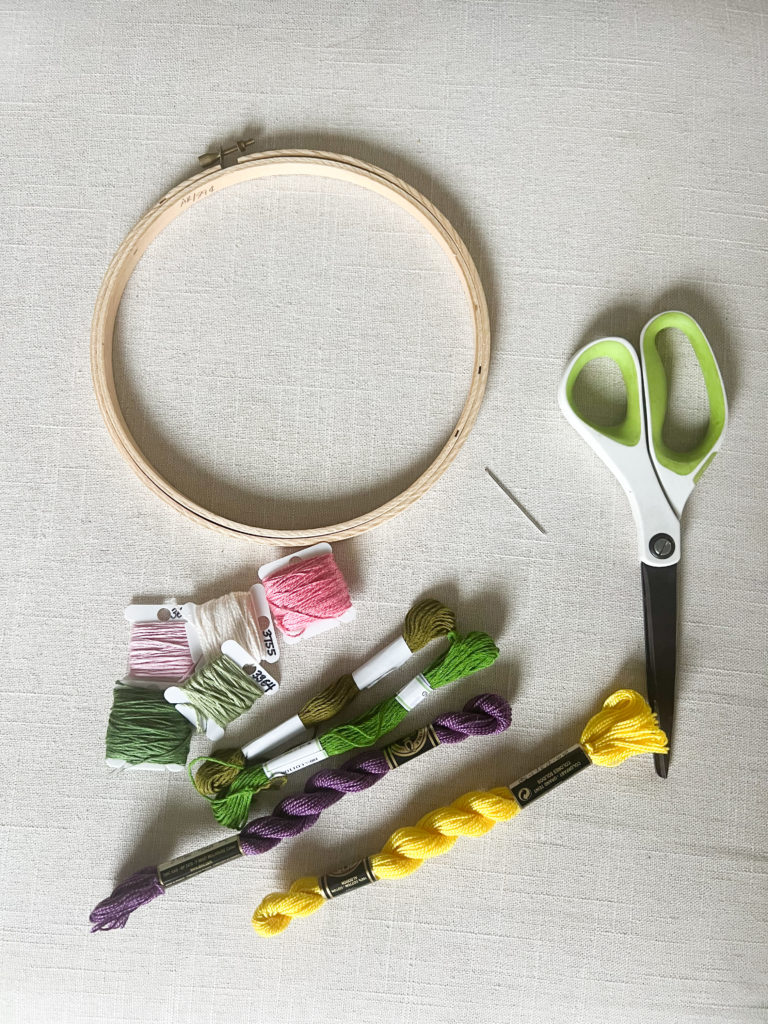
- pattern
- fabric, canvas or material (I used a this pillow cover)
- embroidery needle
- embroidery floss or embroidery thread
- embroidery hoop
- scissors
- pencil or heat transfer pen
- thimble
- embroidery floss bobbins (cards)
- embroidery floss storage box
Choosing Your Fabric And Design
To get started, there are so many ideas out there to give you inspiration for the project you might want to create. I decided to embroider some sweet little flowers on a pillow for my granddaughters new big girl bed! It is such an easy project and the perfect project for a beginner!
Preparing Your Fabric For Embroidery
Pre-wash Fabric
You should prewash any material you are using to hand embroider on. This will prevent any shrinkage so your finished product won’t shrink later.
Prevent Color Bleeding
You may also want to soak your embroidery thread in hot water to make sure it won’t bleed if washed later. Soak the embroidery thread until there is no more color and then lay flat on a towel to dry.
Transfer Pattern to Fabric
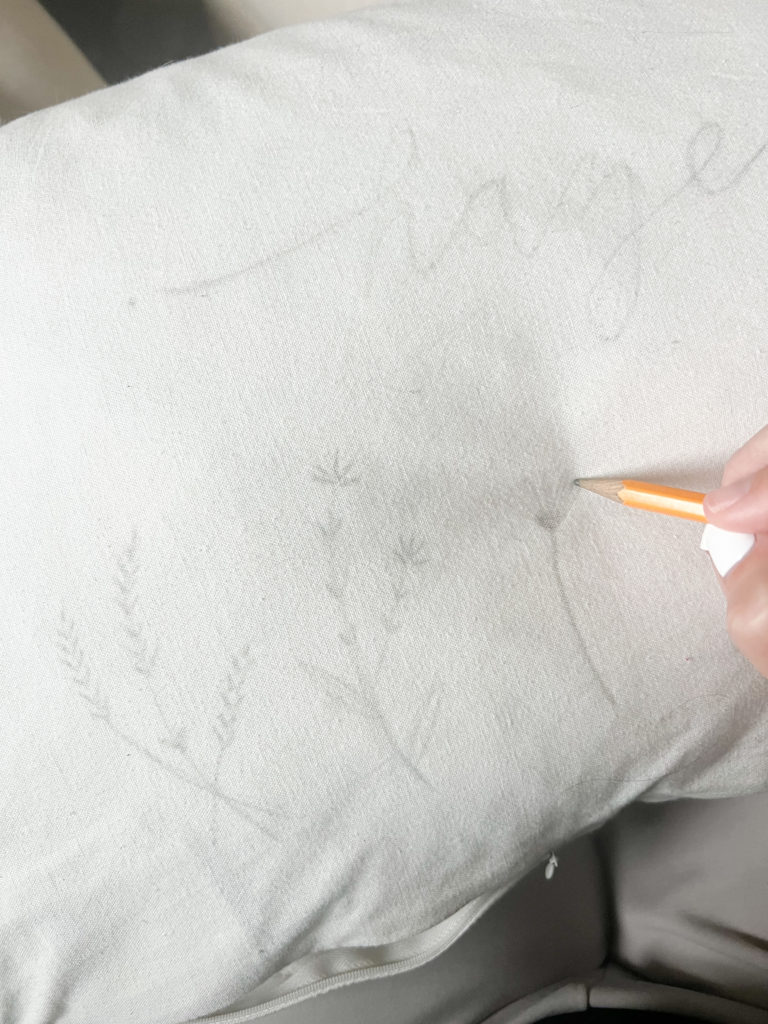
Use a heat transfer pen or pencil to trace over the printed embroidery design. Press fairly hard, if the lines are too faint, the design won’t transfer. Position the design with the traced side down on the fabric. Press with iron at a high temperature (without steam) to transfer the image.
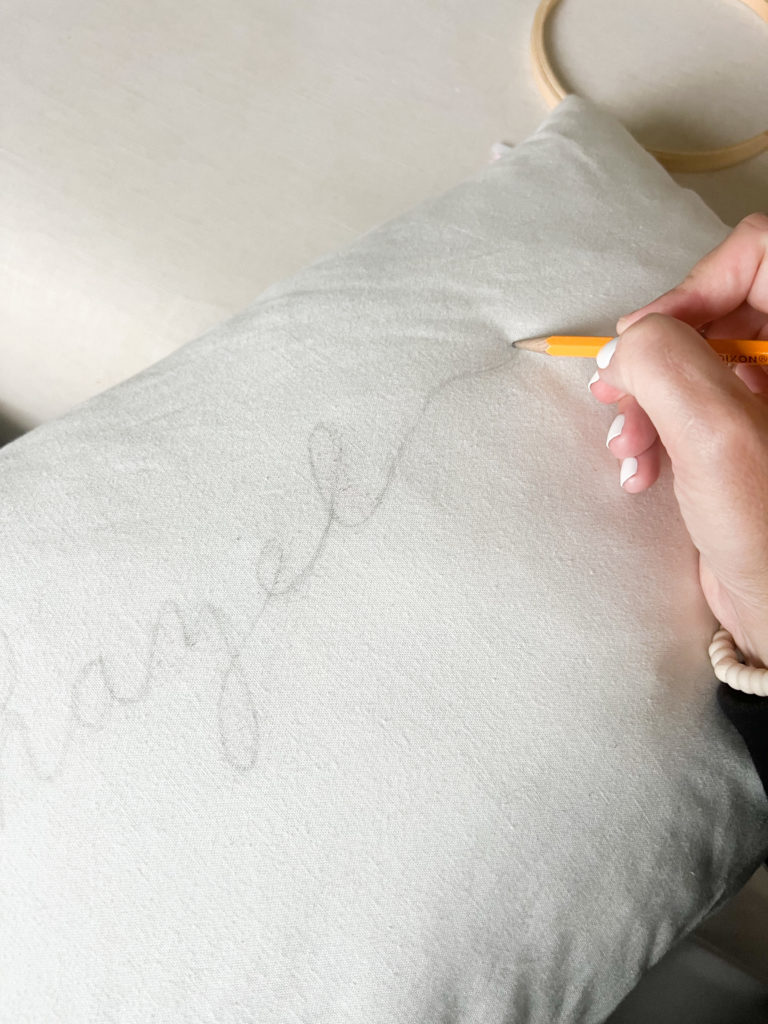
Or you can simply free hand your design onto your fabric which is what I did to create the hand embroidered pillow.
Basic Embroidery Stitches
Back Stitch
- Make a single, straight stitch as long or short as you want. (I make mine approx 1/4″ or a bit shorter.)
- Continue along your pattern line, but come up a space ahead and bring your needle back down into the same hole at the end of the last stitch you made.
- Continue in the same pattern for as long as needed.
Running Stitch
- From the backside of the fabric, bring your needle up at your starting point.
- Now, place your needle back down through the fabric about a stitch length away from your starting point.
- Come back up through the back of the fabric about a stitch length away from your last stitch.
French Knot
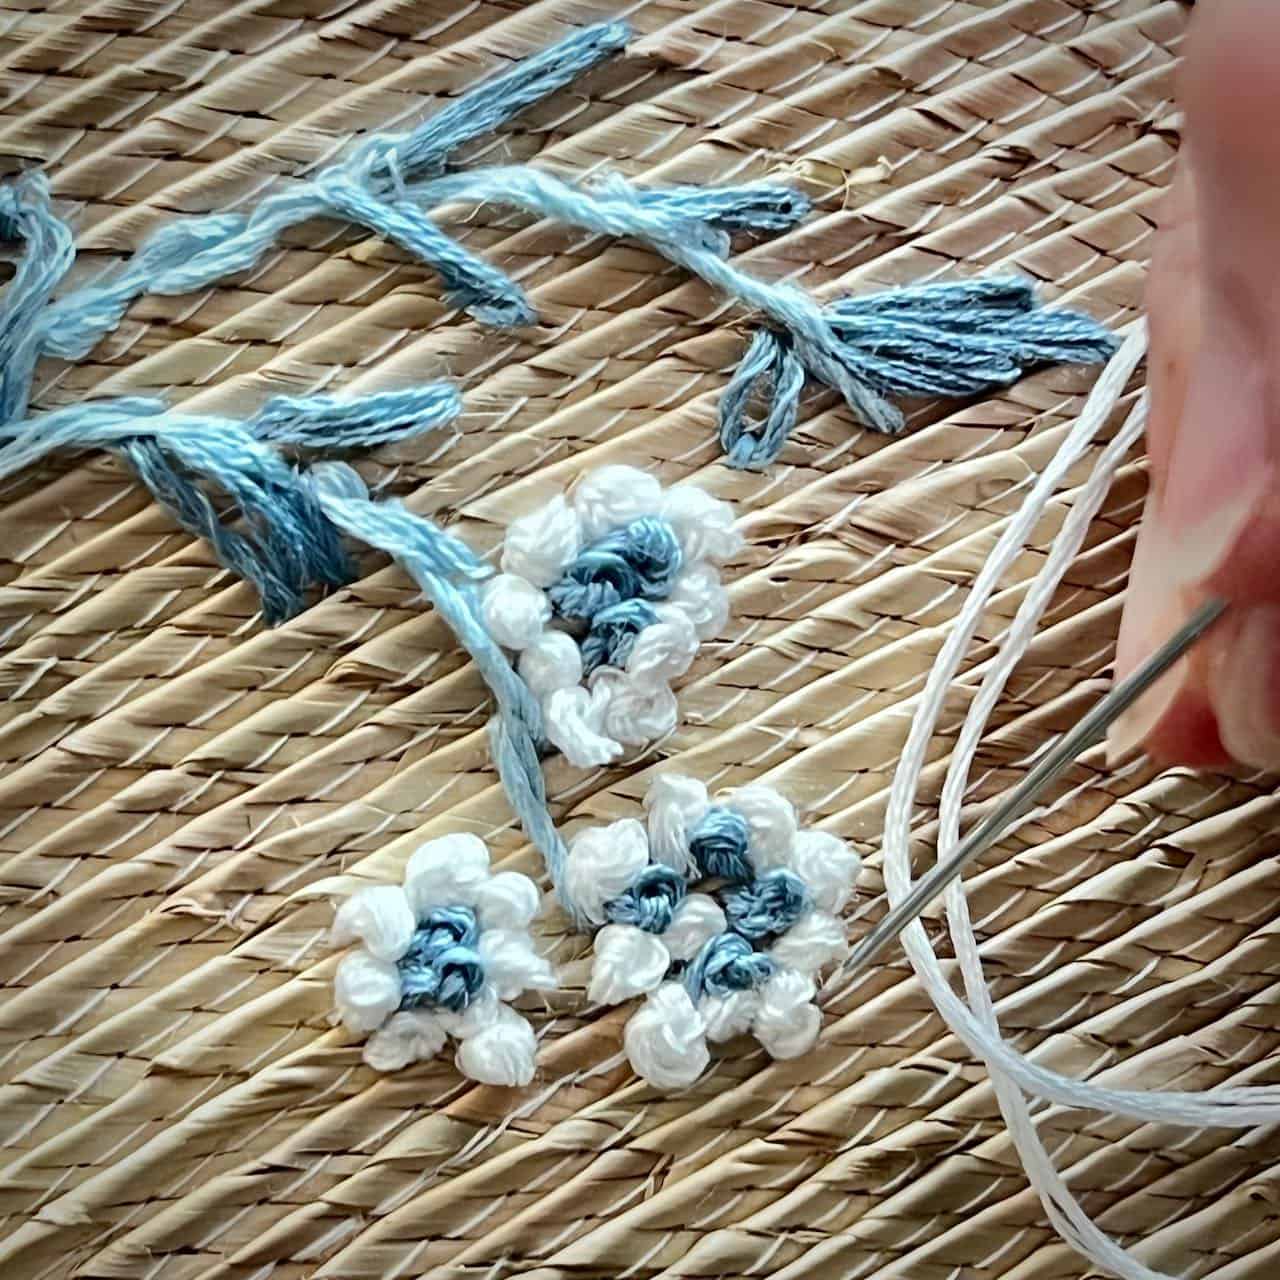
- Bring your needle up from back to front. Wrap the floss around the needle three times.
- Put your needle back down from front to back right next to where you brought it up. Hold the floss end with your finger to keep the wraps around the needle and to prevent the knot from forming too early. Just before your floss is all the way through, release the floss.
- Pull your floss all the way through to form a little knot.

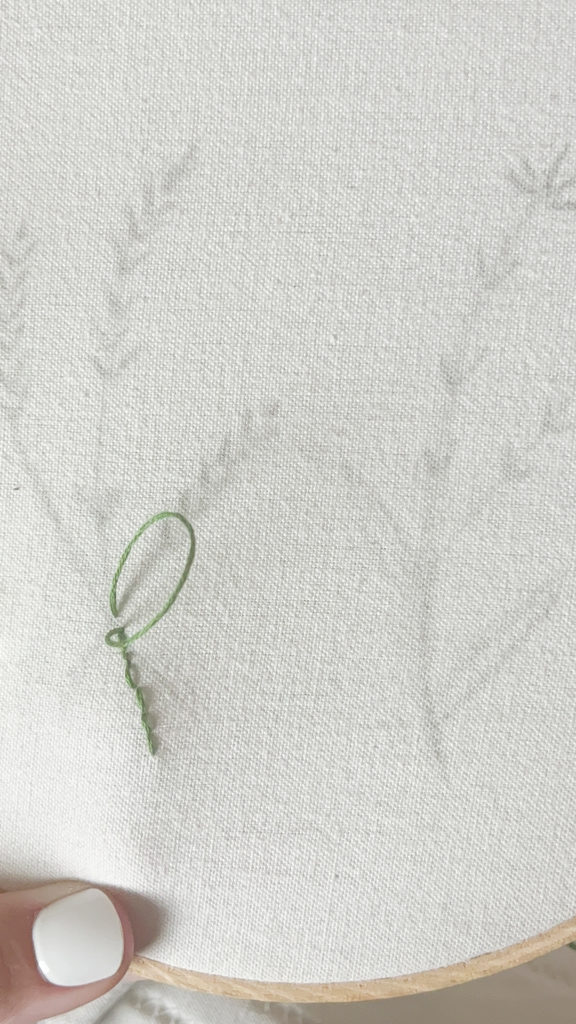
Chain Stitch
- Begin by bringing the needle up from the back of your fabric at your starting point.
- Then, with the embroidery floss off to the side, insert the needle back down through the same hole you just came up, but do not pull the floss all the way through.
- Now, bring your needle back up, about a stitch length ahead, making sure the embroidery floss goes around your needle. Pull the needle so the floss comes all the way through. You should have a loop of floss. This is your first chain stitch.
- Now, putting the needle back through the hole you just came up, inside the loop, repeat this process of coming up a stitch length ahead and creating a loop.
- When you’ve reached the end of the line you are stitching, make a tiny stitch over the last loop to secure it in place.
Embroidering Your Design
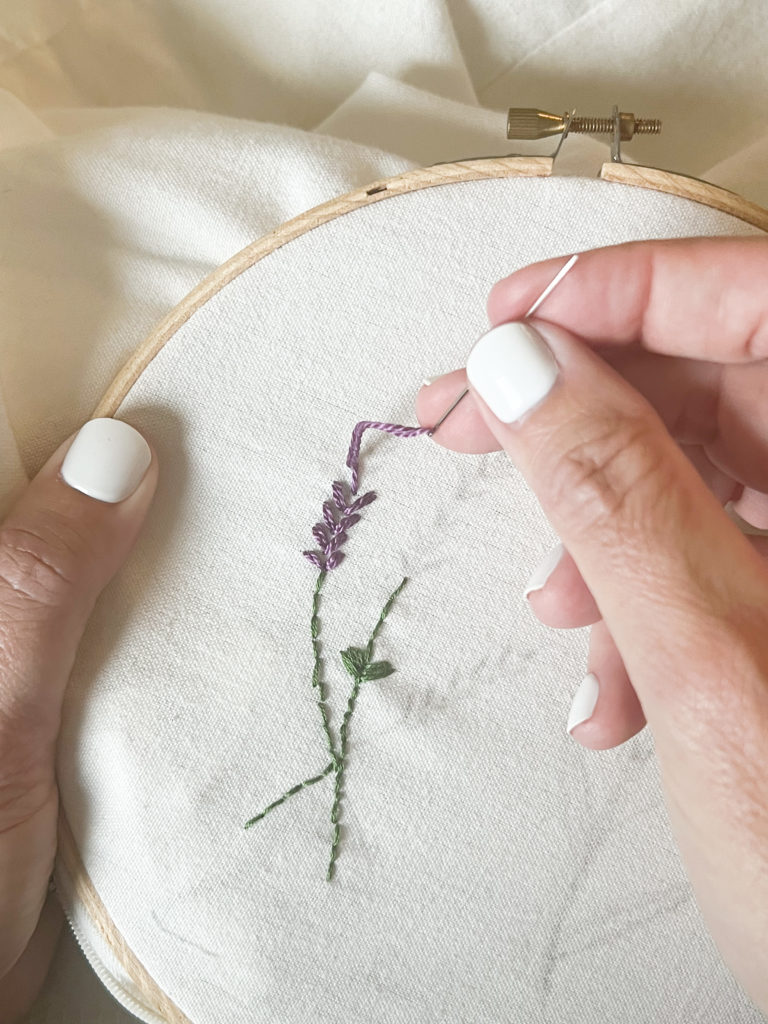
Draw your pattern onto your material and begin by stitching each design. I like to stitch the designs using all the same color of embroidery thread and work my way through the design by colors. I tie off the end and then continue on with more of the same thread if needed, to complete the color.
But you can do it a design at a time if you want. Whatever makes the most sense with the flow of your work.
Finishing Touches
How to end your embroidery
At the back of your fabric, tuck your needle under some of the thread from a previous stitch. Pull it through – but leave a loop. Pass your needle through the loop to create a small knot, and pull until it tightens. I tend to do this twice, to make sure the ends stay secure.
Embroider Tips For Beginners
1. Choose Your Fabric
You can really embroider any fabric, but some will be harder to work with than others.
2. Only Use Quality Thread
Cheaper threads can break more easily and shred. Sometimes the color can fade or bleed on the cheaper quality items as well. I really like the DMC floss threads.
3. Keep Stitches Neat
Try as much as you can to keep your stitches neat on the back of your work as well as the front! This can be a little harder but it can prevent you from getting other threads coming through or showing on the front of your work.
4. Fasten Securely
Fasten off your stitches carefully and securely especially if you are making something that will be getting a lot of use or will need to be put in the laundry.
5. Don’t Twist Your Thread
Don’t let your working thread twist and tangle when you are sewing! Once every so often, hold your hoop up so that your working thread and needle dangle from it.
6. Use A Decent Hoop
Buying cheaper hoops just isn’t worth it. Spend a little more on a wooden hoop that will be a good weight, hold your work securely and ensure the tension of the fabric is held evenly around the circle. These are better for your hand embroidery projects.
7. Always Fasten Off Your Stitches Before Starting Next Section
Not only will this keep the back of the work neater but also it stops the long floating threads from showing through on the front, especially if you’re working on a lightweight or pale fabric!
8. Organize Your Thread
Keep your threads well organized and stored on card bobbins and organizers in a box. Keeping them organized will help your project go smoothly and help you find the colors you need easily.
9. Store Tools Well
It’s a good idea to have paper scissors and embroidery and fabric scissors kept separately or even marked as such so that other people in your household know which ones to use! This way all your tools will be together and ready to use when needed.
10. Enjoy the Process!
Have fun and let the hobby be something that is relaxing. It doesn’t have to be perfect! Sometimes it can be part of the harm of your finished project!


JOIN OUR NEWSLETTER
Would you like more Recipes, DIY, Printables and Organization Ideas?
Subscribing to the newsletter will enable us to periodically send you creative content exclusively for Idea Room subscribers.
*View our Privacy Policy here.




Such a lucky granddaughter! This pillow case is absolutely charming. I’m so glad you reminded everyone about relaxing into the project, enjoying the process and part of the charm are the imperfections of handmade!
Thank you Diane!
This is amazing, Amy! I cannot believe you totally free handed this pillow – talk about goals. I love the flowers and thread you chose and how you used the different stitches too. It’s all really pretty and I know it will be something your granddaughter will enjoy for years to come. Hugs, CoCo
Thank you CoCo. It really was such a fun pillow to make.
I know my granddaughter would love seeing her name spelled out on a pillow. This is such a sweet idea and the simple flowers are just perfect! Love it Amy!!
Thank you Michelle. You should make one!
Such a charming project! I love this idea for a guest room, a child’s room…any bedroom! I need to start embroidering again! Thanks for a great post. Pinned!
Thank you for your kind words! I really enjoyed making this.
How sweet is this personalized pillow for your granddaughter? I’m sure she absolutely loves it, and there is nothing better than a gift made with love. The blooms you chose were perfect, too. Thanks for the inspiration.
Thank you so much. It was so fun to make!