
I am so excited to share with you how to use Infusible Ink with Cricut’s new Infusible Ink products! My Cricut Maker has been an essential tool for our Back to School needs. I especially love that I am able to personalize my kids items so they don’t end up in the lost and found. With Cricut’s new Infusible Ink, personalization is easier than ever! Today I will share how to get the best results using Cricut’s Infusible Ink and the EasyPress 2.
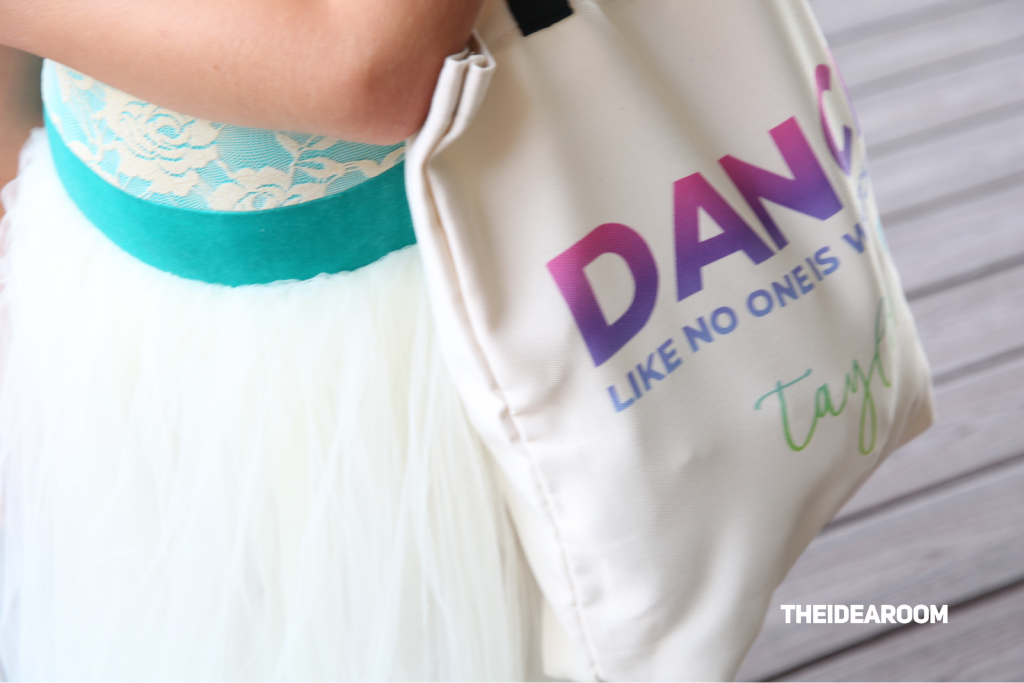
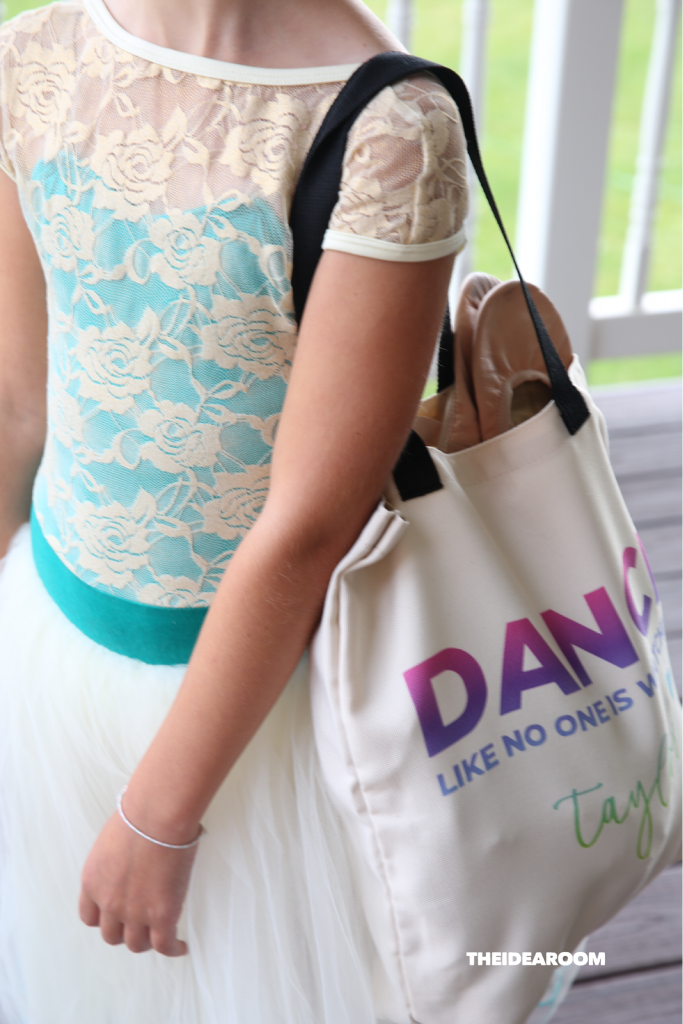
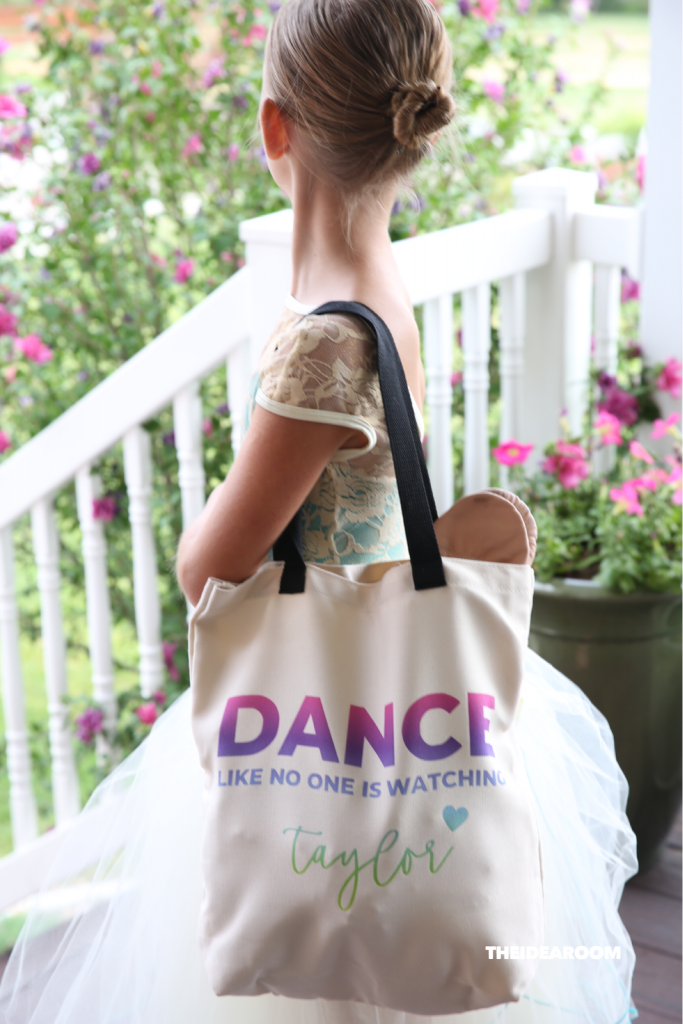
My youngest daughter has been enjoying a busy dance schedule the last few years. This summer she tried out for and won a spot on a competition dance team. Her dance schedule just got a lot busier and she needed a new dance bag for all of her dance shoes she needs to carry to and from her different classes. So of course I wanted to created her a personalized dance bag that she would enjoy using!

I am so excited about Cricut’s new Infusible Ink products. The infusible ink is a game changer for me. I think you are going to love it as much as I do!
WHAT IS CRICUT INFUSIBLE INK?
Cricut Infusible Ink is basically an ink transfer product. The transfer sheets are made of a dry ink product, and when high heat is applied, the ink is actually transferred into (not onto) the base material. Basically you are dyeing the base material, vs. putting a material on top of the base material (like with iron on vinyl).
The ink is heated at 385 degrees on the EasyPress 2 and the ink is infused directly into the material. This means that the ink becomes heated and transferred into the fibers of your base product which means there is no peeling or cracking which can occur with a vinyl iron on product.
INFUSIBLE INK BLANKS
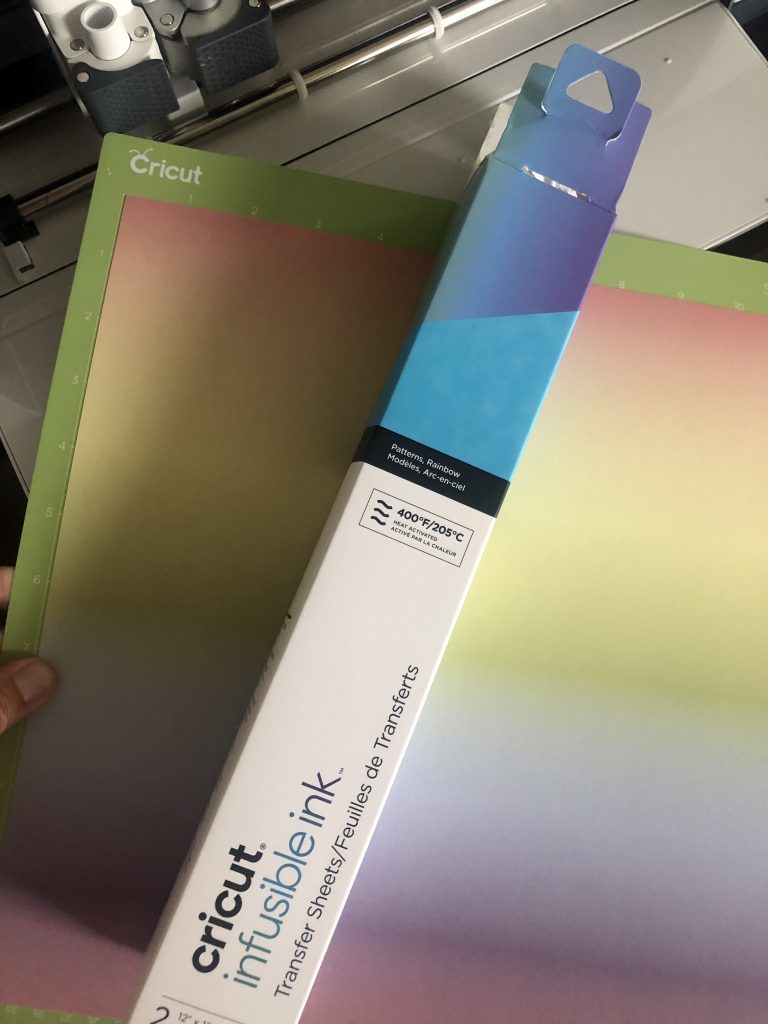
Cricut has a wide variety of patterned and colored Infusible Ink transfer papers that you place onto your cutting mat and cut with your Cricut Maker. You can also use Infusible Ink Pens and transfer that color and design to your canvas material.
Right now you can use Cricut’s compatible blank materials with the Infusible Ink. They include the following:
- t-shirts
- onesies
- tote bags
- coasters
HOW TO USE INFUSIBLE INK
I will break down the step by step process and show you just how to use Infusible Ink! The process is so easy and the possibilities are endless for creating a professional looking product you are going to love!
- First create a design in your Cricut Design Space.
- Place the Patterned or Colored Infusible Ink Transfer Paper onto a light grip Cricut mat. I used this Rainbow Transfer Sheet.
- Go to cut your material with your Cricut Maker.
- Mirror your Project.
- Select your Material and choose the Infusible Ink option.
- Cut your project.
- While your project is cutting, turn on your EasyPress 2 and heat it up to 385 degrees.
- Prepare the blank you will be infusing the ink on.
- Place a piece of card stock white paper in between the layers if necessary so it won’t bleed through the material onto the other side.
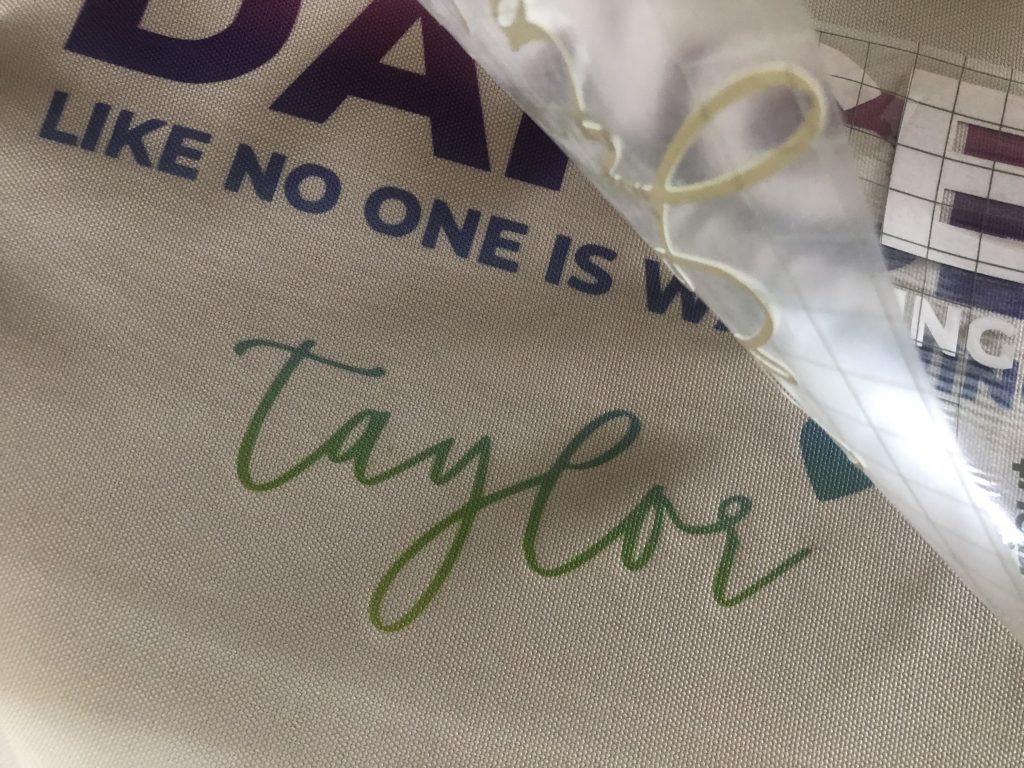
- Remove the project from the Cricut mat by peeling it away.
- Weed out the excess paper that is not a part of your design you want transferred to your blank.
- Place your design onto your blank and make sure it is where you want it.
- Use the tape to hold your project into place so it doesn’t accidentally slide a little bit and mess up your design.
- Press your EasyPress on your design for 60 seconds to fully transfer the ink into your blank material.
- Gently peel off the plastic and let cool.
WHERE CAN I BUY CRICUT INFUSIBLE INK
Infusible Ink products are now available at Michaels stores. Then they go out to your other favorite retailers and Cricut.com on October 1, 2019.
So fun right? What would you make with Cricut’s Infusible Ink?
This is a sponsored conversation written by me on behalf of Cricut. The opinions and text are all mine.
JOIN OUR NEWSLETTER
Would you like more Recipes, DIY, Printables and Organization Ideas?
Subscribing to the newsletter will enable us to periodically send you creative content exclusively for Idea Room subscribers.
*View our Privacy Policy here.


I love your tips, your website is beautiful.
Congratulations on sharing good ideas.
Thank you.