
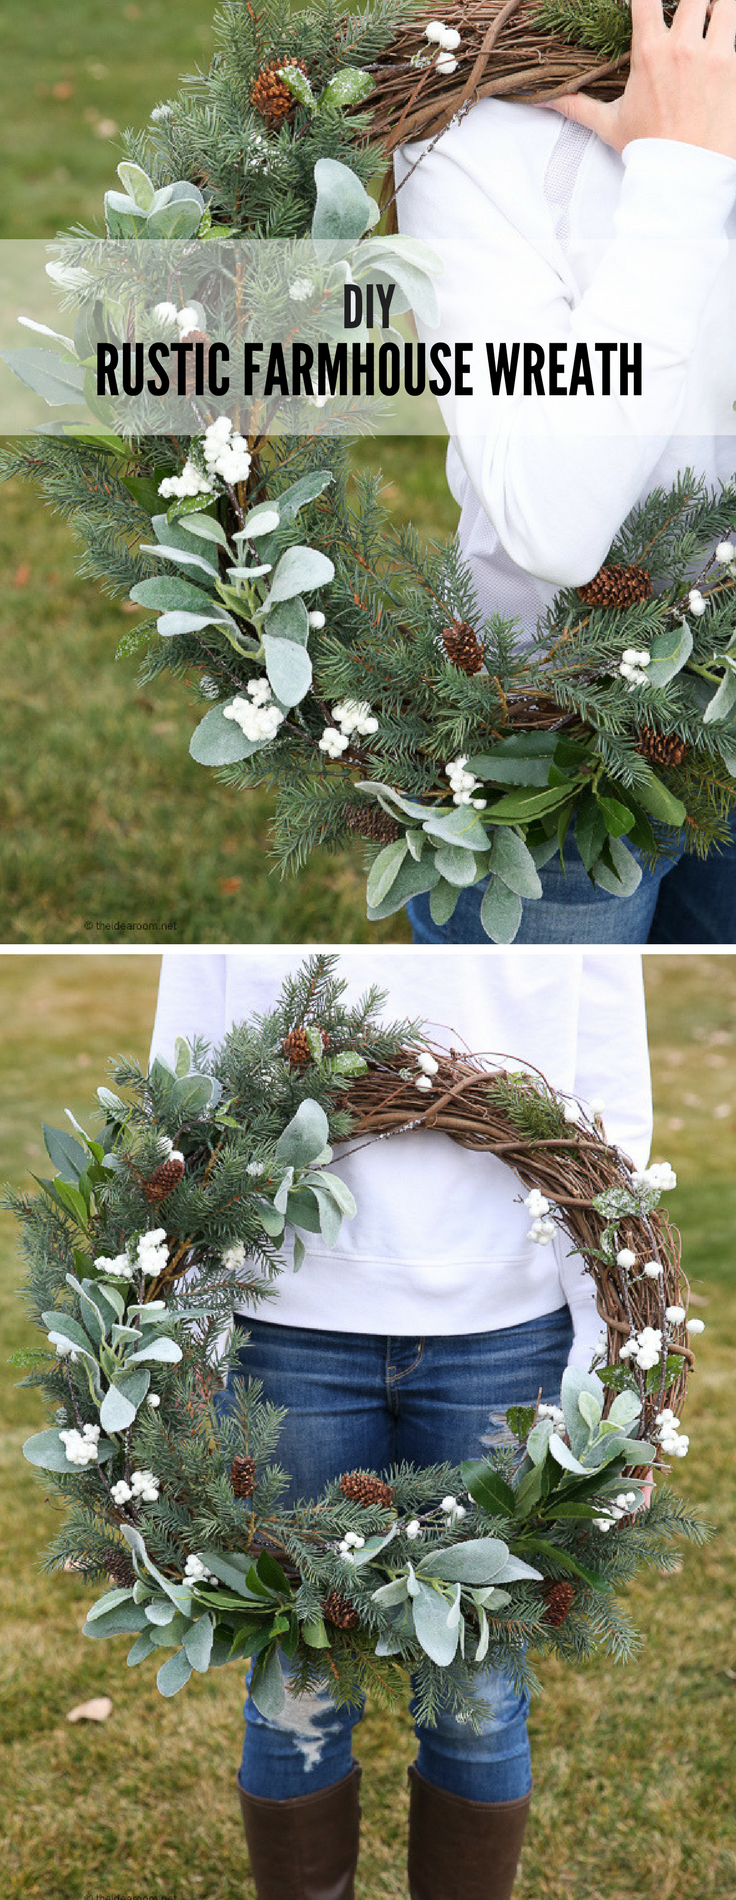
Today I am partnering with JOANN to share with you How to Make a Rustic Farmhouse Wreath! I am so excited about this project for a couple of reasons. First, I love working with JOANN products to create beautiful items for my home. Second, I love the process of creating something beautiful that fits my style and is fits my space perfectly!
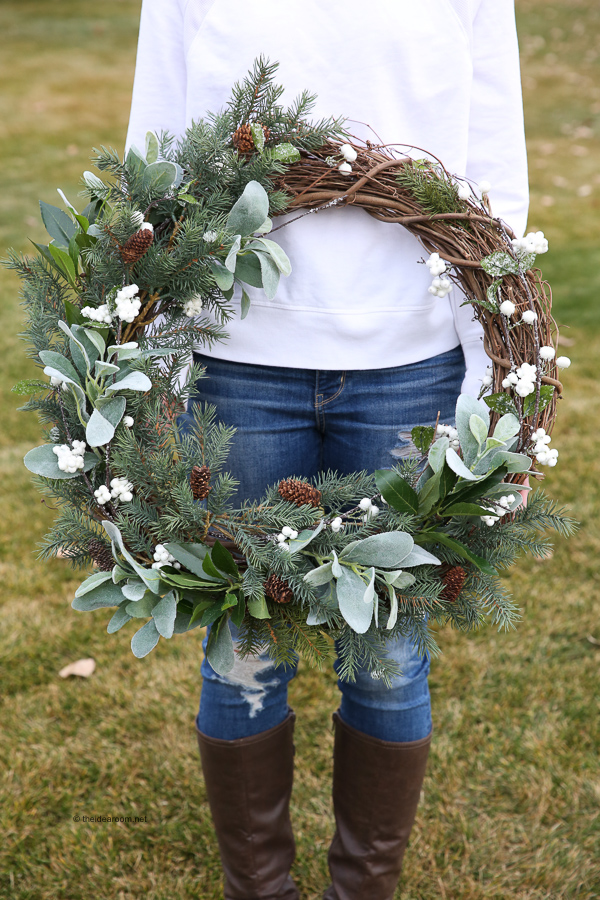
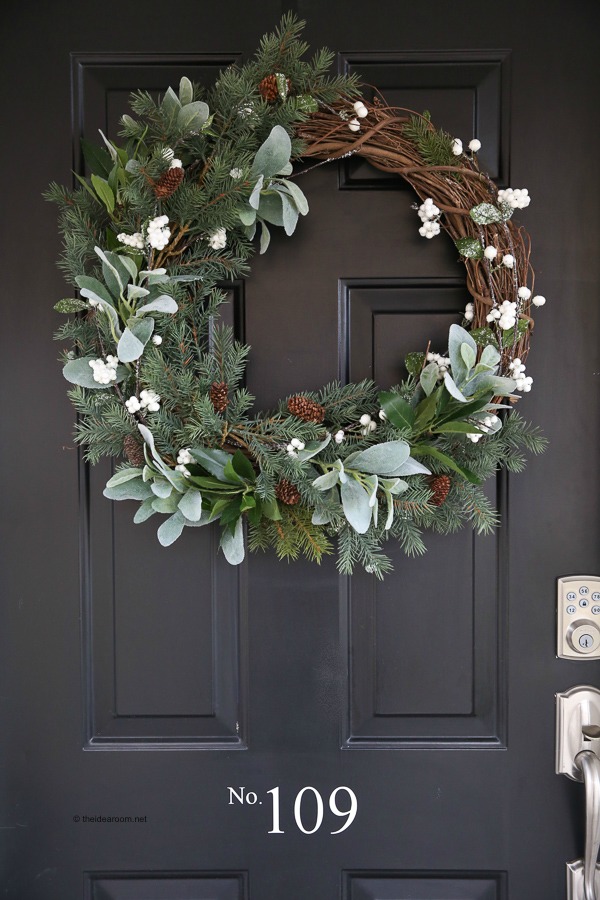
When I was deciding what direction to go with this wreath, I knew that I wanted something simple and classic that could be used all winter long to adorn my front door. I wanted something that was felt fresh and pretty natural looking even though I was going to be using items that were not real.

I found all of my supplies in the floral department at JOANN. I actually had a difficult time narrowing down what I wanted to use and went back and forth with a couple of items before eventually deciding on and creating this Rustic Farmhouse Wreath with these 5 items.
Red River Vine Grapevine Wreath 24″
(5) Blooming Holiday Christmas Angel Pine & Pinecone Spray-Green & Brown
(2-3) Bloom Room 19″ Sweet Bay Spray with 74 Lvs.&Berries-Two Tone Green
(2-3) Bloom Room 28″ Lamb’s Ear Leaf Spray-Green
(2-3) Blooming Holiday Christmas 30” Berry Spray-White
To make this wreath simply follow the directions below.
Directions:
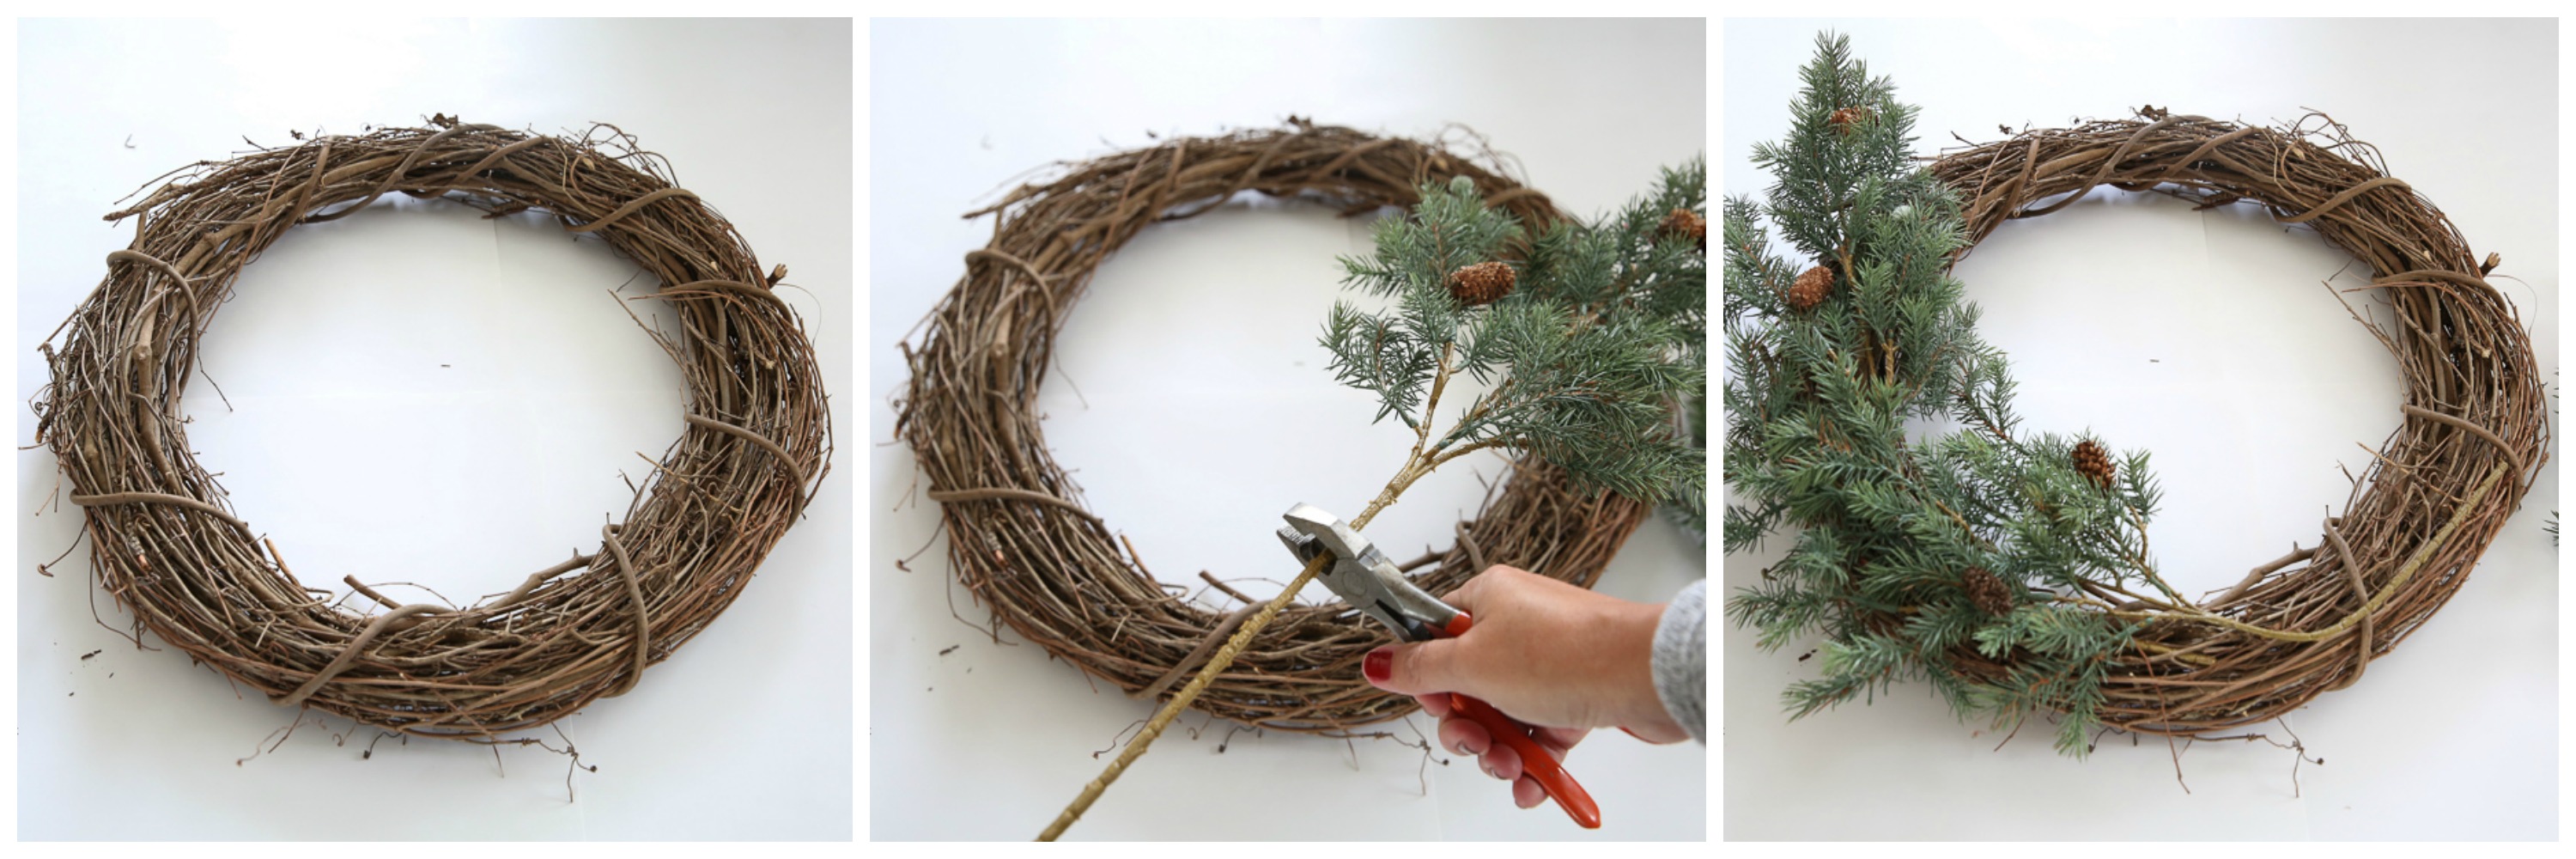
1. Take your grapevine wreath and place it on the floor or an even work space.
2. Arrange your pinecone sprays so that three of them go up the left side of the wreath and two up the right side. Arrange them so that they spread out evenly around 3/4 of the wreath and the grapevine is covered uniformly. You can cut off the ends of the pine branch so you don’t have to worry about the excess bulk. Use a hefty pair wire cutters because the wire is really thick.
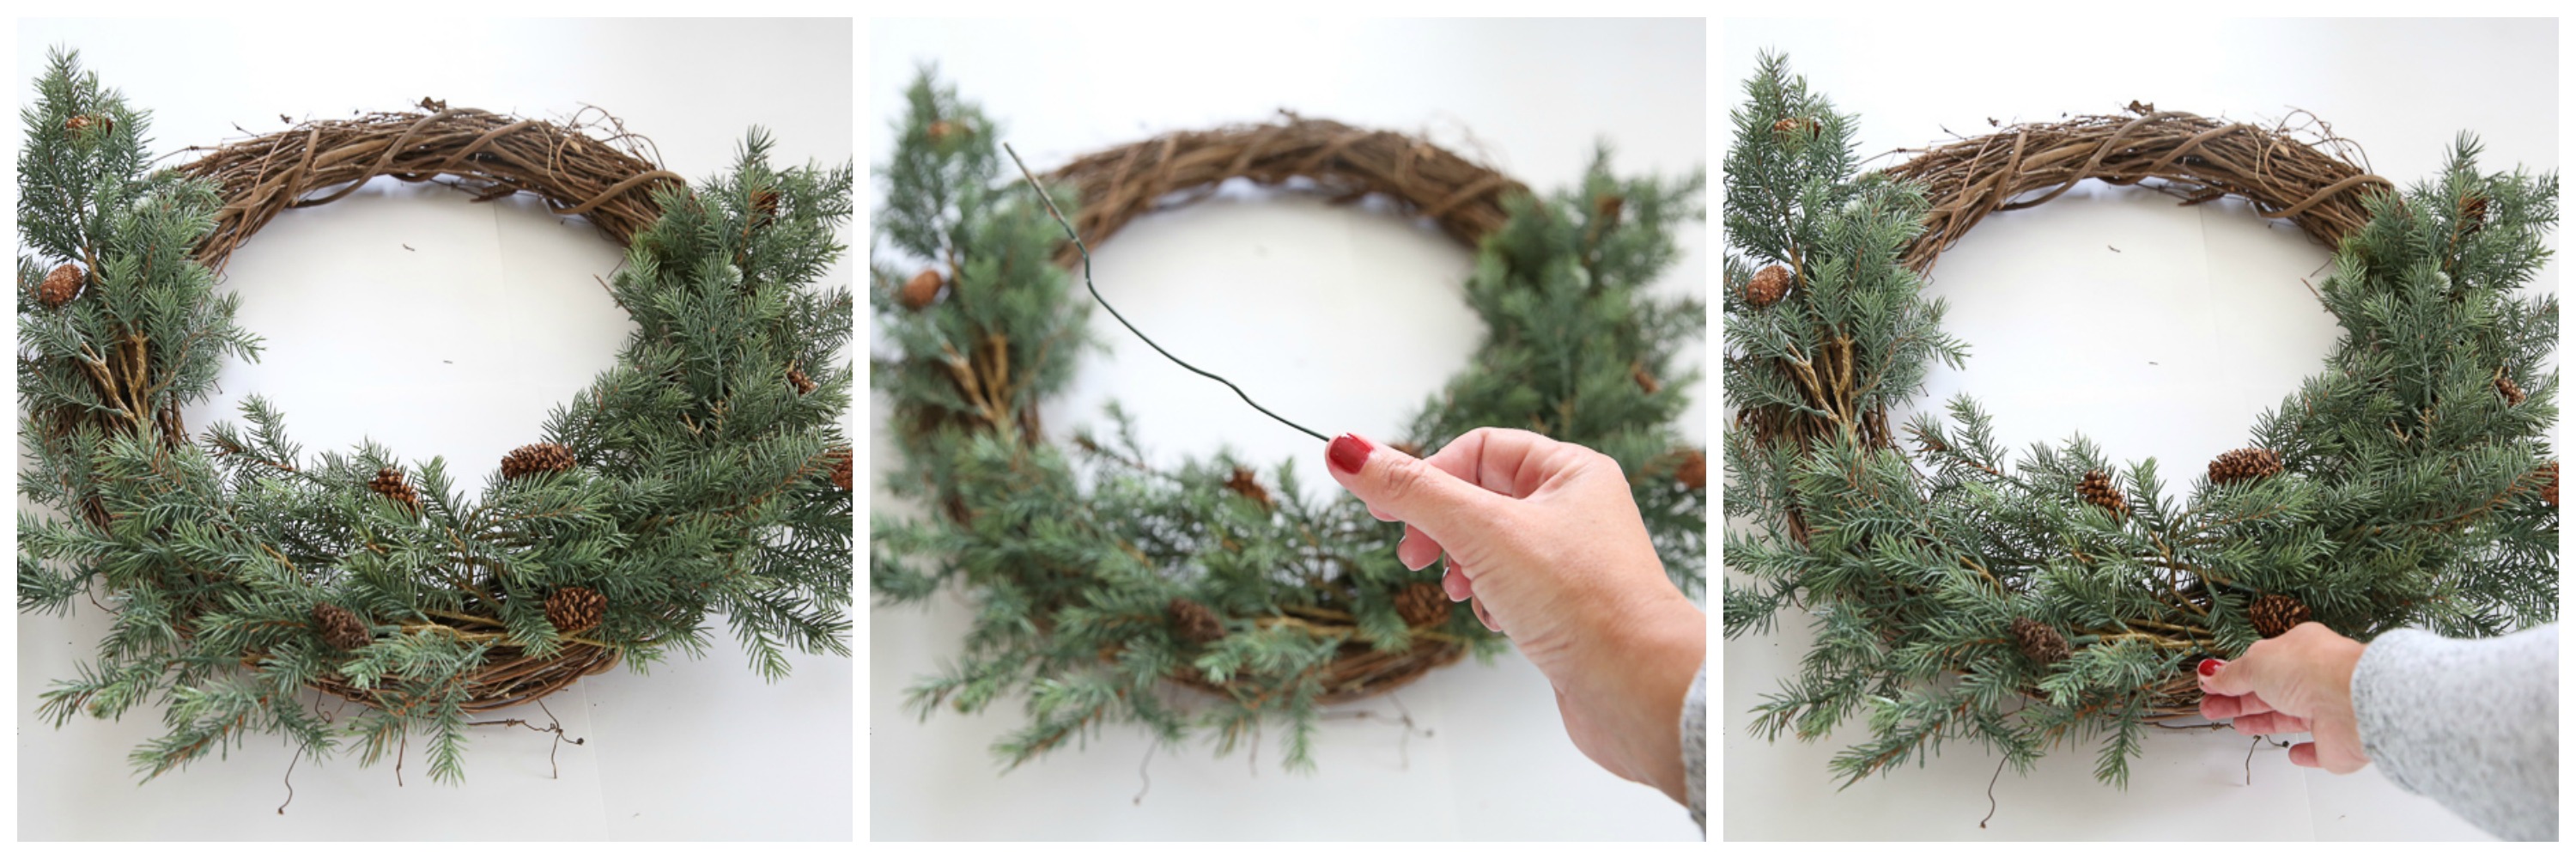
3. Take some floral wire (green is best so it can be hidden) and use it to secure the branches onto the wreath. Be sure to hide it under the top branches so it can’t be seen.
4. Take your Bay Spray and pull it apart into some smaller sections. You can do this with your wire cutters or by pulling it apart with some force. This will give you smaller sections that are easier to work with and place and help you spread it out into more areas on your wreath. Use 2-3 sprays depending on how full you want your wreath. When you are happy with their placement, trim the ends and secure them in place with more wire.
5. Take your spray of Lamb’s Ear and separate them into smaller sections. Place them around the wreath in some areas that need more fill. I used more of these than the bay leaves because I wanted to add a little more wintry feel to my wreath. Trim any excess wire on the bottom of the sprays. Secure them with wire.
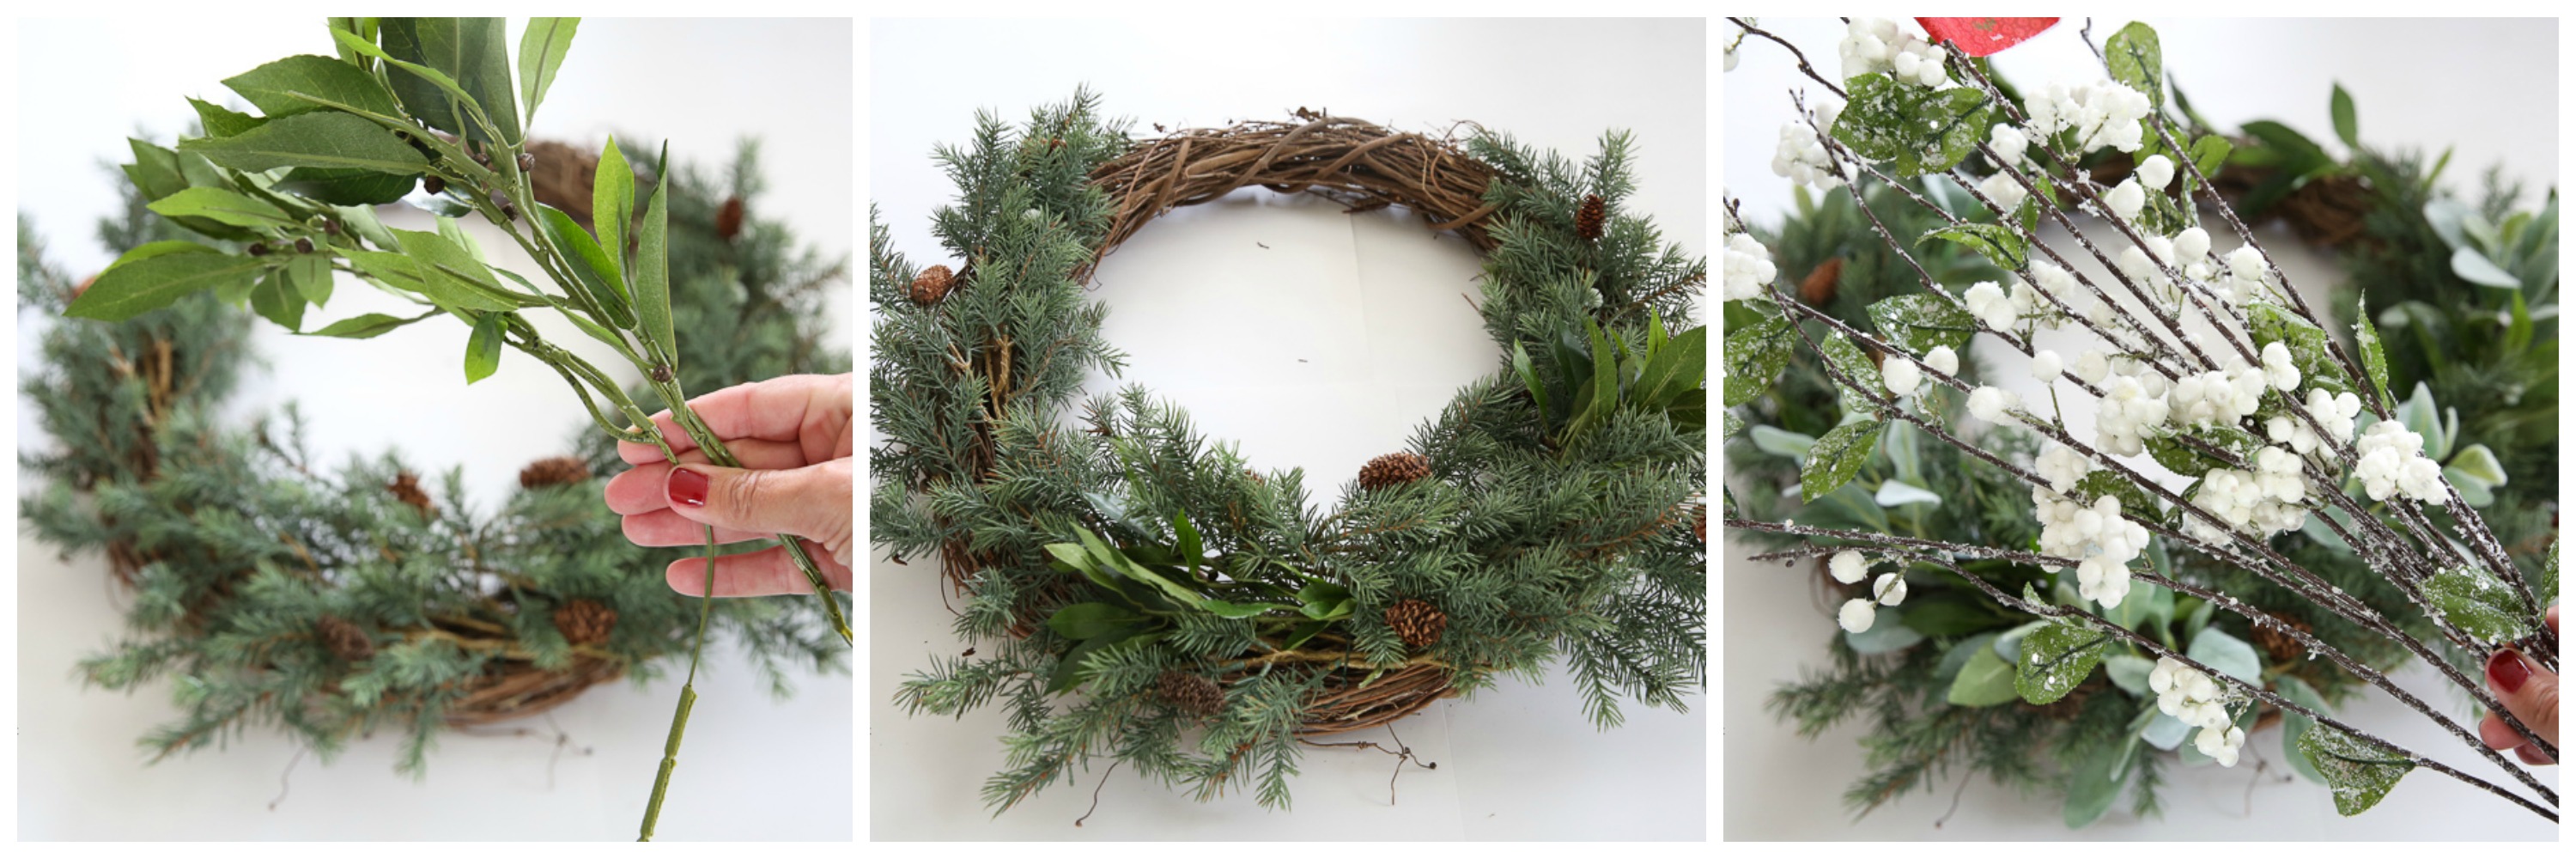
6. Finally, take your white Berry Spray and separate them into small groups of berries. Place these all around the wreath including the empty space on the 1/4 of the wreath you didn’t place any greenery. Fill them in until your wreath feels balanced and them secure them with a couple of wires.
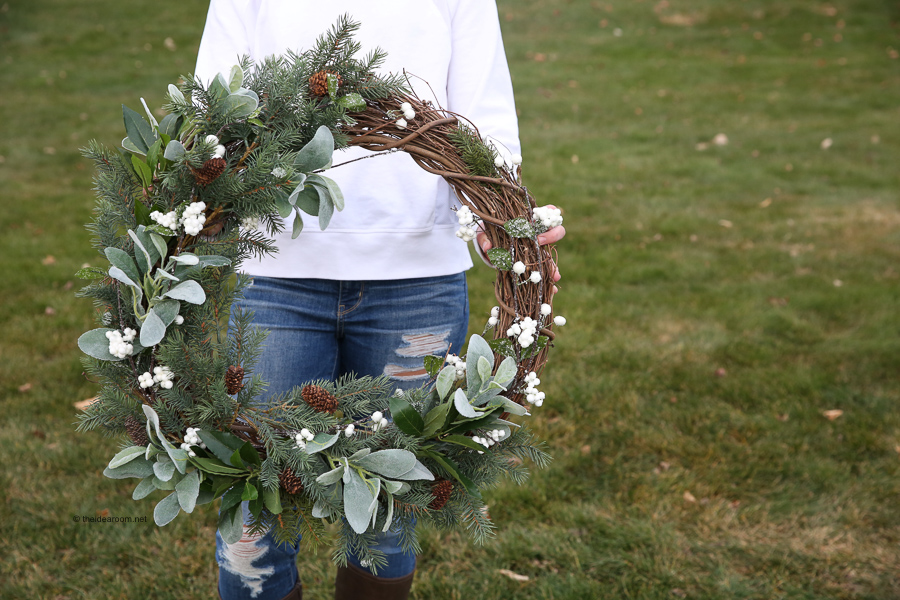
7. Fill in any areas that don’t feel as full or need a little bit of variety with any leftover pieces. Add a little bit of greenery to the 1/4 section if needed, but not too much or the wreath won’t have an intentional space.
8. Hang on your door and enjoy all winter long!
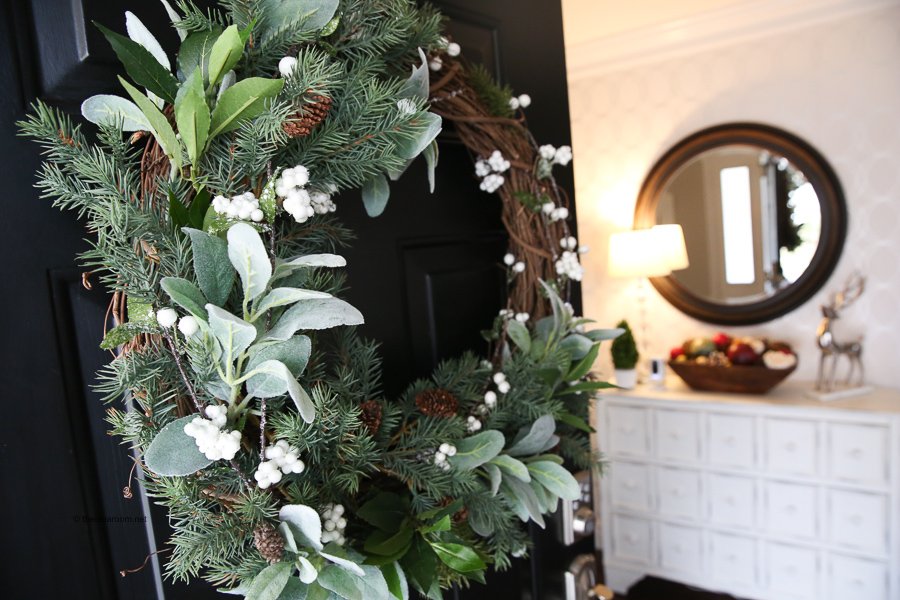
I am so happy with how it turned out! I love that this wreath is pretty versatile. I could place it anywhere in my home and it would feel natural in any space. If you want to add a little bit of color for Christmas, you could simply add a few red berries in along with the white, or replace the white ones altogether. Place them loosely in the wreath if they are something you want to add to it just for Christmas. They can be pretty easy to put in and pull out as needed!
I just love the selection I found at JOANN for creating this wreath! JOANN has all sorts of items for your Holiday crafting and decorating needs. Be sure to check them out this Holiday Season!
JOANN App
*This post is in collaboration with JOANN. I am honored to be working with a company that I truly love!
You may also be interested in this Holiday Christmas Mantle and a Christmas Jar Village with JOANN post.
JOIN OUR NEWSLETTER
Would you like more Recipes, DIY, Printables and Organization Ideas?
Subscribing to the newsletter will enable us to periodically send you creative content exclusively for Idea Room subscribers.
*View our Privacy Policy here.


Love this!!!!
Melissa- Thank you so much!
How much did it cost to make?
Christy- around $20..depending on what was on sale.
So simple and yet so stunning- I love it!!!
Thank you Becca!
Have you thought about creating more of these and selling them on Etsy? We don’t have anything like these products in Australia, especially for $20! I would love to have this in my home!
Sarah- Wish I had more time to do that. Great suggestion though. I hope you make one. They really are so simple to make.