




Learn how you can get your home organized with my easy step-by-step organization course. My course is full of organization ideas as well as home organization tips and tricks to get your life and home organized and keep it that way.

ONLINE DECLUTTERING COURSE
For the past several months I have been putting together my Online Organization Course, The Balanced Home. I am excited to teach you my decluttering and cleaning process. These processes also teach you how to create simple routines and cleaning schedules which allow you to naturally maintain your clean and organized home.
No need to hire a professional organizer, or live with the clutter because you will have the skills and learn how to overcome any mental barriers or fears you might have to get started!
Stop Drowning in Household Clutter
Transform your space without the overwhelm. Join The Balanced Home Course for a step-by-step system to get your home organized and keep it that way for good.
Learn More & Join Today →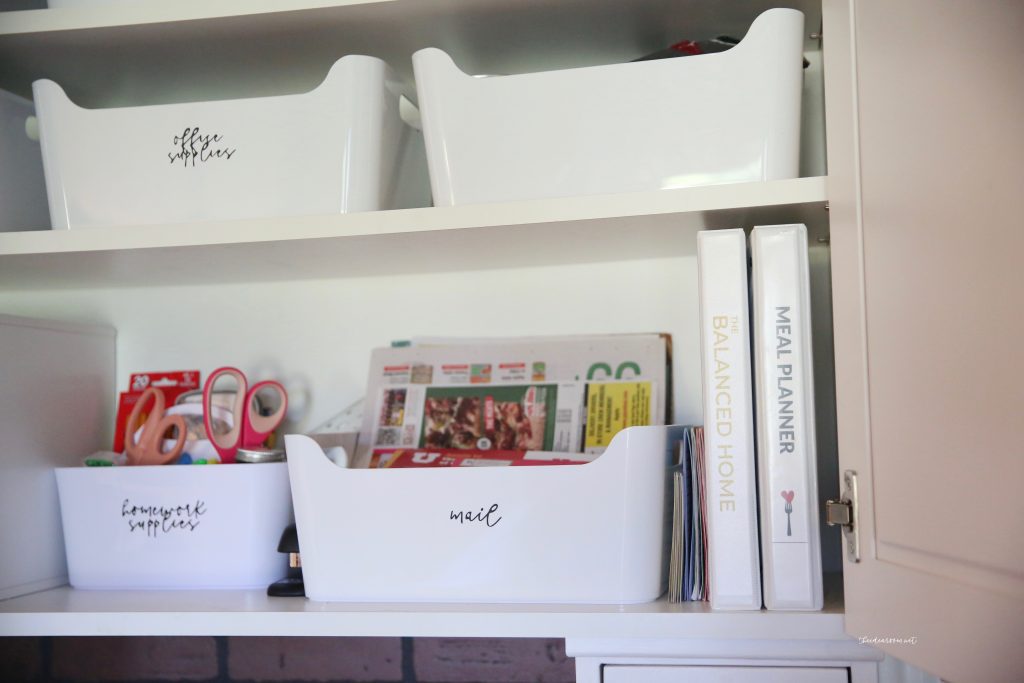

WHAT DOES THE ORGANIZATION COURSE COVER?
The Balanced Home Organization Core
($1,000 Value)Contains my core Decluttering and Organization Processes, which shows you how to:
- Learn how to declutter and organize your home–by learning processes and techniques that really work!
- Deal with stuff you don't know how to get rid of
- Understand what qualifies as hoarding
- Understand how to overcome hoarding tendencies
- Deal with your junk room or junk drawer
The Tools
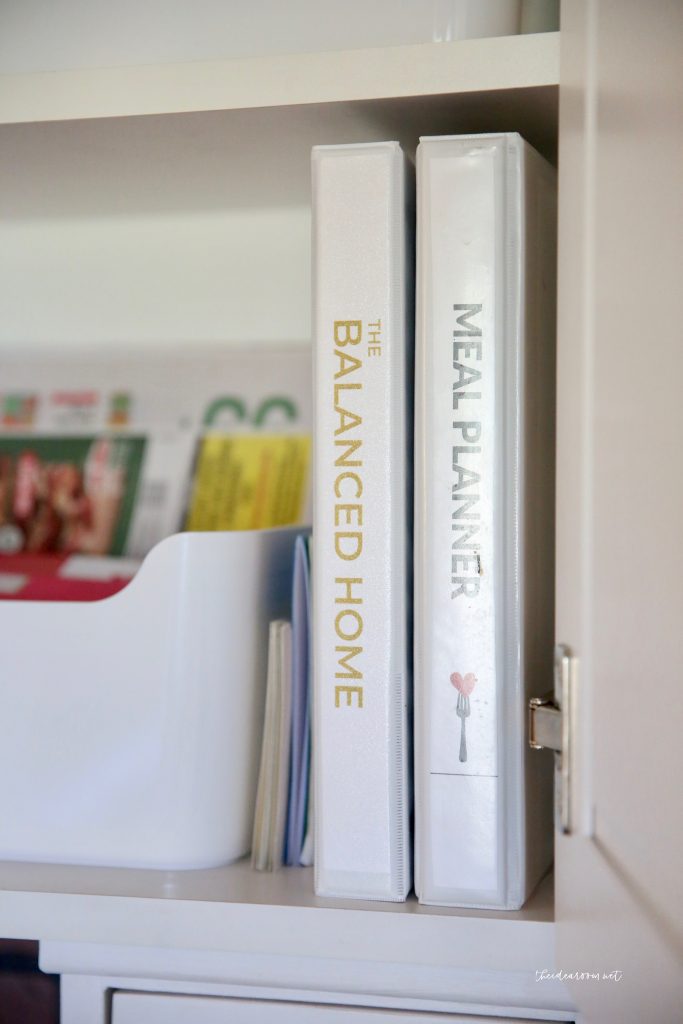
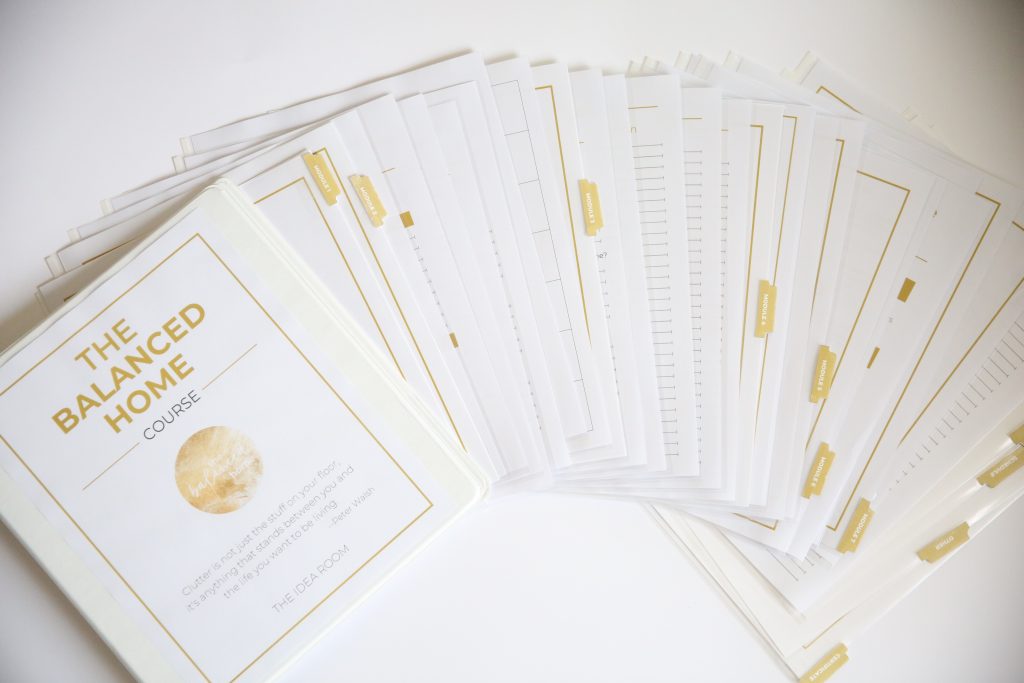
- Workbook, Resources, Labels, and More ($250 Value). Contains everything you need to help guide you through each lesson, including:
- An easy-to-follow workbook to guide you step-by-step through the lessons
- Printable Labels
- A vision sheet for your home
- A working checklist of tasks you can accomplish in 30 minutes or less
- Shopping and To-Do Lists
- Monthly Calendar and Weekly Schedule
The Mental Foundation
The best processes to overcome mental barriers from Tony Robbins and Dean Graziosi's Mastermind Course ($200 Value). Helps you to find the time, the energy and the motivation to organize your home by:
- Discovering your “true, internal why” -> what motivates you to want an organized home
- Helping you clearly identify what is holding you back from success
- Teaching you how to organize your schedule to create new pockets of time
- Helping you discover what is most important for you to accomplish with your time, as opposed to just urgent or habit
- Helping you cut out the things that aren't important and identify gaps in your schedule you can dedicate to working on your home
Your Ideal Home
The best processes to set and achieve your vision by breaking it down into actionable steps ($300 Value). Teaches you how to break down an overwhelming project into small, manageable steps, by:
- Clearly defining your goal and vision for your home
- Learning how to evaluate specific rooms and identify what you want to be improved
- Identifying specific, easy to complete tasks in each room that will contribute to your overall goal without overwhelming you
- Getting your family or others involved in the process
Cleaning and Maintaining
The best processes to clean and maintain your home after it has been organized ($200 Value).Teaches you how to maintain your home once it is clean and keep it organized, by:
- Providing you with the basic cleaning routines you need to naturally stay in control of your home
- Teaching you my amazing “Ten-Minute Clean-up” process, which allows you to clean an entire floor / room in ten minutes or less!
- Showing you how to establish routines with your kids and other members of the family
- Sharing important resources such as chore cards, favorite cleaning products, and a deep-cleaning checklist, and more
- Explaining the laundry routine we use in our home to get our laundry done every week without even thinking about it
- Teaching you how to deep clean your home after it has been decluttered and organized
- Showing you how to help the other members of your household be on the same page and not “unclean” your home
During the course, we will:
- Show you the process of how to go throughout your home decluttering, cleaning, and organizing. Then you can take this process and go throughout all the rooms in your home–including the bathrooms, kitchen, craft room, home office, basement, entryway, playroom, garage, attic, and all other rooms in your home–cleaning and organizing.
- Clean out and organize not just the rooms themselves, but organization spaces such as closets, shelves, drawers, and bookshelves.
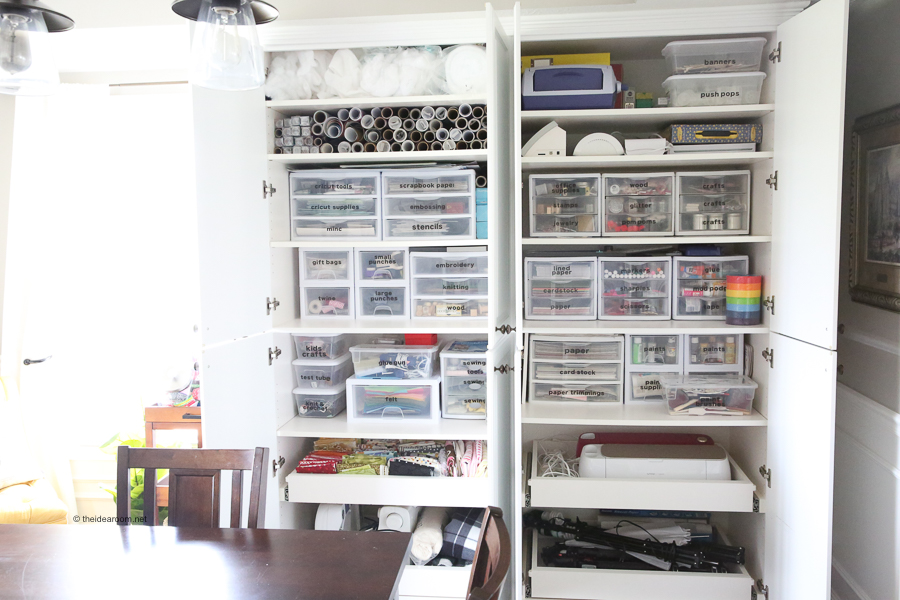
- Learn how to properly use organization equipment, such as bins, drawer organizers, storage bins, food storage containers, lids, and baskets.
The Private Balanced Home Community
(BONUS – Priceless). Provides a community that you can go to whenever you need a place where you…
- Seek inspiration and ideas from others
- Receive support and motivation from others
- Share your successes and see the successes of others as we all work towards finding balance and clarity in our homes.
- Can ask questions and let me know what you may still need help with so that I can continue to cater the course to your needs


What Do People Have To Say About My Organization Course?
“This course was instrumental in helping me organize my space as well as my time. As a busy mom, I have a better grasp on what my days need to include so that I can enjoy my family rather than spend my time spinning my wheels cleaning up after everyone.”
“The Balanced Home Course helped me to be the “professional organizer” for my family! Simple steps to follow, check lists, printable labels, suggestions and worksheets will keep you on track to successfully maintain your own balanced home.”
“I am pretty sure I have solved more issues with the seven layers and clarity tool than I have in 6 months of therapy!! I think this course is going to help much more than my home. Thanks Amy!!!!”
When I realized I had been overcomplicating the idea of organization, that simplifying was a key component, then things really started to fall into place!”
When I realized I had been overcomplicating the idea of organization, that simplifying was a key component, then things really started to fall into place!””
HOW TO GET MOTIVATED TO ORGANIZE YOUR HOME
HOW TO OVERCOME FEARS AND MENTAL BARRIERS
I asked and these are the things that are holding you back from getting started! I made sure my course helped you overcome your specific fears and developed processes to address each of the concerns below. Have you ever had any of the same concerns?
- “I don't have the time.”
- “I don't know how to break it down into manageable chunks.”
- “How do I balance other activities?”
- “I don’t have enough energy / motivation.”
- “I'm overwhelmed and don't know where to start.”
- “I'm scared / unable to commit.”
- “I don't trust myself.”
- “I don't have the confidence I will finish.”
- “How do I maintain / keep on top of it?”
- “I have a hard time with inconsistency / finding balance.”
- “I'm afraid of quitting too soon and having it be a mess.”
- “How do I build the habits and routines?”
- “Keeping it clean and organized”“Staying focused and not getting distracted.”
- “What if I have physical limitations.”
- “I don't have the supplies / resources / money (i.e. containers etc.) / storage space.”
- “I don't want to part with things.”
- “What Do I do with all the stuff? Donate? Kids?”
- “What if I need it later?”
- “My family has stuff they want to keep.”
- “Family is not being helpful or even counterproductive… How do I get my family on board?”
- “No sense of design / vision for what I want.”
- “Lack of knowledge.”
- “Afraid of not doing it right.”
- “Being okay with not having it perfect.”
STILL NOT READY TO BUY?
Because I know that sometimes it can be difficult to take that initial leap of faith, I wanted to give you something that would allow you to get your feet wet a little, something that you could access RIGHT NOW. I think you'll like it. I've opened up a “sneak peek” section of my course, where you can access one or two of the lessons that are a part of The Balanced Home Course. If you click the button below you will be able to create your own personal account / log in for the course and access the “sneak peek” videos.

OTHER ORGANIZATION PROJECTS
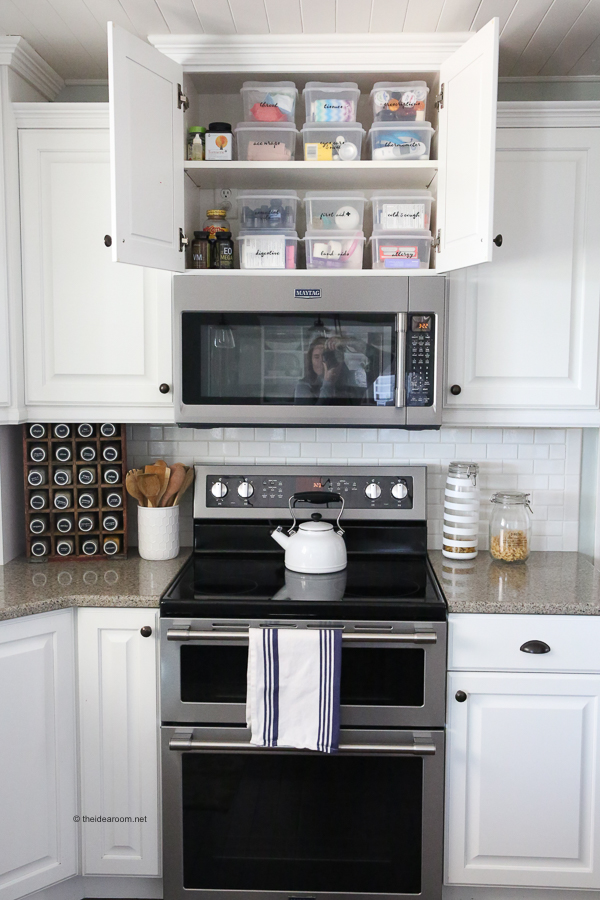
If you are interested in taking a deeper look into some of the spaces in my home, check out the following posts!

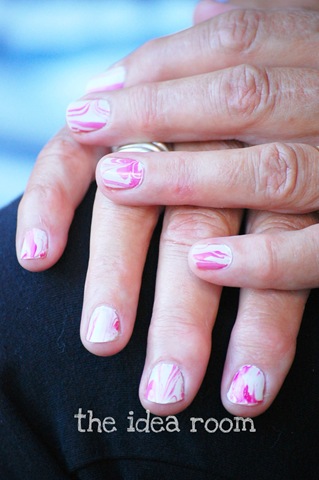

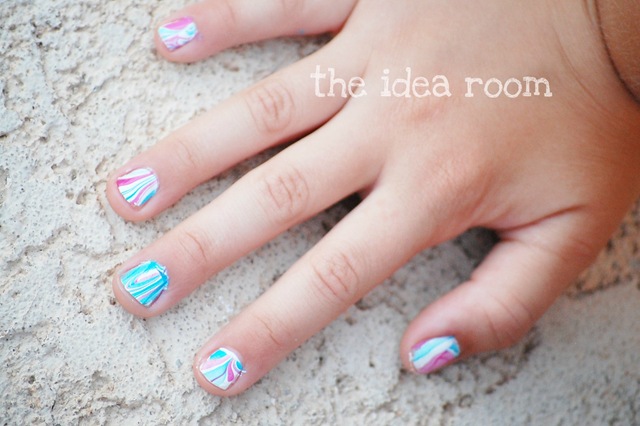




That is crazy! I’ll definitely have to try that some time.
I just got a great crackling polish from OPI called “Black Shatter”. You paint it over another color and it breaks all apart as it dries into fun shapes. Black may be a bit too dramatic for your girls, but they also make it in other colors like white, silver, and I think pink too? It works way better than the crackle polishes I remember trying when I was little.
I’m going to try this again with dd. but the last time, it didn’t work. don’t know if it was the polish or what.
that looks awesome! loved your fun color choices for you sweet little girl :) My sister in-law Katie has told me about these…and we tried them, but didn’t quite get it right. The video tutorial was great!! I’m excited to show her :)
That is so neat! Without having girls at home anymore, I miss out on all these new things.
my girls will LOVE this. thanks for sharing!!
Yeah! AND EVERYONE will be like: Whoa, i want those nails! And like this: How did u do it?i would be like: HAHA! lol! ha i am not telling u!
I loovvee water marble nails, it always comes out so unique and great!
My daughter will LOVE this!!!
I love that. I’ve never seen it before.
WOW. i see things on stumbleupon all the time that i think are cool and i wish id try but i never actually go do it. i just did this and it was so easy and looks professionally done! that was so awesome! im in college and now i have something fun to do with my friends that i can show them during the school year!
I remember learning this technique in Mrs. Potter’s 6th grade class, waaaay back in the 80’s, but we used it to make fancy easter eggs, not fancy fingernails (we poked the holes at the ends of the egg, blew the egg out and then dipped and hung our eggshells to dry). I still remember doing mine in blue and gold. I love this new application for the idea!
ok so i saw this website and i thought it was adorable! so i grabbed all the equipment needed and went to work and the only thing that i accomplished was to create a giant mess in my house and have my fingers covered in nail polish. i think ill leave this one to the professionals …
I love this idea! My friend and I used to do swirl design with a toothpick, but it was hard and we could only use 2 colors. This way is so much simpler and comes out better too!
I have done this several times. I have found that it works better if you dont use tap water. Try brita water or bottled water. Also if its not turning out correctly try different polishes. I use two colors and then in the center do a drop of a third. Currently I have pink, orange and did a drop of silver.
BUSTED!! It looked like such a great idea. I tired it two times, followed the directions each time and both times it didn’t turn out. I tried tap water, bottled water, warm water, coolish water, styrofoam cup, glass cup, different brands of nail polish and still the polish didn’t form into circles. It dried really quickly and didn’t form into the rings like it showed on the tutorials. Actually it didn’t do anything like the tutorial. I am disappointed because that looked like such a fun summer activities to do with my young girls. Please let me know how I can do it differently.
I haven’t had a chance to do this yet, but I’ve read to use room temp filtered or bottled water. Before you add your nail polish, add 7 or 8 drops of nail polish remover. This is supposed to make all polishes work. I will be trying it tomorrow. I hope this helps (and works)!
Try using nail polish that is not the fast drying or speed dry polish. We used that at first and did not have any success. When we switched to the “regular” nail polish it worked! Hope this helps
Great tips. Thanks Jenn!
I didnt read on but u have to use room temp water
it doesnt really matter what u use to do it in. i have use plastic, glass, and styrofoam. it does matter what type of polish u use though. sometimes you have to lightly shake the bowl/cup some also drop the polish close to the water or touch it to it if you have to. i have done this marbling many times. its beautiful you never know what design your going to get unless you been doing it a while and you master creating designs thank god i have. i love doing this.
I just did it, and if you add acetone between each nail, it works. I tried it with and without acetone, but it got clumpy without acetone. It looks great. Thanks for the site!
how do u get the tape off
Hi,
What kind of nailpolish do you use. I tried several types but I won’t succeed in getting this beautiful nails.
Can you tell me.
Greetings Malou
Don’t get discouraged if it doesn’t work at first. I didn’t try the acetone trick when I did it, but I did learn that you have to work very quickly. If you don’t get the polish in quickly and swirl it how you want it, it will dry before you cna mix it and it’ll all attach to the stick and come out of the water.
Try to put the polish in and swirl it within about five seconds. I know it sounds like a short time, but you can do it! After that, you can take your time putting your finger in the polish.
hi im madison coffey im 9 yrs old and me and my little sisters faith ,and natalie coffey are going to try marble painting. im going to do a orangeish purple swril kiss,and we are going to use your trick for the nails.have fun makeing more marble videos.and our faveroite one is the St. Patrick’s day one.bye!
sinceiry,
madison ,natalie ,and faith coffey =)
Love the video nice and easy to understand Its a really cool I will have to try it out
I tried this after watching the video! I must say the process is very time consuming and hard. Also, it is very messy! I had to redo each nail a couple of times. In the end, they sort of came out but not really. They looked really bad and nothing like they were supposed to! A little advice: only try this if you have lots of time and a lot of patience! Good luck!
i try it but it hasnt worked im going to try it agian this time i will use bottle water and hopefully it will work for me. it looks sooo cool but isnt working so im going to redo it thanks
Hello, what nail varnish brand should i use for this? The nail varnish never spreads in the water! what am i doing wrong and what nail varnish brand do i need?
PLEASE HELP!
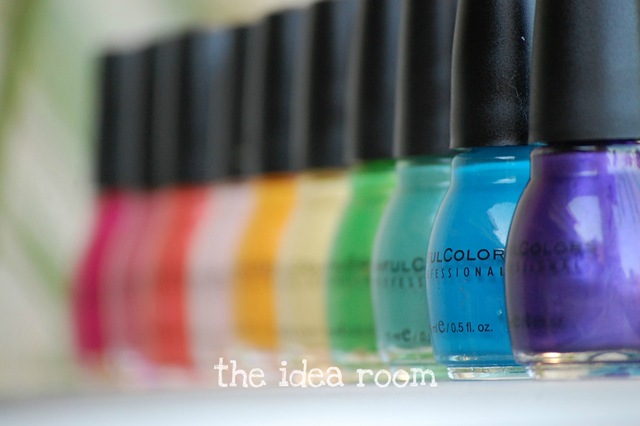
OPI is a good one to use and the brand shown in the photographs worked well for us.
I just wanted to know something about the tape. The tape goes around the finger but not the nail right?
Yes. Around the finger.
Excellent web site you’ve got here.. It’s difficult to find high quality writing like yours these days.
I honestly appreciate individuals like you!
Take care!!
My kids will love this! THANKS!!
ok thank u