
Hey guys! A few weeks ago I shared with you a flooring project I helped my brother with. He recently moved into a new condo and renovated the entire kitchen. We partnered with Pergo to add some new laminate flooring in his kitchen. Today I want to show you the fun before and after photos. To learn how to install the Pergo Laminate Flooring, you can check out my post here.

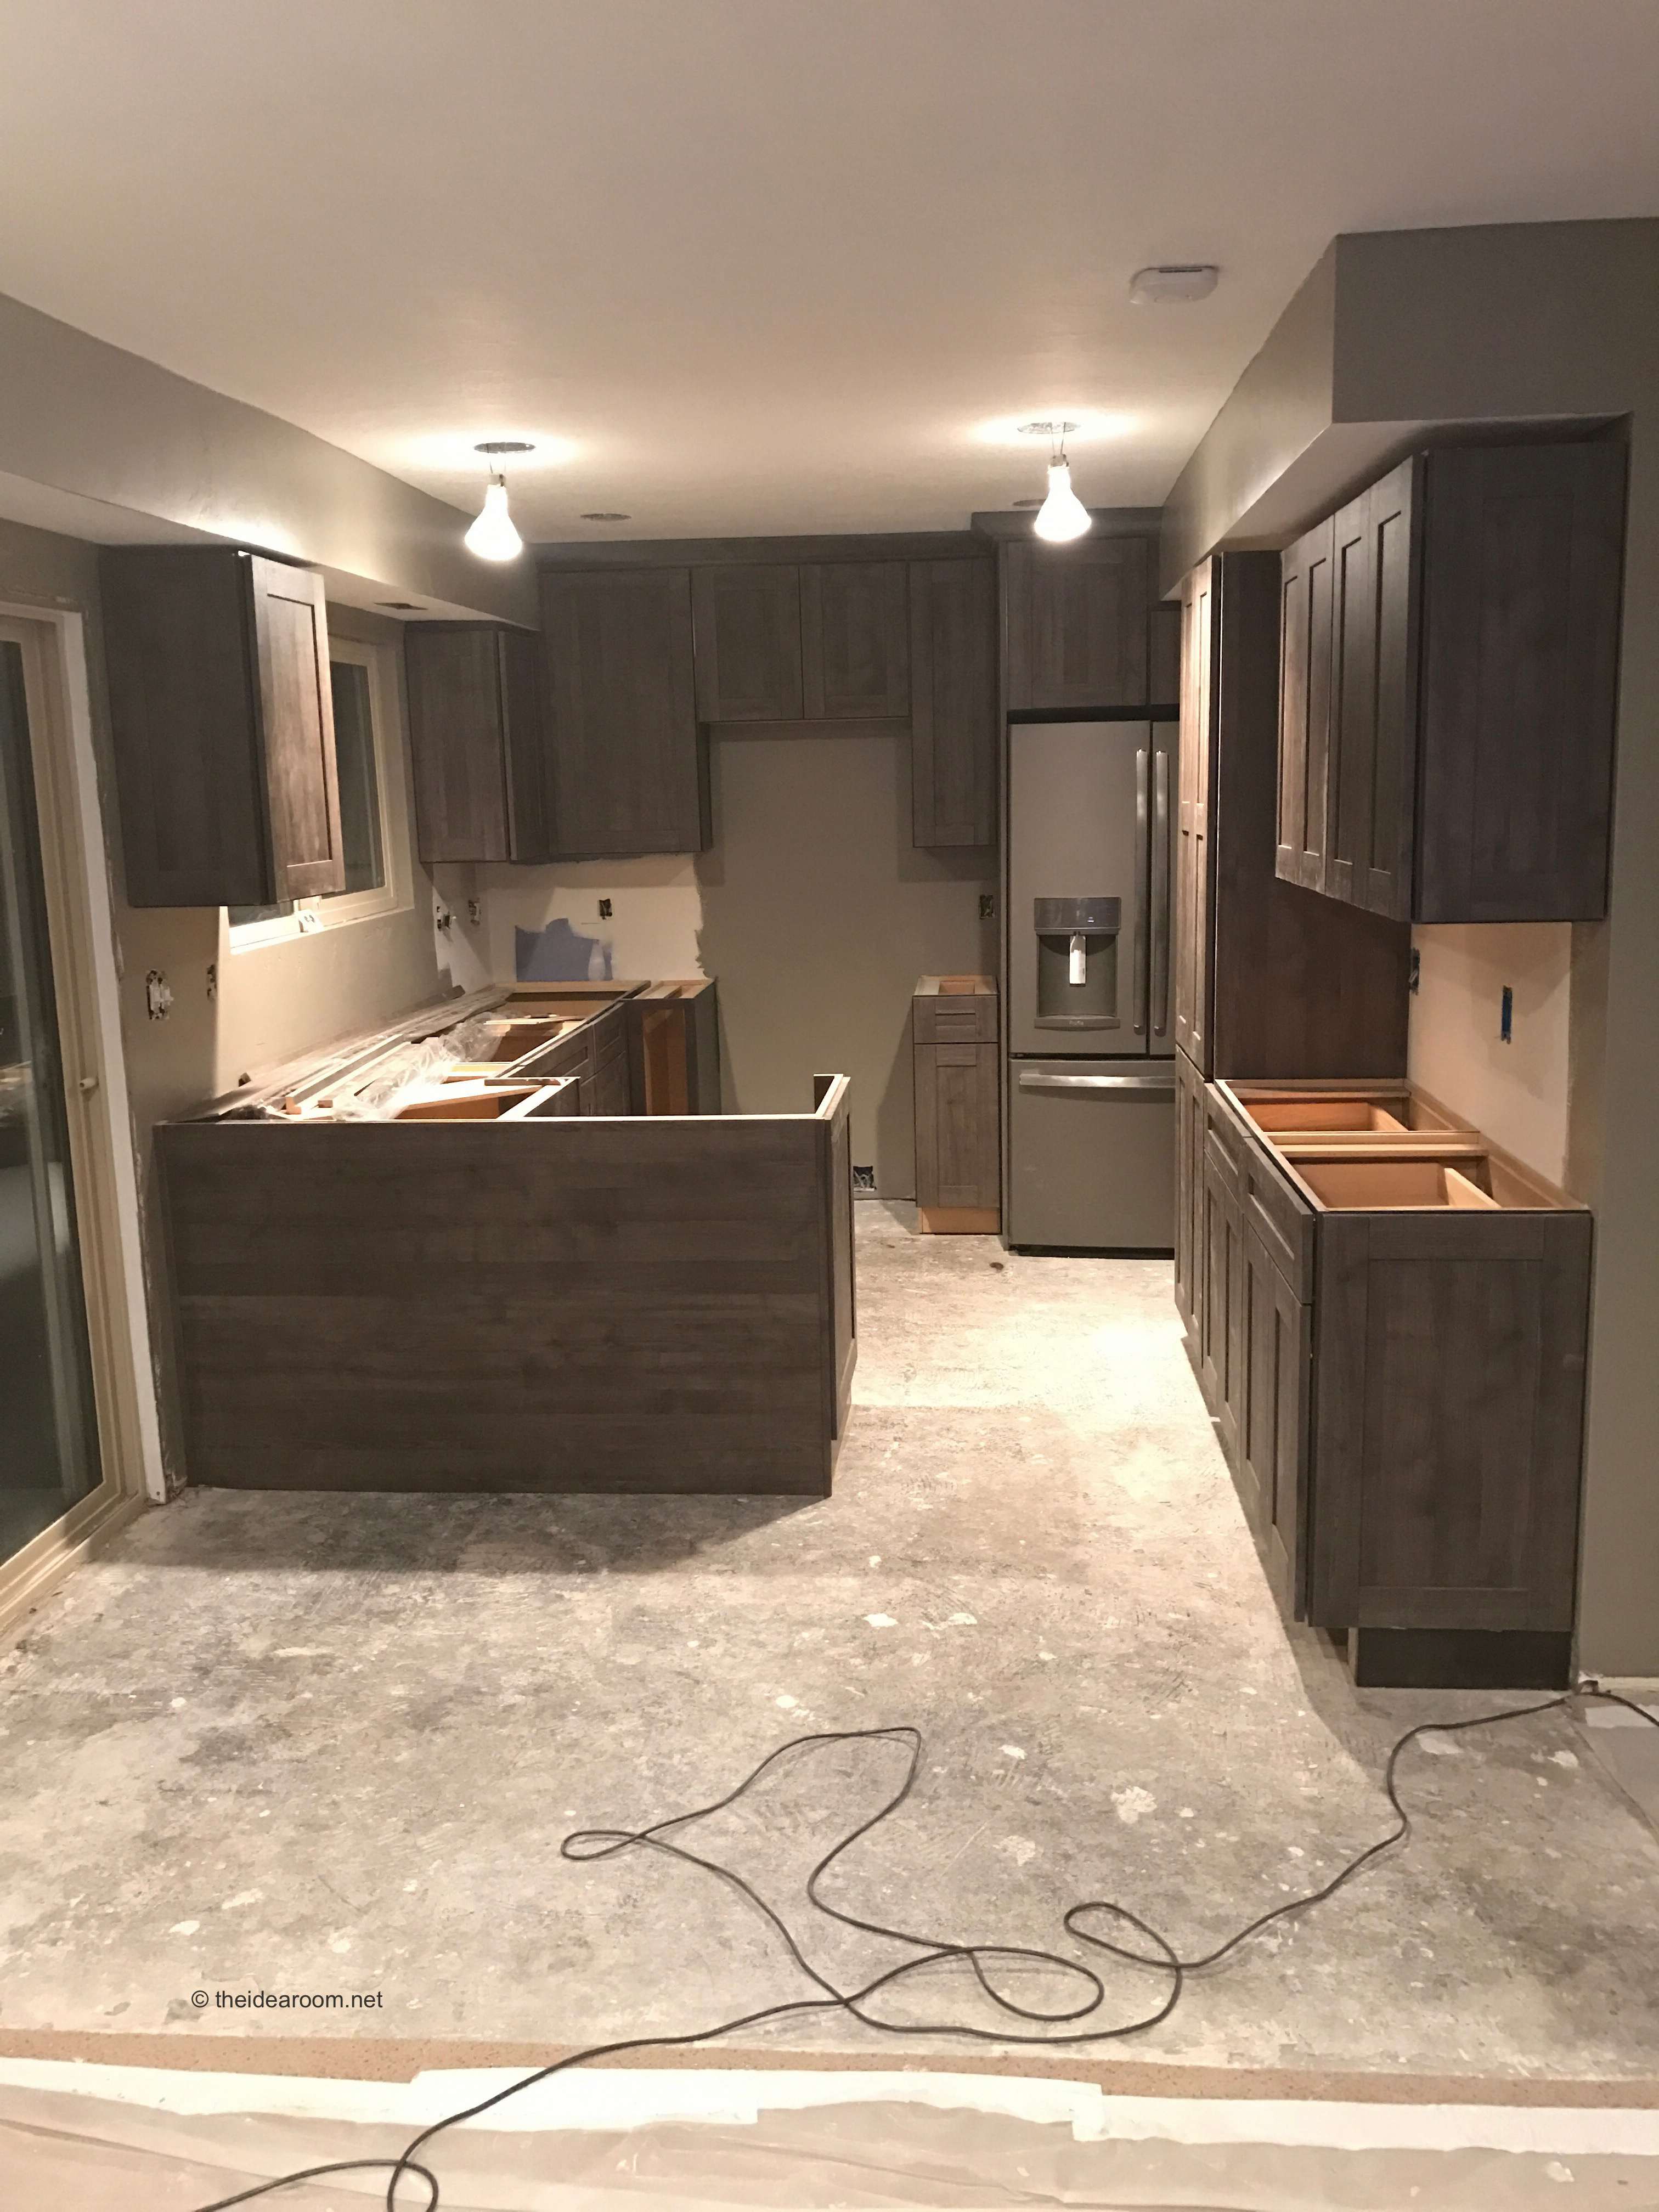
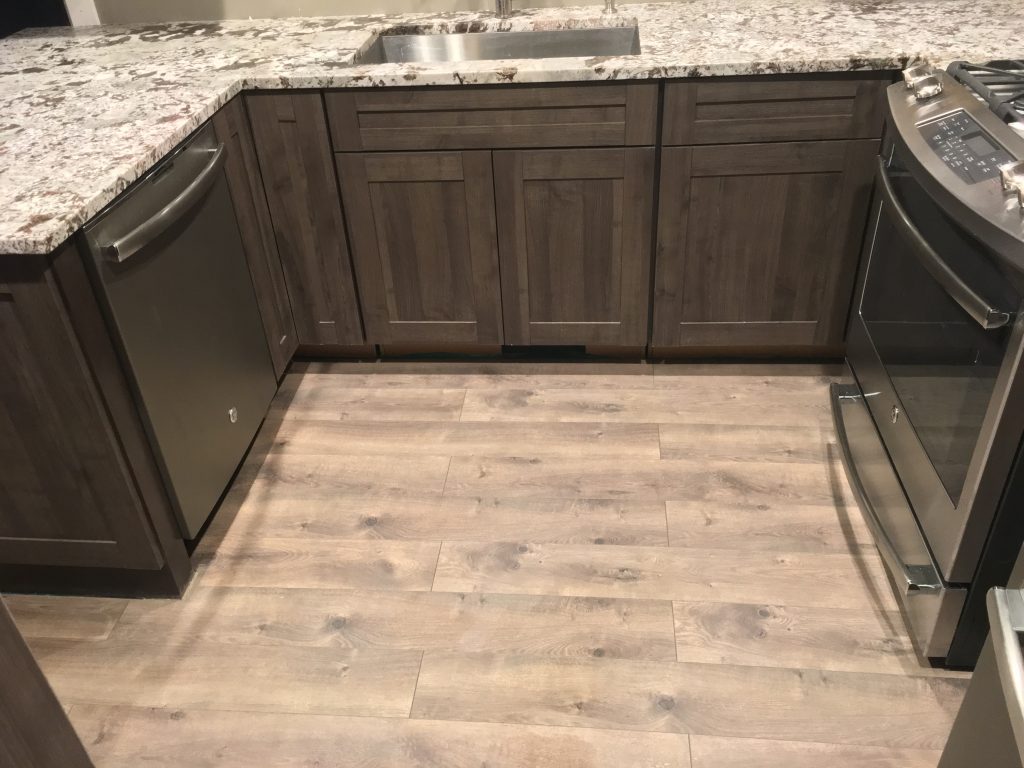
This is the kitchen before the renovation. As you can see, it’s a pretty small kitchen that needed some updating. My brother gutted the kitchen and added some new cabinets. Then we helped him install his new Pergo Laminate Flooring. He chose the Southern Grey Oak Pergo XP.
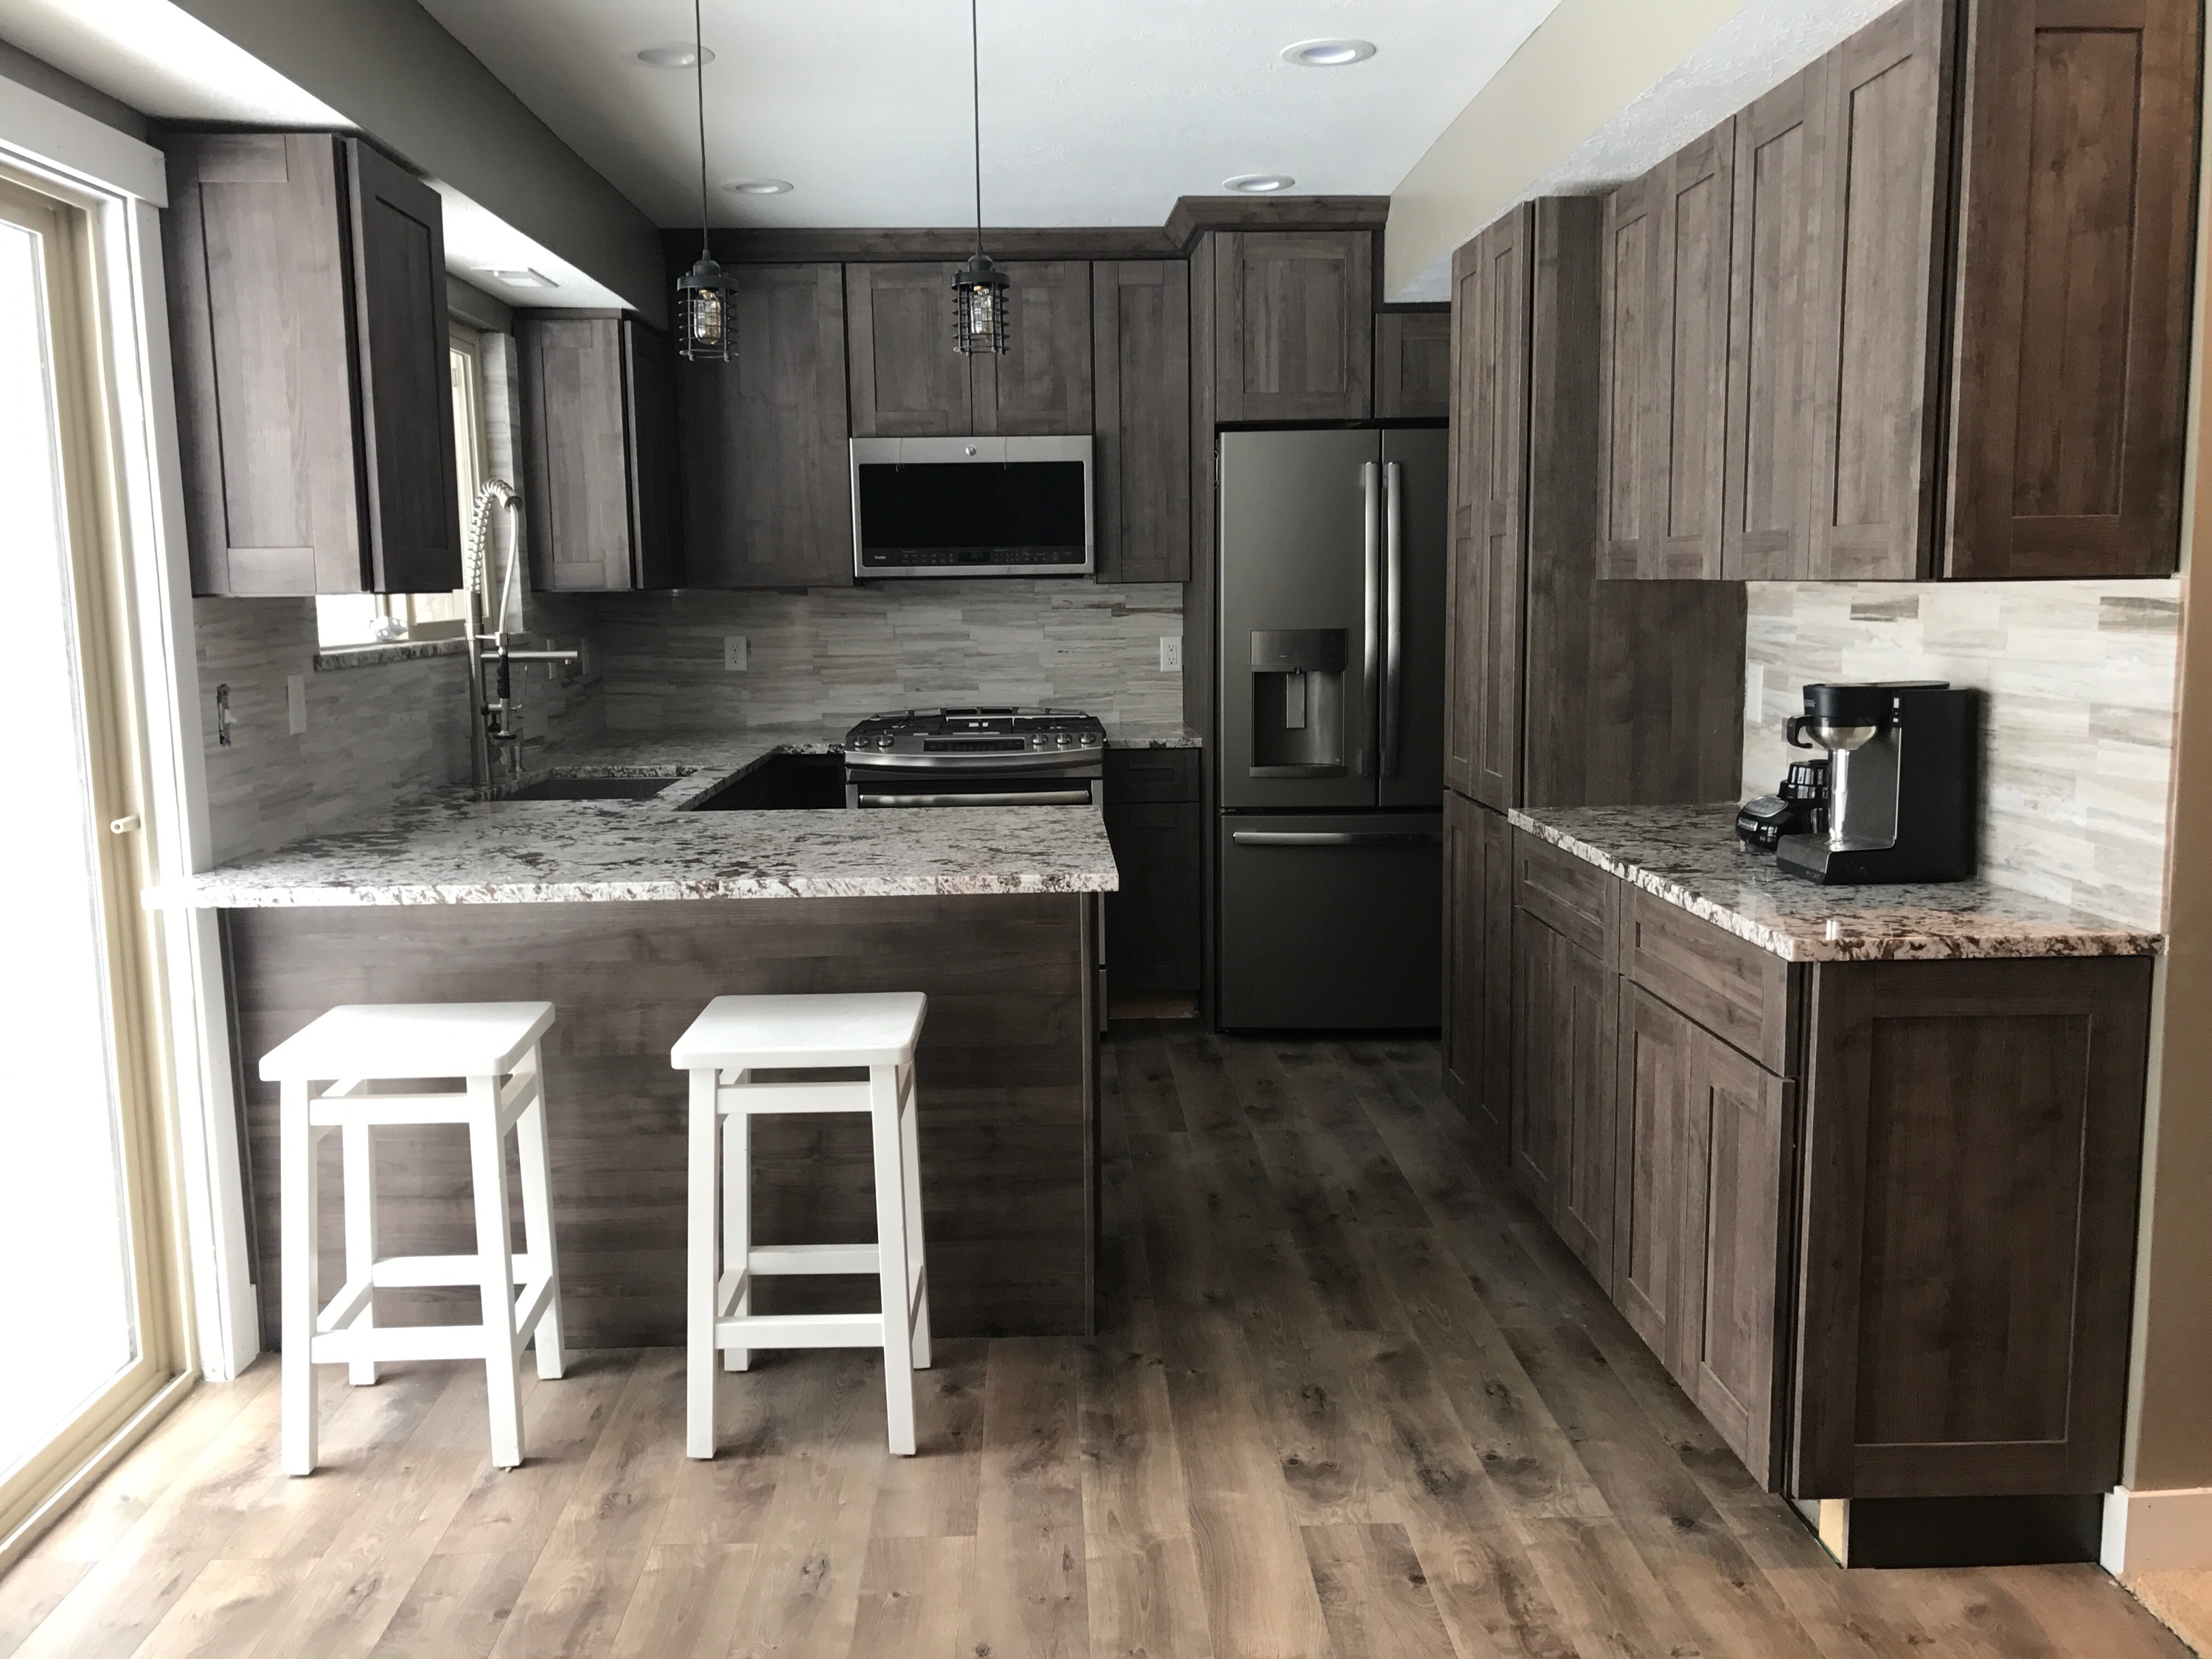
The flooring is so easy to install and looks amazing in his new kitchen. I love how many different colors and varieties there are with Pergo laminate flooring. There really is something for every one and every taste preference!
I just love how it turned out! This kitchen is a lot more functional and has a lot more cabinet space! The flooring just finished the room off so nicely!
*Thanks to Pergo for sponsoring the beautiful flooring. You can learn more about Pergo by visiting them here:


The only thing I have against Pergo is I would like to continue it throughout the rest of my open floor plan. Unfortunately, the color I have has been discontinued. Now have to carpet instead.
I love before/after projects and this one is very successful!
Thank you!