
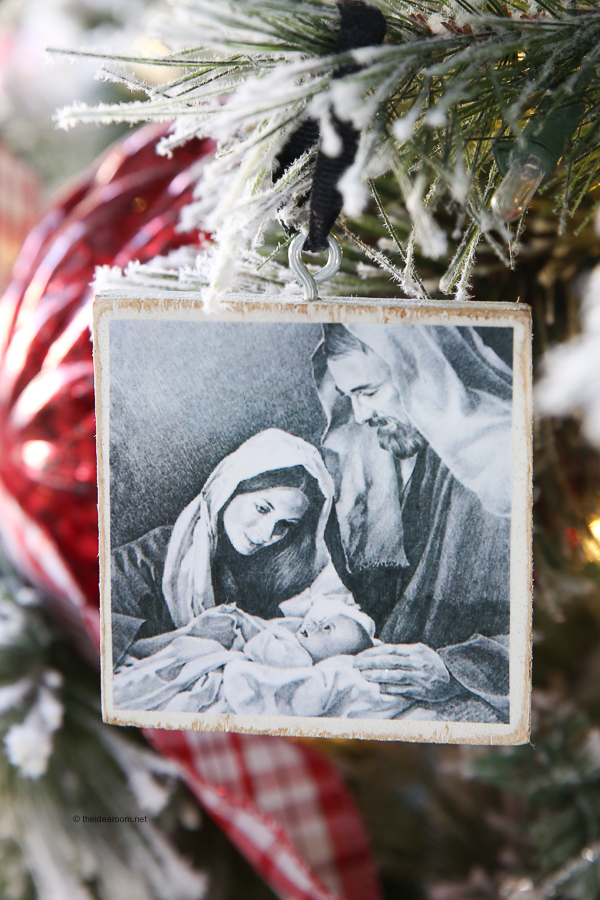
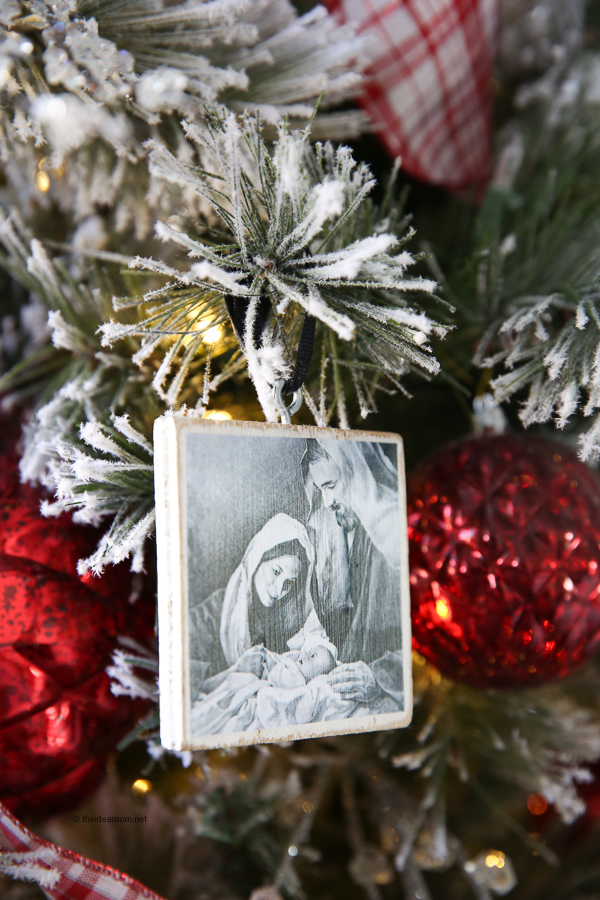
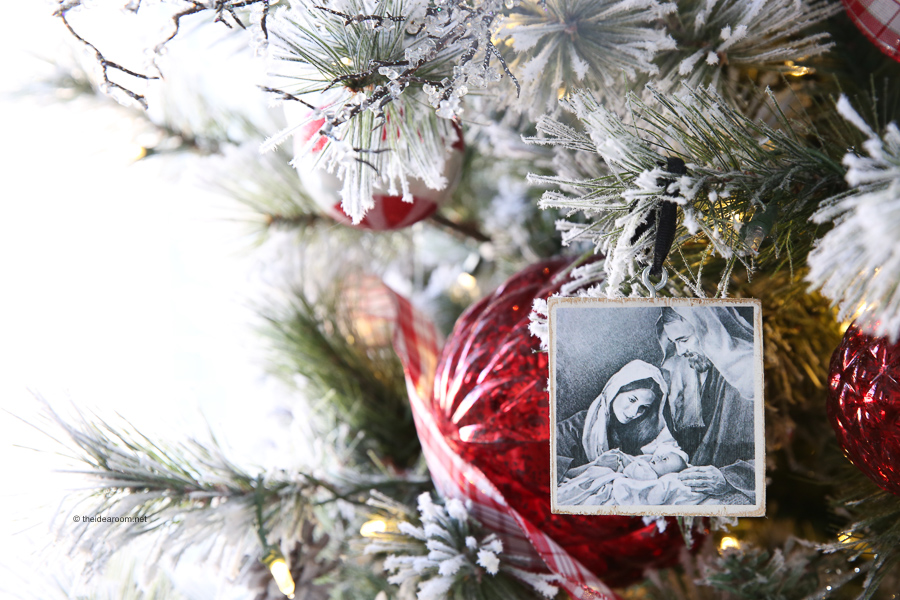
Are you always on the lookout for a creative and meaningful gift idea? I know I am! I love to give gifts that are beautiful and practical and sometimes that can be difficult. Especially when you need to give a few gifts and you don’t want to go over your budget. These DIY Nativity Ornaments make fun Christmas crafts that are simple to make and fairly inexpensive if you need to give a few away this Christmas season.
DIY NATIVITY ORNAMENT
If you have someone that would like to receive a little more spiritual Christmas reminder, these DIY Nativity Ornaments might be just the little gift idea. You can pair it with some Christmas goodies if you want to add a little more to the gift too!
WHAT OTHER ITEMS CAN I USE?
If you would like to use a different background for your DIY nativity ornaments, you can! There are a few different items that would also work well for this fun craft. Just make sure to crop your photo so that it fits the new background item.
- wood slice ornaments
- dried clay cut with cookie cutters
- mini manger or stable
- clear glass ornament you can put picture inside
- frame picture on cardboard with craft stick borders
HOW TO MAKE DIY NATIVITY ORNAMENTS
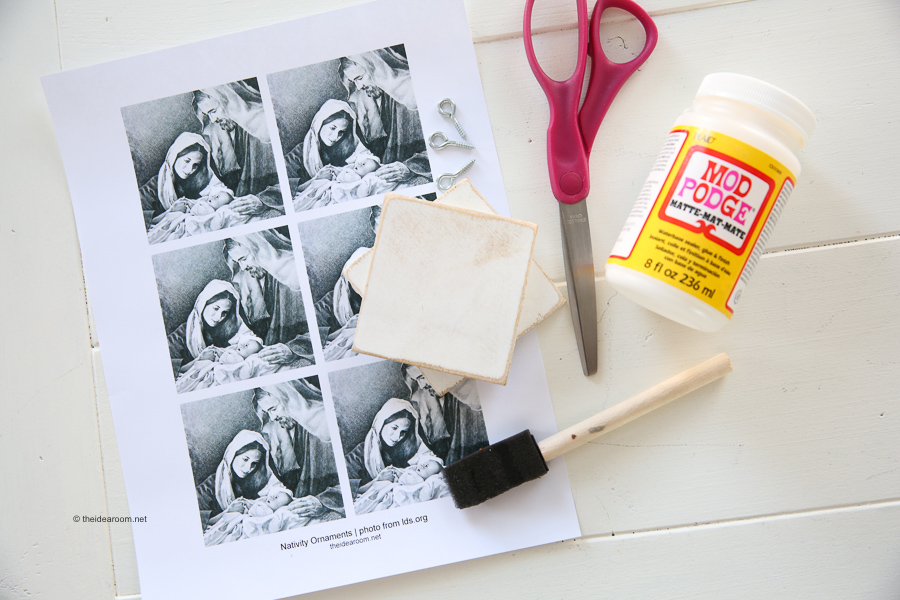
Materials needed for Christmas nativity ornaments:
-
- printable Christmas Nativity photo(s)
- scissors
- white paint
- sand paper
- mod podge (I like matte finish) or hot glue
- foam paint brush
- 3 inch wood squares
- eyelet screws
- ribbon, fishing line, yarn or a piece of twine for hanging
Directions for making DIY nativity ornaments:
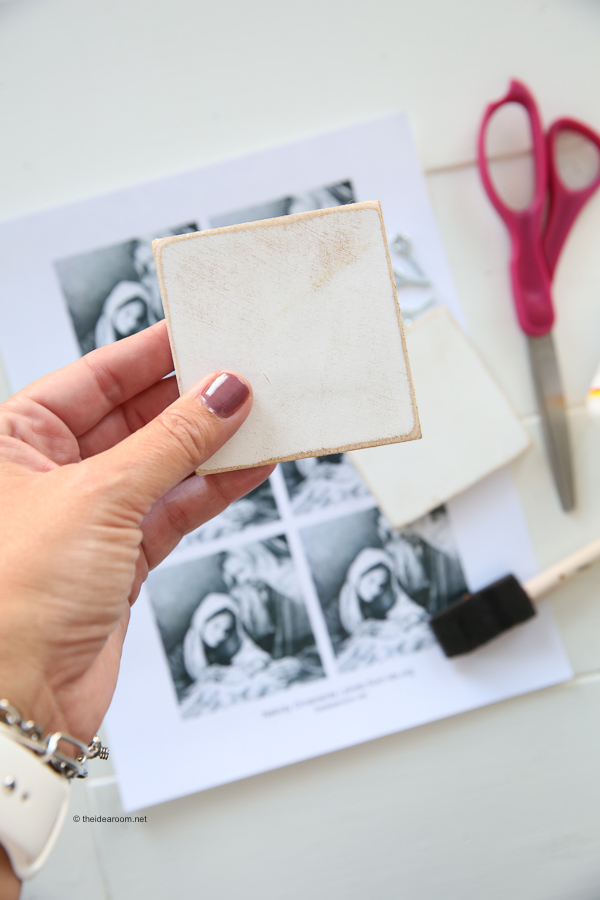
1. Paint your wood square white and let it dry.
2. Take your 3 inch wood square and sand around the edges if you want a weathered look.
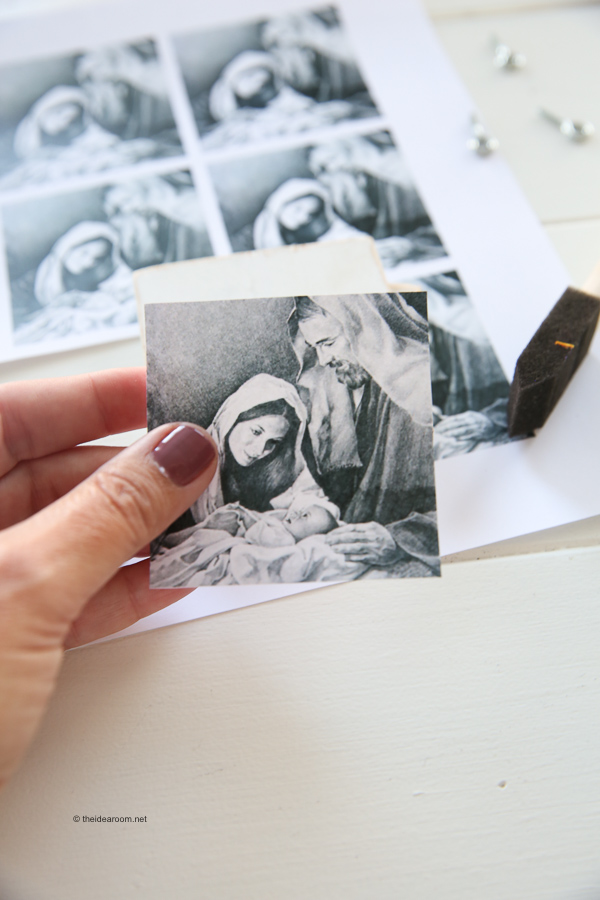
3. Print out the Christmas Nativity Photo here. Cut it out. You will want your picture template to be a little less than 3 inches square to fit on the wood square.
4. Paint a layer of mod podge on the front of the wood square. Carefully spread the photo so that it is centered and all the air bubbles are pushed out and smooth. Let it dry.
5. Paint a layer of mod podge over the top of the photo to protect it. Let it dry.
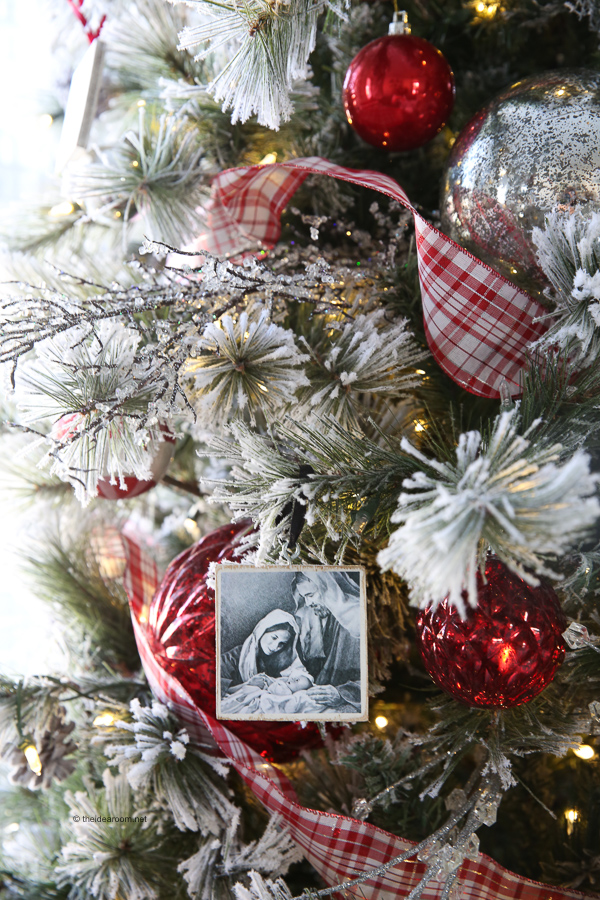
6. Screw an eyelet hook into the top center of the wood ornament. Attach a ribbon with a knot so that it can hang on the Christmas tree!
Wrap it up and gift it to your neighbors and friends this Holiday Season! I hope you love it!
*This original picture is from lds.org. It is intended for personal use only.
You may also be interested in making these other DIY Photo Ornaments.
You may also be interested in making these other DIY Photo Ornaments.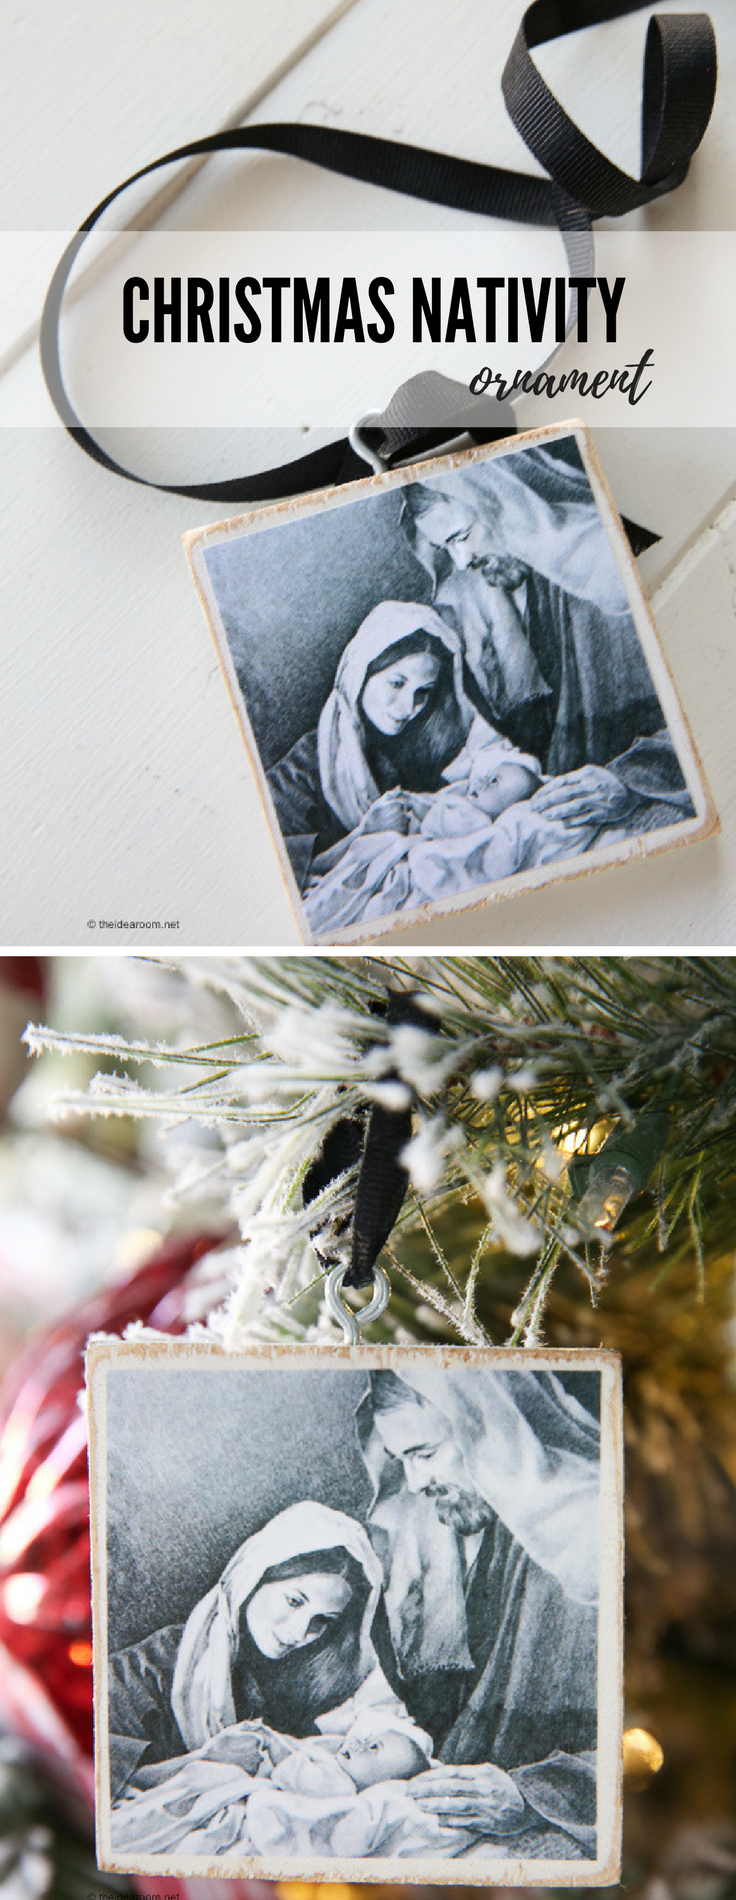
JOIN OUR NEWSLETTER
Would you like more Recipes, DIY, Printables and Organization Ideas?
Subscribing to the newsletter will enable us to periodically send you creative content exclusively for Idea Room subscribers.
*View our Privacy Policy here.


Hi! These are so pretty! Did you use plain paper or cardstock?
Patti- I used printer paper but cardstock would work well too.
What a fun idea! My primary activity day girls made these last night. We added a bow and star and they were perfect. The girls loved them and me too!
Robynn- So happy your girls loved these! Merry Christmas!
Thank you so much for this wonderful resource. This will allow students to take home a Nativity when they may not otherwise have one. God Bless.
THank you!
When using the midge podge, how did you avoid brush strokes on the nativity picture?
Amy- Just use a higher quality brush. This will help with the brush strokes.