
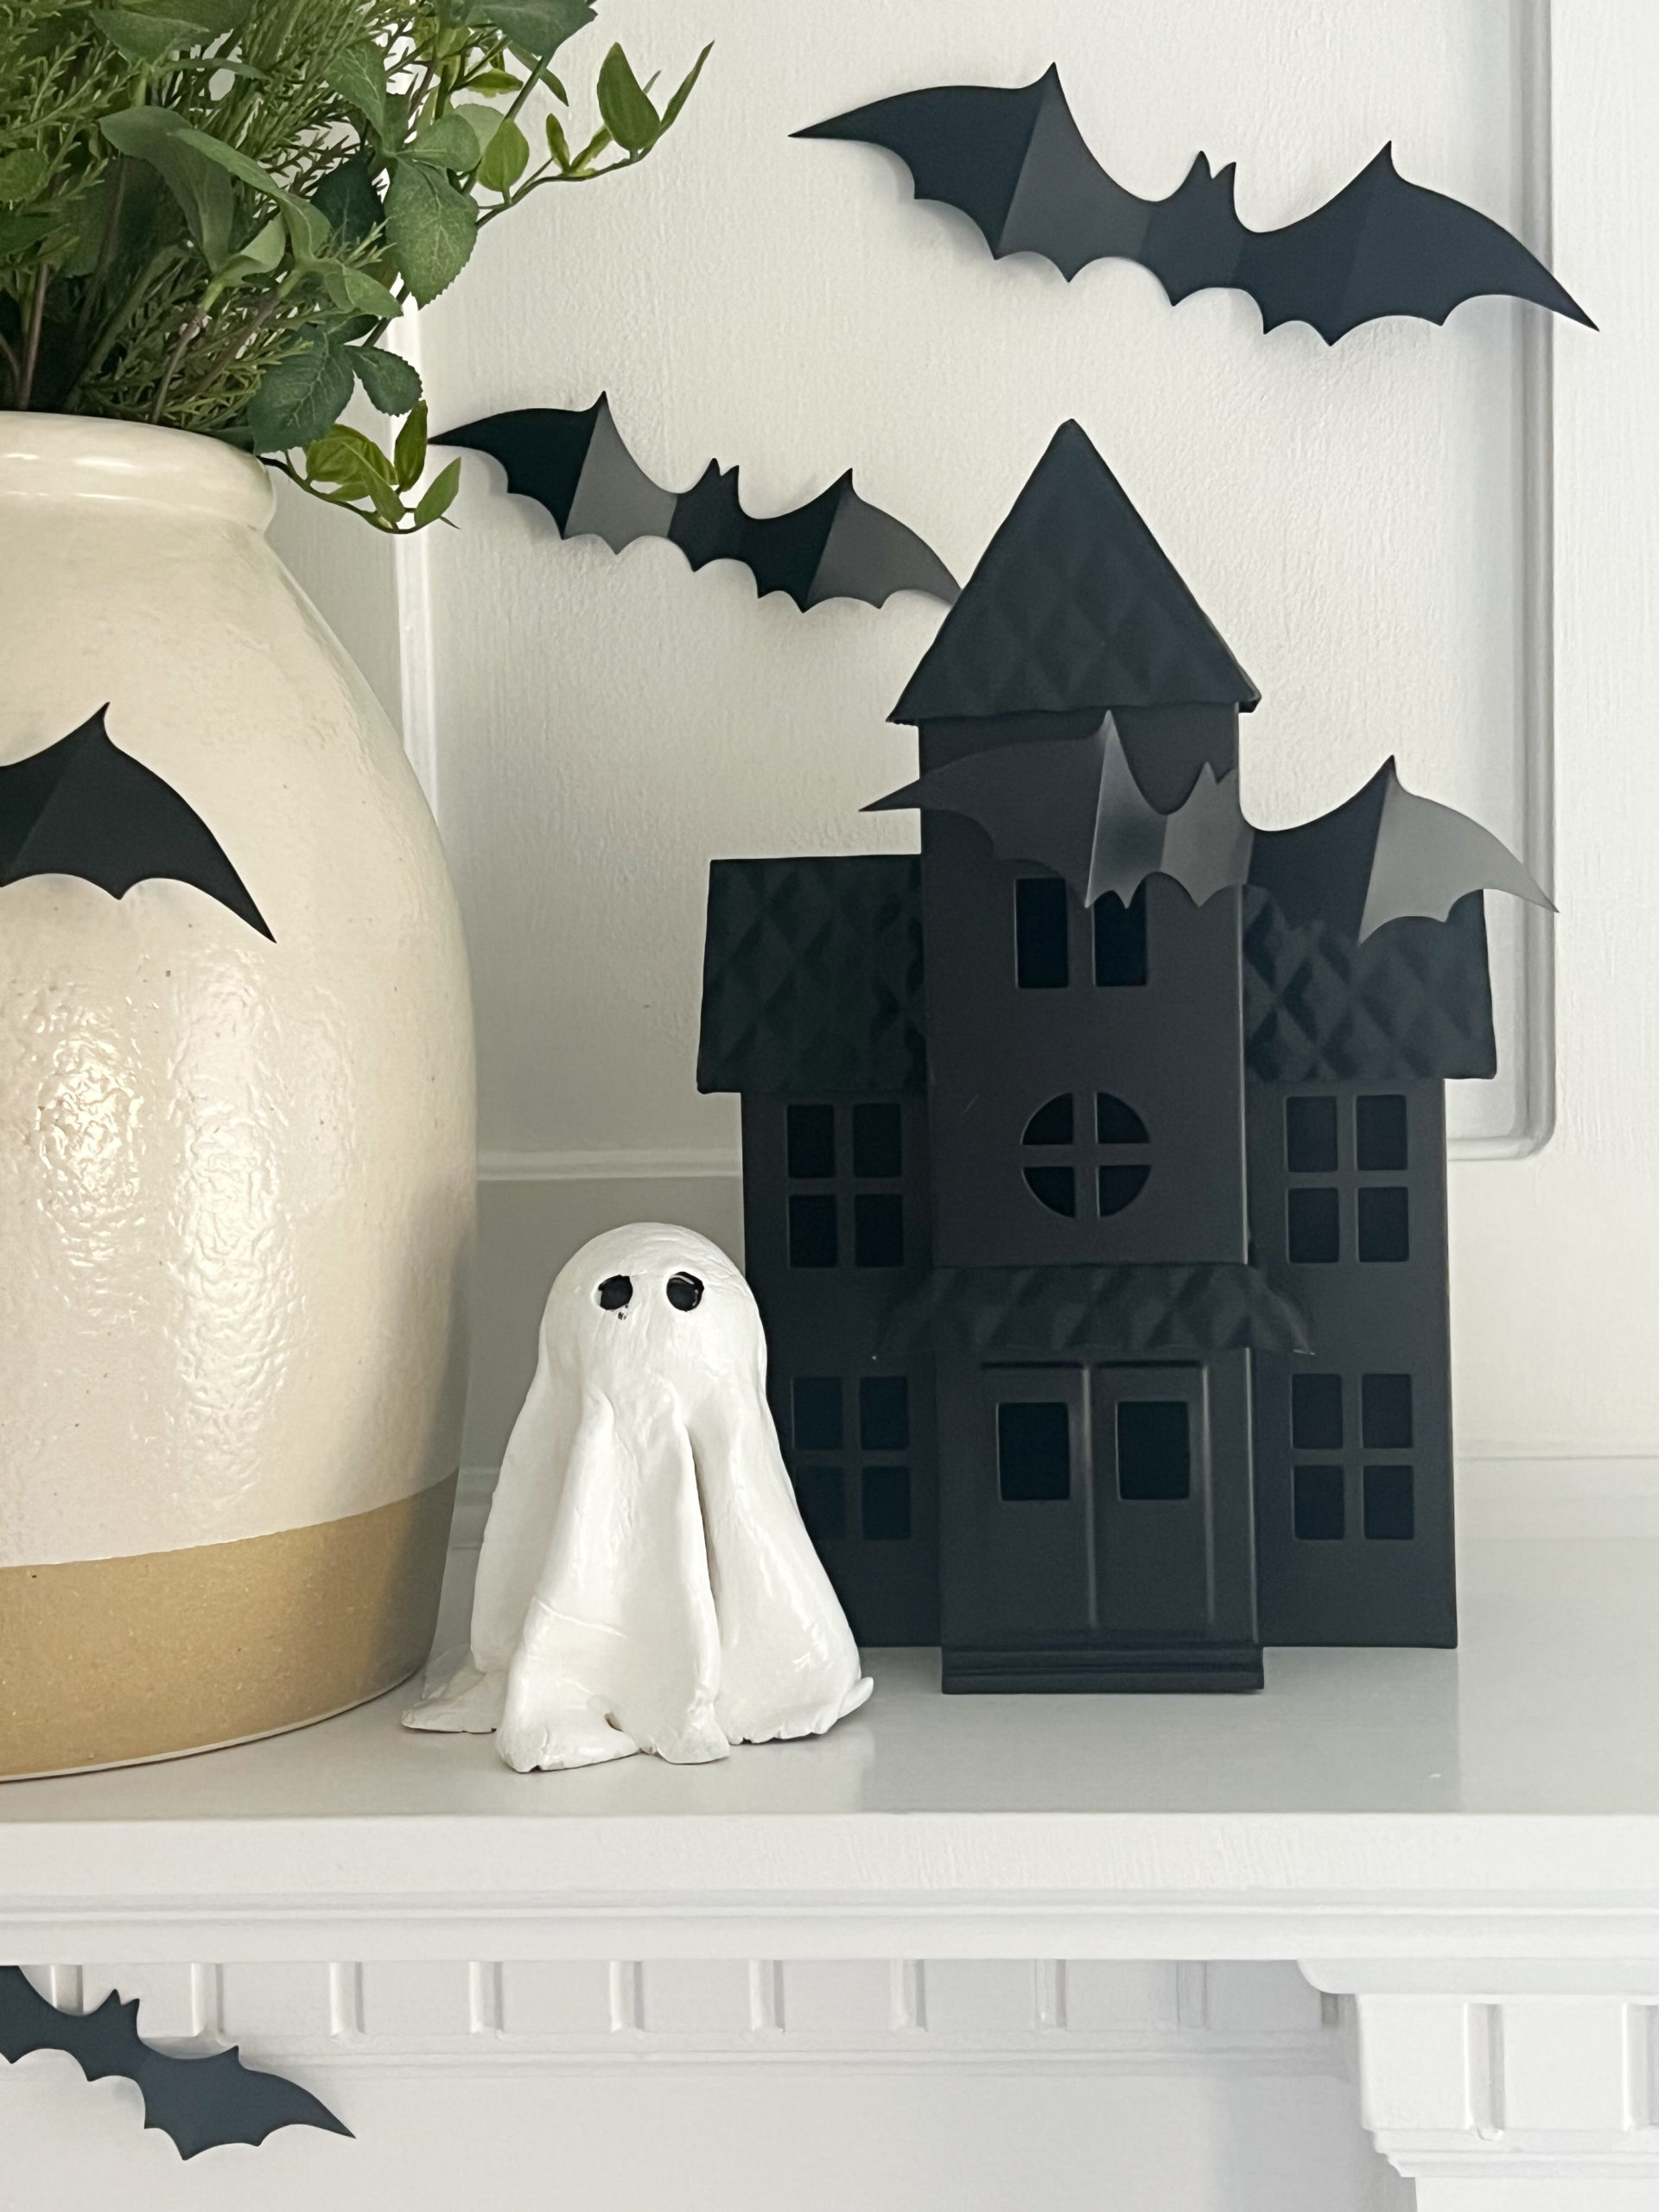
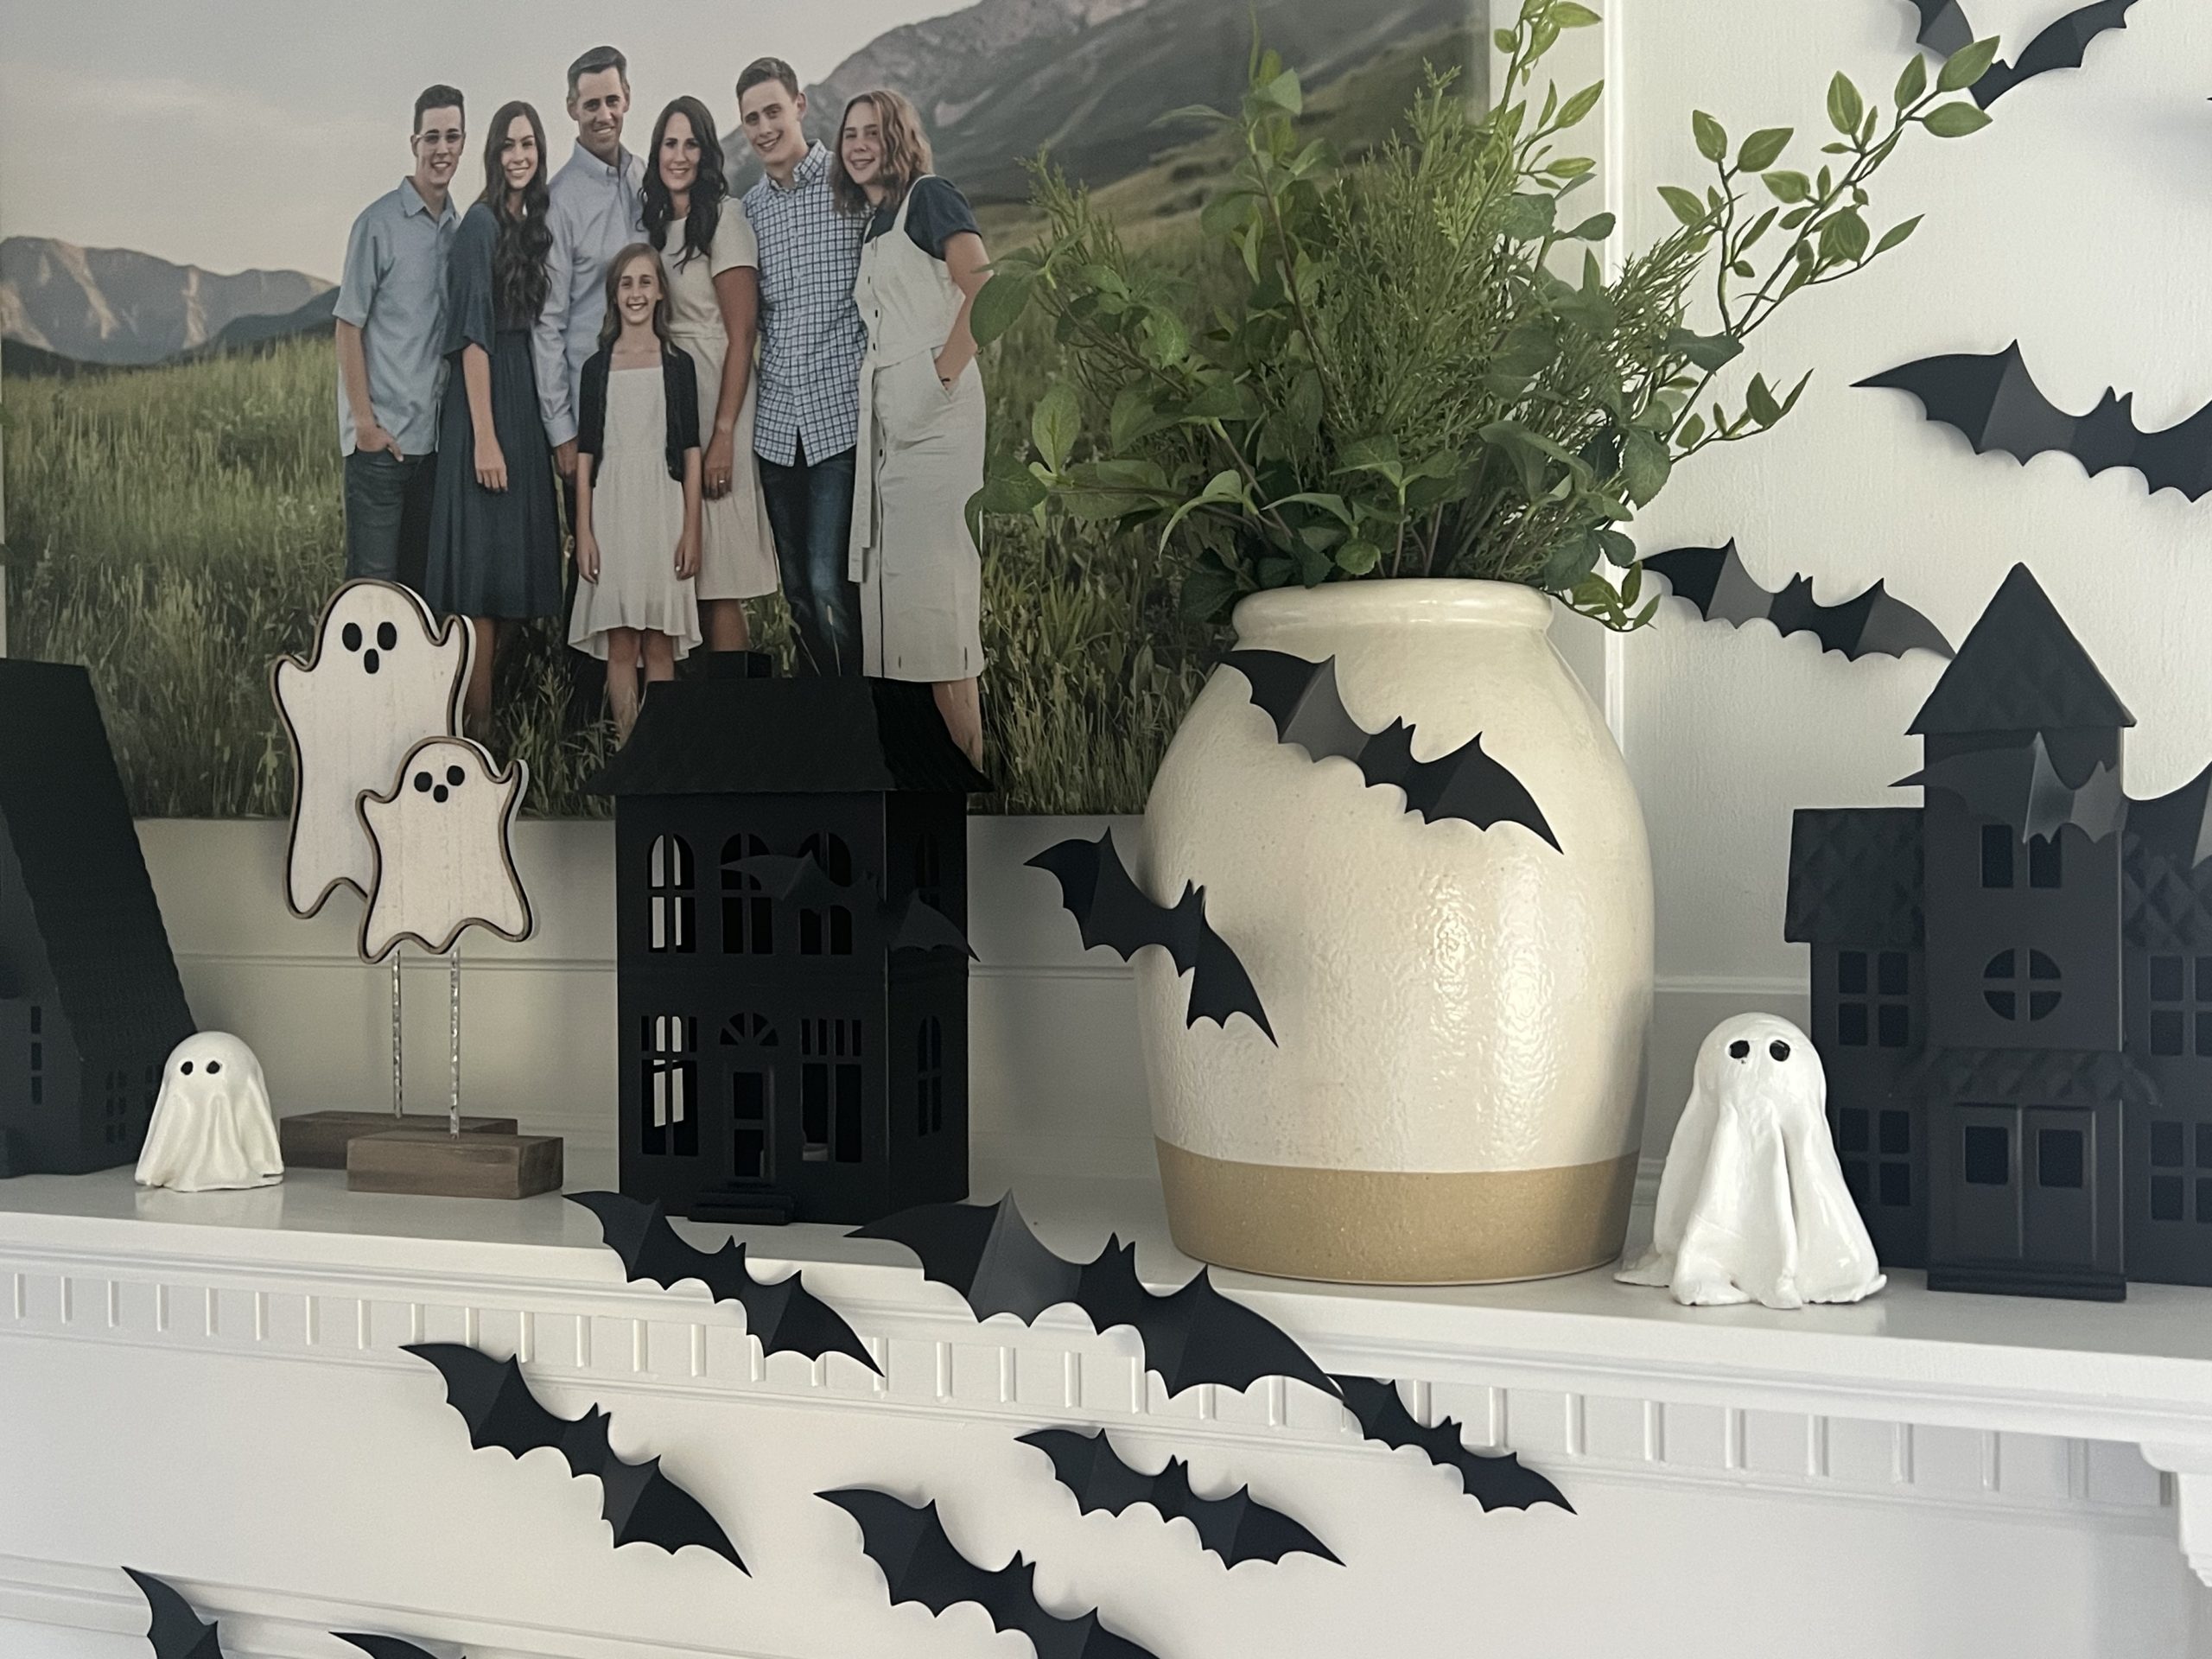
GHOST DECORATIONS
I am obsessed and loving cute little ghosts lately as part of the homemade halloween decorations I have been wanting to create lately. I love how these DIY ghost decorations turned out and I wanted to share with you so you can make your own halloween ghost craft too!
WHAT CAN I USE FOR GHOST HEADS?
There are several items you can use to make these DIY ghosts. I used old ping pong balls for mine. Here are some other similar items that will also work really well.
Keep in mind, if you want to put a battery powered candle in your ghost or a string of lights you will need to be able to make a hole in the head item, so the eyes will glow and be fun luminaries, and the light will shine through.
- foam ball
- blown up balloon (this is good as you can pop it so you can see light)
- ping pong ball
- rolled up tinfoil
SUPPLIES NEEDED FOR DIY GHOST DECORATIONS
- clay
- rolling pin
- jelly roll pan or something to set ghosts on to cure
- parchment paper
- head (I used ping pong balls)
- bottle or jar
- straw
- Mod Podge
- paint brush
- white acrylic paint
- black acrylic paint (or black permanent marker)
- polycrylic spray or polycrylic liquid painted on
- battery operated candle (optional)
- string lights (optional)
HOW TO MAKE DIY GHOST DECORATIONS
To create your own DIY ghost decorations like these, follow my simple instructions and tutorial below.
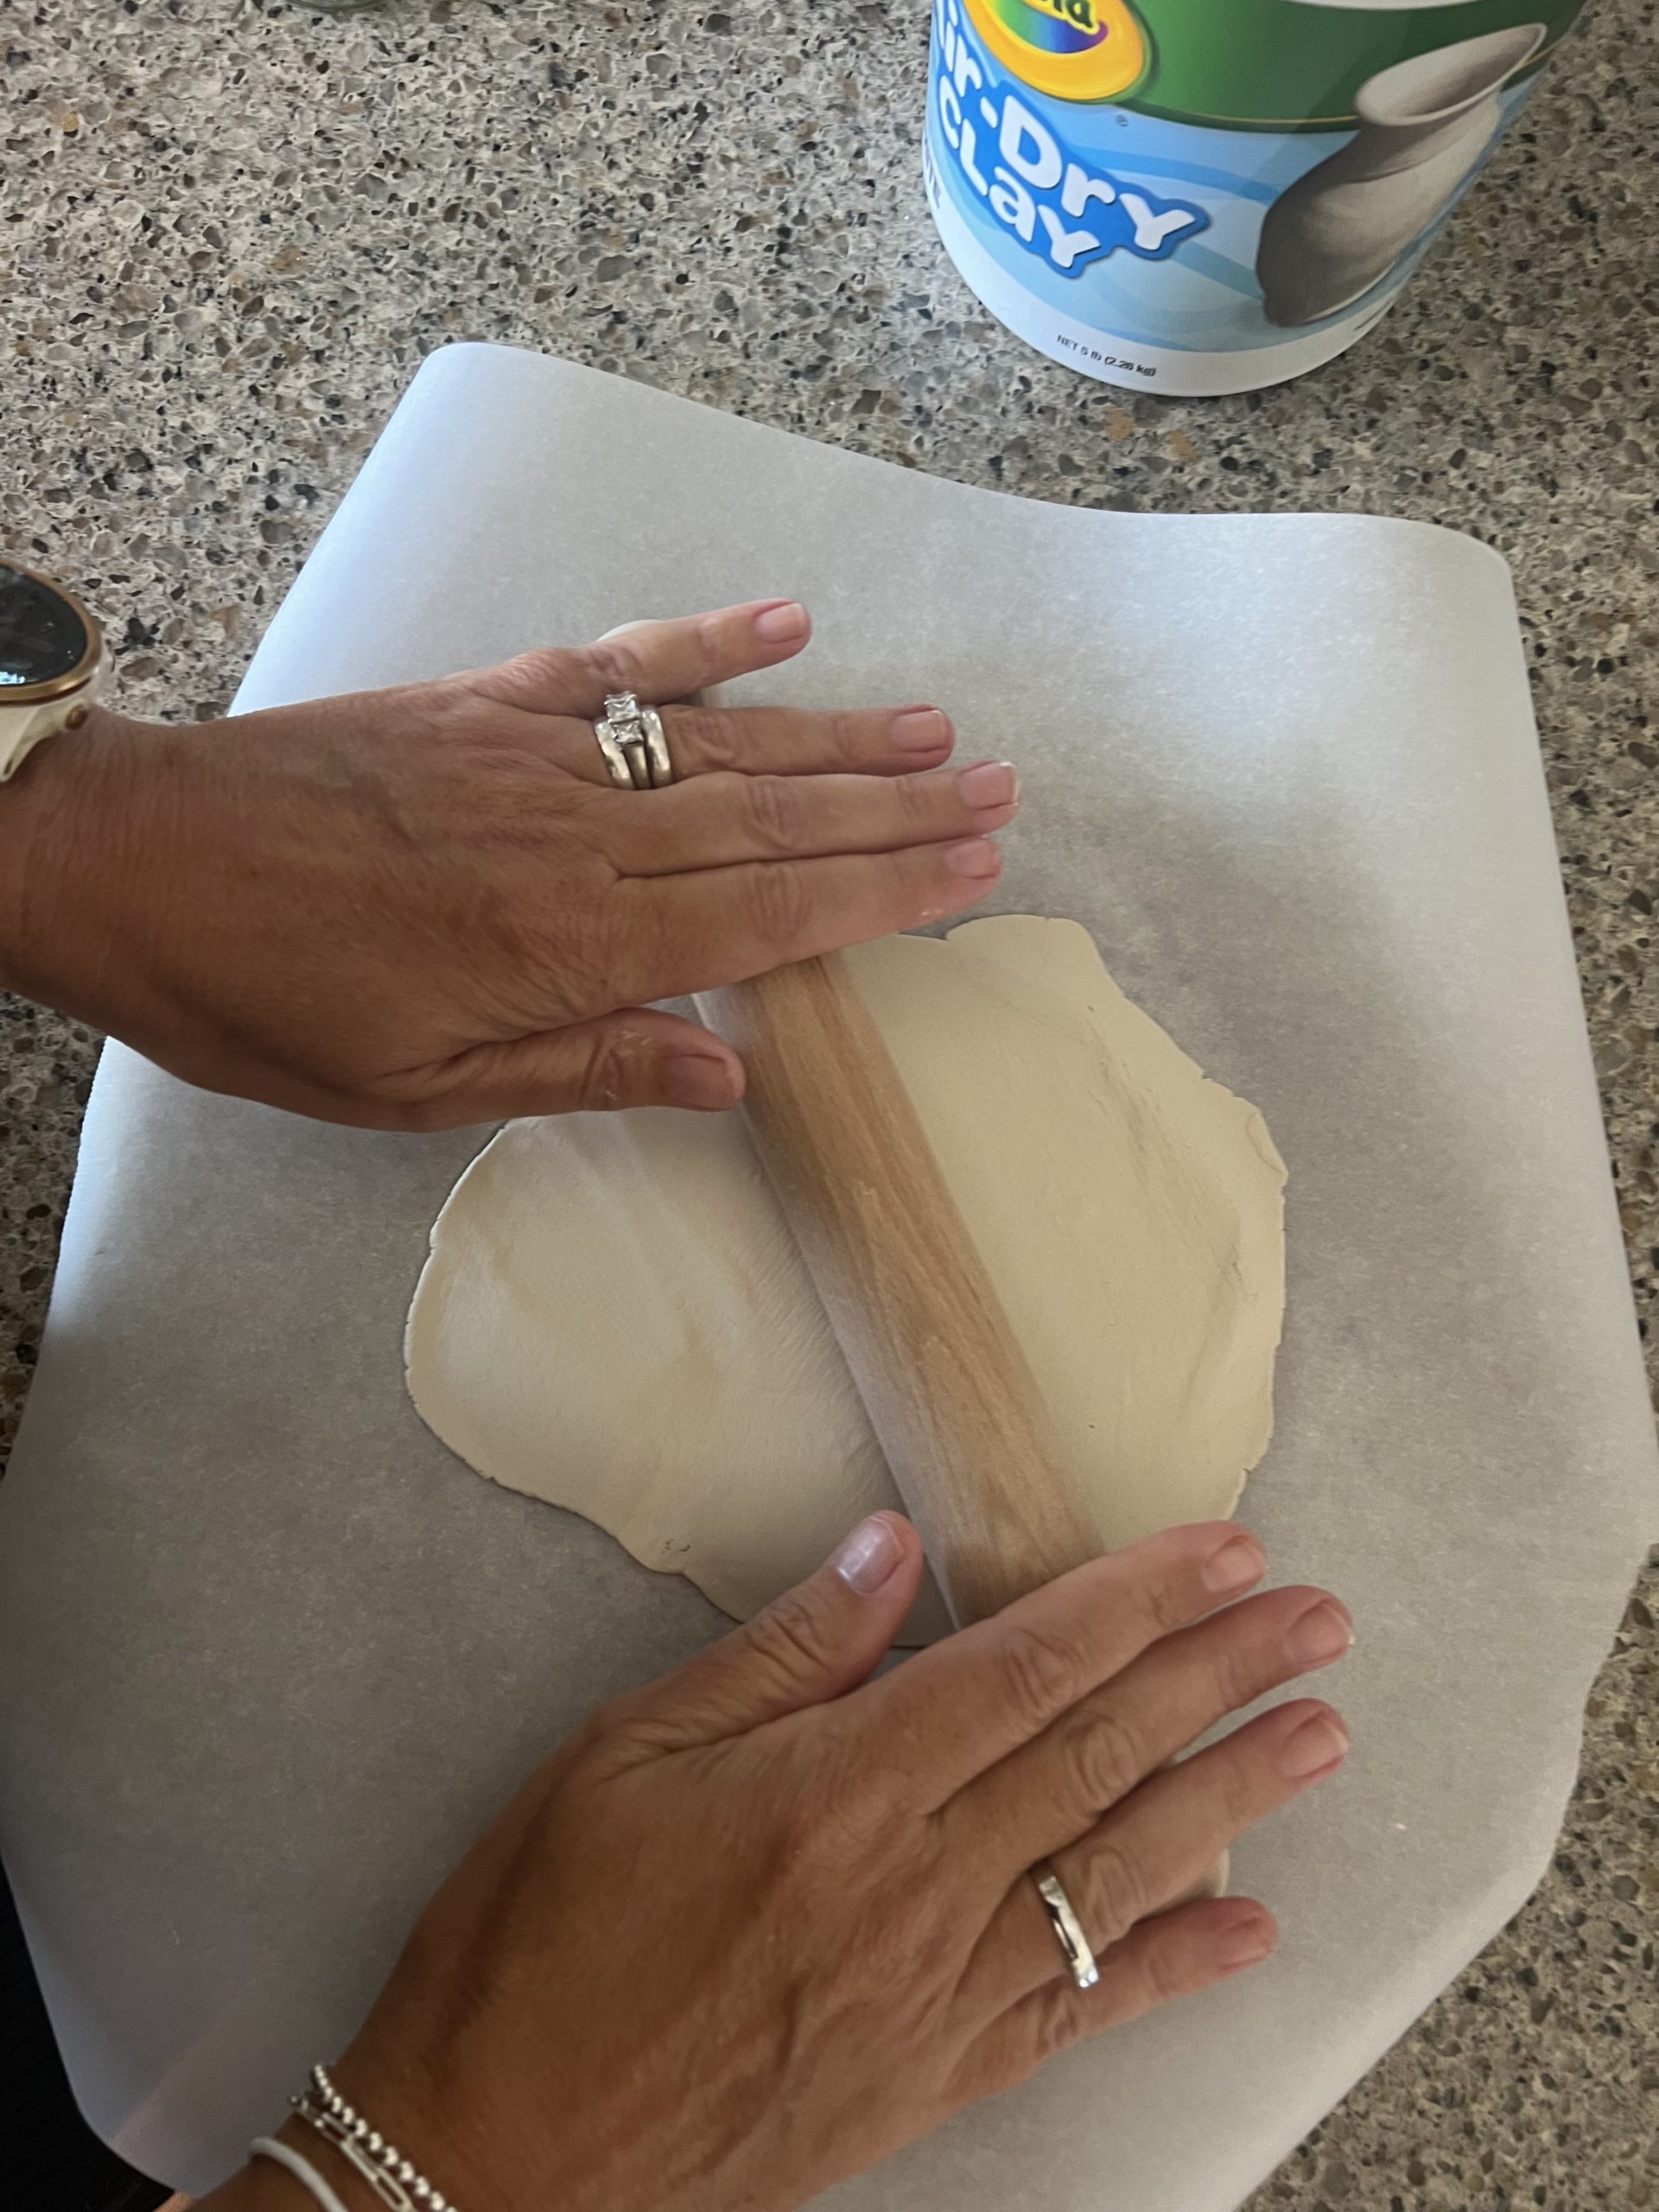
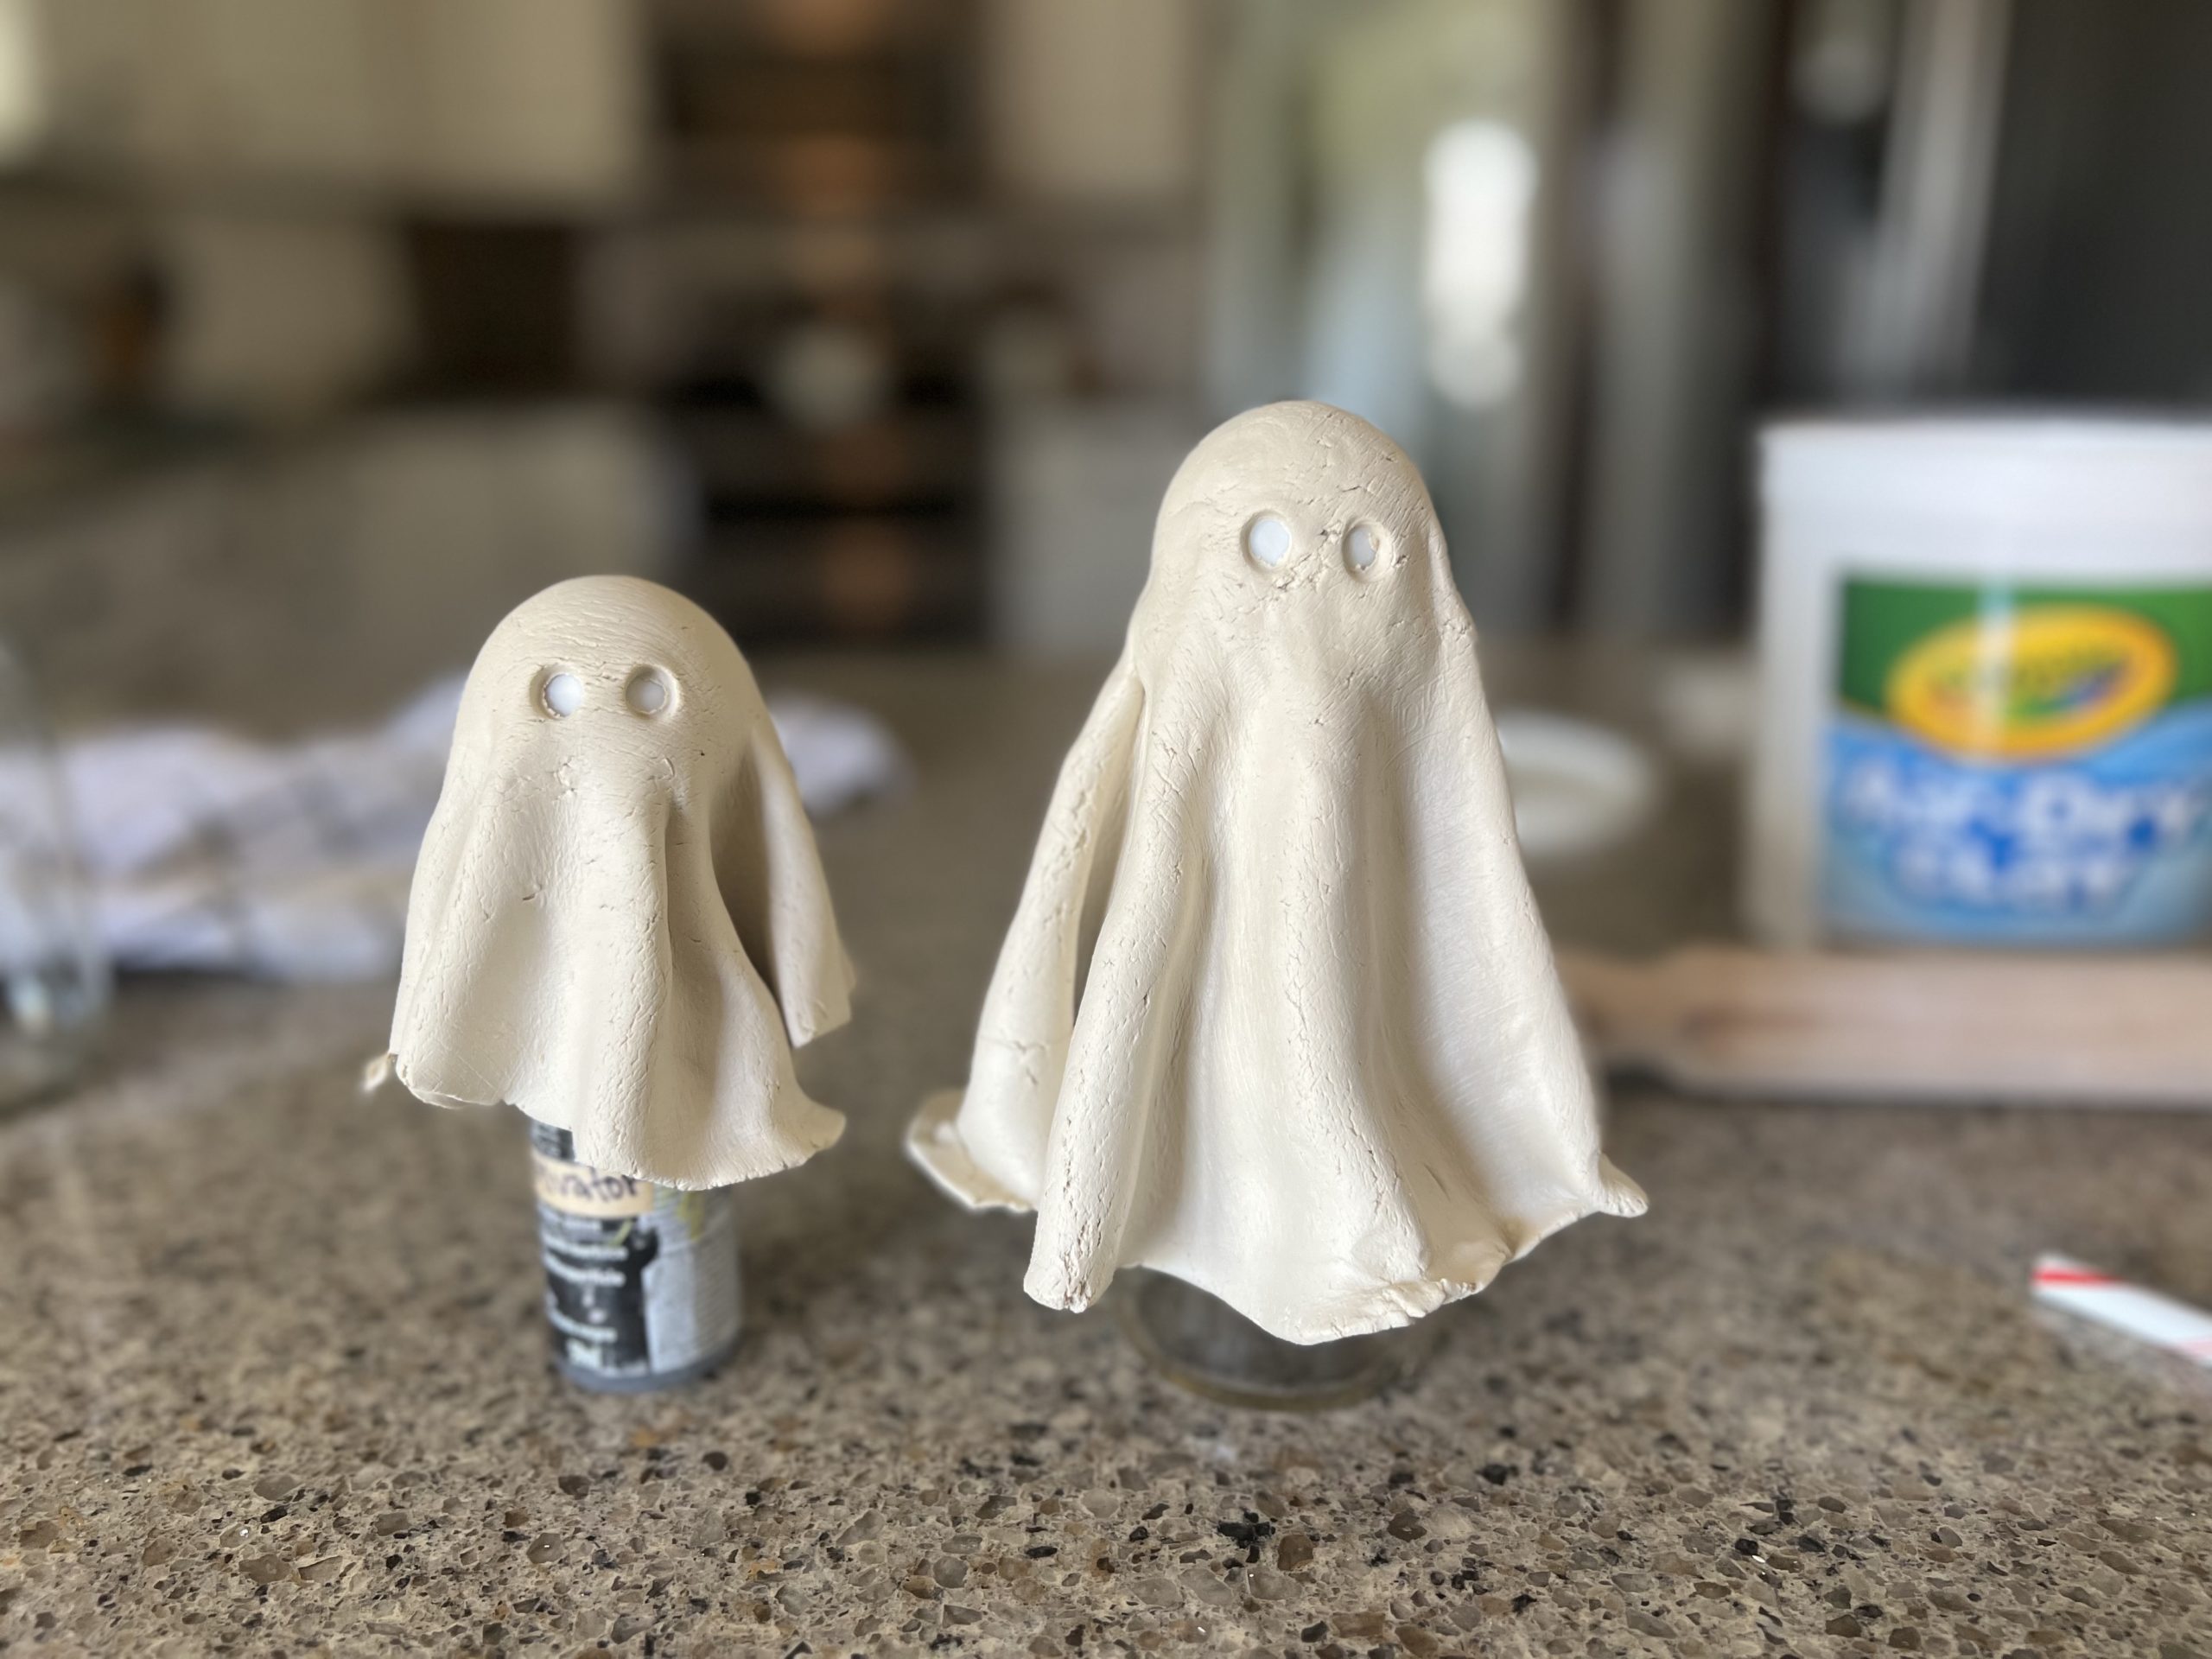
- Take a large ball of clay for the large ghost that fills the palm of your hand.
- Roll it out onto some parchment paper so that it is in a nice thin circle. You want it to be about 1/4 inch thick. If it is too thin you will have a hard time keeping it from tearing or ripping. But too thick may create a bulkier ghost body.
FORMING THE GHOST
- Take your bottle and place your head on top of the mouth opening, so the ghost head object is now inside the ghost
- Carefully peel off the parchment paper from your flat circle of clay.
- With the head in the center of the circle, gently let the clay come down around the bottle.
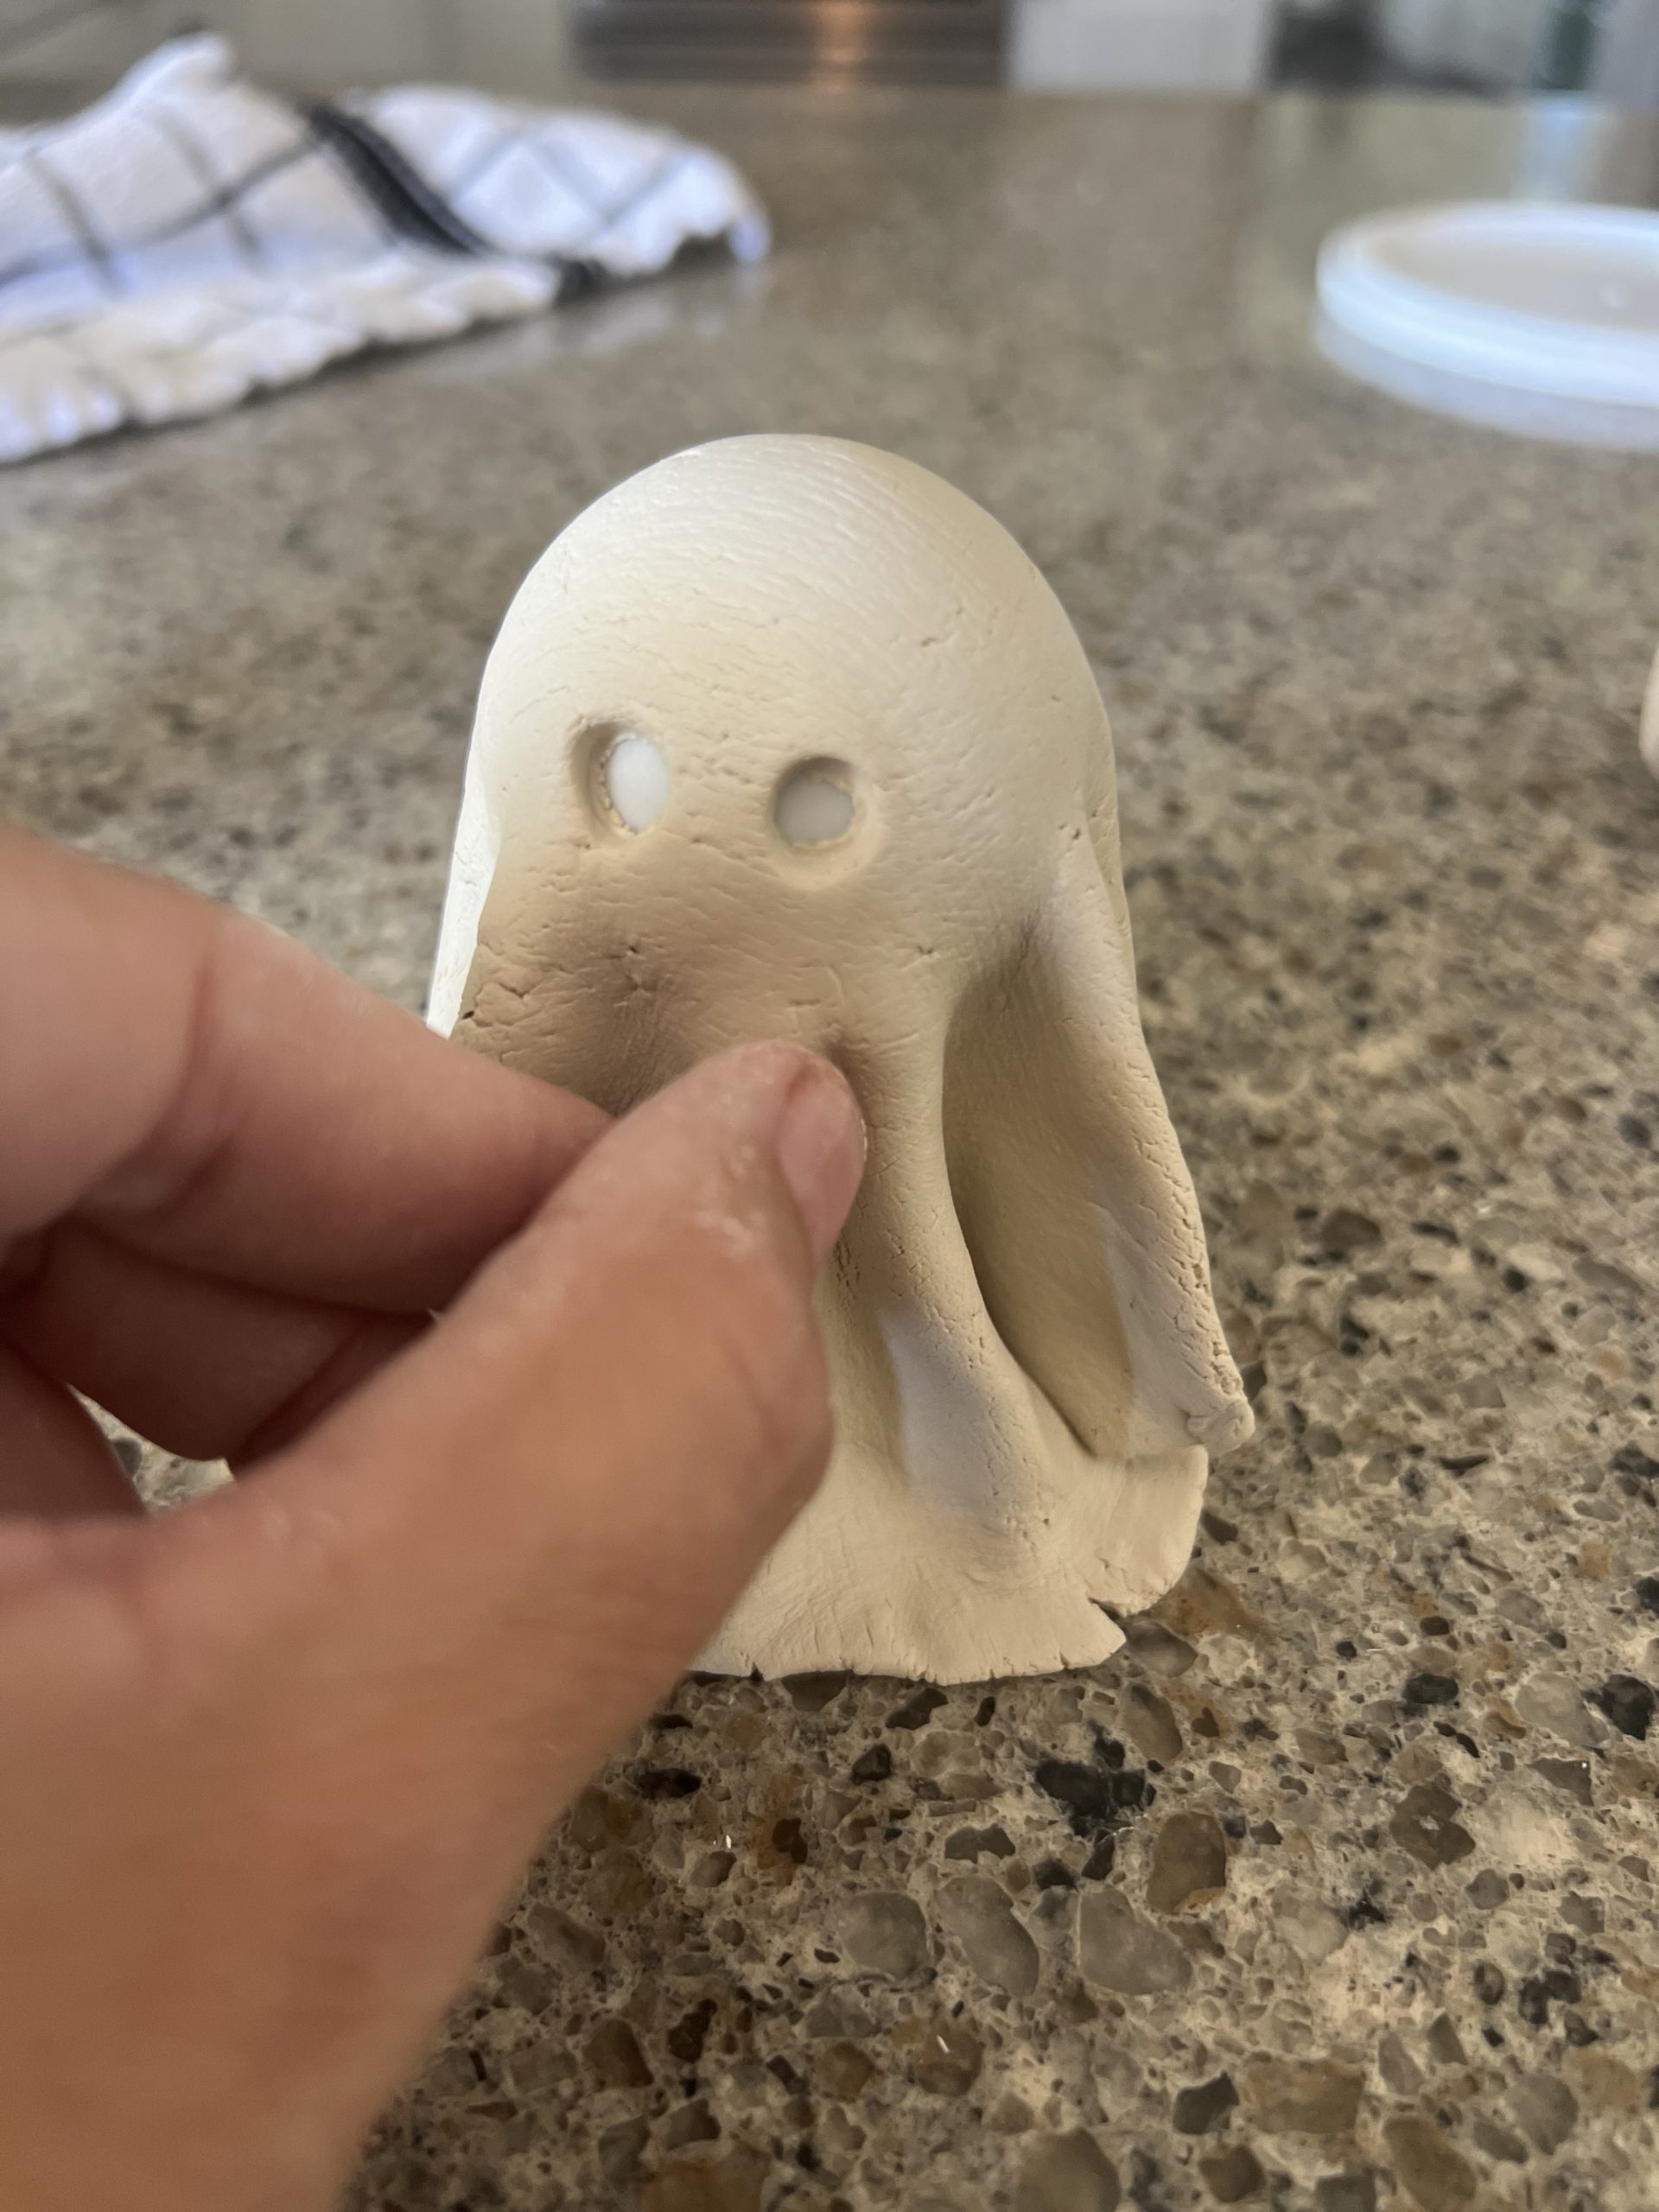
- Use a straw or cut out with a knife any eye holes or a mouth if you want.
- Form folds in the clay to look like a sheet draped over the ghost. Be careful not to press the clay onto the bottle because you will need to remove the bottle after it has dried. This will be impossible to remove without breaking your ghost if you don’t do this.
- Keep arranging the folds until it lays nicely and looks like white fabric. Make the bottom of the clay so it touches the table and you can flatten it to make a base for some of the edges to sit on. Make sure you leave room for a battery powered candle or lights to fit if you want to.
SETTING THE CLAY GHOST
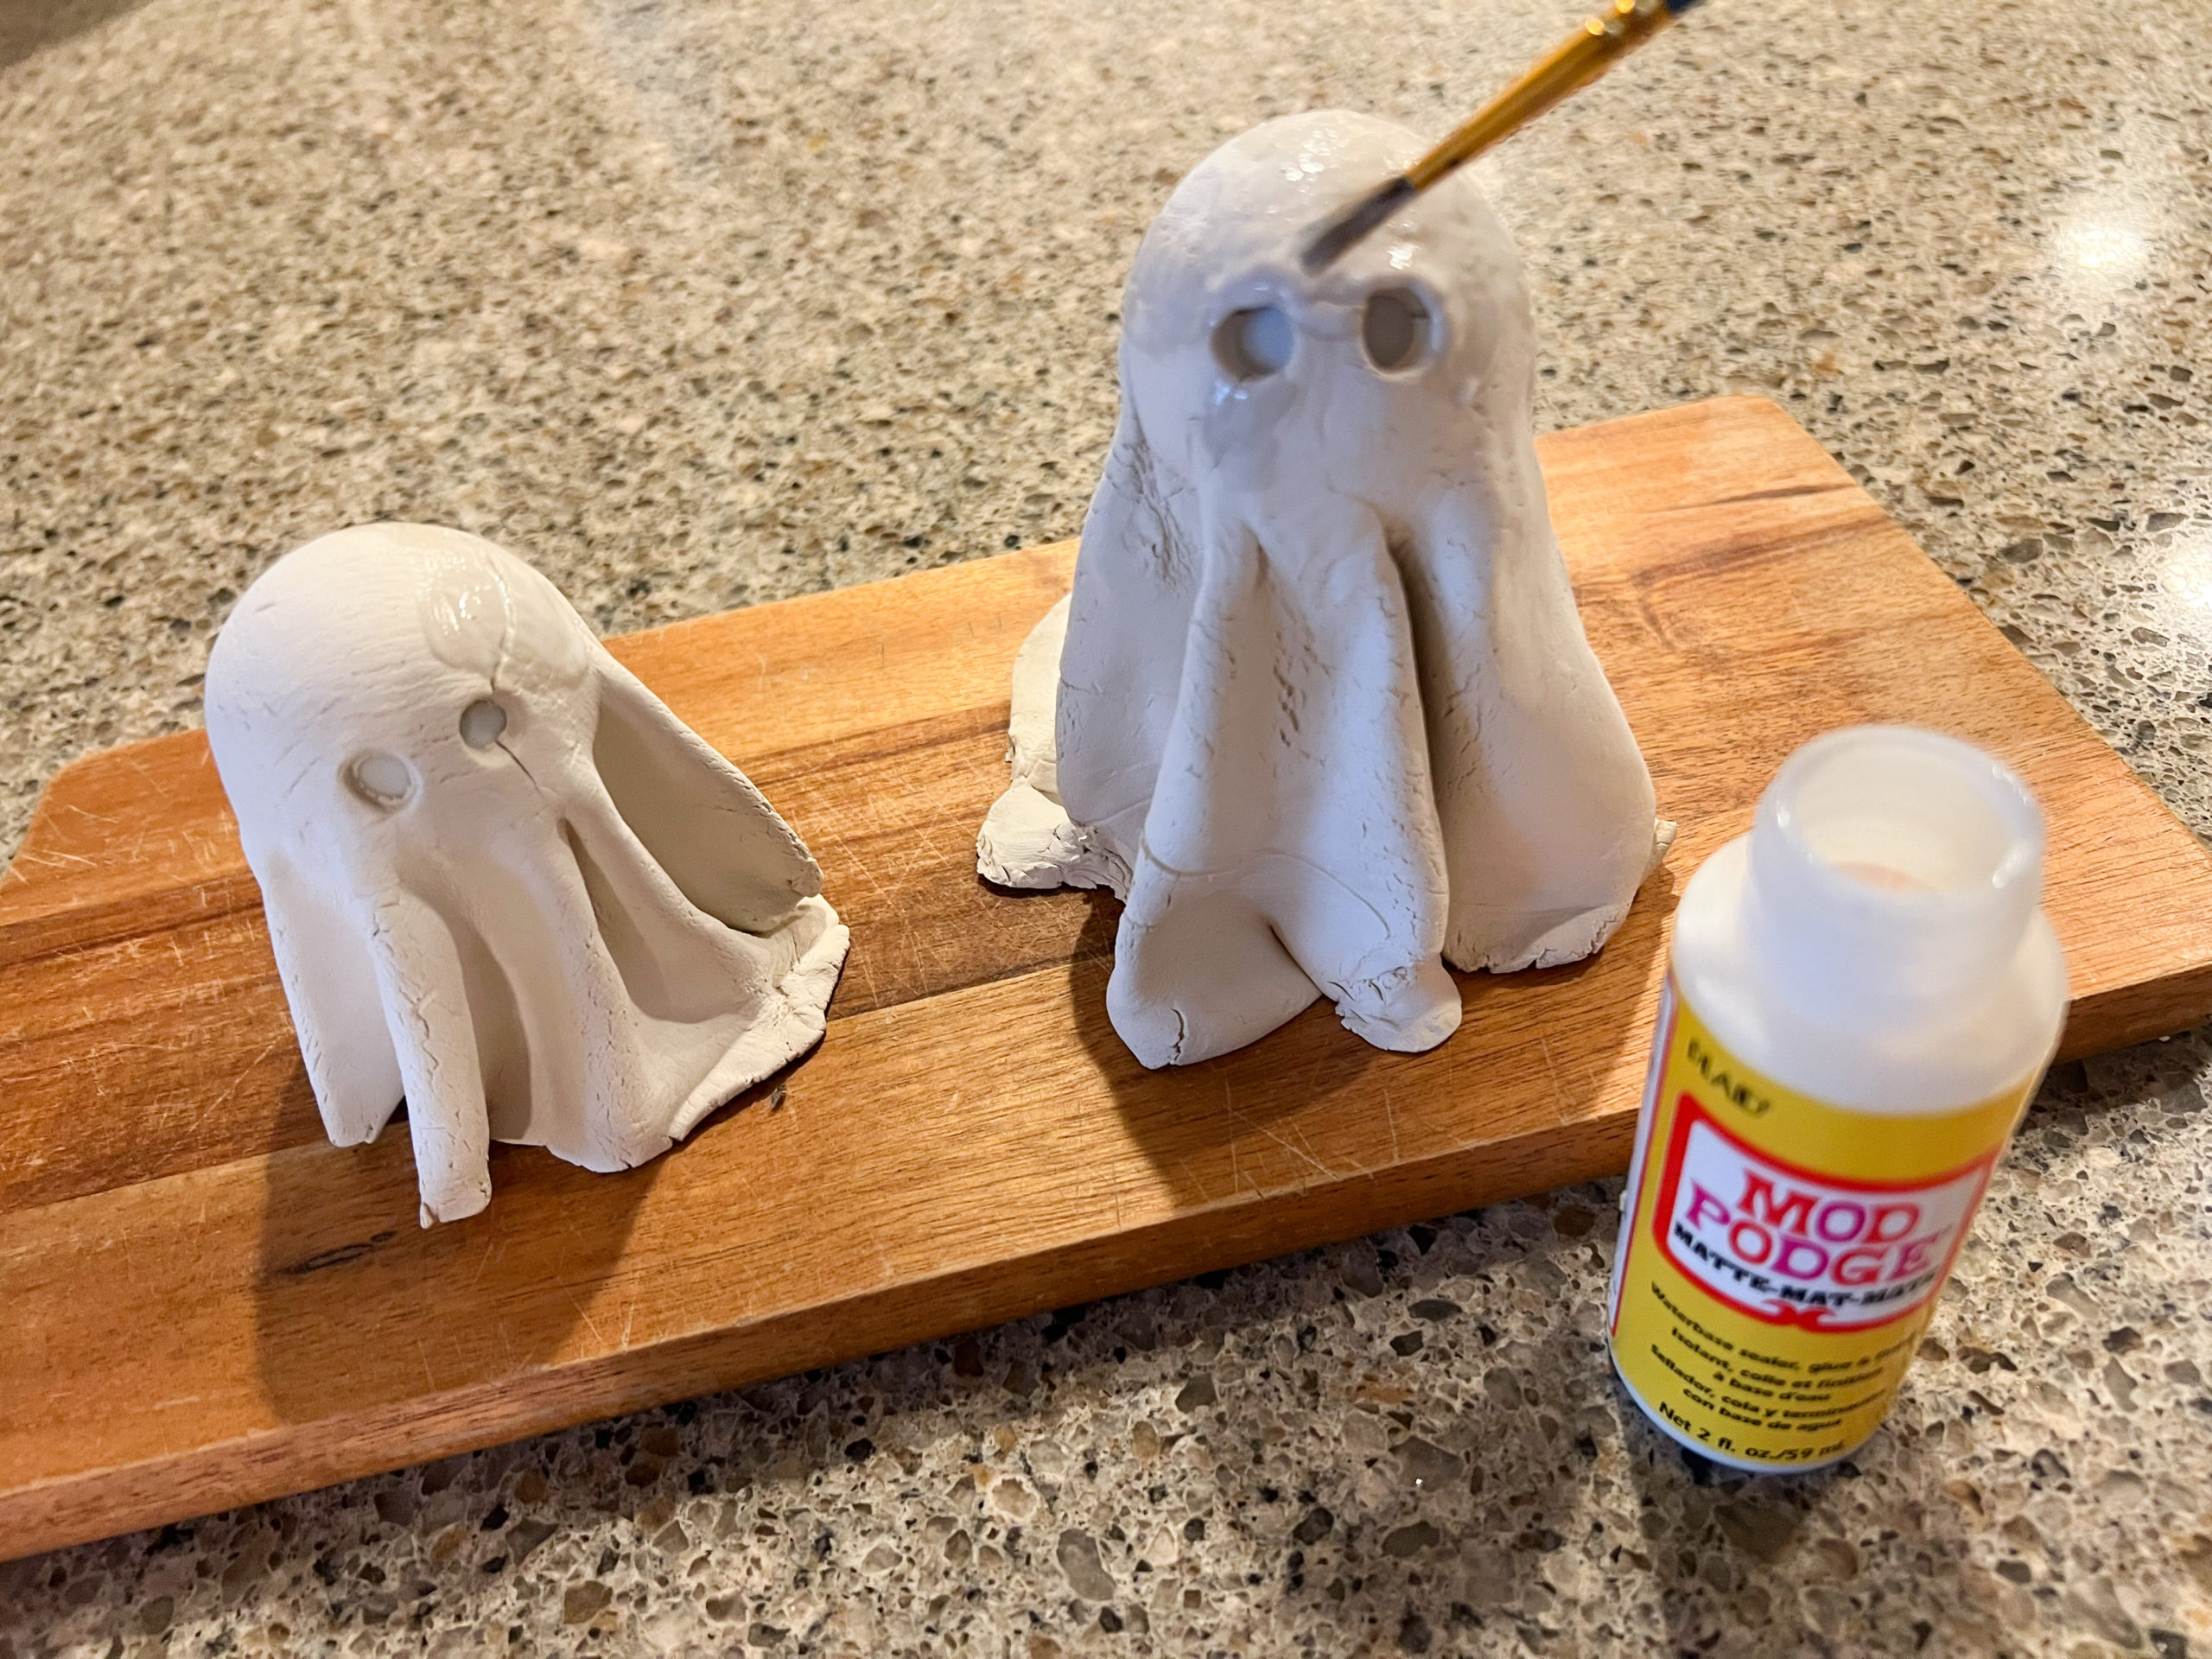
- Remove your bottle at this time if you can.
- Let your clay air dry or bake in the oven on a low temperature according to the directions of the clay you are using.
PAINTING THE GHOST
- After the ghost has set, you can paint over any little cracks that have appeared in the drying process with Mod Podge. I sealed each crack with 1-2 coats of Mod Podge.
- When the Mod Podge is dry you can paint your ghost. I used white paint. It took two coats.
- Paint the eye and mouth holes with black paint if you used a head that won’t allow light to shine through. You can omit this step if you are putting a light in your ghost so that the eyes shine with light.
- Paint with polycrylic to seal the ghost so it lasts longer and has a nice shiny finish.
- Add your candle or lights underneath if you planned for that.
- You can add any fun embellishments to your finished ghosts. Some fun ideas are ribbon, bow, holding pumpkin candy glued on with hot glue.
MAKE DIY GHOST DECORATIONS OUT OF CLAY
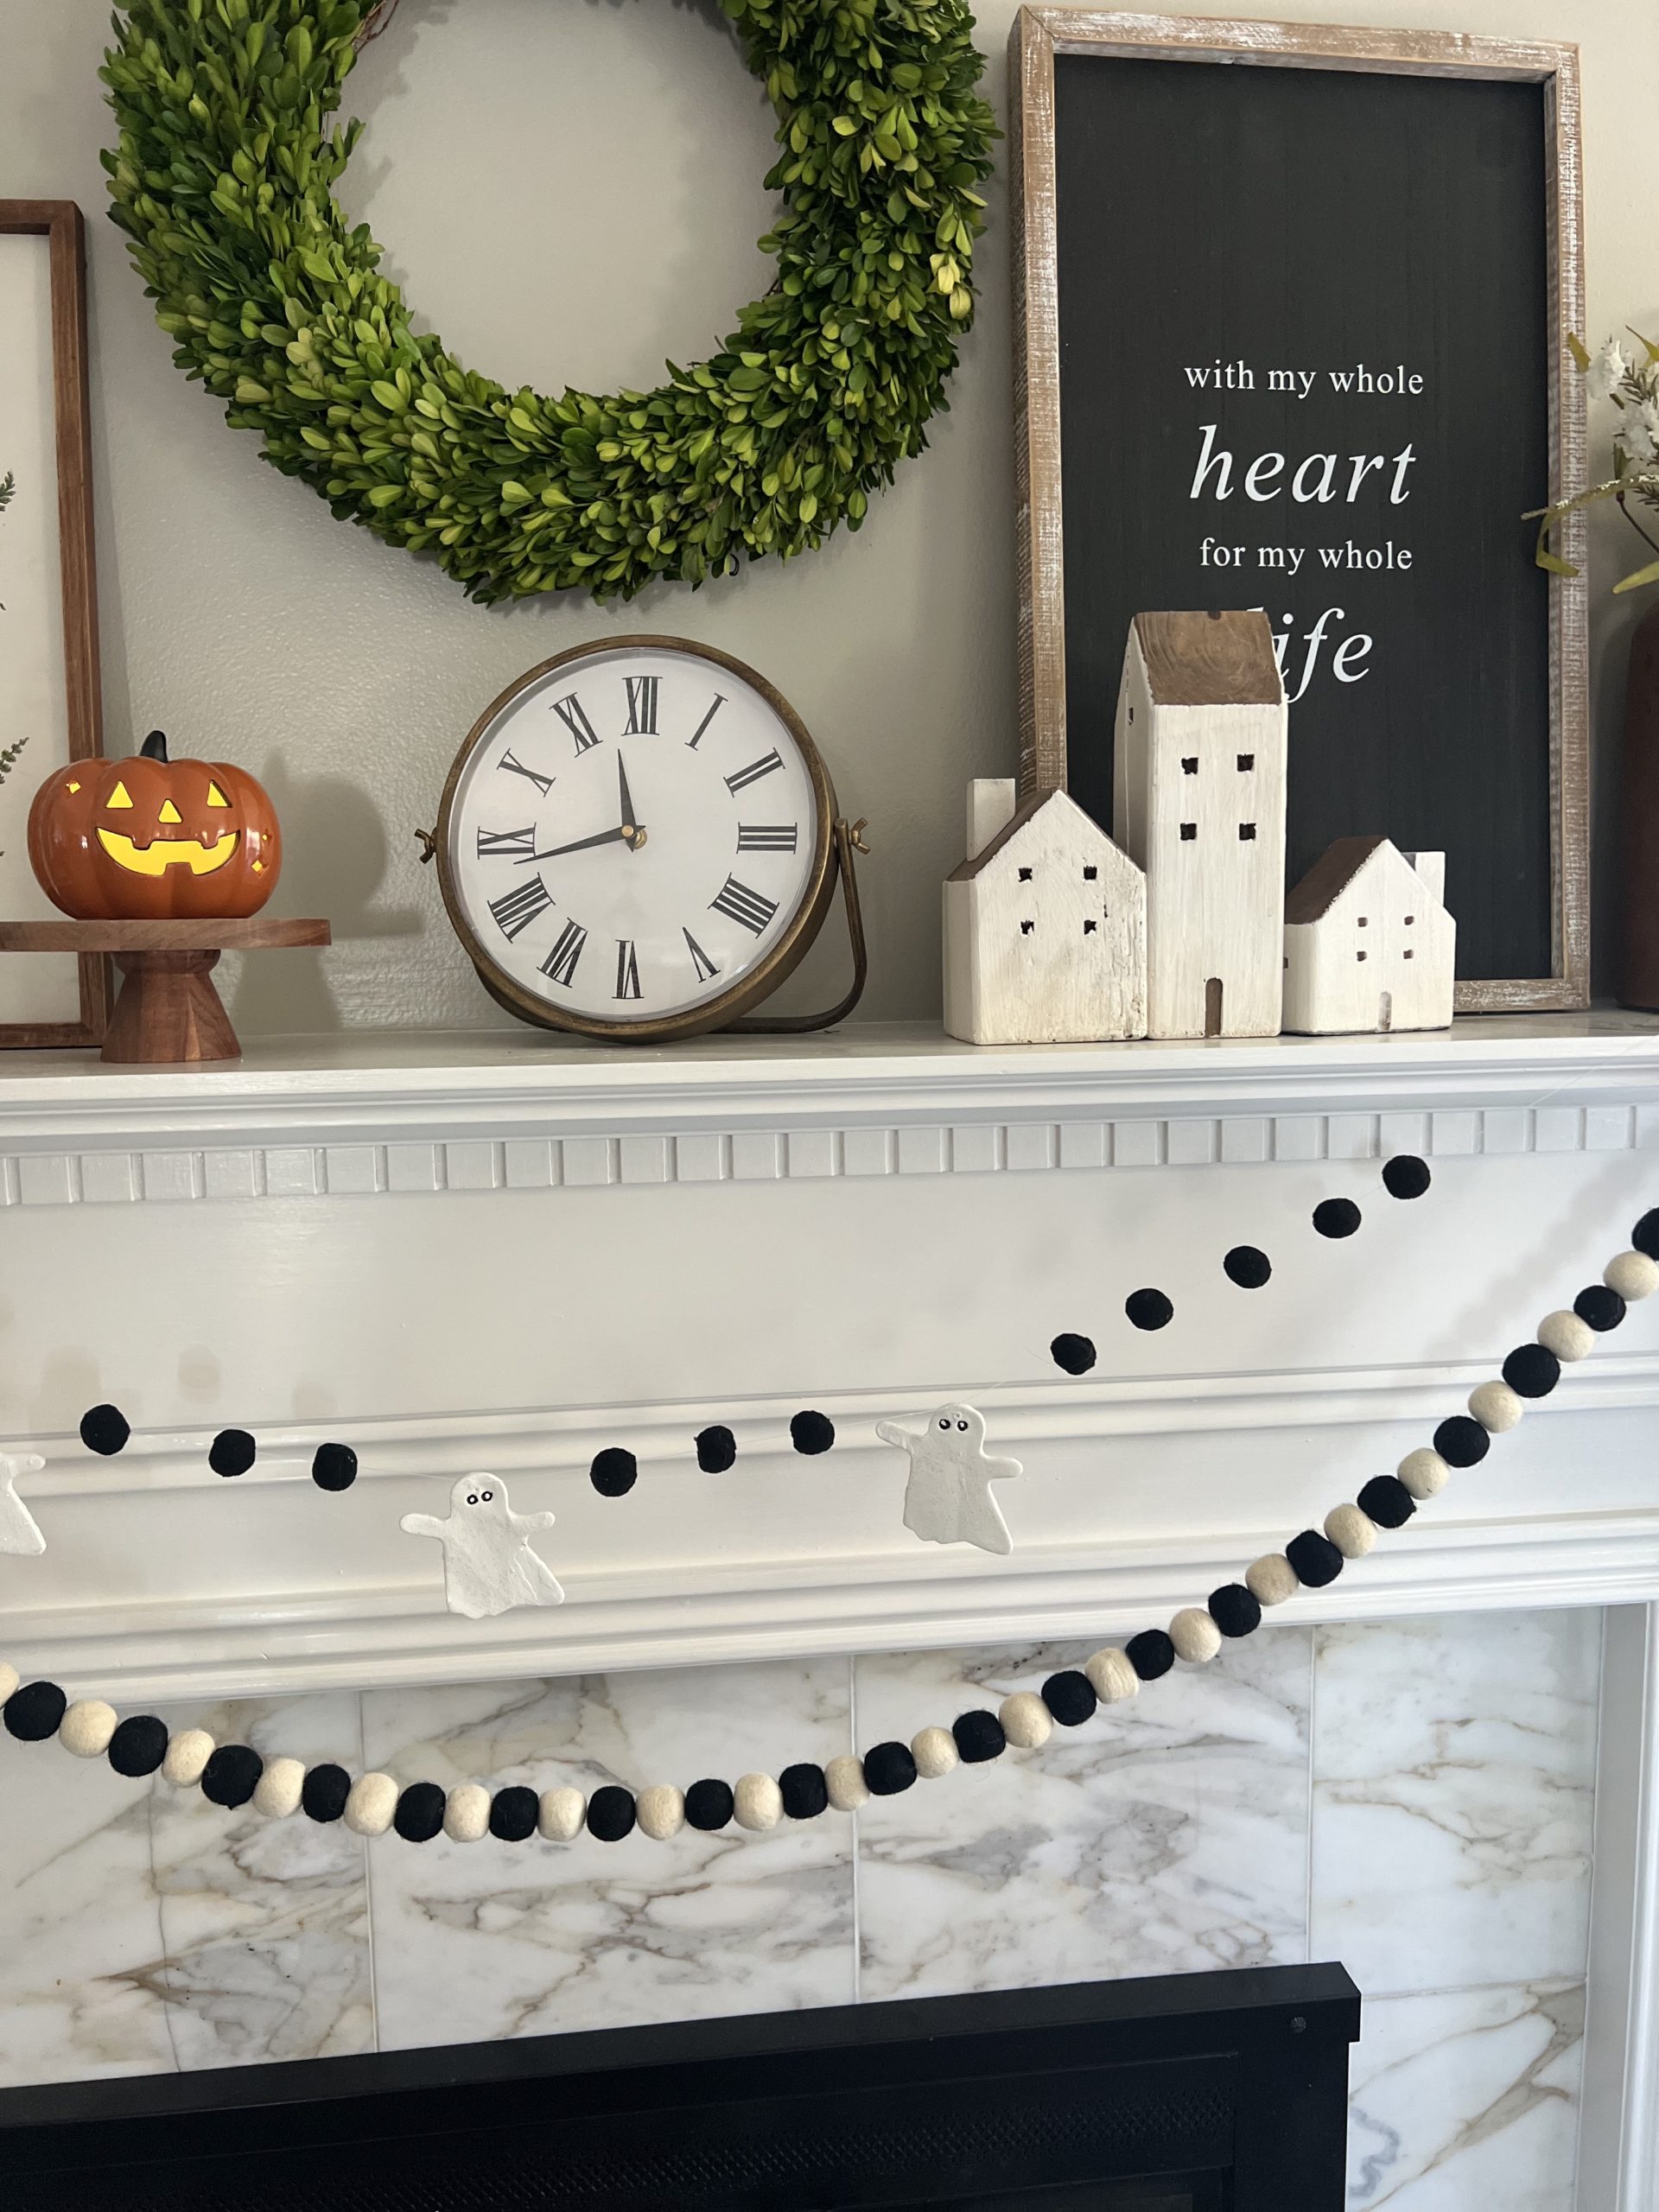
You can create these fun DIY clay ghosts out of clay in the manner I shared above. You can also create some DIY ghost decorations out of clay to make a ghost banner. I did this with the same clay using a ghost cookie cutter. The ghost banner turned out pretty cute don’t you think? You can hang it on a mantel or on a wreath!
HOW DO YOU MAKE A GLOWING GHOST?
As mentioned above, you can make a glowing ghost by making sure to use a head that light can pass through. A blown up balloon will work best for this one because after the ghost head has been allowed to sit in the ghost while the clay is drying, you can easily pop the balloon and gently removing (or leave in if it looks like the clay will break in the removal process) and allow the light to shine through the ghost eyes.
There are some different items you can use to get your ghosts to glow:
- battery operated lights
- string lights
- fairy lights
CAN I USE THESE DIY GHOST DECORATIONS BE USED OUTSIDE?
I wouldn’t use these outside as outdoor halloween decorations on a front porch etc. They won’t stand up in weather conditions. These are to be indoor halloween decorations so they are sure to last many a spooky season to come!
MORE DIY HALLOWEEN GHOSTS
I have shared a couple other fun versions where you can make your own DIY halloween ghosts crafts that are different than the ghosts I have shared here. You can check them out by clicking the links below.
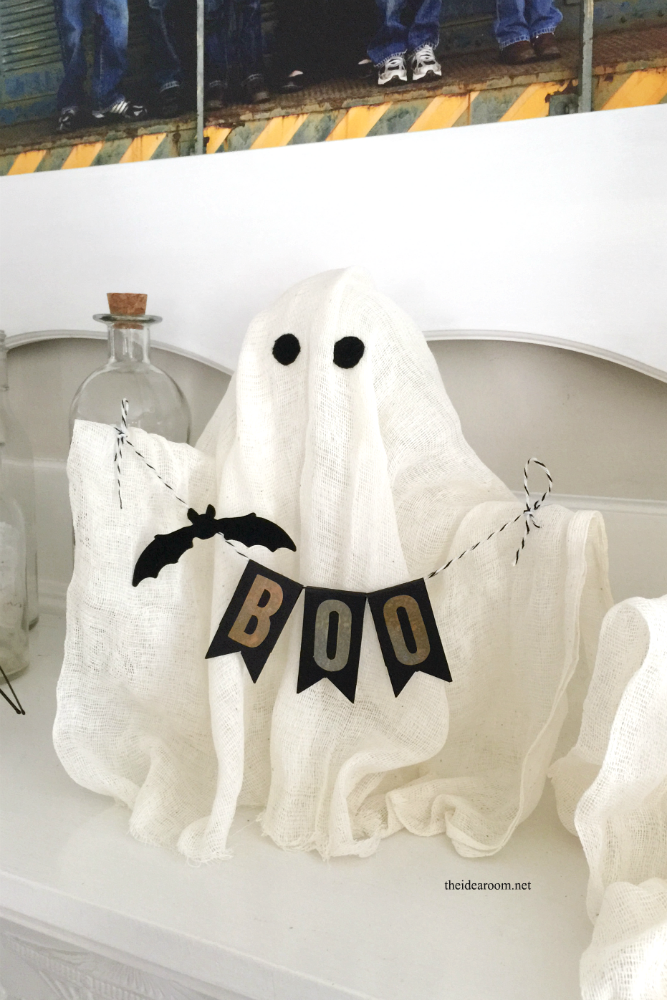
- DIY halloween cheesecloth ghosts
- cute clay ghost garland (coming soon)
- Rice Krispies Ghost Treats (these aren’t decorations but a fun treat idea)
JOIN OUR NEWSLETTER
Would you like more Recipes, DIY, Printables and Organization Ideas?
Subscribing to the newsletter will enable us to periodically send you creative content exclusively for Idea Room subscribers.
*View our Privacy Policy here.


Leave a Reply