
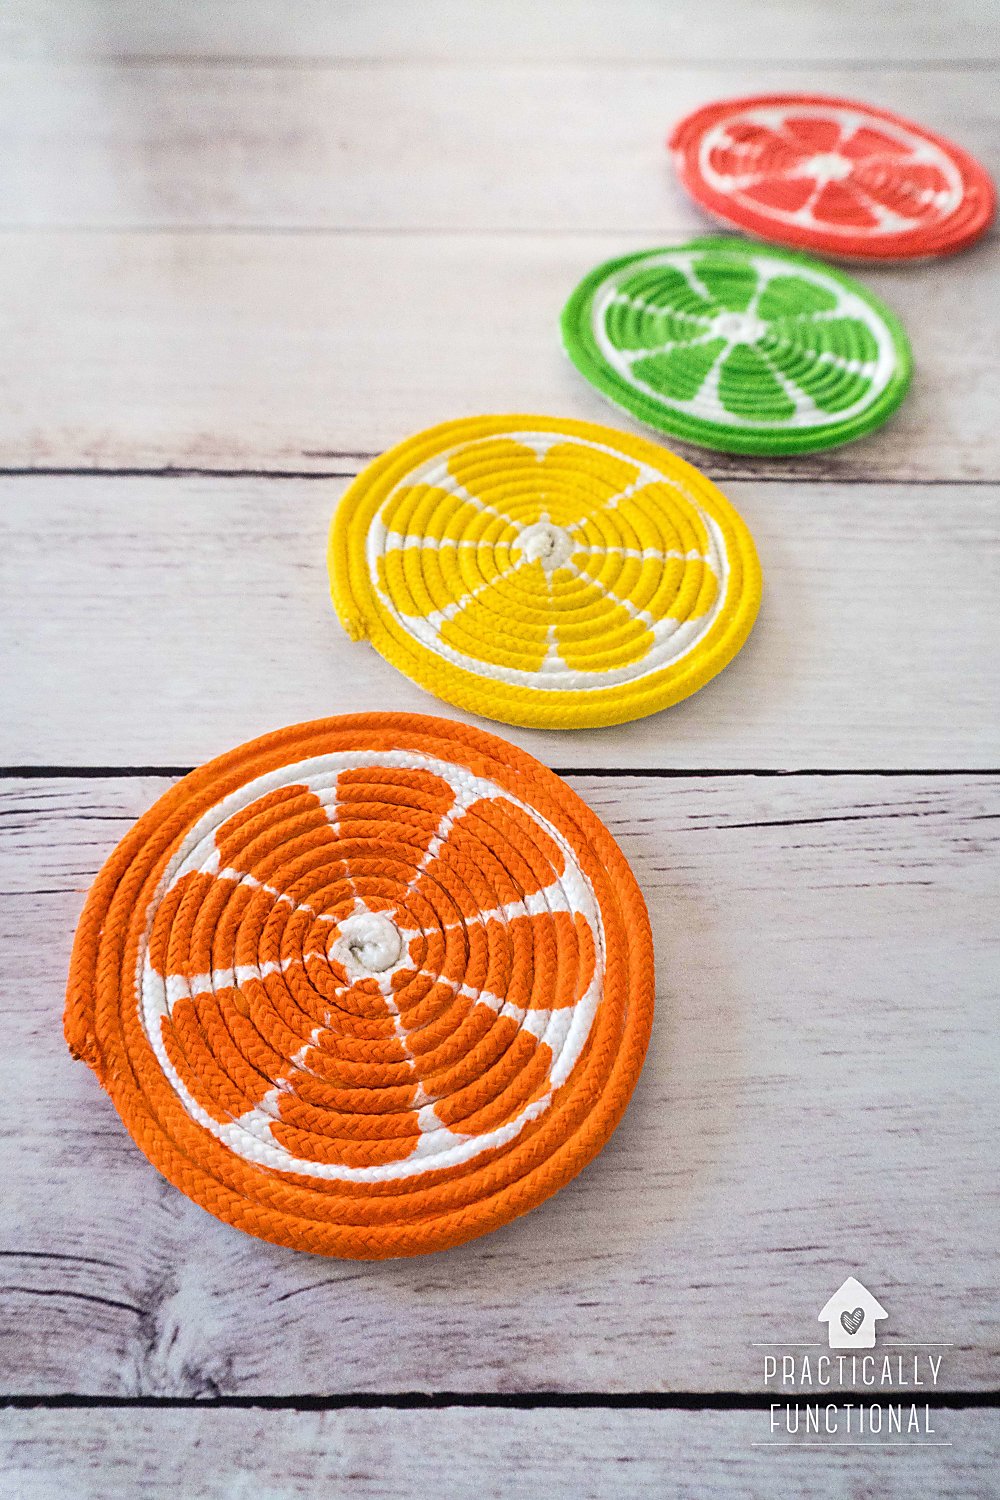
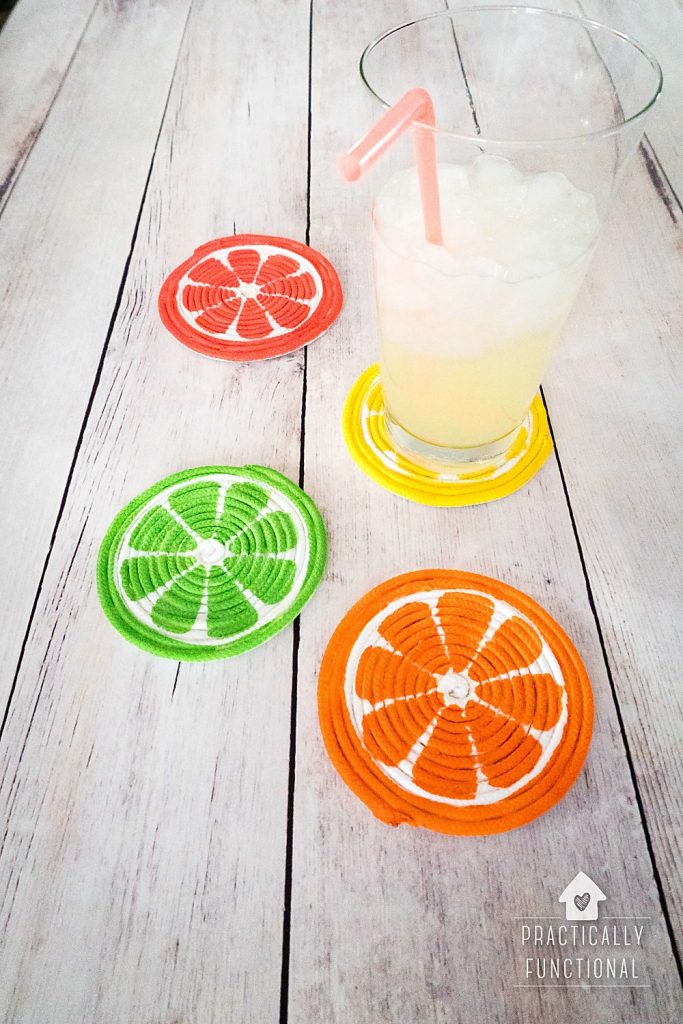
Looking for a fun summer craft idea? These DIY Rope Coasters for summer are perfect for your ice cold drinks on a hot summer day!

DIY COASTERS
Hey guys! I’m Jessi, from Practically Functional, a creative lifestyle blog for busy moms, and I’m so excited to share a cute summer craft with you today! We are always running out of coasters in our house; I don’t even know what happens to them all, but somehow I can never find one when I need it! Luckily this gives me the perfect excuse to make a few quick and easy DIY painted rope coasters to use this summer! These cute little coasters are really easy to make, and only take about half an hour to make a set of four (besides waiting for the paint to dry).
HOW TO MAKE ROPE COASTERS
I made four coasters and it took about 30 minutes, plus I let the paint dry for a few hours, so it’s a pretty quick project! All you have to do is coil the rope around itself to form a coaster, then paint it!
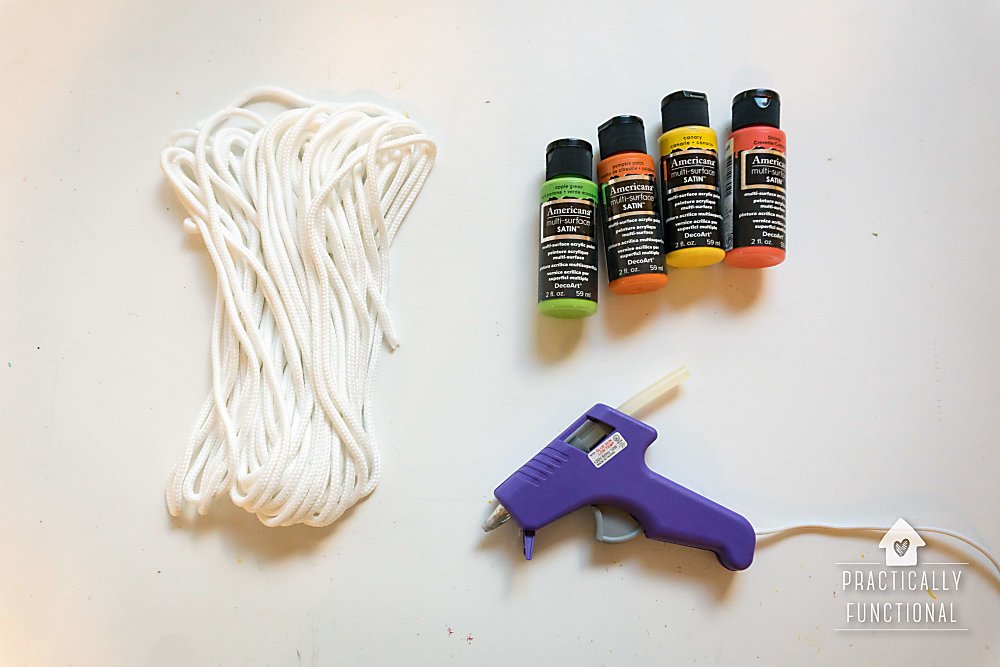
Here’s what you need:
- hot glue gun
- scissors
- foam dauber or paint brush (or makeup applicators work great!)
- cutting machine (I used my Cricut Explore, but if you have steady hands, you can use scissors or an X-Acto knife instead)
- cotton clothesline
- craft paint
- adhesive vinyl or stencil material
- waterproofing spray
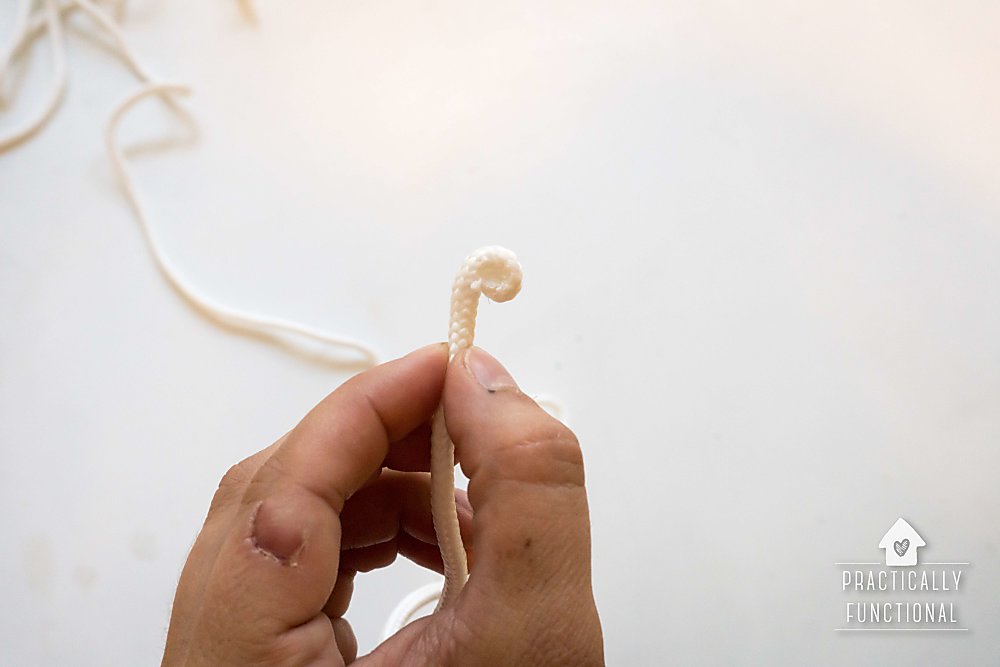
Start by folding over the very last 1/4” of clothesline on itself and secure with hot glue.
Then carefully coil the rope around itself, securing with hot glue every inch or so. Go light on the hot glue so it doesn’t squeeze out onto the top of the coaster!
Once your coaster is about 4” wide, cut the end of the clothesline.
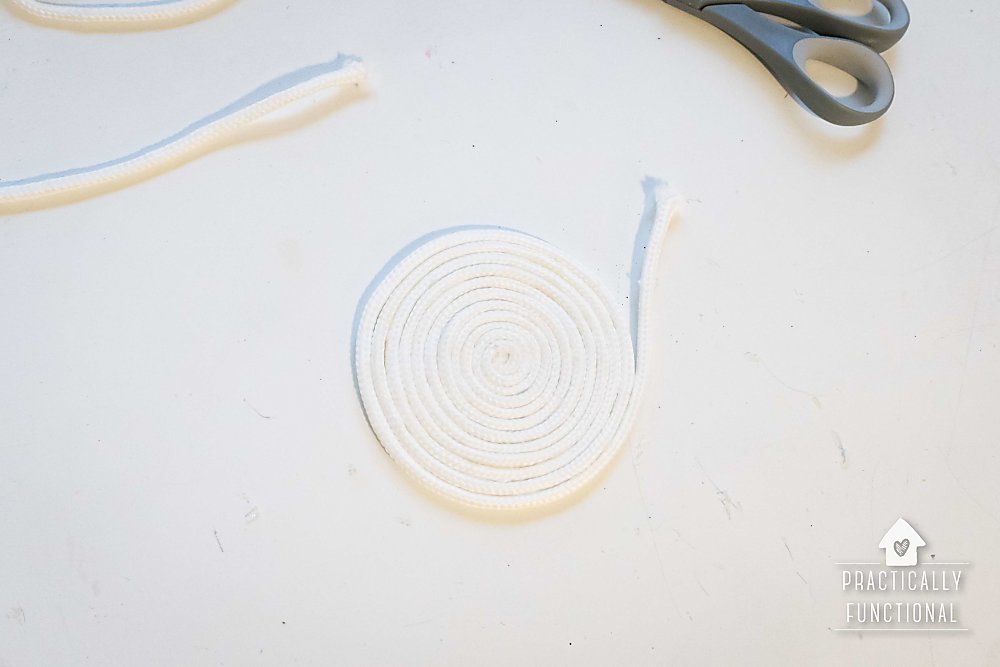
Use hot glue to secure the end of the rope onto the coaster.
I used my Cricut to cut out a citrus fruit stencil for the coasters; if you don’t have a Cricut or Silhouette cutting machine, you can make a stencil by cutting out adhesive vinyl or contact paper with scissors or an X-Acto knife. Or you can just freehand the citrus pattern onto the coasters if you want!
If you’re using a stencil, peel off the backing and stick the stencil onto the top of the coaster. Press all of the edges down really well!
Then lightly dab paint onto the coaster, being careful not to push any paint under the edges of the stencil.
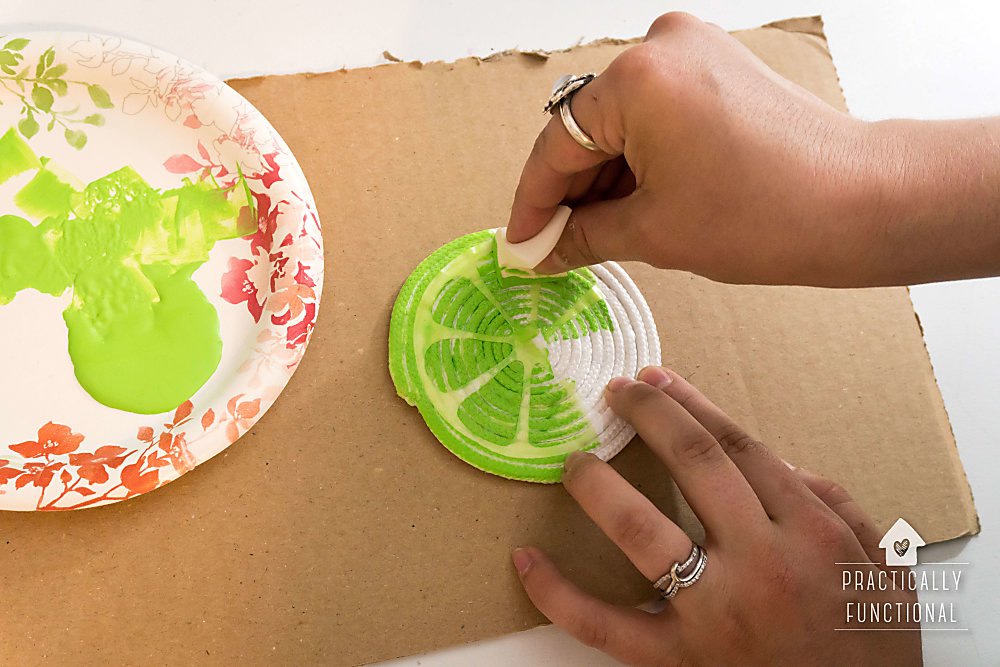
Peel off the stencil when you are finished and set the coaster aside to dry.
Once the paint was dry, I sprayed the coasters with a coat of Thompson’s Fabric Seal to make the rope waterproof. I’d hate for the paint job to be ruined the first time something spilled on these coasters!
Once the waterproofing spray dried, I was done!

This is such a simple and fast project, and they just turned out so cute!

Thanks so much to Amy for letting me share this with you guys today! And if you’re a busy mom and you ever want some tips and tricks for managing it all without losing your mind, stop by Practically Functional for a visit; I’d love for you to join us!


Leave a Reply