
I have just a few Valentine’s Day Decor items that I put up every year. So I make sure that I display only my very favorite pieces. Valentine Pillows are so easy to make and decorate with and have become one of my favorite ways to decorate for Valentine’s Day. Learn how to make this Valentine’s Day Pillow for your home.
VALENTINE PILLOWS
One of my favorite decor items to decorate with in my home are pillows. They are so easy to make and throw out to add some color or fun to your home. They are totally customizable to your tastes and design preferences and fairly inexpensive to make or buy! I love making pillows because I can make them exactly how I want them. I have pretty specific tastes and it can be hard to find items that I love because I have a specific idea about what I am looking for…so I love to make them
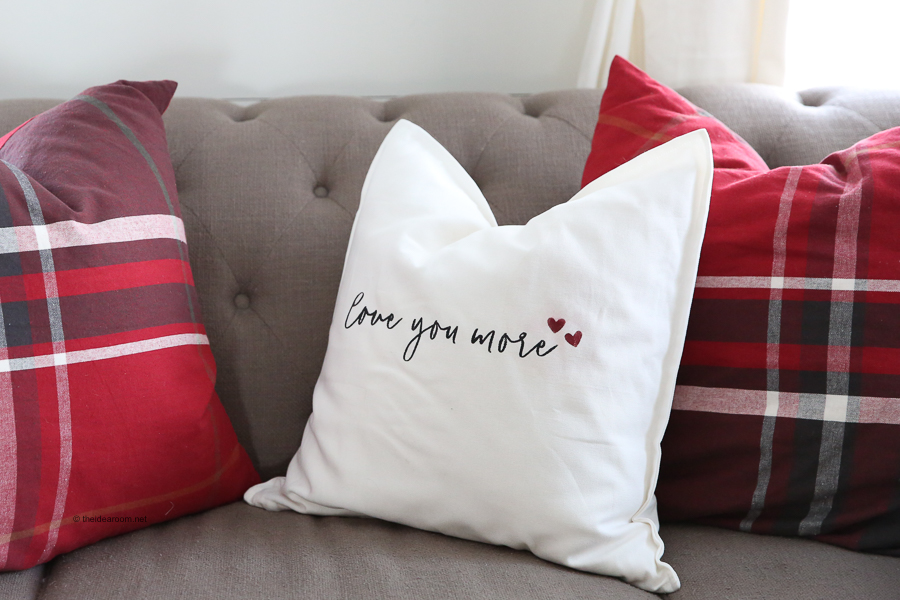
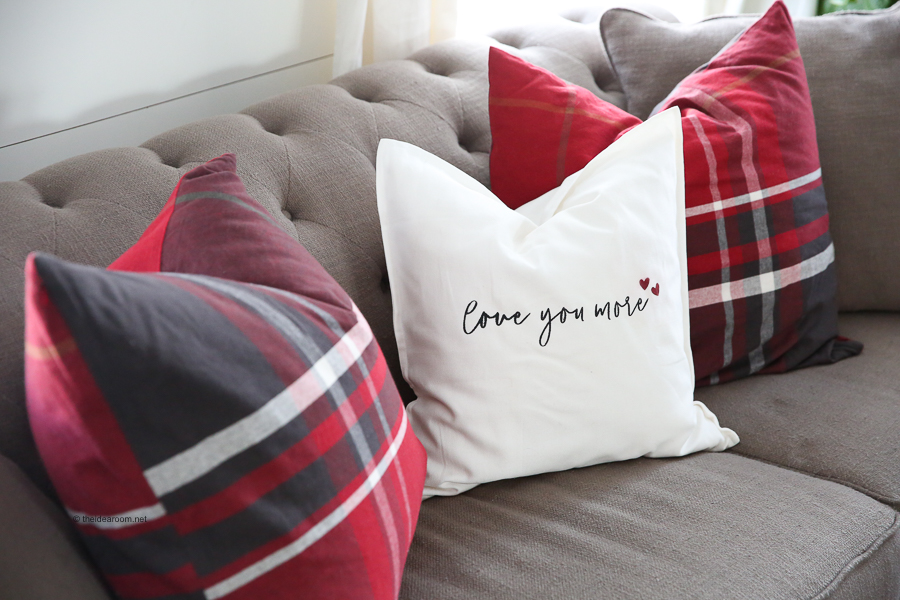
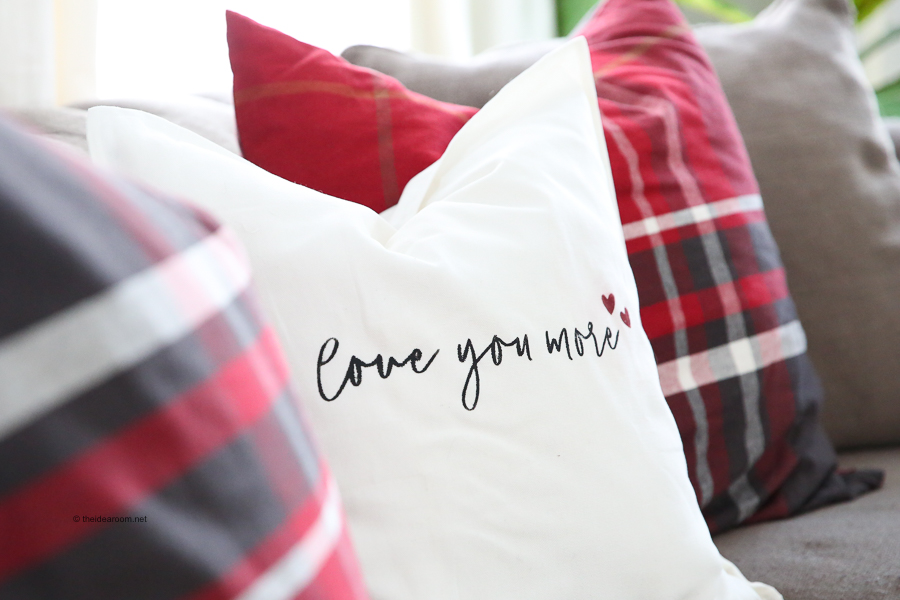
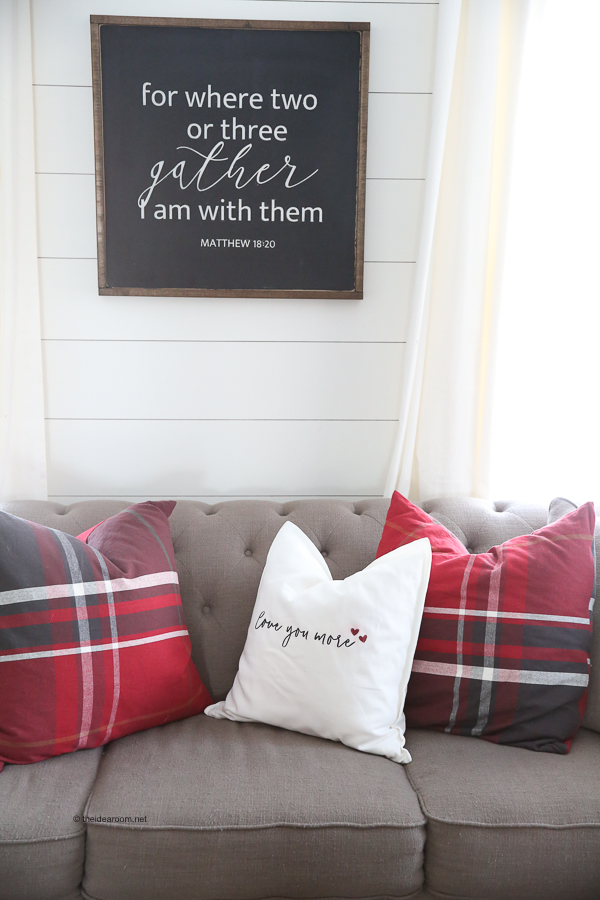
VALENTINE’S DAY PILLOW
I chose to make this Valentine’s Day Pillow with the phrase “love you more.” It is one of our favorite phrases to say to one another in our home. When someone says “I love you!” the other person likes to respond with “love you more!” My kids say this to each other all the time… ha! You know how that goes, but they do say it to my husband and I every time we tell them we love them!
I know it is a common phrase for a lot of you too! So I thought it would be the perfect pillow quote for Valentine’s Day. I love it so much I might just keep it out year round. Wouldn’t it also be fun for a child’s room or the nursery?
VALENTINE PILLOW COVERS
I made this Valentine Pillow Cover with my Cricut Maker. I am going to share the .png copy with you so that if you don’t have a Cricut machine you will still be able to make it! If you have never made a stenciled pillow cover before, I am going to share how to make one so you can make this Valentine Pillow Cover for your home.
PILLOW COVER TUTORIAL
You will need the following supplies to make your Valentine Pillow Covers.
- Cricut Maker (or other Cricut machine)
- Light Grip Cut Mat
- vinyl
- transfer tape
- cricut tool
- black paint
- red paint
- stencil sponge
- pillow cover or make one with my tutorial here
Directions for making pillow cover:
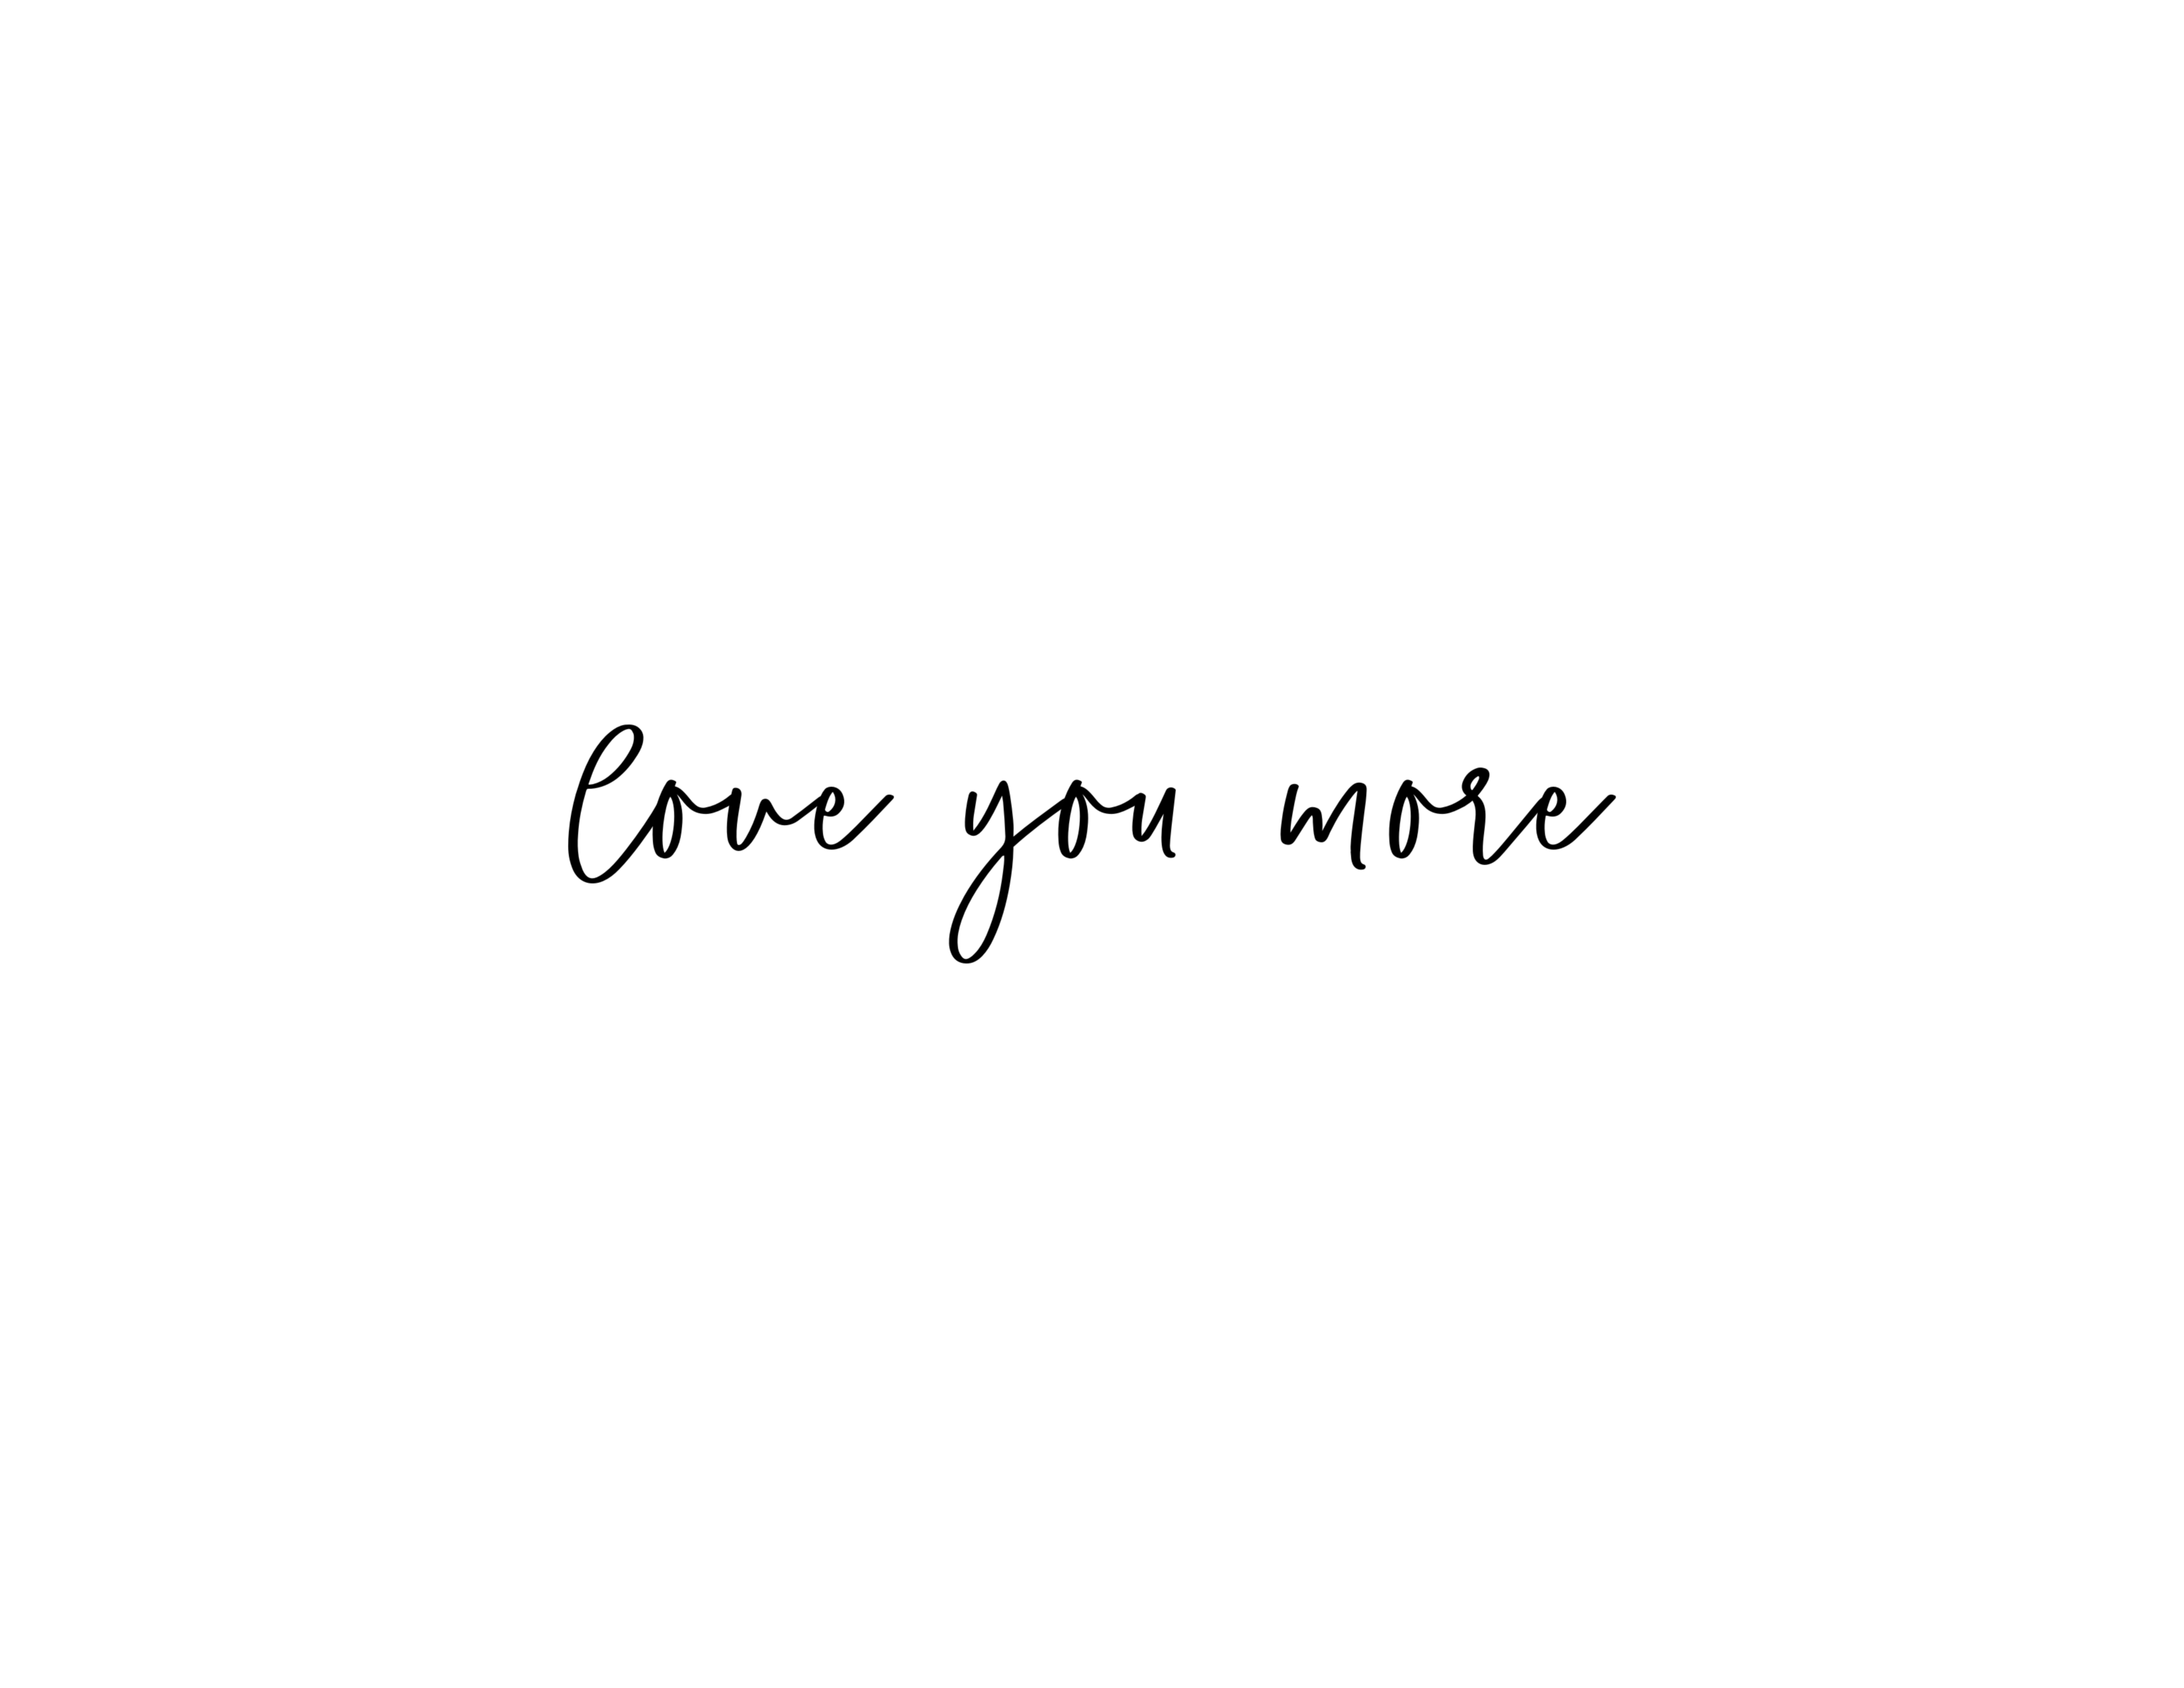
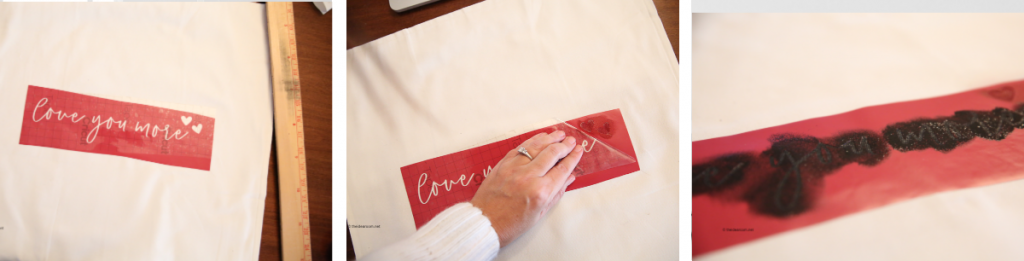
- Click on the green button “Make It” below to grab the .png file. You can convert the .png file to an .svg file which will allow you to cut in on your Cricut machine. Upload the .svg into your Design space and make a new project. (I like this online svg converter).
- Make any changes in size, etc. if you want. You can ungroup the words and move them and then regroup and attach them so they don’t move when you send it the Cricut Maker to cut. I added a heart to mine.
- Choose vinyl as your material. If it is a thicker vinyl change your setting to more other than the default setting.
- Load your vinyl onto a light grip mat and load the Cricut machine.
- Cut your project on your Cricut Machine. I used the Cricut Maker.
- Remove the project from the mat and then weed out the excess vinyl with a cricut tool. You will be weeding out the inside of the letters. This is going to be your stencil!
- Place the transfer tape onto the front of the vinyl that you will be using for the pillow stencil. Then peel off the backing of the vinyl.
- Place the stencil on a ironed pillow cover so that it is lined up where you want it. Carefully peel off the plastic! Make your own pillow cover using this pillow cover sewing tutorial or buy one like I did here.
- Paint the stencil with the color of your choice. I used black paint for the words and red paint for the heart.
- You may want to put a piece of cardboard in between the two layers of pillow material so the paint doesn’t bleed through to the back of the pillow.
- Let dry. And add a pillow insert.
That’s it! It is a pretty easy project to make! I love that you could also take this same stencil and make a wood sign or a printable sign to hang in your home! It’s pretty versatile!
OTHER PILLOW TUTORIALS
If you like to make pillows you might want to check out these other pillow tutorials we have shared here in the past!
- How to sew an 18 inch pillow cover
- Bushel & a Peck Pillow
- Love Pillow
- Halloween Pillow
- Trick or Treat Pillow
Thanks for stopping by! Happy pillow making!
xoxo
JOIN OUR NEWSLETTER
Would you like more Recipes, DIY, Printables and Organization Ideas?
Subscribing to the newsletter will enable us to periodically send you creative content exclusively for Idea Room subscribers.
*View our Privacy Policy here.


What a super-fun project. Stylish and chic!
Ponore- Thank you.
Where are the black/red pillow covers from???
They are from pottery barn and are on clearance right now! They won’t last long! I love them! http://bit.ly/2Uy1xhl
Sooooo darling!
We like to say that at our home! I definitely need this! It’s super cute & love the simplicity!