
I am so excited to kick off our new Idea Room Organizational Tips series with Clean Mama! I always feel the need to clean, organize and de-junk my home during the month of January and Clean Mama is just the person to with the skills and know how to get me headed in the right direction. If you don’t follow her blog get on over there…you don’t know what you are missing. And lucky for you…she is going to be posting here every other Thursday for several weeks helping us get our homes and clutter in tip top shape. But enough from me…here’s Becky aka Clean mama!
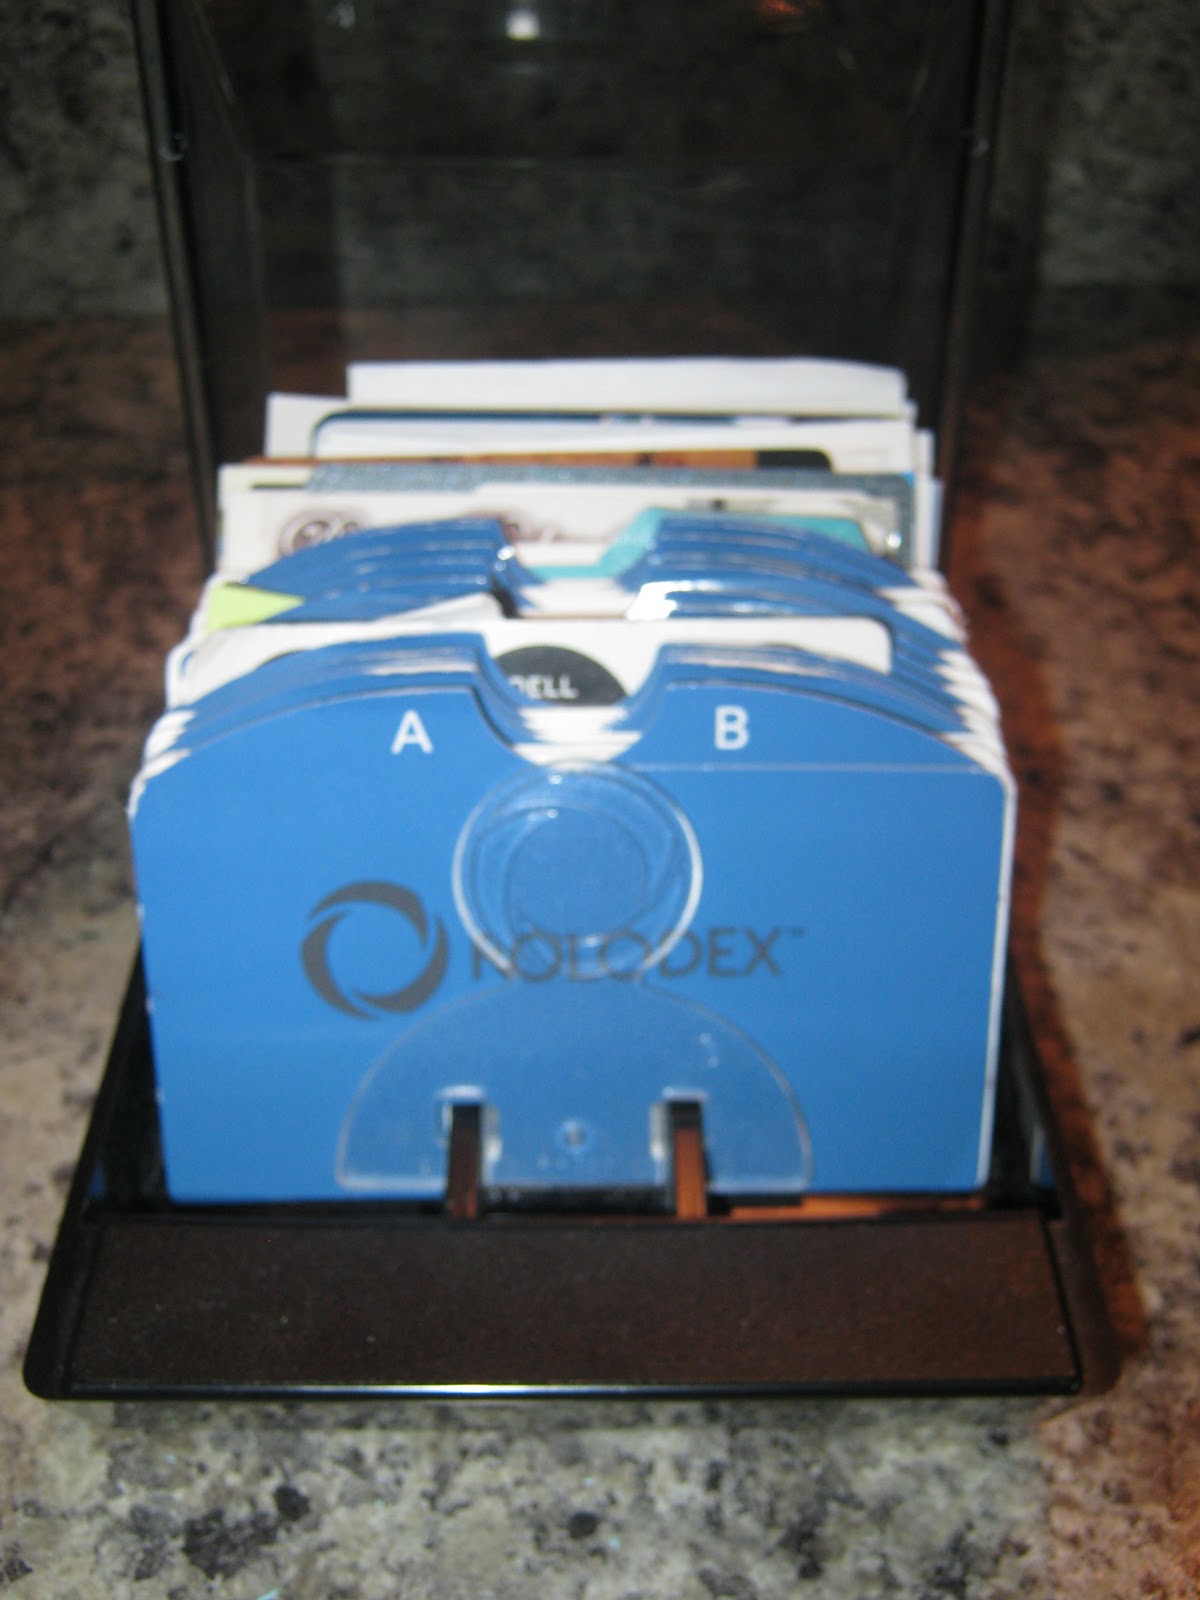
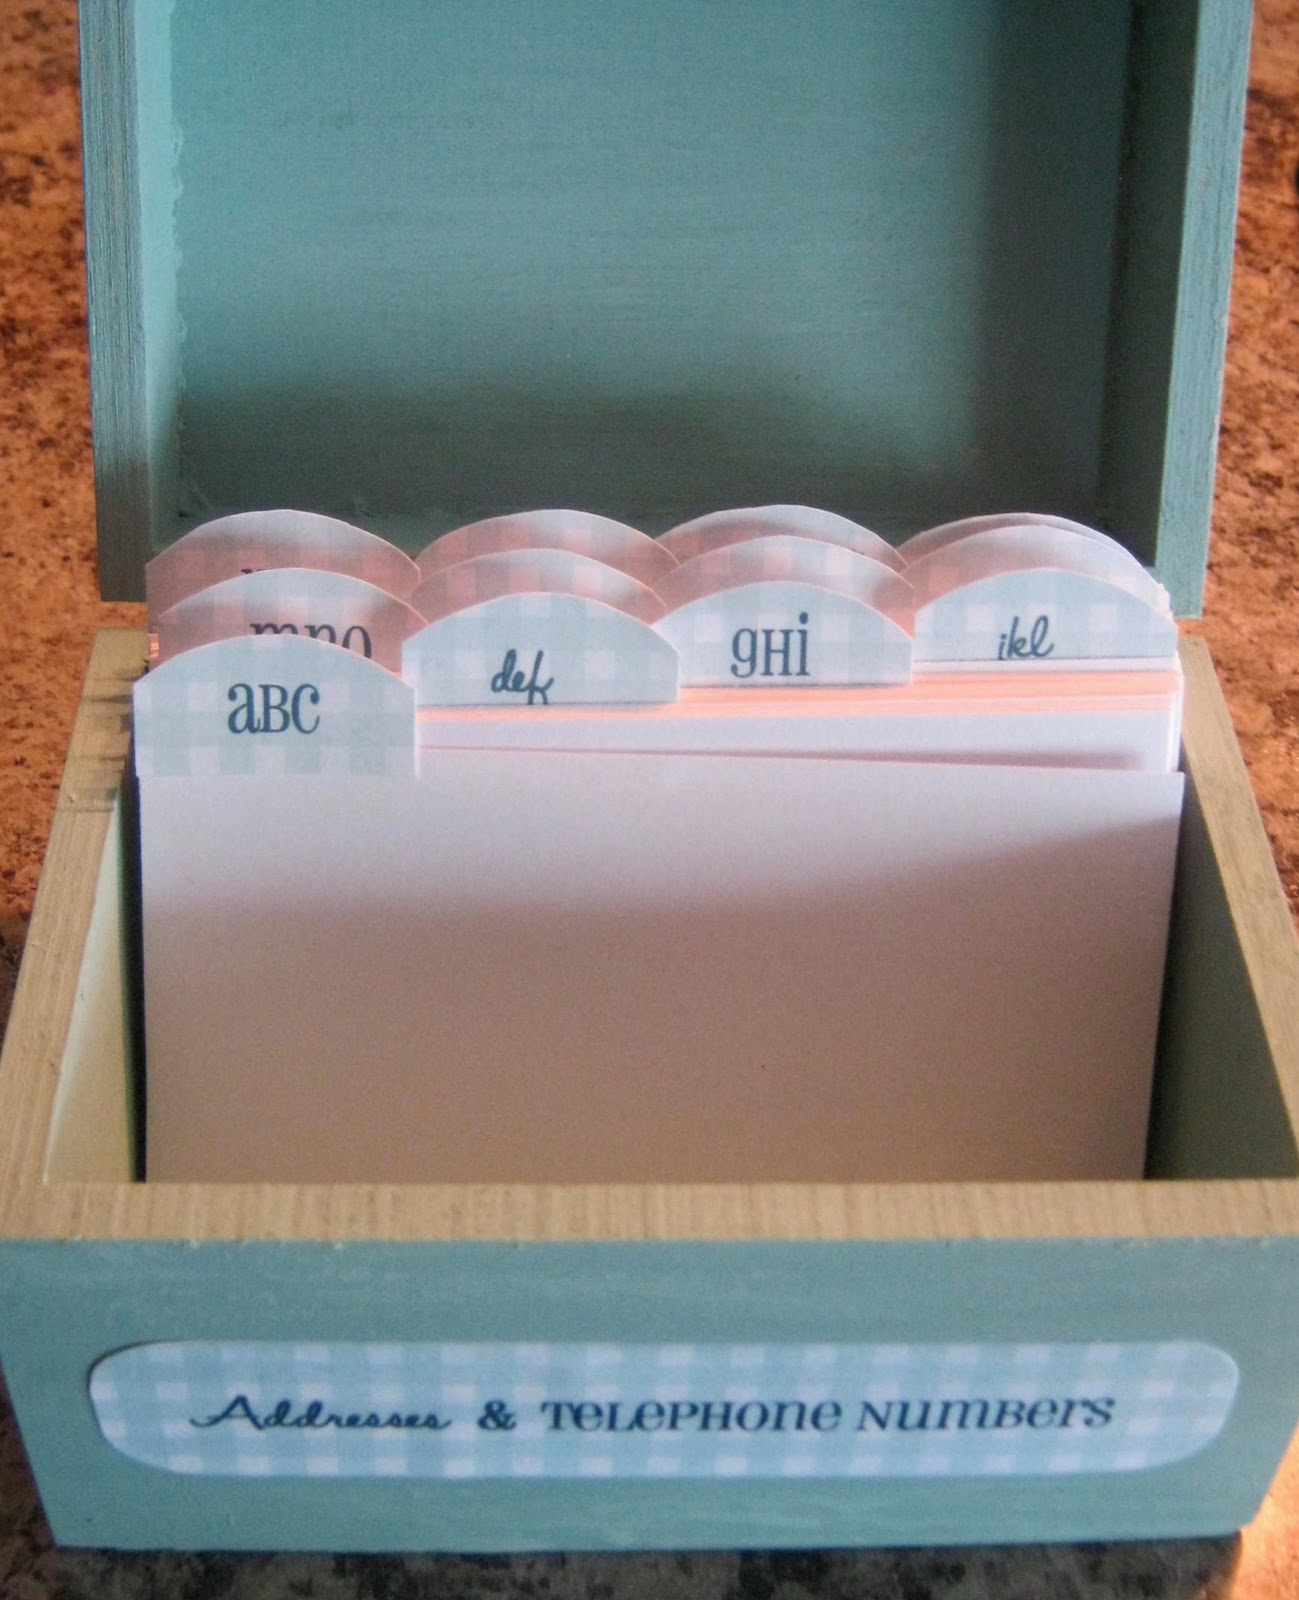
I love to have numbers and addresses handy in the kitchen by the phone – but I wanted to come up with a cuter way to keep those contacts handy.


-
hand write names, addresses, numbers, birthdays the old-fashioned way
-
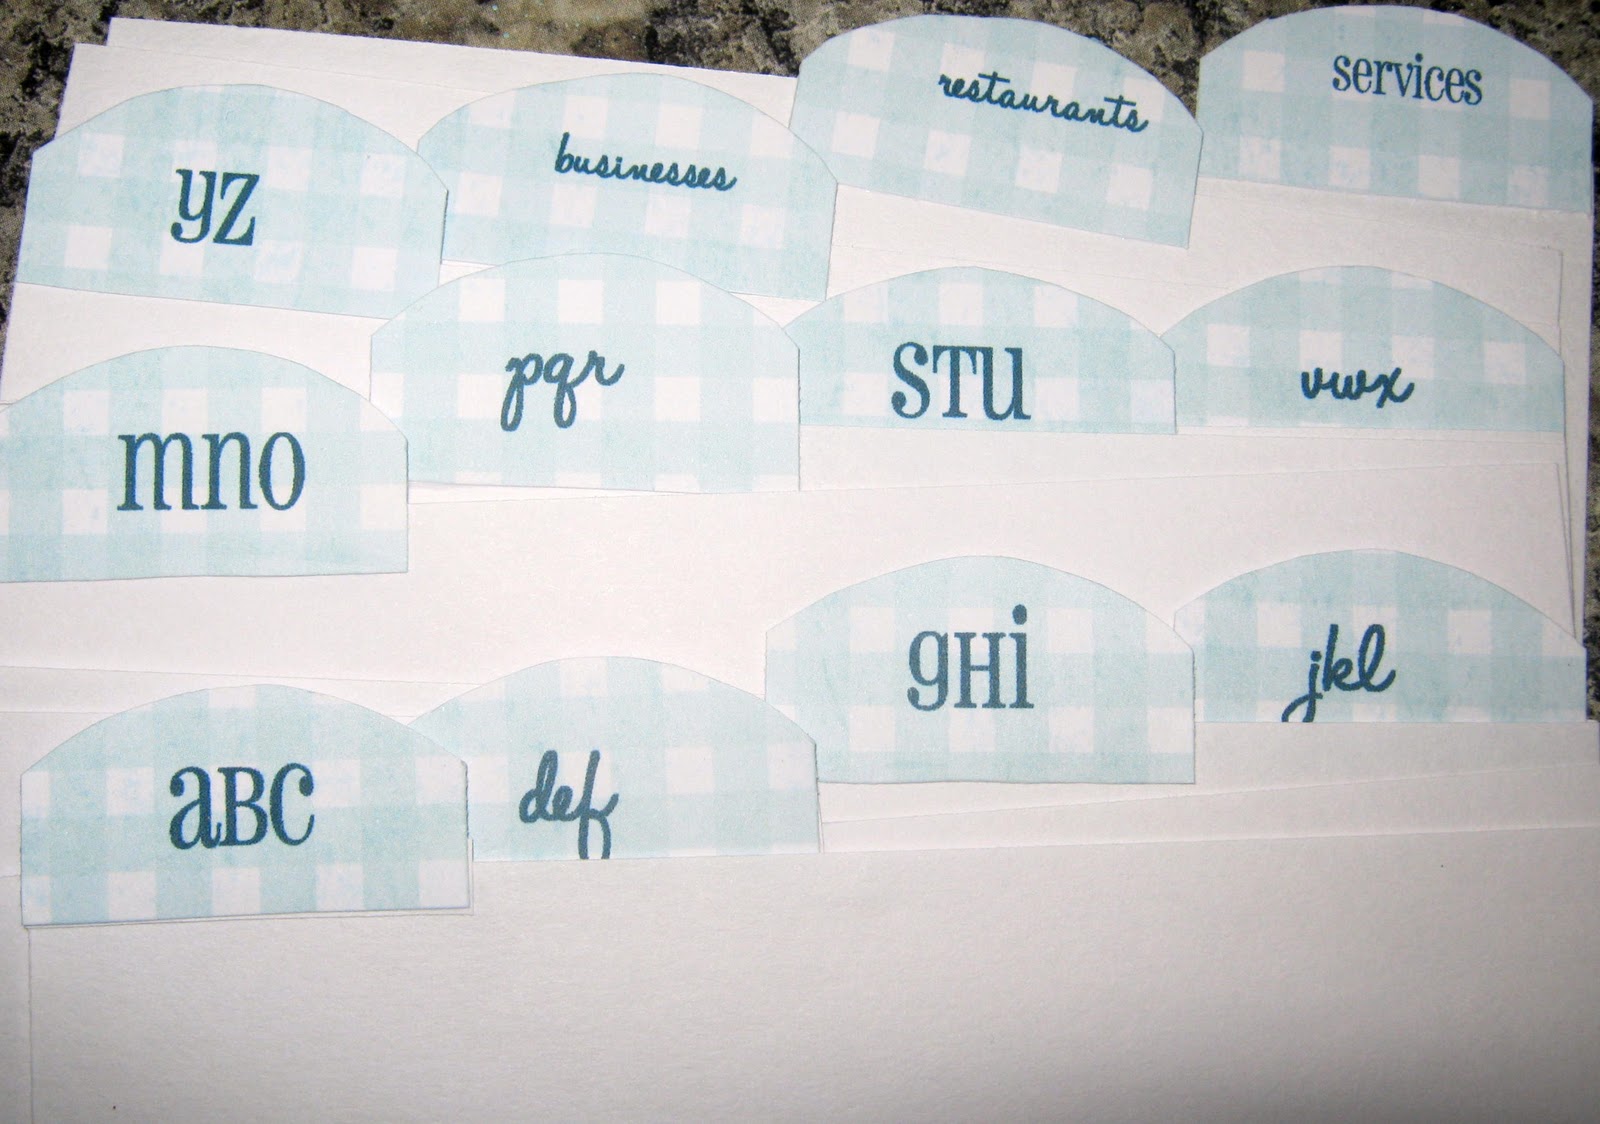
mail merge your digital address book on labels (use a cute font and center it) and affix the labels on index cards
-
print out the addresses and numbers on cardstock using this Avery template (you can buy perforated note cards too, but I like to cut the cards so I have a nice clean line)
-
I like to put birthdays and anniversaries on the cards too for an extra place to reference those important dates
-
glue down business cards to notecards to keep everything the same size and easy to find
★Amy 
JOIN OUR NEWSLETTER
Would you like more Recipes, DIY, Printables and Organization Ideas?
Subscribing to the newsletter will enable us to periodically send you creative content exclusively for Idea Room subscribers.
*View our Privacy Policy here.


I might just have to do this. I have everything on my phone and papers around the house but I fear that we are too reliant on our phones and if anything happened to them I wouldn't even know my mom's phone number! {only slightly kidding} This is a good goal for me this year. Thanks for sharing!
What a cute idea. I love Clean Mama!
What's kind of funny (and sad) is that I bought a box just like this to turn it into an address box but I never did get around to it… and I bought that box at least 2 years ago!
Thanks for the great tutorial Becky.
Popping over to visit your blog now.
i love this idea! So organized and pretty too!!!
Thanks for the tips and intro to such a cute blogger!
~Shelley
Great project! I might be able to adapt this to make my first project with my new Silhouette machine! Thanks for the idea!
Very cool. Tutorials always make things look so easy, and attractive! xx
I love this idea. It looks so awesome. I am in an organizing mood these days and this is a perfect project for my little daughter and myself to work on this weekend!!
I'm loving how cute this is!
Cute project! Looking forward to more great organizational tips!
Ok you seem to be in my mind this is just what I was thinking. This is on my to do list this weekend! Thank you so much :)
Rachel
Great idea!! I have been searching for a unique way to store addresses to make for a bridal shower! this would be perfect and I can include a number of blank ones she can fill in later!
Thanks bunches
Jackie P