

So excited about this DIY Bath Tub Tray Tutorial that is being shared as part of the Summer Series today!
BATH TRAY
Summer is lagging on and I’m sure you are losing your patience and starting to think wistfully about the day your children go back to school. In the immortal words of the old Calgon commercials, “Calgon take me away.”
BATH TUB TRAY
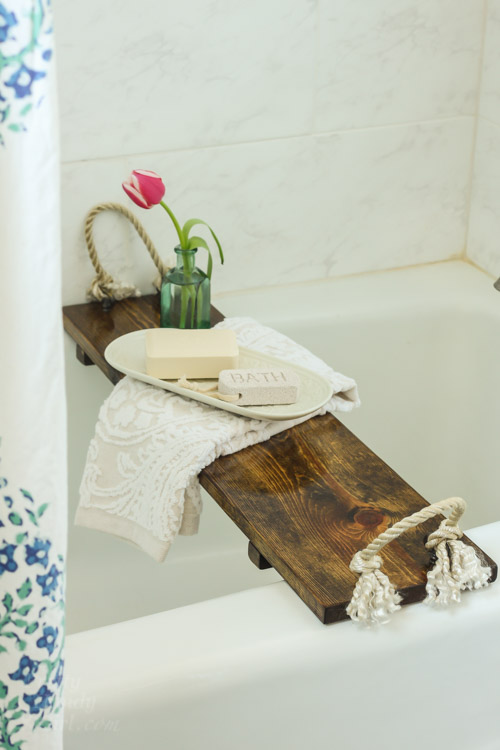
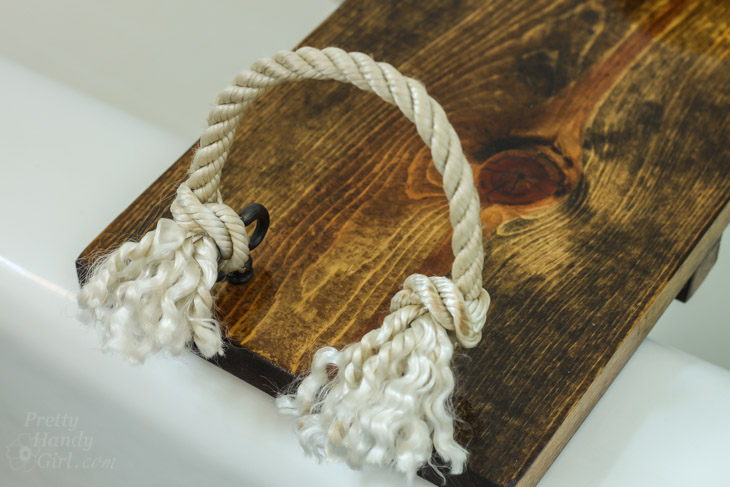
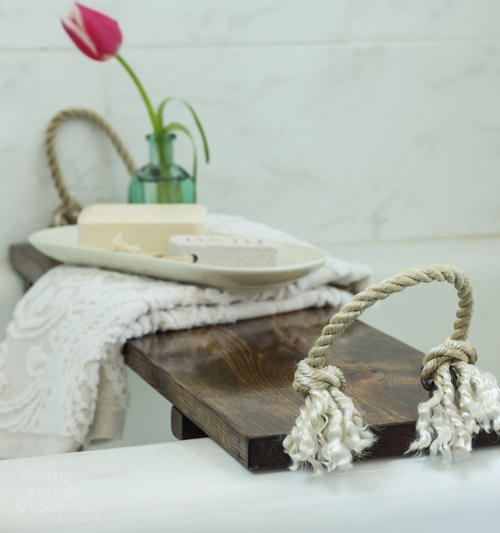
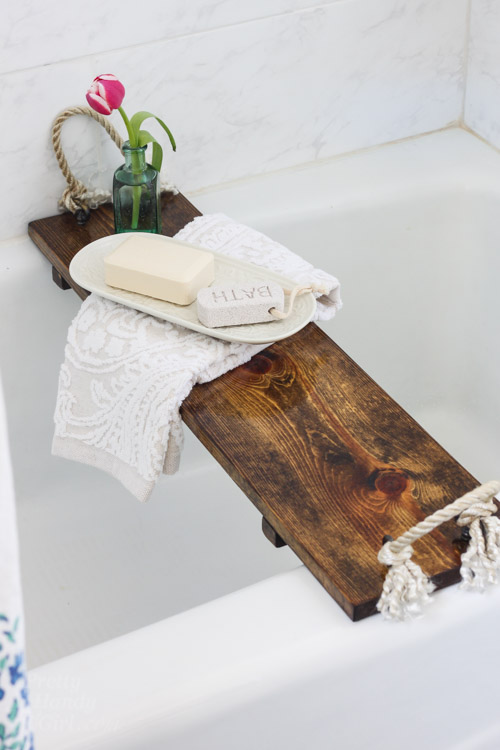
Today, I have just the thing to ease you frazzled nerves. A Rustic Wood Bathtub Tray so you can lock the bathroom door and soak in a warm bathtub. You can prop a book and a glass of wine on your tray. Or maybe some tea and the iPad so you can binge watch some Netflix. Hey, whatever you need to recharge is okay with me.
Before we begin, I just want to say “Hi, and nice to virtually meet you.”

DIY BATHTUB TRAY
I’m Brittany, a licensed general contractor and the DIY educator behind PrettyHandyGirl.com. I aim to help you become handy through a website full of tutorials for home decorating, home & auto repairs, crafts, tool tutorials and much more. But, first, let’s build that bathtub tray. This shouldn’t take long and shouldn’t cost much either.
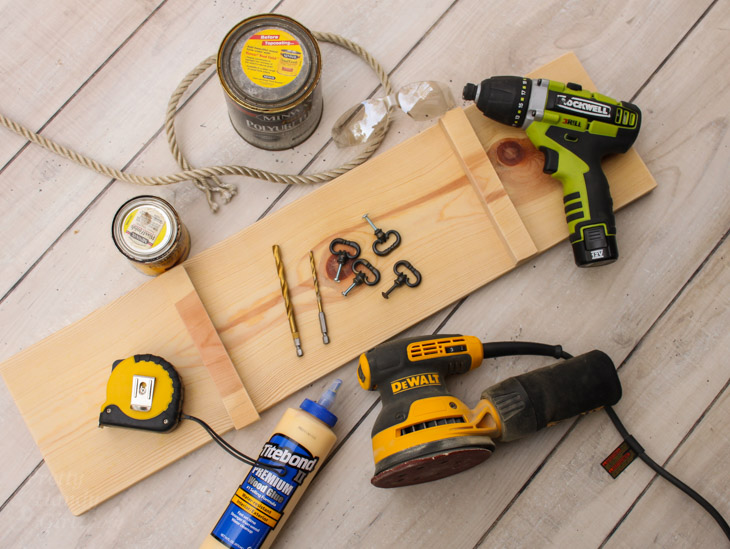
MATERIALS:
- 1″x6″ x 3′ board
- Measuring tape
- Cotton rope
- Knobs with key hole opening or handle
- Miter saw
- Sander
- Minwax Early American Stain
- Oil-based Minwax Polyurethane
- Drill
- Drill bits
- Wood glue
- Safety googles
- 1.5″ finish nails
- Hammer or nailgun
(contains some affiliate links for your convenience)
INSTRUCTIONS:
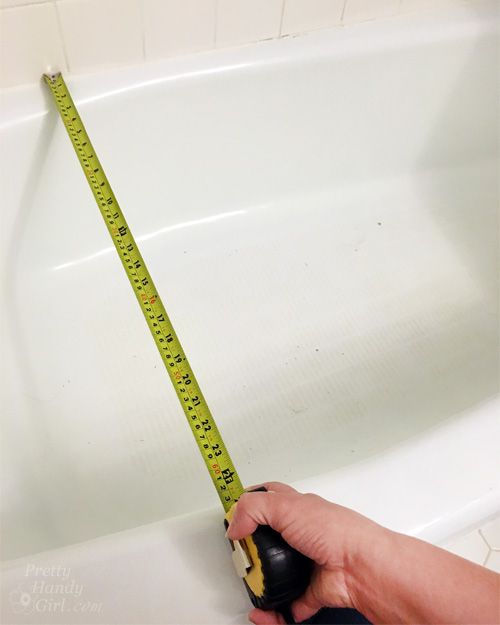
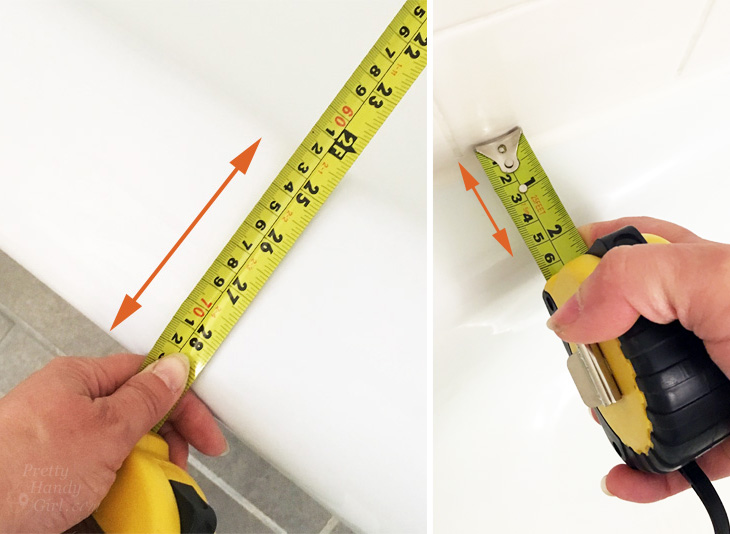
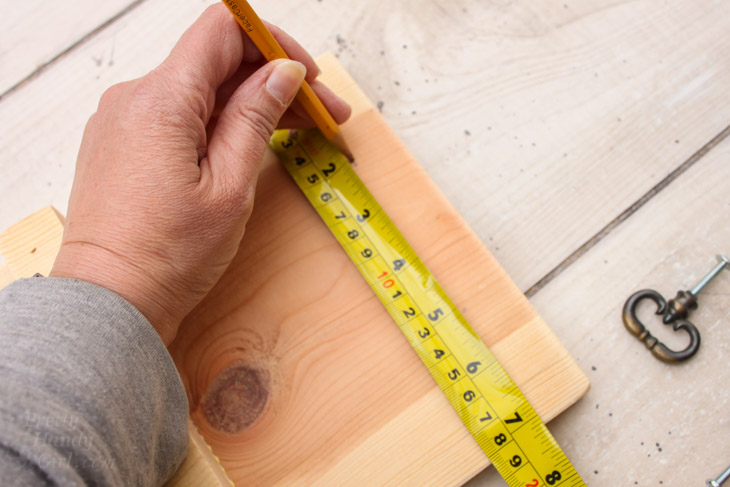
Measure the exterior width of your tub.
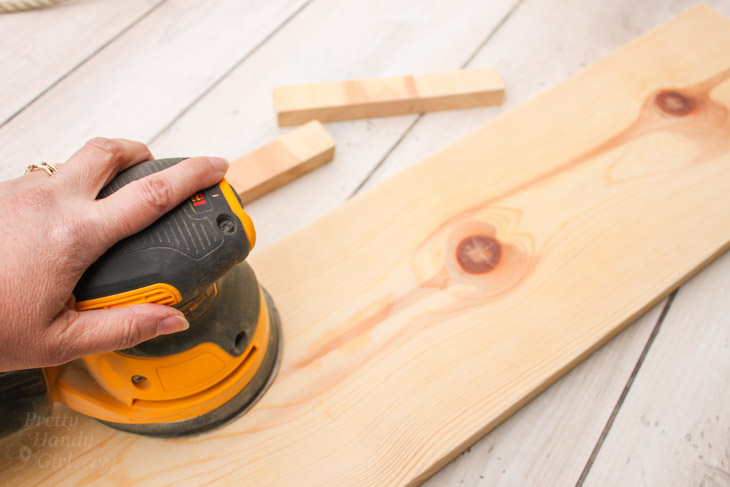
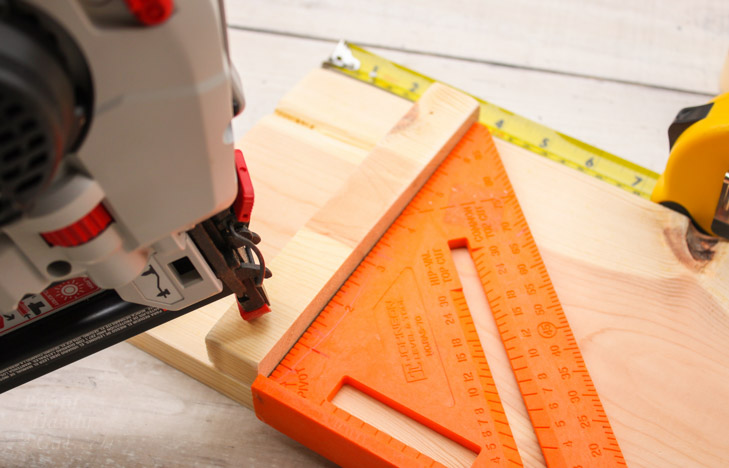
Cut two pieces about 1″ wide from your board (these will be the stops to hold your tray in place.) Then cut your board to the width of your tub. Sand the wood smooth.
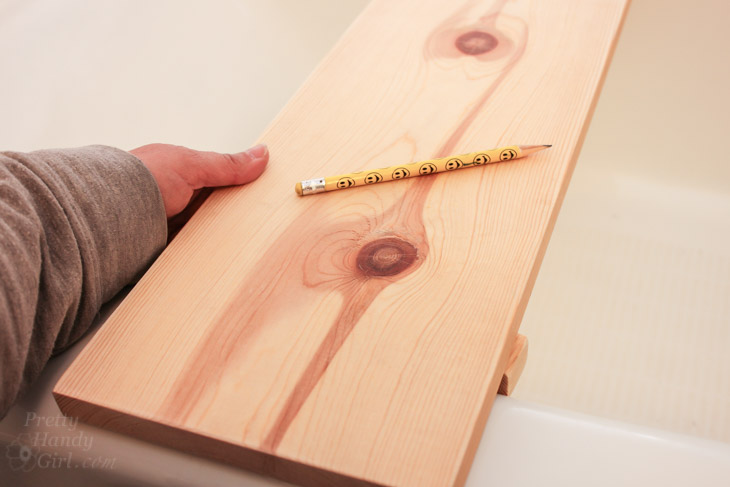
Measure the lip of your tub and mark the location of the inside edges of the tub onto your board.
Hold the 1″ strips under your board and test to see that it fits inside the tub but against the walls to keep your try from sliding side to side.
Add some wood glue to the underside of the 1″ strips.
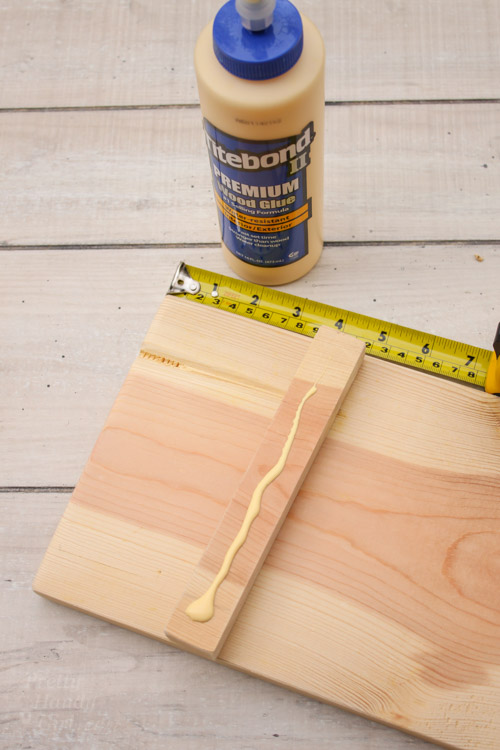
Secure the strips to the underside of the board using finish nails. Repeat for the opposite side.
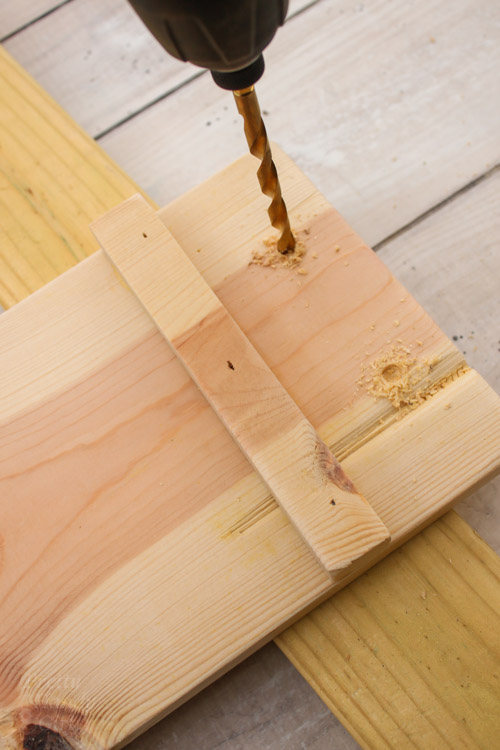
Mark the location for your handle, centering it front to back on the tray edges.
Using the larger drill bit, drill slightly into the bottom of the tray.
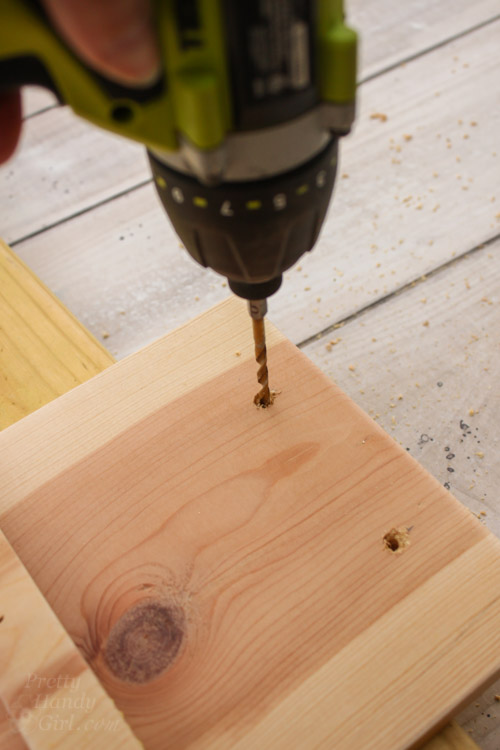
Use the smaller drill bit to drill through the tray at the same location.
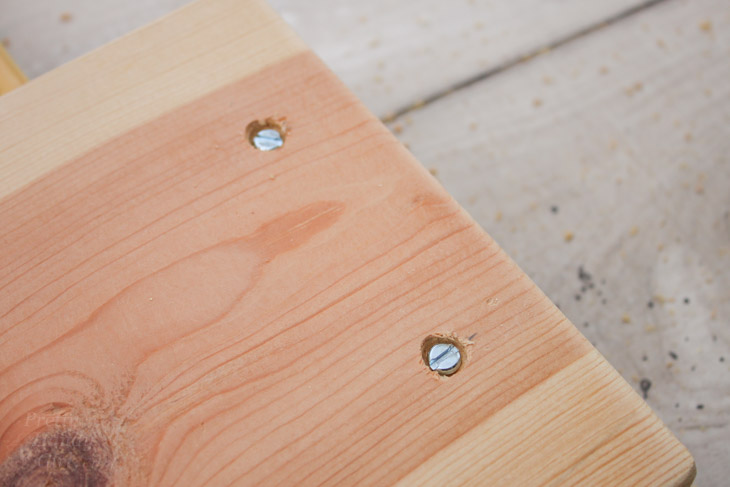
Set the handle screws into the bottom of the tray and make sure the screw sits inside the surface of the wood. (No need to have rusty screws leaving marks on your tub.)
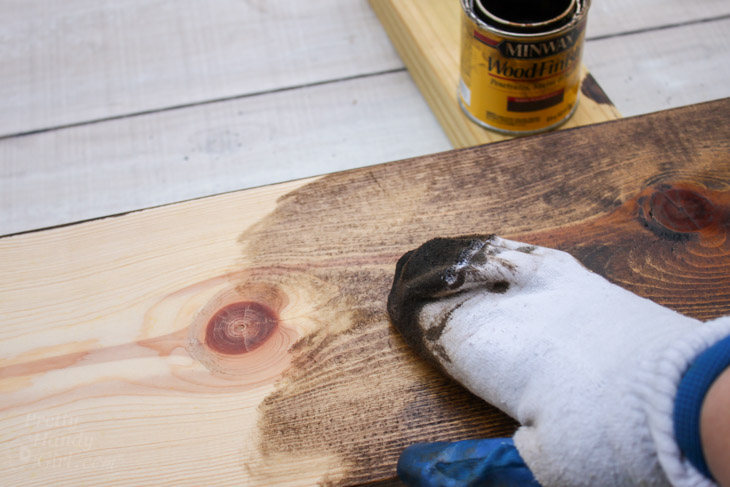
Stain your board by wiping the stain on, let it sit a minute and wipe off any excess. Repeat until desired color is achieved. Apply 2-3 coats of polyurethane to protect your tray from the water. Allow the tray to dry.
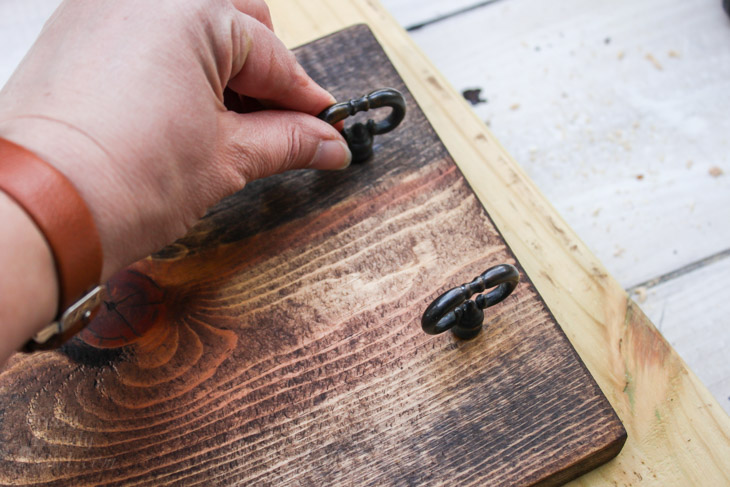
Install the knobs for the handle into the tray.
Tie the rope between the two knobs. To keep the rope knots secure, add a dab of glue inside the knot.
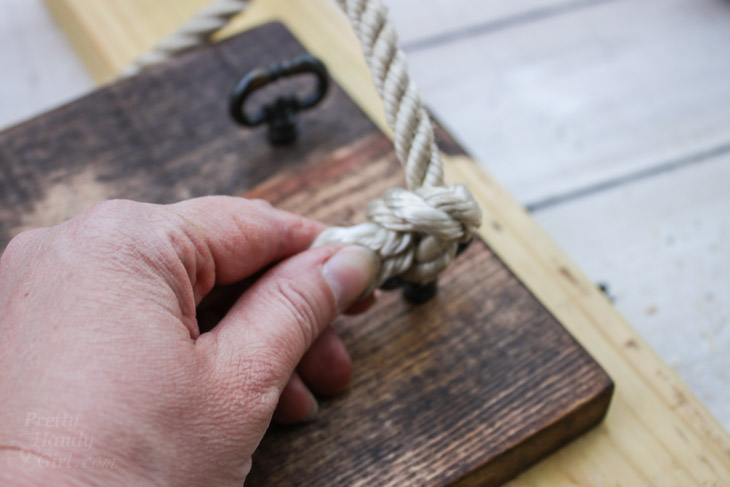
Fray the ends of the rope if you desire.
GIFT IDEA
It’s time to slip away to your bathroom and lock the door!
Enjoy some calm time to yourself to recharge.
When do your kids go back to school? I’m counting the days until mine go back ;-).
Did you like this simple tutorial? Want to create some more simple projects for your home like a rustic wood serving tray?

Check out my entire Build It project gallery for more fun projects!
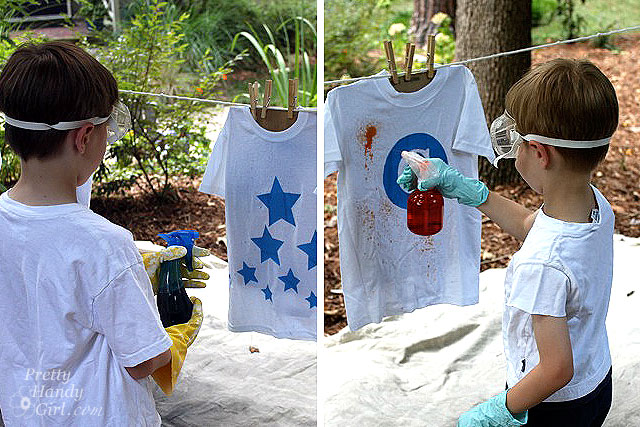
You might also enjoy some of these art & craft tutorials to make with the kids, like spray dyed t-shirts:
Have a wonderful last few days (or weeks) of Summer!
![]()

JOIN OUR NEWSLETTER
Would you like more Recipes, DIY, Printables and Organization Ideas?
Subscribing to the newsletter will enable us to periodically send you creative content exclusively for Idea Room subscribers.
*View our Privacy Policy here.


Leave a Reply