
Learn how to make this easy DIY Fall Pumpkin Sign with this simple step-by-step tutorial. Use your Cricut machine and make it now.

FALL SIGNS
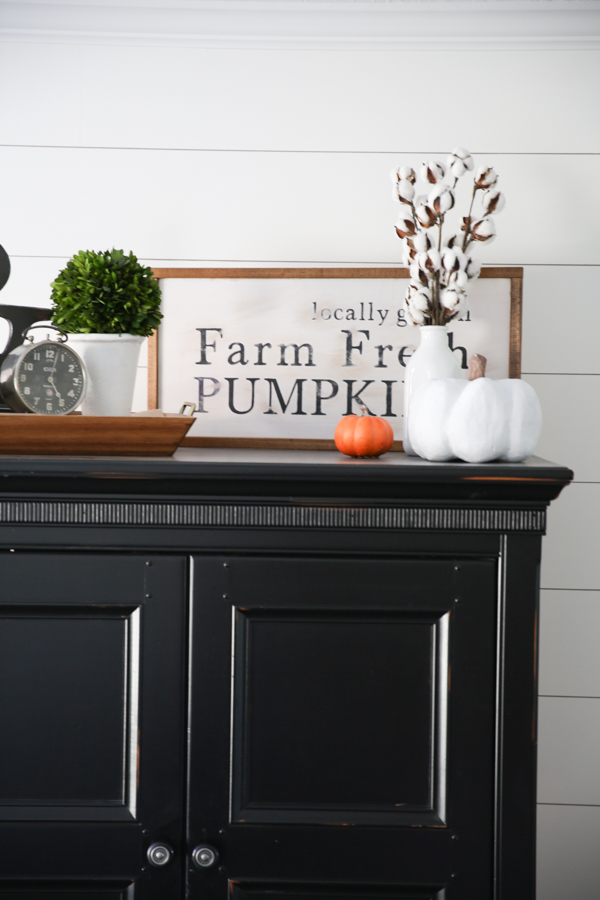
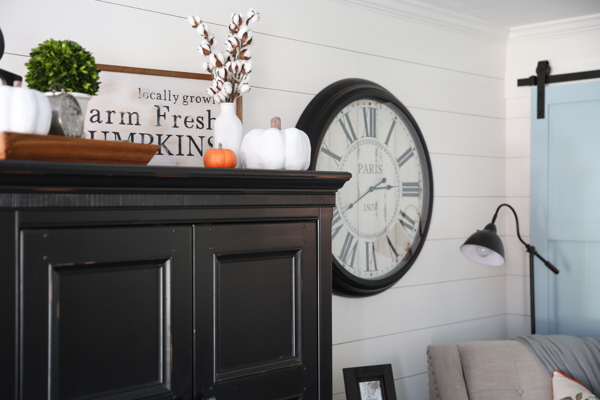
I just recently made this DIY Fall Pumpkin Sign for my Fall Decor in my home. I LOVE fall and I love decorating my home. We just recently tore this room apart and added this ship lap planking to the walls. I just love how the whole room is coming together.
DIY WOOD SIGN
This sign is pretty to easy to make so you can make one for yourself with this easy to follow tutorial.
SUPPLIES:
- Cricut Explore machine or Cricut Explore Air machine
- Light Grip Cricut Cutting Mat
- vinyl
- transfer tape
- vinyl tool
- wood board (mine was 24 inches by 13 inches)
- 2 wood frame trim pieces (25.5 inches)
- 2 wood frame trim pieces (13 inches)
- paint (white and black)
- paint brush or stencil brush
- wood stain
- sand paper
- staples or small nails
DIRECTIONS:
1. Cut your wood board so that it measures 24 by 13 inches (or your own preferred size).
2. Cut your wood frame so that you have two long pieces on the top and the bottom of the sign with the short wood frame pieces on the side. The top and bottom frames will overlap on the top so you don’t have to cut angled corners.
3. Sand board so that it is smooth. Wipe dust off the board with a damp cloth.
4. Paint your board white and let it dry.
5. Stain your wood frame pieces and let them dry.
6. Click on the Make It Now button below.
7. Pull project up in your Cricut Design Space.
8. Load vinyl onto your Cricut Cutting Mat.
9. Select “GO”.
10. Cut your vinyl.
11. Pull out the insides of the letters so the outline remains with your vinyl tool.
12. Use the transfer paper to apply the vinyl to the painted wood board.
13. Stencil the letter with black paint and let dry completely.
14. Sand and rough up the sign if you want a weathered look.
15. Staple or nail the wood frame onto the wood sign.
![]()
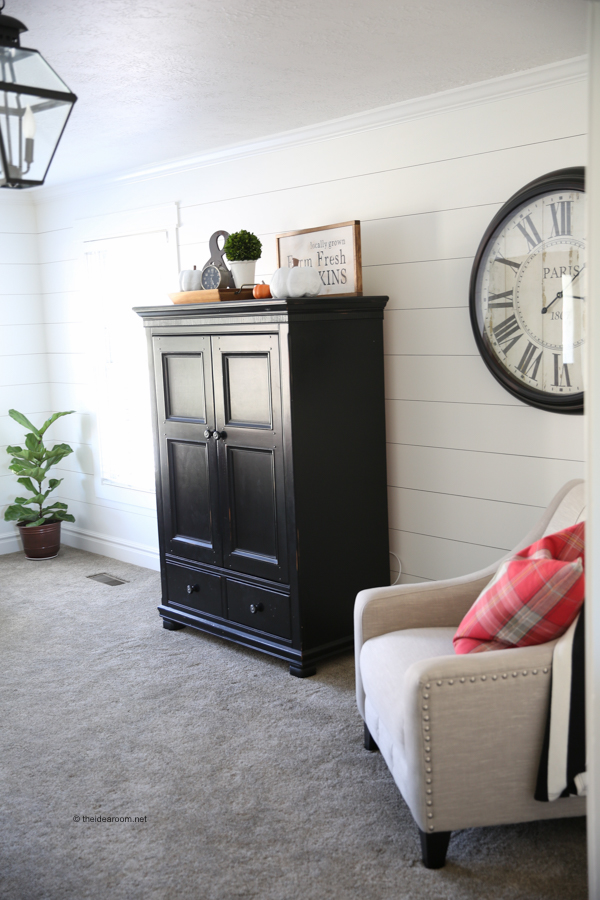
Now you can make one for your home!


This is a fantastic Fall/Halloween/Thanksgiving project for all us Fall LOVERS. TFS.
So glad you love it!
How cute! Do you have suggestions on what type of paint is best to use? Thanks!
I like to use Ceramcoat Acrylic Paint.
Thank you so much for this amazing idea! Super easy and beautiful! Will surely use this!
Allyssa- Thank you.
Is a PNG file available?
I am looking for it. Thanks for letting me know that it is missing.