
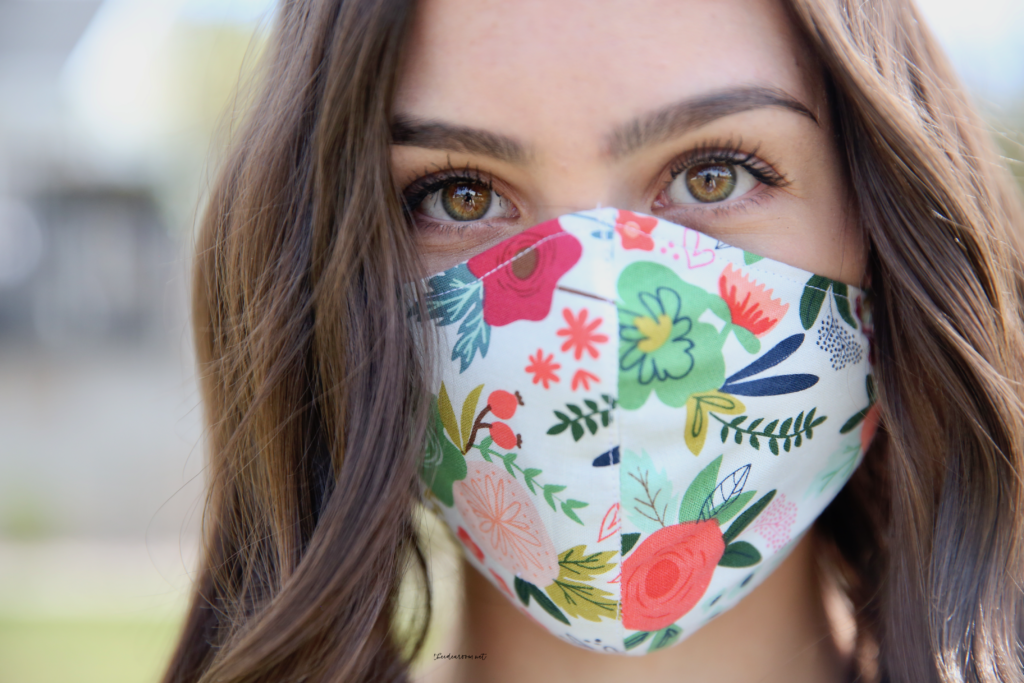
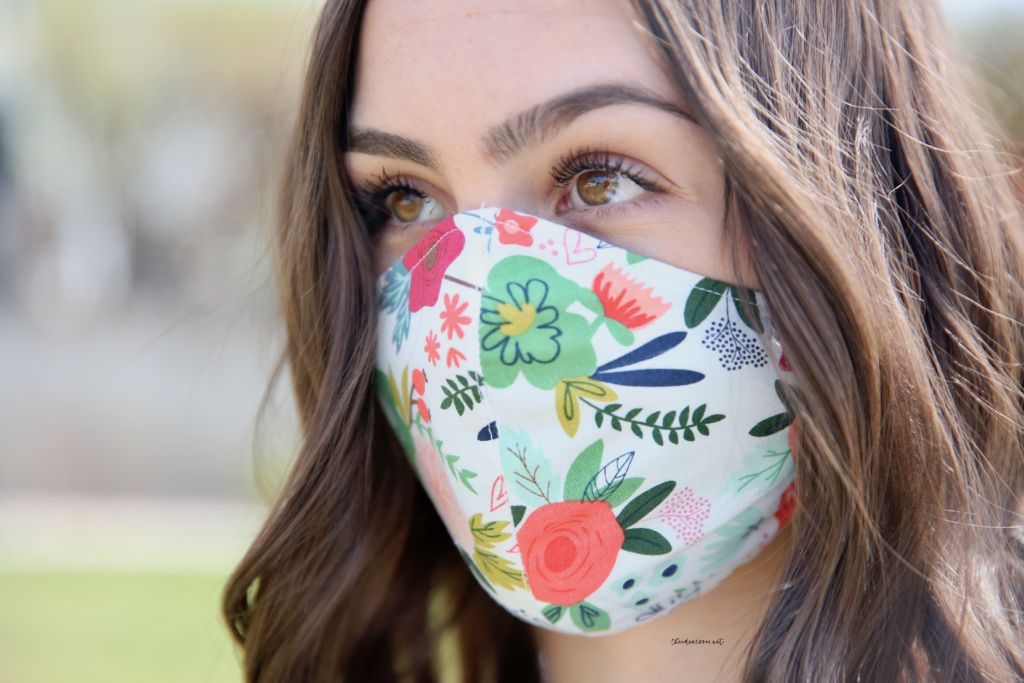
With the recent pandemic and mandate to wear a Face Mask while out in public I am sharing how to Make a Face Mask with this simple, step by step Face Mask Tutorial. Grab a free Face Mask Pattern and make one with your Cricut. If you don’t have a Cricut, you can download the free pattern and cut it out by hand.
This is a sponsored post on behalf of Cricut.
CAUTION: This mask is NOT rated for disease control. The Center for Disease Control (CDC) has provided the following information regarding homemade face masks: The role of face masks is for patient source control, to reduce contamination of the surrounding area when a person coughs or sneezes. Patients with confirmed or suspected COVID-19 should wear a facemask until they are isolated in a hospital or at home. Most facemasks do not effectively filter small particles from the air and do not prevent leakage around the edge of the mask when the user inhales.* When professional facemasks are not available, healthcare personnel might use homemade masks for care of patients with COVID-19 as a last resort. However, caution should be exercised when considering this option since their capability to protect healthcare personnel is unknown.
CDC GUIDELINES ON CLOTH FACE MASKS
The CDC recommends wearing cloth face coverings in public settings where other social distancing measures are difficult to maintain (e.g., grocery stores and pharmacies), especially in areas of significant community-based transmission.
It has also been advised by the CDC, to use a simple cloth face covering to slow the spread of the virus and help people who may have the virus and do not know it from transmitting it to others.
Cloth face coverings should not be placed on young children under age 2, someone who may have trouble breathing, or otherwise unable to remove the mask without assistance.
The cloth face coverings recommended are not surgical masks or N-95 respirators. Those are critical supplies that must continue to be reserved for healthcare workers and other medical first responders, as recommended by current CDC guidance.

HOW TO PROPERLY WEAR CLOTH FACE MASK
Cloth face coverings should allow for the following—
- fit snugly but comfortably against the side of the face
- be secured with ties or ear loops
- include multiple layers of fabric
- allow for breathing without restriction
- be able to be laundered and machine dried without damage or change to shape
HOW TO SAFELY REMOVE FACE MASK
Be careful not to touch your eyes, mouth or nose on your face while removing the face mask. Carefully and thoroughly wash your hands afterwards.
HOW OFTEN SHOULD MY FACE MASK BE WASHED
After a couple of uses you can wash your face mask in the washing machine as you would any other article of clothing.
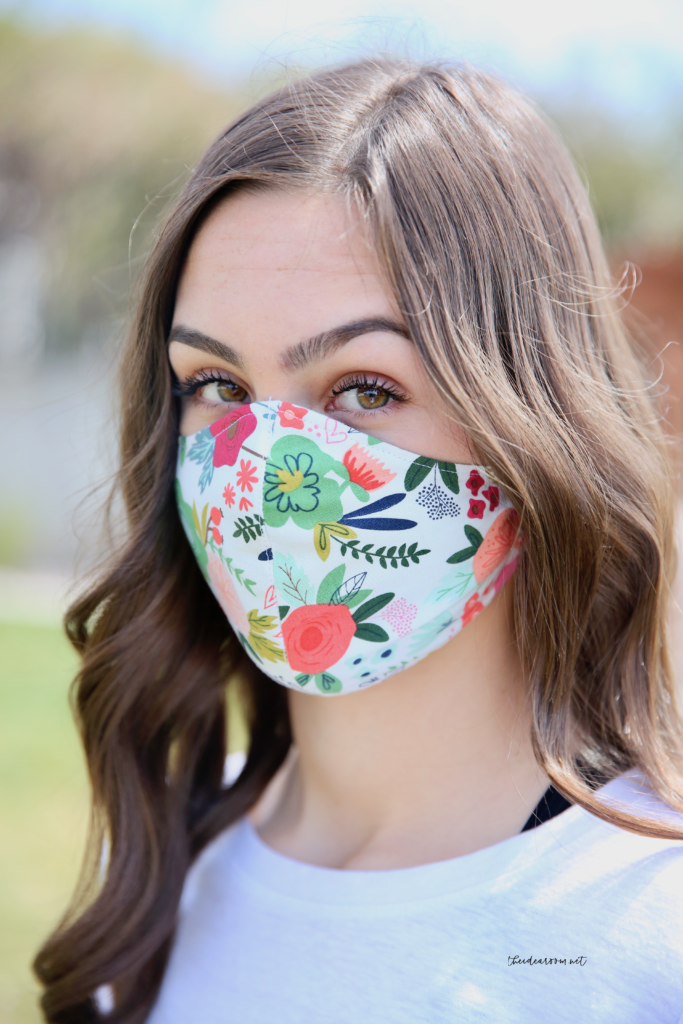
HOW TO MAKE A FACE MASK
This tutorial shows how to cut the fabric on a Cricut Maker. But if you don’t have a Cricut Maker you can cut a pattern on your Cricut Explore. If you don’t have either machine, you can download a free pattern on Cricut’s blog here and then follow the rest of the directions to sew your face mask! Cricut also has a no sewing option and a tutorial for making a no-sew face mask on their blog here.
MATERIALS NEEDED:
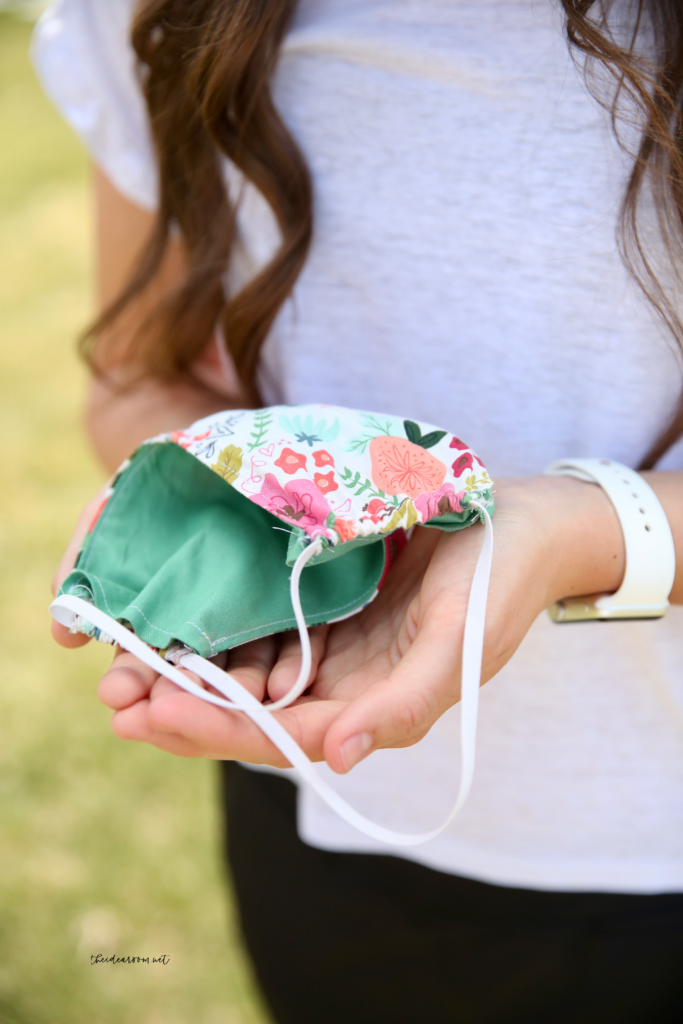
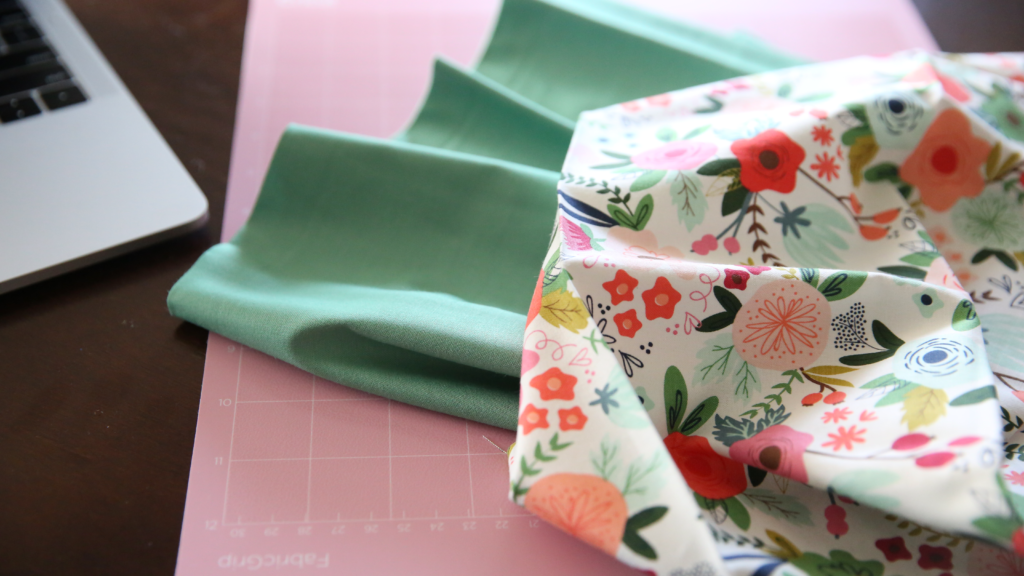
- FABRIC A measuring at least 7″ x 16″ (17.8 cm x 40.6 cm) (for inside fabric)
- FABRIC B measuring at 8″ x 16″ (20.3 cm x 40.6 cm) (for outside fabric))
OTHER ITEMS:
- Cricut Maker machine
- FabricGrip Machine Mat – 12″ x 12″
- Washable Fabric Pen (optional)
- Rotary Blade (for Cricut Maker Machine)
- Scissors
- Iron or Easypress Mini and Easypress Mat
- Small Safety Pin
- 1/4″ (6 mm) Braided Elastic (optional)
- Ribbon (optional)
PREPARATION
- Always read through all the directions before beginning.
- I am making the Adult S/M Face Mask.
- To make changes to this project, use the Mat Preview screen to move pieces to different mats or colors. We do not recommend rotating the pieces, as they are arranged to follow the grain of the fabric.
- Before cutting, make sure to pre-shrink fabric by pre-washing washables or steam-pressing non-washables.
- Pre-cut fabric by hand if needed to fit on mat. Please note the direction of the grain for each fabric piece.
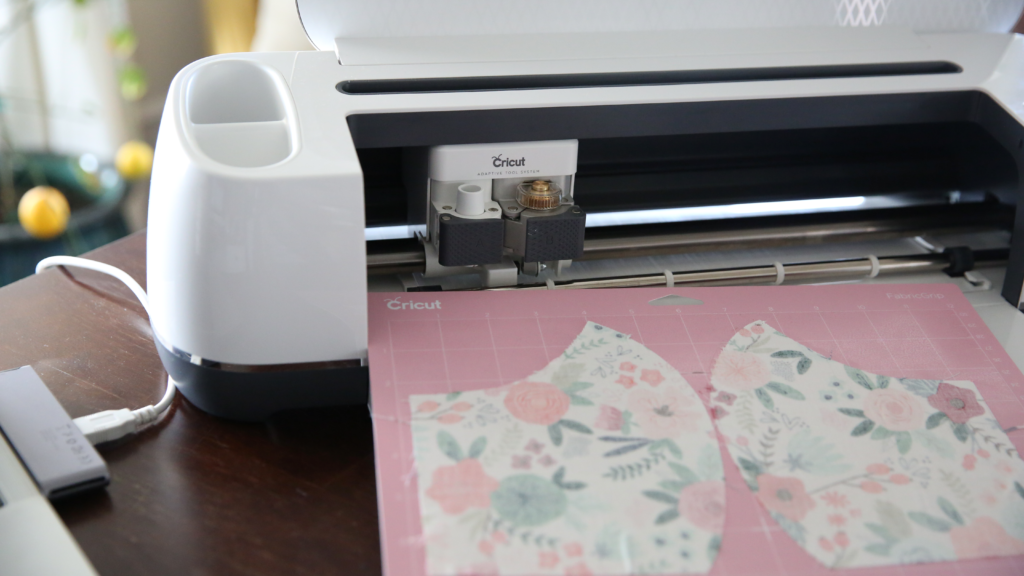
HOW TO CUT FABRIC
- All of the piece numbers on the mat preview should be drawing in the direction of the grain.
- Mat 1– Fabric A. Place the 8″ x 16″ (20.3 cm x 40.6 cm) fabric right (pattern) side down onto the mat with the grain running the length of the mat and smooth out the wrinkles.
- Mat 2– Fabric B. Place the 7″ x 16″ (17.8 cm x 40.6) piece of fabric right side down onto the mat with the grain running the length of the mat and smooth out wrinkles.
- Mat 3– Fabric B. repeat the same as step three if this extra mat is needed which will depend on the size of Face Mask you are making and will be prompted on your Cricut Maker (same with a 4th Mat).
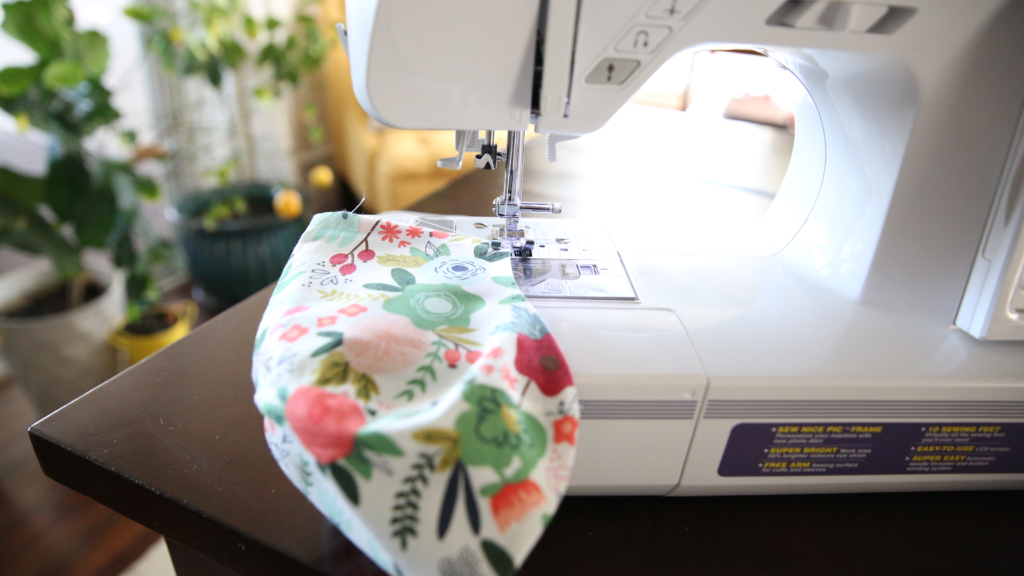
SEWING A FACE MASK
- Gather all of the pieces and press if necessary remove wrinkles.
- Match up outside fabric pieces, and place the right sides of the material together.
- Sew the curved portion of the fabric using a 1/4″ (6 mm) seam.
- Repeat steps 2 and 3 with the liner piece.
- Snip along the curves of each of the outside lining and inside lining pieces. Be careful not to cut through the stitching. This allows the seam to lay nice and flat. Press the seam flat with the easypress mini or an iron.
- Take your inside liner and press the straight edges of the curved seam down about 1/4″ (6 mm) away from the edge on the liner.
- Stitch close to the edge on the liner piece.
- Do this for the other side of the liner as well. Set aside.
- Take the outside liner and press the straight edge down about 1/4″ (6 mm) away from the edge on the outer piece.
- Fold the outer piece over again about 1/2″ (1.3 cm) and press to create the casing for the elastic.
- Stitch close to the previously pressed edge to leave enough room for the elastic to pull through the casing tube.
- Do this for both sides of your outside liner.
- Grab your two liners and align the outer and liner pieces together with the right sides of the fabric together.
- Stitch along the top and bottom of the mask using a 1/4″ (6 mm) seam. Backstitch to reinforce seams where necessary. Leave the sides of the casings open.
- Trim and snip excess threads as necessary.
- Turn the material through so that the fight side of the fabric is now on the outside.
- Press all seams so that your face mask is smooth and flat (except for where the mouth and nose will sit.
- Top stitch along the top and bottom of the face mask with a 1/4 inch seam, reinforcing as necessary.
- Thread elastic through the bottom casing on one side using a small safety pin. Continue threading through the top of the other side of the mask until you meet back up with the other end of the elastic. We used about 20″ (50.8 cm) to wrap around the head/neck. *You could also cut two pieces of elastic and sew them so you have two loops to loop around your ears.
- Connect the elastic with a zigzag stitch, making sure that elastic is not twisted. Move the stitch part of the elastic into the casing for comfort.
- TIP: Place a filter (we used a coffee filter) through the side openings, if desired. Remove and dispose of any filter before washing the mask after each use.
There are a few different ways you can make this Face Mask. This pattern/project can be made on the Cricut Maker, Explore Air 2, or even cut by hand.
- If you have a Cricut Maker, you can cut fabric on your machine.
- Use a Explore machine, you can cut paper to trace the pattern on fabric.
- If you don’t have a Cricut, you can grab the downloadable PDF pattern for free on their blog!
- Cricut also has a no sewing option and a tutorial for making a no-sew face mask on their blog here.
*Caution: This is not an N95 mask and is not rated for disease control.


Amy:
I love this mask! I don’t have a cricut machine, is there a way to get the pattern ?
Yes, If you don’t have a Cricut, you can grab the downloadable PDF pattern for free on their blog! The link is provided at the bottom of this post.
Amy,
I also do not have a cricut machine. Where do I get the pattern to cut out with scissors? Thank you.
I linked to Cricut’s Blog and you can grab it there. Let me know if you can’t find the link for some reason. It is in the post near the bottom!
I love that fabric that you used- do you know what it is or where to find it?? Thanks for the instructions.
Thank you! Yes! The fabric is a Cricut fabric that they sell online. I actually linked to it in the post. If you scroll up under the Materials list and click on Fabric A and/or Fabric B it is linked there. Let me know if you can’t find it for some reason!
Amy,
Why did my two pieces come out different sizes? I used both pieces marked 1 which I assume are S/M. The liner was wider even after turning over the ends 1/4”. The outside part I turned over 1/4” and also 1/2”. I watched your video and also read the instructions. I will be using ribbon as I do not have elastic. Any help much appreciated. The video looked so easy and know it is, but I am missing something somewhere. Thank you.
Hmmm…I am not sure. Are they the same other than the longer side? If so, I imagine you could cut the one side down to match the other one if they are the same everywhere else.
Hi Amy, I really like this mask design and like Katherine, I don’t have a cricut machine. Is the pattern only available to those who own a cricut machine? Thanks1
No! You can download it for free on Cricut’s blog! You don’t have to have a membership or anything! The link is in the post!
Love this!! Thank you so much for sharing this tutorial! Way cute, too!
Natalie- Thank you. Glad you like it.
Thanks for the video I am trying it now. Why is the fabric to be 7 by 16 the cricut mat only goes to 12. Is there a reason for the extra fabric?
Jen- I think it is just for if you need extra for trim.
I think they just used the same directions for all the masks and they have 4 different sizes. That is my guess. This is Cricut’s project! So if people need to make a larger mask they want to make sure all sizes are covered with the right amount you will need for the larger one!
Thank you for sharing this. I am so downloading it! I have yet to make my own & this looks so simple!
Kristyn- It really is so simple to make!
You must wash EVERY time you use it. Fabric masks should only be worn for a short time and are considered contaminated once used. You should not touch the mask itself (just grab the ties) when removing and it should go right into the wash.
Not sure why you’d recomend “a couple times” between washes, that is not safe information.
Kate- Thank you for your suggestions.
Are the ends of the channel unfinished? I do not see anywhere in the instructions where those ends are sewn. Thank you.
At the beginning of the sewing section tutorial there are directions to sew the ends over 1/4 inch and sew. The front cover is the one with the directions to make a casing for the elastic. But they are left open (but not with a raw material edge) so that you can place a filter between the two pieces if you would like. Does that make sense? The directions are in the video.
Hi, on this same vein of questioning. This method seems to leave the ends of the channels raw and open to fraying, any tips?
Donielle- You could turn them under and sew them so that they don’t fray.
Now, I really want a Cricut Maker machine even more. That is the cutest mask and I need one. I love the fabric choice for this DIY mask too!
Scarlet- It has been so fun!
How long do you recommend making the ear loops for best fit? I have tried making the mask with going around the head .. cricut recommends 20 inches but I can’t seem to get it right…
Yes. The elastic does fit a little weird. I liked it best by doing the elastic a little longer and then crossing it across the back of the head to get the tightest fit.
Or you can do a loop on each side that is small and can fit over each ear. But the mask doesn’t fit as tight this way!
So how log should the ear loops be?
I liked it best by doing the elastic a little longer and then crossing it across the back of the head to get the tightest fit.
Or you can do a loop on each side that is small and can fit over each ear. But the mask doesn’t fit as tight this way!
Thank you so much for sharing this! I recently ordered a Cricut Maker and have been trying to look for crafts and projects to make. This is so perfect for these times! I’m currently running low on masks and I think the reusable ones are great and even better that you can pick a pretty fabric pattern to personalize it with!
– Sabrina ♡
Sabrina- So happy that you like the pattern. I love my Cricut Maker. I hope you do too!